Your Halloween photo booth needs three things to work: the right backdrop, solid lighting, and guests who aren’t standing there looking confused. Haunted house backdrops give you instant structure. Orange, purple, and green LEDs set the mood fast. Handheld props keep the line moving. Fog machines and blacklights make everything eerier in photos than it looks in person. Get these basics right, and everything else falls into place — and there’s plenty more to unpack here.
Design Highlights
- Haunted house or graveyard backdrops instantly establish Halloween identity; layer tombstones, skulls, cobwebs, and faux moss for realistic depth.
- Use orange, purple, and green LEDs with warm white fill light to maintain spooky mood while keeping faces readable.
- Low-lying fog combined with UV blacklights adds dramatic atmosphere and makes fluorescent props visually pop in photos.
- Create inexpensive handheld props from cardstock and skewers; skull cutouts and glowing interiors make props irresistible and shareable.
- Allocate at least 8×10 feet for group shots, secure all cords, and run a full dry run beforehand.
The Best Halloween Photo Booth Backdrops for Any Party Style
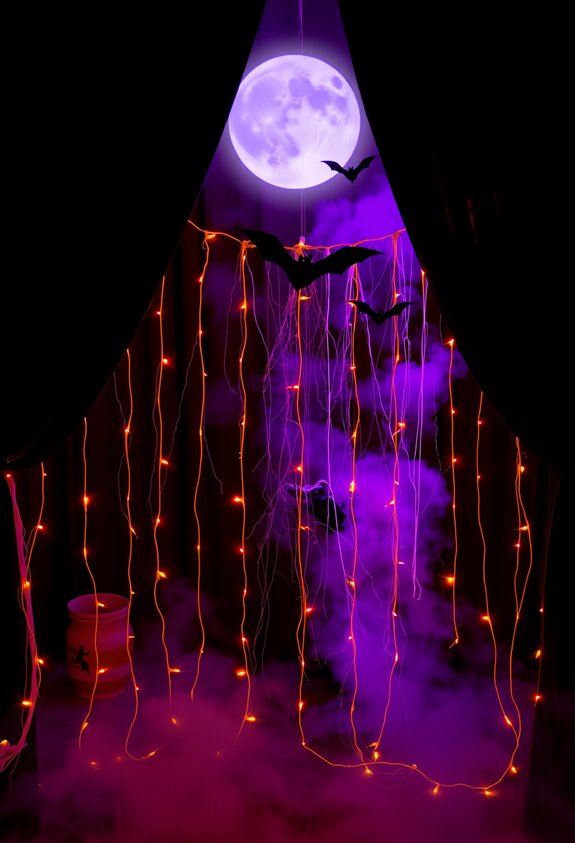
Because your backdrop sets the tone for every single photo, picking the right one actually matters. No pressure, though.
Go haunted house if your party needs a clear Halloween identity. It’s structured, polished, and basically does the work for you. Printable photocall templates make setup fast and repeatable, which honestly saves your sanity.
Haunted house backdrops do the heavy lifting. Structured, polished, and ready to give your Halloween party an instant identity.
Prefer something softer? Pumpkin patch and harvest styles use orange, brown, and earthy tones to hit that cozy autumn sweet spot without full horror mode. Perfect for mixed-age crowds who aren’t here for jump scares.
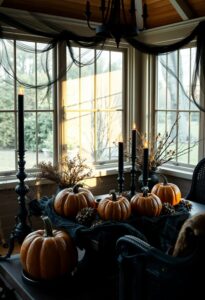
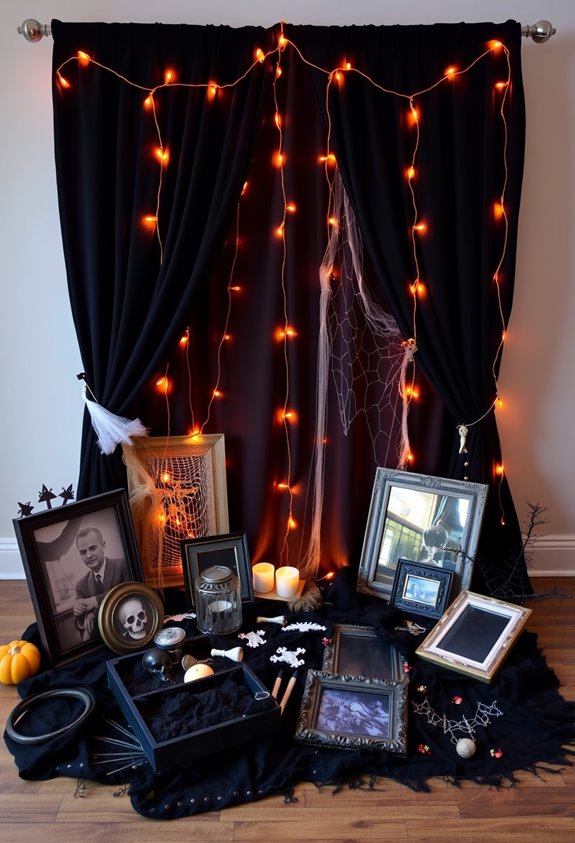
Want depth in your photos? Add props around the backdrop. Layered compositions photograph better than flat surfaces. Simple truth. Draping spiderweb fabric across your backdrop frame adds instant texture and keeps the horror factor dialed in without overcomplicating your setup.
Whatever style you pick, make sure the backdrop matches your party’s vibe. Mismatched decor is just sad.
How to Light Your Halloween Photo Booth for Maximum Atmosphere
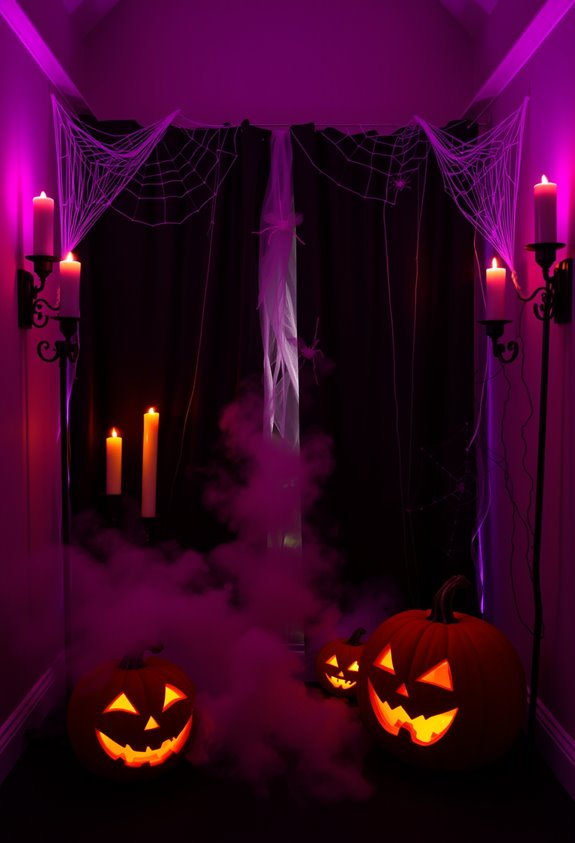
Lighting will make or break your photo booth, and most people don’t figure that out until their guests are already posting blurry, orange-blob photos. Don’t be that host.
Start with orange, purple, and green LEDs for instant Halloween mood. Then add warm white fill light so faces actually look like faces. Cool light behind the scene, warm light on your subjects. That separation is everything.
Angle your lights at 45 degrees. Rim lighting pulls dark costumes away from dark backgrounds. Low-angled lights create creepy elongated shadows. UV black lights make fluorescent props pop.
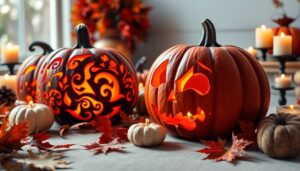
Want drama? Add a fog machine. Throw small RGB lights inside pumpkins. Use strobes sparingly.
Set up at least an hour early. Test with costumes on. Dark fabrics always need more fill than you think. For a particularly eerie ambient effect, place orange-bulb string lights behind your backdrop fabric to cast a soft, glowing hue across the entire scene.
How to Build a Halloween Photo Booth Graveyard Scene From Scratch
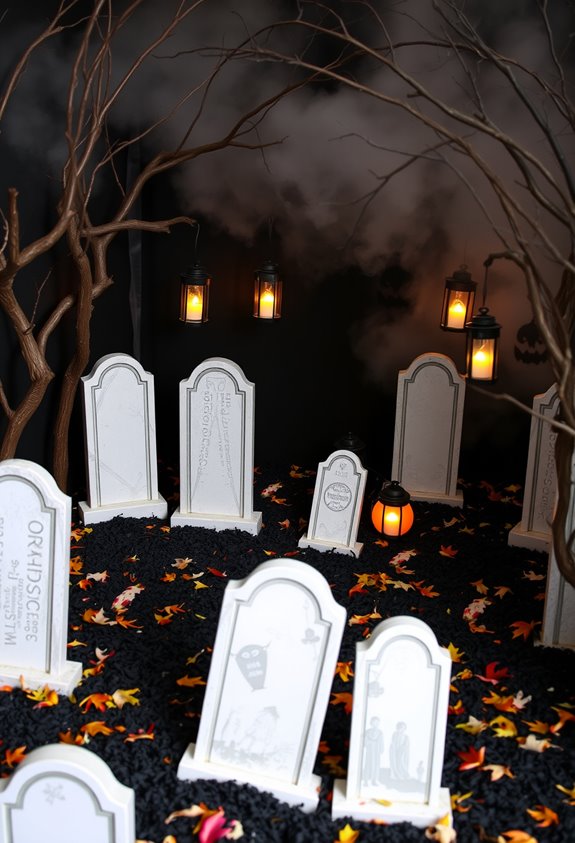
Once you’ve nailed the lighting setup, the next problem is filling that booth with something worth photographing. A single tombstone won’t cut it. You need a full graveyard scene — multiple stones, mixed sizes, some upright, some tilted, maybe one flat on the ground. That’s how real cemeteries look.
Start with your footprint. Map the whole scene on the ground before placing anything permanently. Group all your materials nearby first so you’re not scrambling mid-setup.
Layer in the details. Skeletons, zombie hands, cobwebs, skulls — scatter them low for foreground depth. Add creepy cloth and faux moss to sell the “abandoned for decades” vibe.
Secure everything. Wind doesn’t care about your aesthetic. Stakes, ties, and hot glue are your best friends here. To take the atmosphere even further, a fog machine and fog juice can add an extra layer of eeriness that photos will absolutely capture.
Fog Machines, Blacklights, and Atmospheric Effects Worth Adding
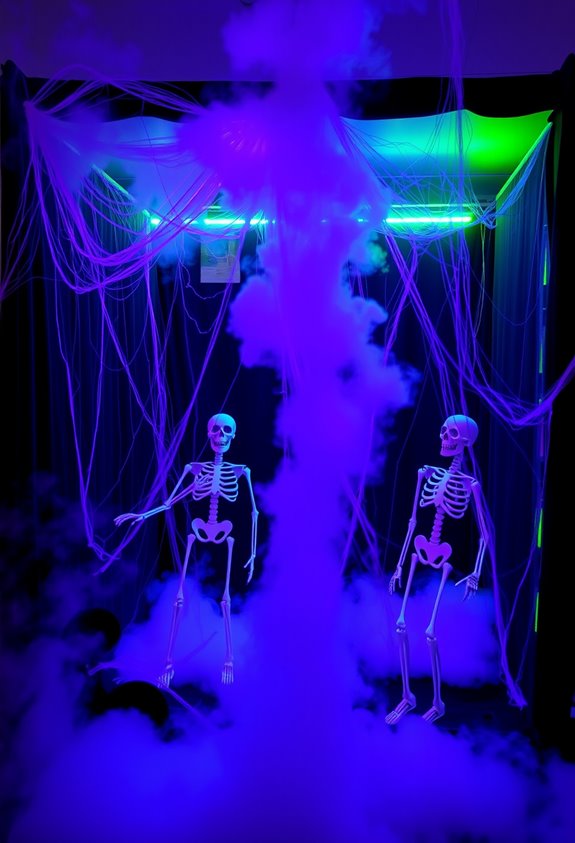
Adding fog and blacklights to your graveyard booth isn’t optional — it’s what separates “decorated corner” from “actual haunted scene.” Fog creates depth. Blacklights make UV-reactive props practically glow against the darkness. Together, they build something your guests actually feel.
For low-lying fog, chill it. Warm fog floats up and ruins everything. Pair your fog machine with a cooler, coiled tubing, and ice. It hugs the floor. Graveyard illusion achieved.
Blacklights work best when ambient light stays low. Test placement before the event — hotspots are real and ugly. UV-reactive fabrics, white costume pieces, and fluorescent accents pop hard under ultraviolet.
Combine fog, blacklight, and dim accent lighting for layered atmosphere. Keep faces readable. Moderate fog output so cameras can still focus. Atmosphere should enhance the photo, not kill it.
DIY Halloween Photo Booth Props You Can Make for Under $10
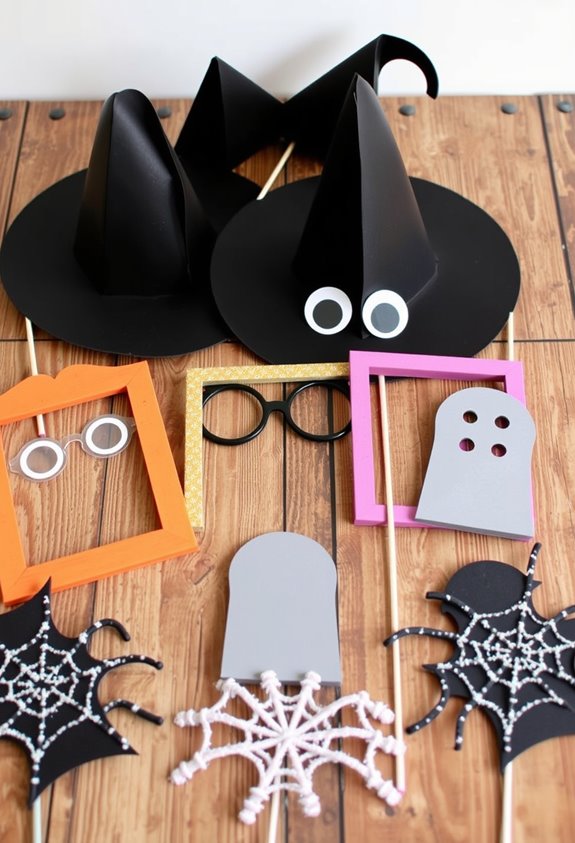
Fog machines and blacklights set the mood, but props are what actually put something in people’s hands. And you don’t need to spend much. Seriously. Under $10 works fine.
Start with 80 lb cardstock. It holds its shape, prints cleanly, and cuts without fuss. Download a free Halloween prop pack — witch noses, pumpkin faces, glasses, speech bubbles, mummy designs. Print them out. Cut them. Tape them to wooden skewers or popsicle sticks. Done.
That’s the whole process. Print, cut, attach, photograph. No specialty supplies. No design fees. Just printer access, cardstock, scissors, and tape.
Make several prop types at once since the steps repeat fast. Your group gets variety — faces, signs, character cutouts — and everyone’s got something to hold up. That’s the point. Older kids can get involved too, as children 8 and up are suited for handling the cutting step on their own.
Handheld Props and Accessories Guests Will Actually Reach For
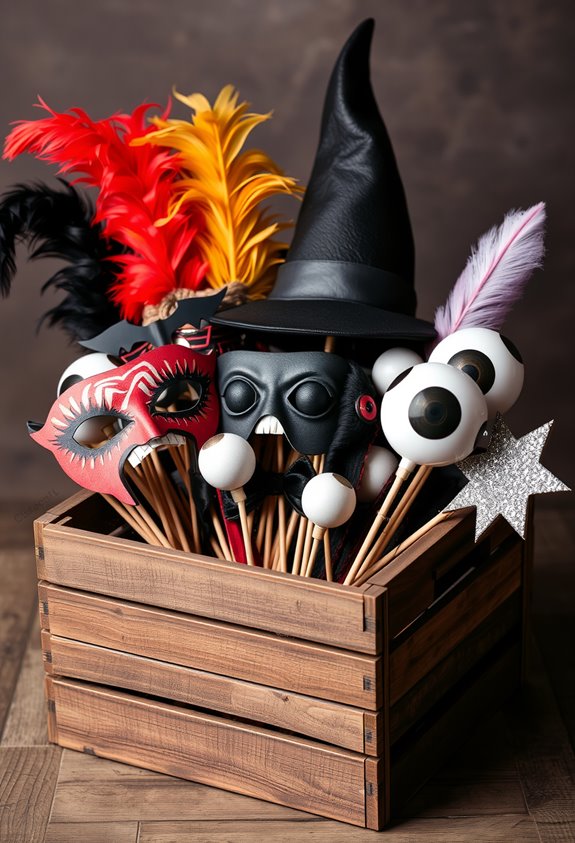
Guests don’t read prop instructions. They just grab what looks fun and pose. That’s why handheld props beat oversized décor every single time. A skull-shaped viewing hole, a glowing interior, a plastic skeleton hanging off the edge — that’s all the instruction anyone needs. Pick it up. Look through it. Done.
Compact props move fast between guests, which matters when your photo booth line isn’t slowing down for anyone. They hand off in seconds, no repositioning required. You’re not decorating a room. You’re creating a moment people want to be part of.
Dark interiors, LED lighting, dimensional cutouts — these details make faces pop through the frame. Guests don’t want to feel left out. Give them something worth reaching for.
Halloween Signs and Pose Prompts That Get Everyone Involved
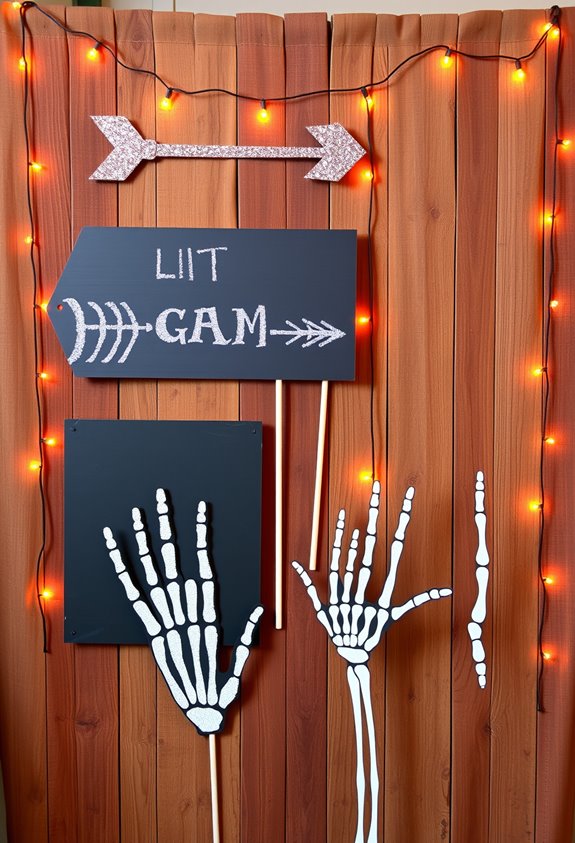
A sign that tells them exactly what to do changes everything. Guests don’t want to stand there guessing. Give them a prompt, and they’ll actually use the booth. It’s that simple.
Pose prompts work especially well for group shots because everyone gets the same instruction at once. No awkward huddles. No one asking, “What should we do?” Short, direct cues spark real energy and pull out better expressions, which means better costume detail in every photo.
Six signs printed on standard 8.5×11 cardstock is genuinely enough to build a cohesive display. Use cardstock. Regular paper flops. Some designs even double as wall art, so your decor works harder without extra effort. Clear signage makes everyone feel included, even the shy ones. Options like “Bone to Be Wild” and “Grave Rave” work just as well directing foot traffic through a haunted hallway as they do anchoring a photo booth display.
Photo Apps and Printing Options That Make Sharing Easy
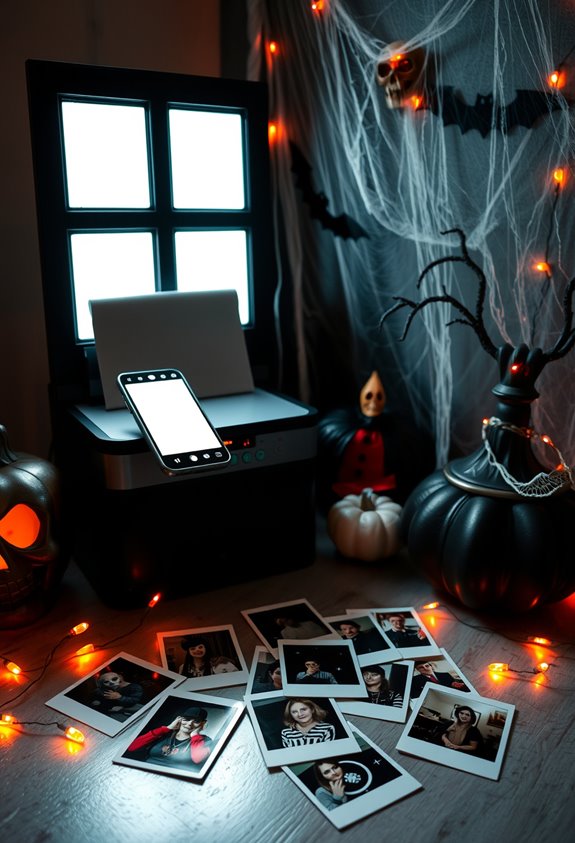
Mobile photo booth apps have come a long way, and they pull off something impressive: they pack the full traditional booth experience into a phone or tablet. You get Halloween overlays, digital props, fog effects, bat graphics, and slime drips — all without hauling extra gear. Custom attract screens guide your guests straight to the booth. Seasonal microsites handle delivery afterward. It’s a tight, coordinated system.
Printing matters, too. Portable printers produce on-site copies your guests actually hold. Instant prints work as party favors, scrapbook pages, and memory board material. Physical takeaways reduce the pressure to post immediately.
Hybrid setups capture once, then route to both print and digital channels simultaneously. Consistent Halloween styling carries across every output. Everyone leaves with something — digital or tangible. That’s the point. Some apps even offer real-time slideshow features that display captured moments directly on TV screens throughout the venue.
Your Pre-Party Setup Checklist for a Smooth Halloween Photo Booth
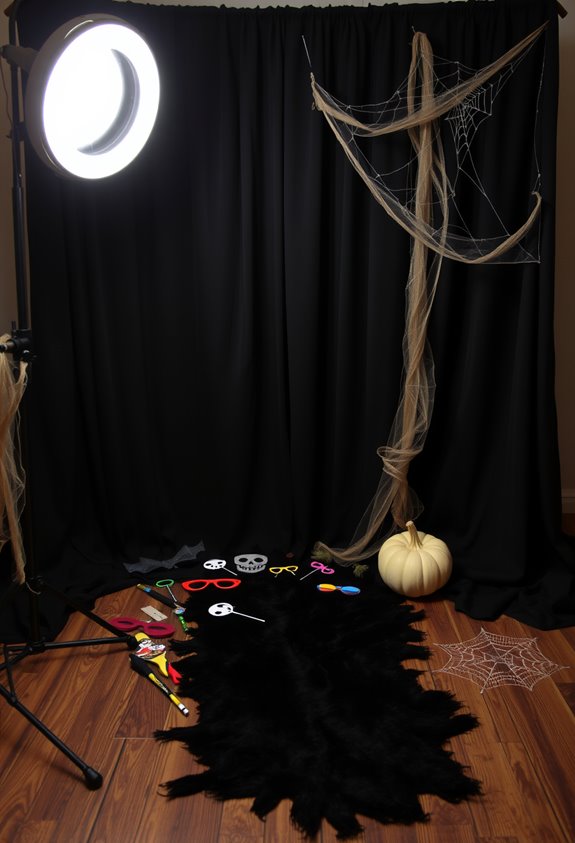
All the slick apps and instant-print hardware in the world won’t save you if your booth falls apart before the first guest walks up. So let’s get practical.
Claim your space first. You need at least 6×6 feet for solo shots, 8×10 for groups. Add 3–4 feet for entry flow and another 4–6 feet of clearance out front. Non-negotiable.
Space is non-negotiable. Measure twice, set up once — your booth needs room to breathe before guests arrive.
Secure your backdrop so it doesn’t sag. Test focus, exposure, and color balance before anyone arrives. Lock that tripod head. Tape down every cord — trip hazards kill the vibe fast.
Run a full dry run 24 hours before the event. Camera trigger, countdown, photo review, print check. All of it.
Your crew deserves a booth that actually works. Don’t wing it. Set up a dedicated prop station table with a mirror nearby so guests can check their look before stepping in front of the camera.
Frequently Asked Questions
How Many Guests Can Comfortably Fit Inside a Photo Booth at Once?
Depending on your booth type, you’ll fit 2–5 guests in enclosed booths, 6–10 in open-air setups, and up to 15 in custom builds. Choose wisely so everyone’s included in your memorable moments!
What Is the Ideal Photo Booth Size for a Small Apartment Party?
You’ll want an 8×8 foot open-air setup for your small apartment Halloween party. It comfortably fits your guests, keeps traffic flowing, and leaves enough room for everyone to join the fun together.
Can Children Safely Use Fog Machines and Blacklights During Halloween Events?
Yes, your kids can safely enjoy fog machines and blacklights if you use brief fog bursts, make sure good ventilation, secure all cords, and keep hot equipment out of their reach during Halloween fun!
How Do You Keep Photo Booth Props Sanitary When Many Guests Share Them?
You’ll keep shared props sanitary by wiping them down with disinfectant wipes between uses, placing hand sanitizer nearby, and choosing plastic or rubber materials that clean easily. Organized storage also helps you maintain a consistently hygienic setup everyone can enjoy.
Should Guests Be Assigned a Specific Time Slot for Using the Photo Booth?
Like a haunted house with no reservation needed, you don’t need time slots! Keep your booth open-access so guests spontaneously join the fun, fostering connection. Only schedule if crowds genuinely overwhelm your space.
Conclusion
There you have it. Nine ideas that practically guarantee your Halloween photo booth won’t be the forgotten corner of the party. Because nothing says “memorable Halloween” like spending three hours building a graveyard scene your guests glance at twice. But here’s the thing — they *will* glance at it twice. Then they’ll grab a prop, strike a pose, and suddenly your photo booth’s the most popular spot all night. Worth it.