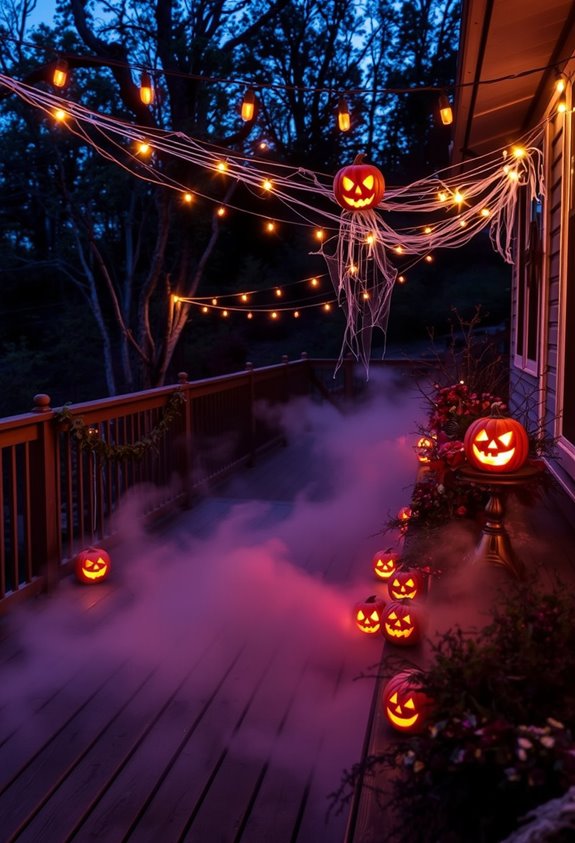
Backyard Halloween entertaining isn’t hard — it just requires treating decor like a system. Pick one anchor piece, like a giant skeleton or graveyard scene, and build everything else around it. Line your walkway with stake lights, hang ghosts and garland overhead, and let fog machines do the atmospheric heavy lifting. Stick to two or three colors, repeat one motif, and suddenly it all clicks. There’s a lot more where that came from.
Design Highlights
- Anchor your backyard with one focal prop—like a graveyard scene or giant skeleton—and repeat two or three core colors throughout.
- Line pathways with pumpkin stake lights or solar lights spaced 2–3 feet apart to safely guide guests through the space.
- Use fog machines, glowing eyes in bushes, and motion-triggered animatronics to create immersive, startling atmosphere.
- Hang cheesecloth ghosts, clustered bats, and black garland between trees to frame the backyard with a haunted forest feel.
- Group pumpkins in mixed sizes and textures, and hide speakers in landscaping playing eerie sounds for finishing atmosphere.
Make Your Porch the Outdoor Halloween Decoration Centerpiece
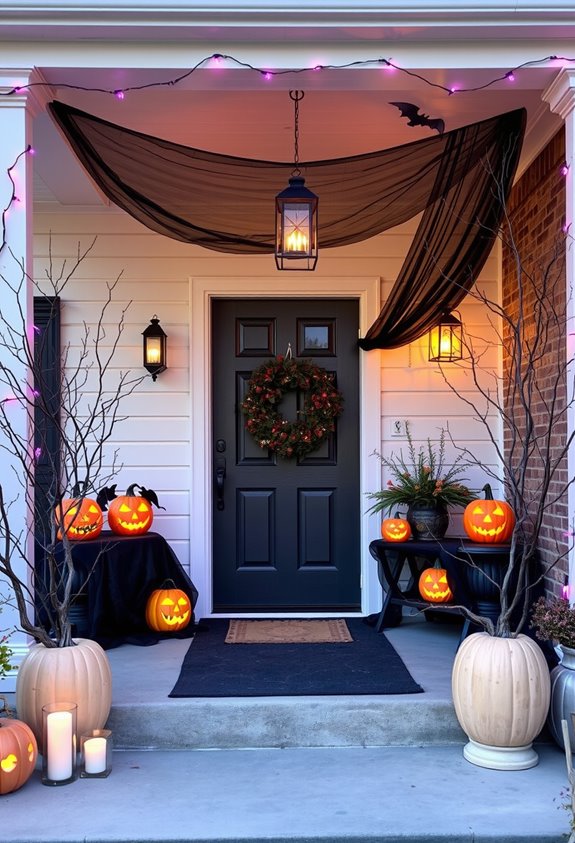
Your porch can make or break your entire Halloween setup. No pressure, though. Start with one clear theme so everything feels intentional instead of chaotic. Pick an anchor piece — a giant skeleton, a graveyard scene, a full pumpkin patch. Something big. Something people actually notice from the street. Then build around it with smaller details that support the main look.
Your wreath and porch light matter more than you’d think. They’re the first things neighbors and trick-or-treaters see. Make them count. A monster yarn wreath made from pom-poms and giant googly eyes can transform a plain wreath into an eye-catching statement piece that sets the tone before anyone even reaches your door.
Keep your props, colors, and motifs consistent — bats, ghosts, pumpkins, spiderwebs. Pick your lane and stay in it. A cohesive porch doesn’t happen by accident. It happens because you made deliberate choices. That’s the difference between a decorated porch and an impressive one.
Light the Walkway So Trick-or-Treaters Can Find You
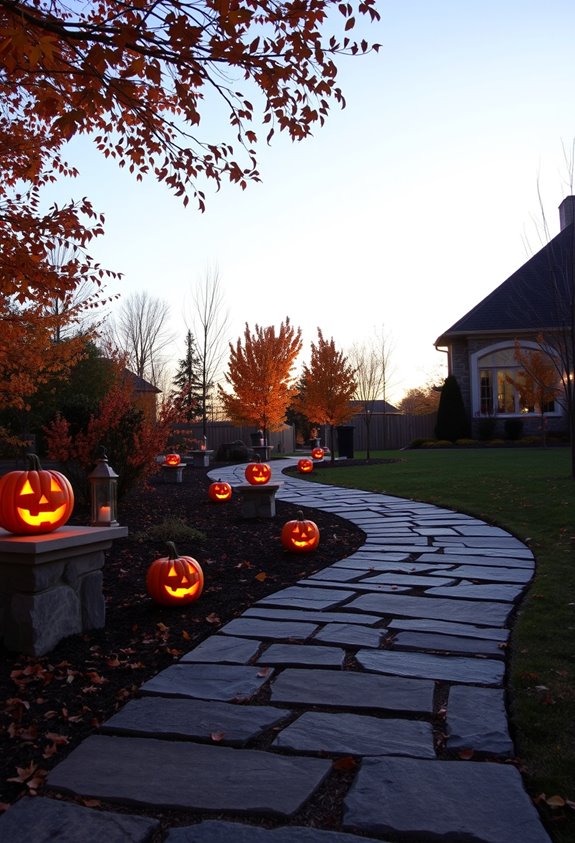
A dark walkway is a fast way to lose trick-or-treaters before they even reach your door. Nobody’s negotiating a pitch-black path. Light it up and make it obvious.
Here’s what actually works:
- Pumpkin stake lights placed 2–3 feet apart create consistent coverage without dark gaps
- Solar pathway lights handle the job without wiring headaches
- LED candles inside carved pumpkins deliver that classic Halloween glow, safely
- Waterproof string lights wrapped along fences or railings add supplemental brightness
Spacing matters. Even placement keeps the visual rhythm tight and the route readable.
Line both sides of the walkway if you can — it creates a defined corridor that guides guests straight to your door. Safety and atmosphere aren’t competing priorities here. Done right, they’re the same thing. Solar-powered lights are especially useful here since they eliminate the need for extension cords and work well in areas where running electrical wiring is a challenge.
Build a Graveyard Scene That Actually Looks Haunted
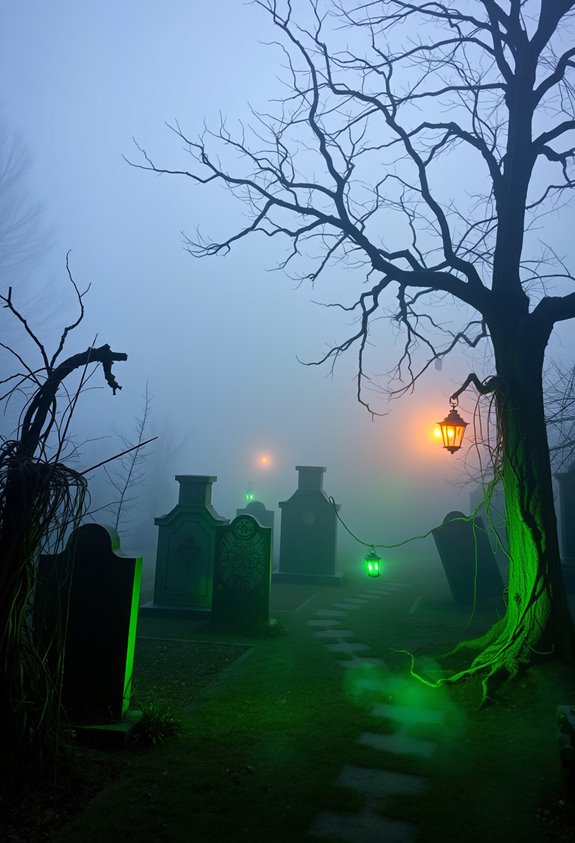
Once the path is lit and trick-or-treaters know where they’re going, give them something worth showing up for. A graveyard scene earns its keep when it looks lived in—or rather, died in.
Start with tombstones of varying sizes and shapes. Tall ones toward the back, smaller ones up front. Tilt a few. Lay some flat. Half-bury others. Uniform rows belong in actual cemeteries, not Halloween displays trying to impress anyone.
Build markers from foam or cardboard, paint them weathered, and add moss or fake dirt at the bases. Drape spider webs across everything. Tuck skeletal hands between stones. Add a ghoul or two lurking behind the back row.
Border it all with gothic fencing. Stake lightweight props down. A graveyard that blows over isn’t scary—it’s just sad. For areas with heavy wind, secure everything with steel pegs and fishing line to keep the scene intact through the night.
Illuminate Tombstones and Skeletons With Up-Lighting and Fog
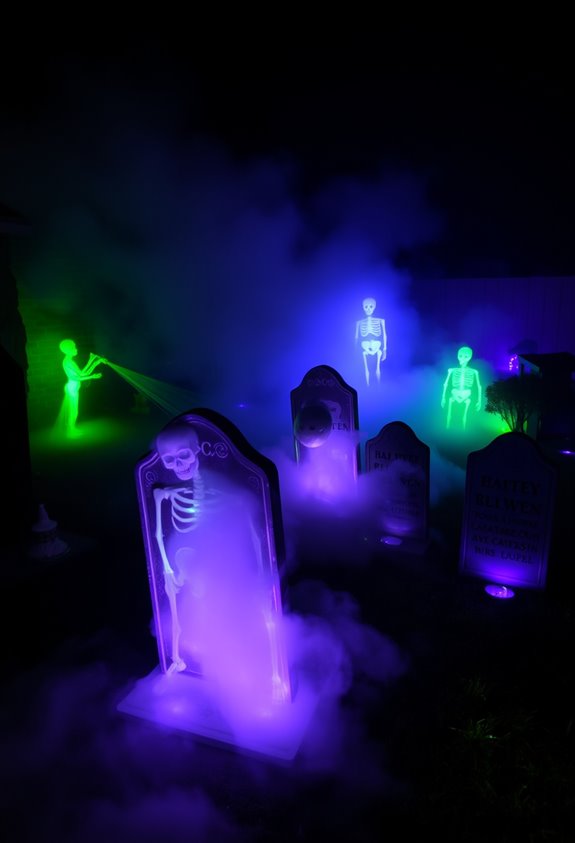
The graveyard looks great in daylight. At night, though, it needs work. Up-lighting fixes that fast. Place low-angle spotlights directly on the ground, aimed upward across your tombstones. That grazing beam drags shadows into every carved letter and rough edge. Suddenly, it’s actually creepy.
Add fog and you’ve got something special. It makes the light shafts visible, which photographs beautifully.
Keep these details tight:
- Side lighting reveals surface texture better than flat frontal beams
- Blue or violet bulbs drop the temperature of the scene instantly
- Short fog bursts preserve visibility of the markers while adding motion
- Hidden fixtures behind props kill the illusion-breaking glare
Moderate the fog density. Too much buries everything you just lit. Don’t do that.
Hang Ghosts, Bats, and Garland in the Airspace Above
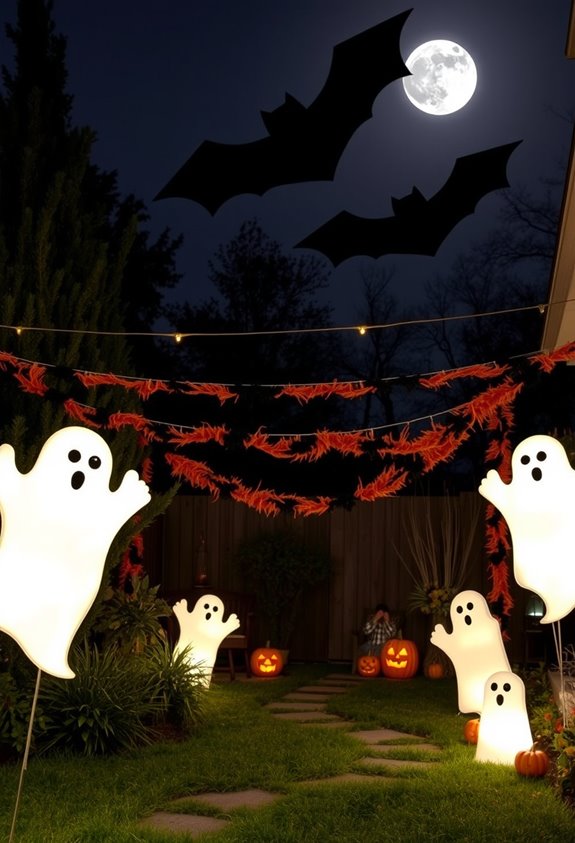
Lighting and fog handle the ground game. Now it’s time to own the airspace. Hanging ghosts, bats, and garland transforms dead vertical space into something genuinely eerie—and your guests will notice.
Start with ghosts. White cheesecloth or fabric draped over a foam ball, suspended by fishing line from tree limbs or porch hooks, creates that hovering effect everyone recognizes. Add a breeze and you’re done.
Bats cluster overhead in groups. Paper or felt cutouts fill the canopy fast. Black garland bridges the gaps between trees, railings, and porch supports, defining your party zone without eating floor space.
Layer it intentionally. Cobwebs first, then hanging figures, then lanterns below. That’s background, mid-layer, foreground. Simple structure. Maximum impact. This is how a backyard becomes a scene.
For nighttime visibility, apply glow-in-the-dark paint to your hanging ghosts and bats so they register even in the darkest corners of the yard.
Create a Pumpkin Display That Goes Beyond Basic Carving
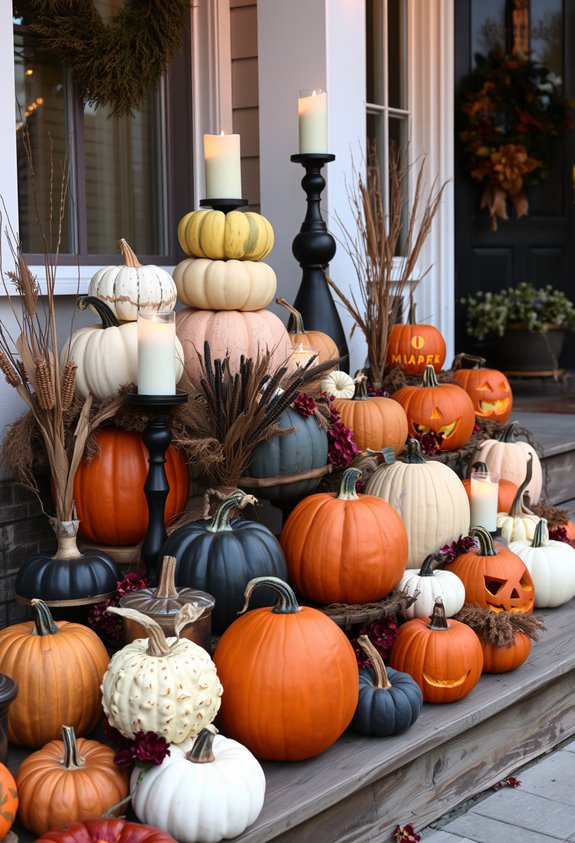
Carving a pumpkin is fine—if you enjoy digging out slippery gourd guts and watching your masterpiece rot in four days. There’s a better way. No-carve displays are having a serious moment, and your backyard deserves the upgrade.
Group pumpkins in mixed sizes, colors, and textures for real visual impact. Solo pumpkins don’t cut it anymore.
Take your display further with these approaches:
- Paint bold patterns like ombré, florals, or graphic stripes
- Wrap pumpkins in burlap, sherpa, or floral fabric for texture contrast
- Add rhinestones, buttons, or twine for dimension and personality
- Use faux pumpkins so your display survives the entire season without rotting
Layered arrangements read better from a distance. That matters outdoors. Go bigger, go bolder, go grouped. For a whimsical touch, try placing mini lawn flamingos around your pumpkin cluster to add unexpected personality to your yard display.
Turn Bare Branches and Twigs Into a Haunted Forest Frame
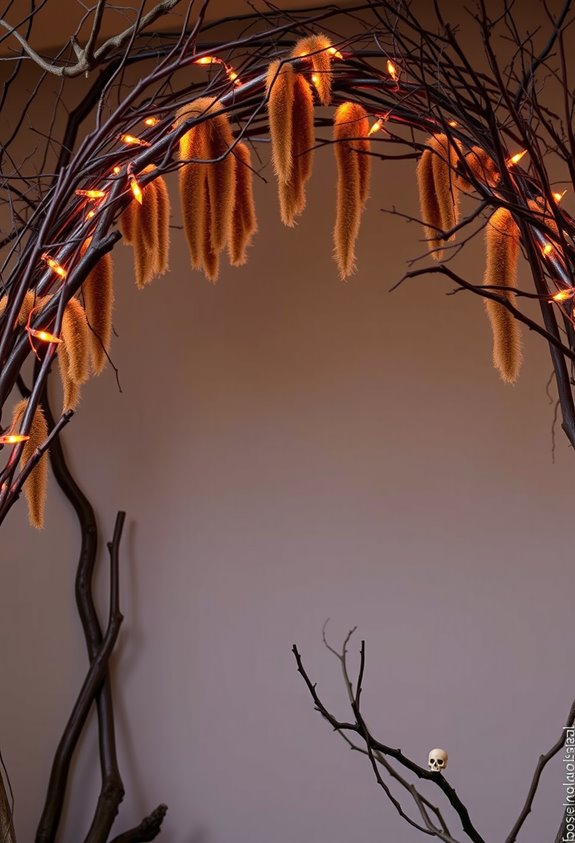
Pumpkins handled—now it’s time to go full haunted forest. Grab bare branches and start building a frame that actually looks eerie. Use longer, straighter branches with fewer side twigs—they’re easier to work with and look cleaner.
Measure against your frame first, cut pieces slightly longer than each side, and lay everything out upside down like a puzzle before committing to anything.
Hot glue tacks the ends down. Floral wire or twine reinforces the whole thing. Don’t skip letting it dry fully—sagging branches aren’t spooky, they’re just sad.
Spray paint everything black. Multiple coats. Rough bark absorbs more than you’d think.
Add bats, faux cobwebs, or skulls to push it over the edge. Battery-powered lights seal the haunted deal. Run a strip of ribbon along both sides of the frame to cover the raw branch ends and give the whole thing a finished, intentional look.
Add Motion and Sound to Catch Guests Off Guard
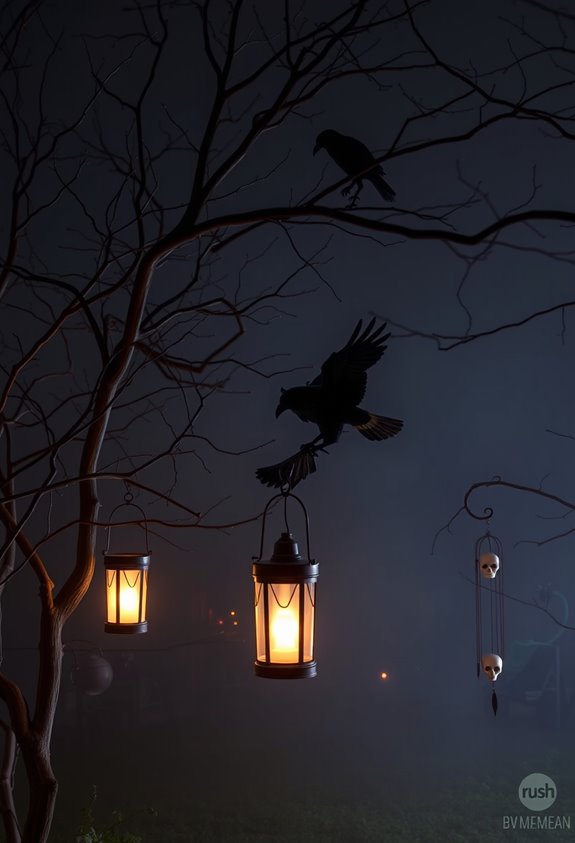
Static displays are fine—but motion and sound are what actually make people flinch. If you want genuine reactions, you’ve got to hit guests before they’re ready. Motion-activated props do exactly that—triggering right as someone approaches.
Here’s what actually works:
- Motion-triggered figures like zombies, witches, and bats positioned near entrances or along pathways
- Hidden speakers tucked into landscaping, playing creaking doors, howls, or evil laughter
- Fog machines along walkways so animatronics emerge from haze instead of plain air
- Colored spotlights aimed at large props to cast shadows that make movement feel unpredictable
Layer these together and the whole yard feels alive. Sound primes the fear. Motion delivers it. Fog hides what’s coming. That combination? Nobody sees it coming—which is entirely the point. For an added layer of dread, place glowing eyes in bushes alongside fog machines to suggest hidden creatures lurking just out of sight.
Use Color, Texture, and Repetition to Unify Every Zone
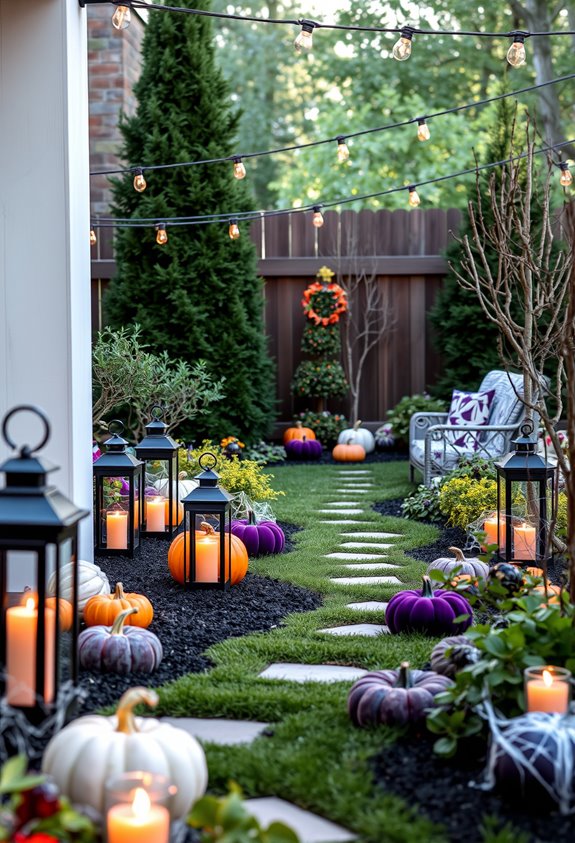
When your Halloween display looks like a random explosion of props from five different themes, no amount of motion-activated zombies will save it. Cohesion matters. Pick two or three core colors — orange, purple, green — and repeat them everywhere. Porch, walkway, yard edges, wreaths, windows. All of it.
Then pick one motif. Pumpkins. Spiders. Skeletons. Echo that same shape across every zone in different sizes. Giant spider on the house, smaller ones on the wreath. Simple.
Texture does the heavy lifting at night. Mix smooth pumpkins, rough cobwebs, and gauzy cheesecloth so surfaces catch light differently. Layer materials — wrap railings first, then add props on top.
Repetition creates rhythm. Group items in clusters. Mirror decor on both sides of your entry. Your display should feel like a system, not a yard sale. If you commit to a skeleton motif, for example, life-size figures can be arranged doing everyday activities in rocking chairs, under trees, or even climbing onto roofs for a scene that feels intentional rather than scattered.
Pull off the Harvest-Haunted Look With Rustic Finishing Touches
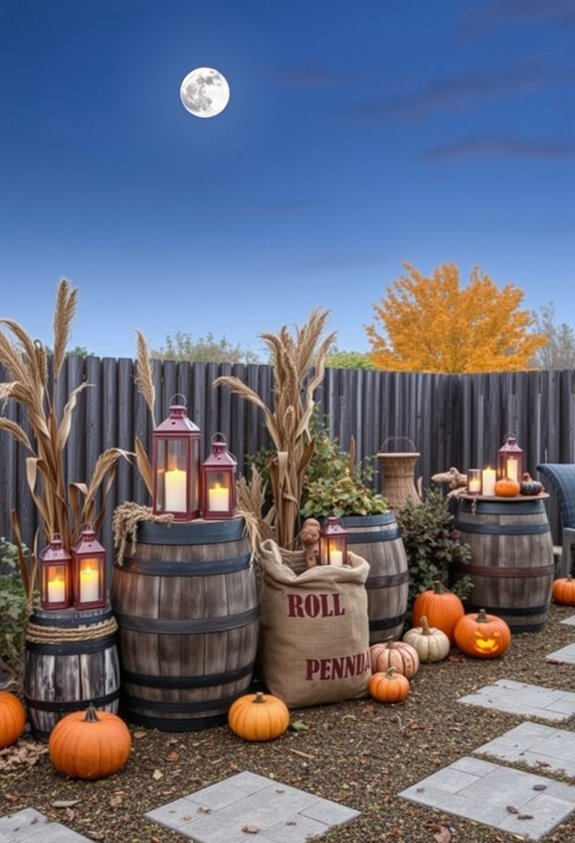
The harvest-haunted look isn’t complicated — you just need to stop treating fall décor and Halloween décor like they’re enemies. They belong together. Keep your corn husks, your leaves, your vine pumpkins. Then layer in the spooky.
Harvest and Halloween aren’t enemies. They’re the same season — just one wears its shadows more openly.
A few finishing touches do the heavy lifting:
- Cheesecloth, moss, and twine instantly age any surface without costing much
- Black spray paint and gray weathered finishes turn clean wood into something that looks genuinely old
- Crows, bats, and spiderwebs nudge harvest displays into eerie territory fast
- Battery-operated tealights inside wooden lanterns deliver flickering atmosphere safely outdoors
That’s it. You’re not rebuilding anything — you’re just pushing what’s already there a little darker. Rustic and haunted aren’t opposites. They’ve always been neighbors. For height and drama along a walkway or entry, tall black lanterns make an immediate impact while keeping the overall look cohesive and moody.
Frequently Asked Questions
What Weather-Resistant Materials Work Best for Overnight Outdoor Halloween Displays?
For overnight displays, you’ll want polyresin, powder-coated metal, and UV-treated plastics—they’re your best bets! Use heavy-duty PVC frameworks, closed-cell foam, and vinyl silhouettes to keep your spooky setup looking great through wind and rain.
How Early Should Outdoor Halloween Decorations Be Set up Before the Holiday?
Like the rest of your neighbors, you’ll fit right in setting up by October 1, though mid-September gives you more display time. Either way, you’re joining a beloved seasonal tradition everyone enjoys together.
Are Outdoor Halloween Decorations Safe Around Pets and Small Children?
They can be safe when you choose wisely! Opt for non-toxic, flameless, and securely anchored decorations. You’ll want to avoid small choking hazards, sharp stakes, and tangled strings to keep your little ones and furry friends protected.
How Do You Store Large Outdoor Halloween Props After the Season Ends?
Like a knight retiring armor, you’ll clean, dry, and carefully wrap your props. Deflate inflatables, break down large pieces, and pack everything into labeled bins — protecting your treasured decorations for next season’s community celebration.
Can Outdoor Halloween Decorations Be Adapted for Apartment Balconies or Small Spaces?
You can absolutely adapt Halloween decor for your balcony! Use vertical displays, hang lightweight ghosts or bats from railings, and place flameless lanterns on small tables. You’ll create a festive, spooky vibe that fits your cozy space perfectly.
Conclusion
You’ve got the tools. Spooky lighting, creepy tombstones, fog machines — your backyard’s basically a haunted attraction now. Congrats. Your neighbors, who put out one plastic pumpkin, will hate you. That’s fine. Use color to unify zones, layer in sound and motion, and don’t skip the rustic finishing touches. Halloween comes once a year. You’ve got one shot to absolutely terrify the neighborhood kids. Don’t waste it.