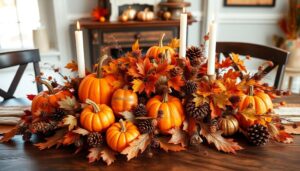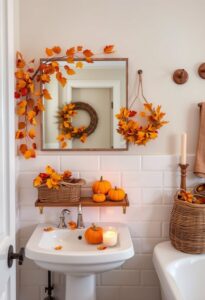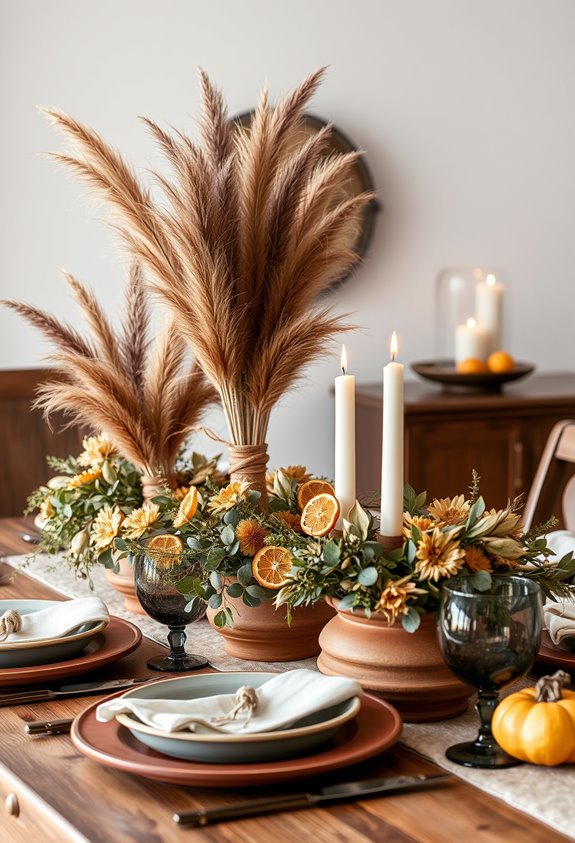
Dried florals can absolutely transform your Thanksgiving decor — and honestly, they might outperform fresh flowers in every way that matters. They last months, need zero maintenance, and look stunning with fall’s rust, burgundy, and mustard tones. No watering. No wilting. No mid-November panic. Pair dried roses, pampas grass, and seed pods with small gourds, and you’ve got a harvest-worthy setup that holds up through the entire season. There’s a lot more to unpack here.
Why Dried Florals Are the Smartest Thanksgiving Decor Choice
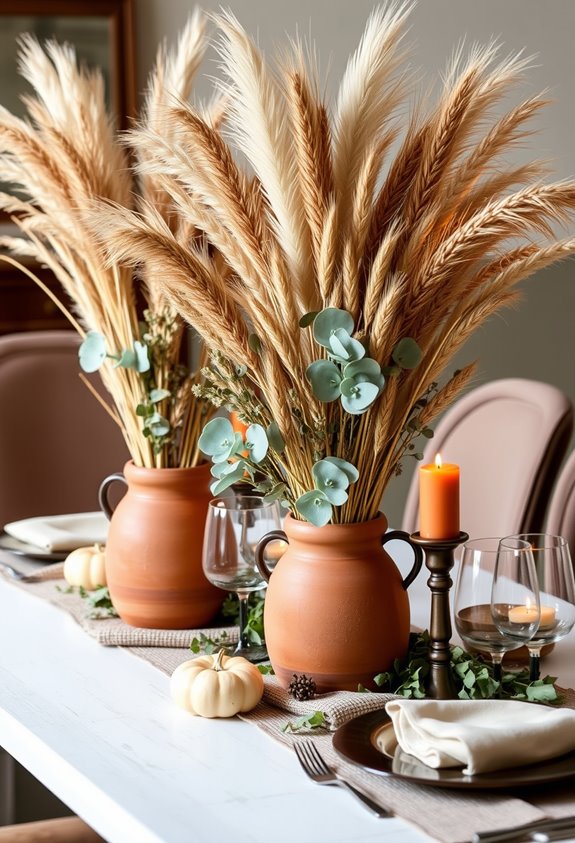
Fresh flowers are gorgeous — for about a week. Then they’re wilting, dropping petals, and quietly judging you from the centerpiece. Dried florals don’t do that. They last months, sometimes years, which means you’re not scrambling to replace anything mid-holiday season. That’s a real win when you’ve already got a packed Thanksgiving prep list.
No watering. No trimming. No vase water changes. You literally place them and move on with your life.
And the value? Undeniable. The upfront cost pays off fast when you’re reusing the same arrangement across Thanksgiving, fall gatherings, and winter styling. Fresh-cut centerpieces can’t compete with that math.
Dried florals are also available year-round, so you’re never stuck hunting for seasonal stems that simply aren’t there. Because they’re harvested once and sold throughout the year, they decrease greenhouse dependence that comes with growing fresh flowers out of season. Smart choice. Easy choice.
Choose the Right Dried Flowers and Grasses for Fall
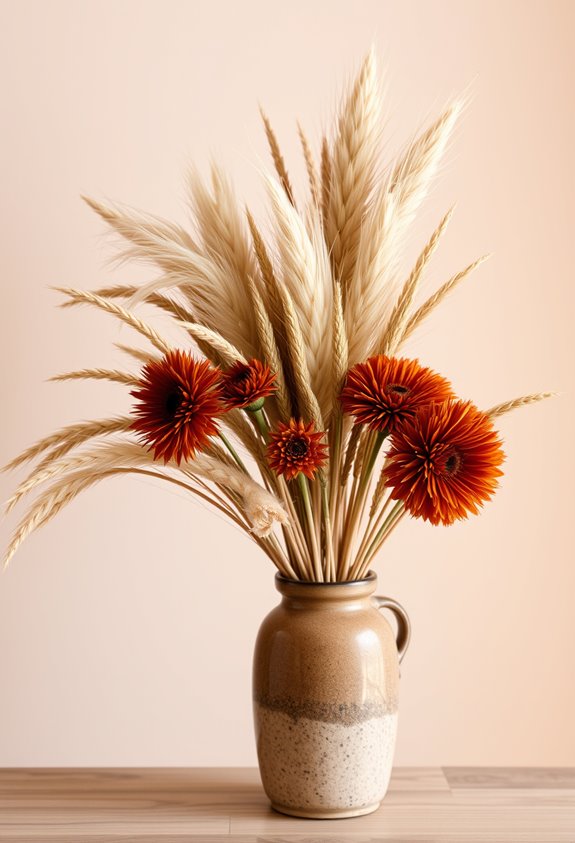
Now that you’re sold on dried florals, the next move is picking the right ones — because not every dried bloom is cut out for a Thanksgiving centerpiece.
Some flowers just fall apart. Literally.
For flowers that actually hold up, reach for statice, strawflower, lavender, hydrangea, or dried roses. These keep their color and shape without drama.
For grasses, pampas grass brings soft height. Wheat screams harvest season in the best way. Bunny tails add fluffy texture that contrasts beautifully with bigger blooms.
Colors matter too. Rust, terracotta, mustard yellow, burgundy — these are your people.
Cream and tan keep everything grounded.
Muted greens prevent the whole thing from looking flat. Eucalyptus, for example, dries exceptionally well and retains its fragrance over time, making it a natural fit for fall arrangements.
Pick sturdy stems. Low-moisture blooms. Tight buds at peak color. That’s your shortlist.
Build a Stunning Dried Floral Centerpiece
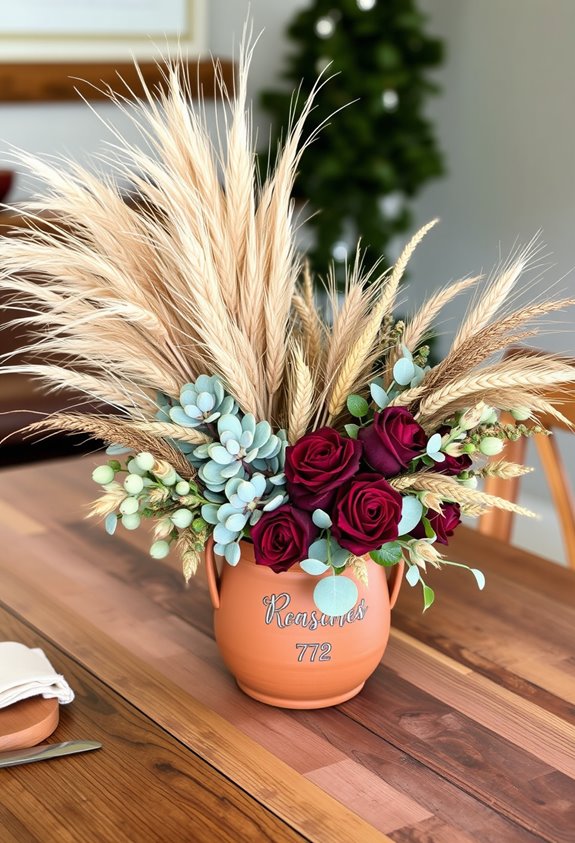
Building a great dried floral centerpiece isn’t about talent — it’s about sequence.
Start with a stable base container. Wide openings work best.
Then grid your vessel with floral tape or pack it with foam — because stems need control, not wishful thinking.
Begin with structural pieces first.
Grasses, branches, larger stems.
Then layer in your focal flowers, spacing them throughout.
Fill gaps last.
Every stage matters.
Keep everything under 12 inches tall. Seriously.
Nobody wants to talk to your centerpiece all dinner.
Rotate the vessel as you build so no side gets neglected.
Vary your stem lengths.
Repeat textures for rhythm.
Add dried accents for that seasonal, refined finish.
Neutral tones brighten the whole thing up.
Layered.
Structured.
Dense enough to feel abundant.
A floral pillow or chicken wire tucked inside your vase keeps every stem exactly where you place it.
That’s the goal.
Add Pods, Grains, and Gourds to Strengthen the Harvest Look
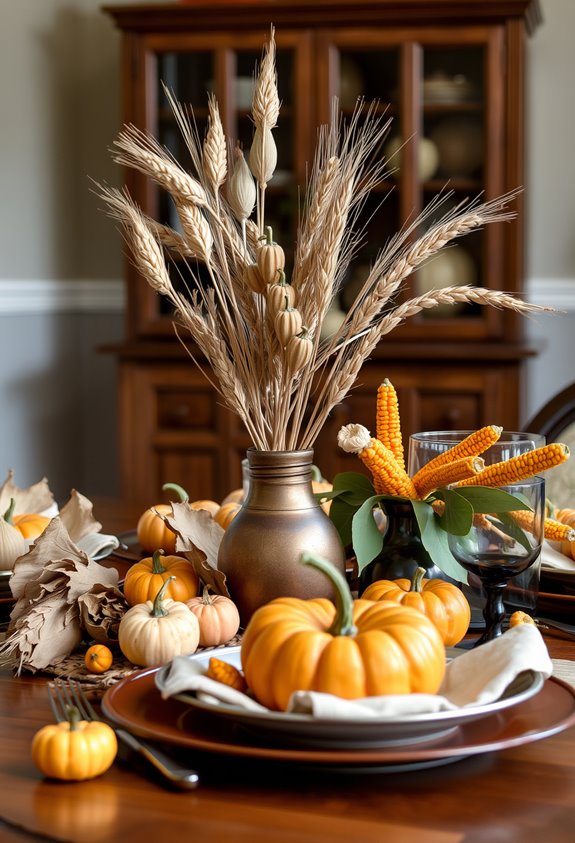
Once your centerpiece has bones, it’s time to bring in the heavy hitters. Pods, grains, and gourds — that’s the holy trinity of harvest decor. Don’t skip them.
Seed pods like milkweed, lotus, and poppy add texture and shape without needing a single fresh bloom. They’re doing real work. Wheat, broom corn, and pearl millet bring height and that airy movement that keeps heavy gourds from dragging everything down visually. Balance matters.
Then come the gourds. Small pumpkins, squash, and decorative gourds anchor the whole look. Classic for a reason. Tuck them into flat baskets or cornucopias alongside your dried stems and seed heads.
Together, these elements build the rustic harvest palette that makes people feel like Thanksgiving actually showed up at your table. Decorative varieties like speckled swan, apple, and birdhouse gourds are especially worth seeking out for their striking shapes and visual interest.
Create a Dried Floral Bundle for Vases and Entry Tables
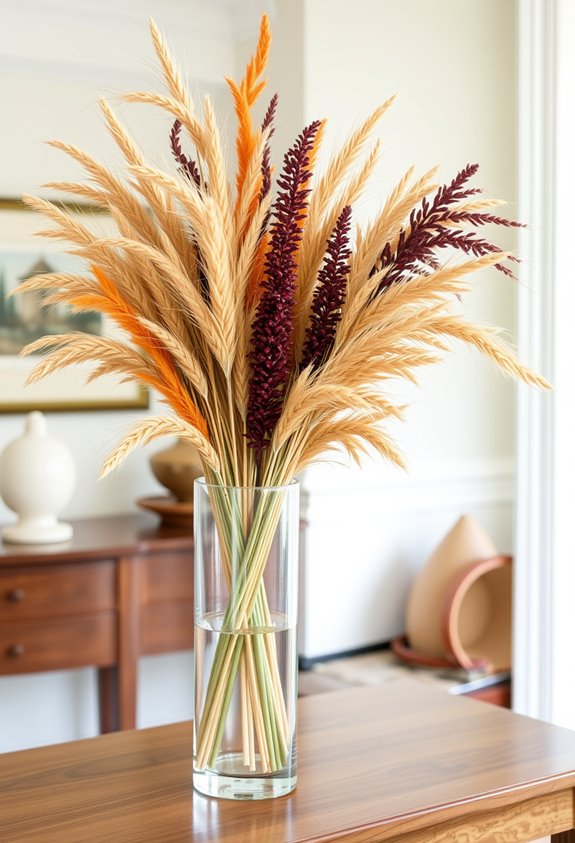
Centerpieces get all the glory, but entry tables set the tone before anyone even sits down.
Centerpieces steal the spotlight, but your entryway blooms are the real first impression.
Start with a wide-mouth vessel or a small ceramic pot around 4–5 inches wide. Strip extra foliage first. Seriously, skip the clutter. Cut stems to your desired length, stagger the heights, and secure the bundle with jute twine or a rubber band.
Tightly grouped bundles insert cleanly into a vase without fuss. Use a floral tape grid across the opening if stems won’t stay put. Mix full forms with wispy ones for contrast.
Keep taller stems toward the center or back, shorter ones around the edges. One more thing — keep it away from direct sunlight. Fading is fast, and nobody wants sad, washed-out florals greeting their guests. A light hairspray mist applied over the finished bundle helps minimize shedding and lock delicate pieces in place.
Use Dried Blooms as Thanksgiving Place Setting Accents
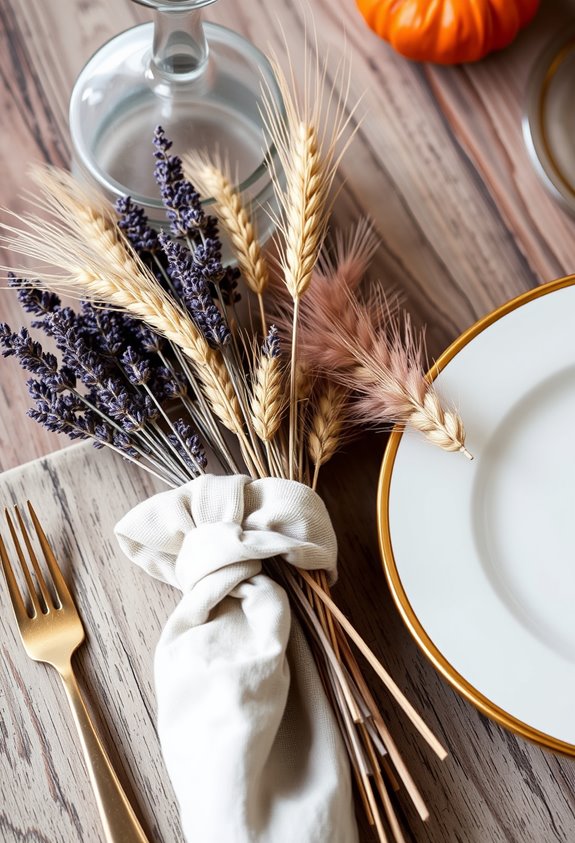
Shift your attention down to the plate level, and suddenly there’s a whole new layer of detail to work with.
Small dried bloom bundles placed directly on napkins or dinner plates pull the whole table together. Tie them with twine, ribbon, or burlap string — whatever fits your vibe. Match the ribbon to your linens if you want that coordinated, intentional look.
Rustic materials like pinecones, oak branches, berry branches, and acorns work great here. Before using pinecones, clean them first by washing them in bleach and placing them in the oven for an hour.
One bundle per plate. Simple. Repeatable.
You can even pair a place card alongside it for something more formal.
Here’s the best part — guests can take the bundle home and drop it in a bud vase. Your place setting just became a favor. That’s efficiency.
Hang a Dried Floral Garland for Instant Impact
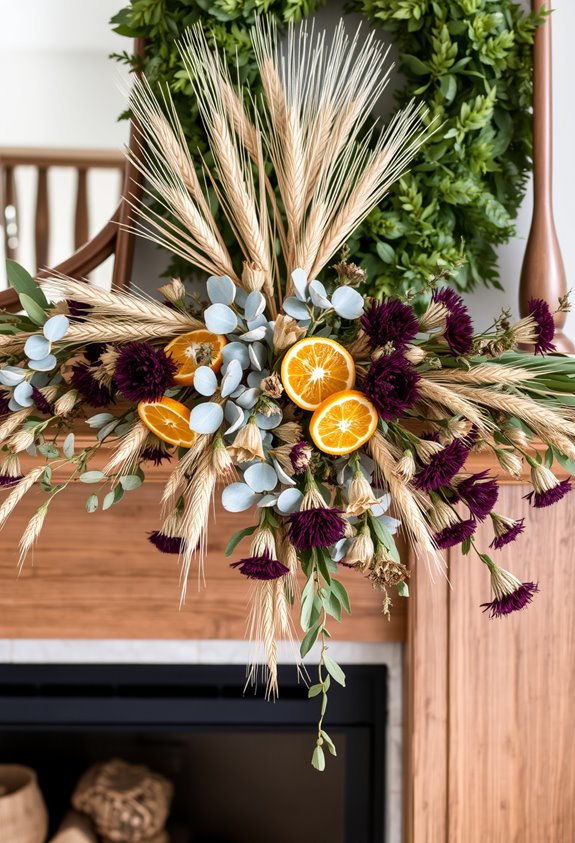
Drape a dried floral garland somewhere in your space and watch the whole room shift. Mantels, doorways, shelves, buffet tables — all of them hit differently with a garland running across them. It’s instant. No fussing, no fresh flowers dying on you by Thursday afternoon.
Mix in artemisia, wheat, seeded eucalyptus, pampas, and hydrangea for that layered harvest look everyone recognizes as *fall done right*. Warm white fairy lights? Even better. Total cost runs $5–$10, and you’re looking at 40 minutes start to finish.
Here’s the blunt part: dried garlands last all season without water. Zero daily maintenance. Just attach small bundles with 24-gauge paddle wire, hide the hooks behind larger flower heads, trim the strays, and you’re done. It genuinely works. For an easy starting point, dried eucalyptus is specifically recommended for Thanksgiving floral centerpieces and pairs well with cosmos, mums, dried grasses, and pinecones.
Make a Dried Floral Wreath That Lasts All Fall
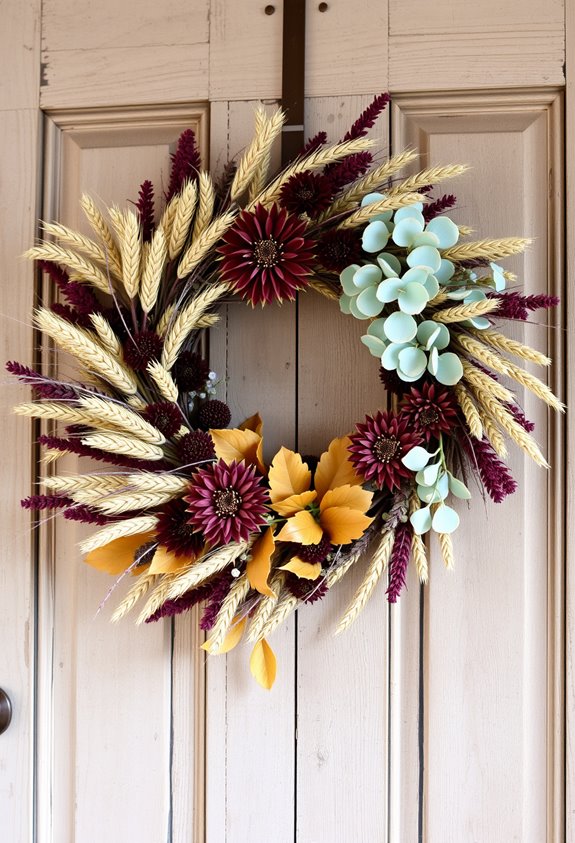
Grab an 18-inch grapevine or wire wreath form and you’re already halfway there. Seriously, that’s the hardest part.
The wreath form does half the work for you. Everything else is just layers and creativity.
Bundle your dried stems into small groups of three to five pieces, trim them to about four inches, and wire each bundle three to four times. Tight wraps matter because dried material shrinks and loosens. Don’t skip that step.
Work in a slightly overlapping sequence so stem ends stay hidden as you move around the form. Layer sunflowers, hydrangeas, grasses, and seed heads for contrast and movement. Asymmetrical designs feel the most natural, so don’t stress about perfection.
Hot glue fills gaps at the end. Do a shake test before hanging. If pieces fall off, glue them. Simple. Your wreath will look like everyone’s dream fall door moment.
Use 22 or 24 gauge green paddle wire wrapped continuously without cutting to keep the whole structure secure from start to finish.
How to Handle and Store Dried Stems Without Breaking Them
Once your wreath is hung and looking good, the real test is everything that comes after.
Dried stems are brittle.
They snap.
And they don’t care how careful you think you’re being.
Handle arrangements from the base, keeping one hand supporting the container.
Move slowly.
Seriously — quick movements create air currents that damage petals.
Rearrange often?
Expect breakage.
For storage, cool, dark, and dry is your target.
Humidity around 35–45% keeps things stable.
Bathrooms and kitchens?
Terrible choices.
Moisture is the enemy here.
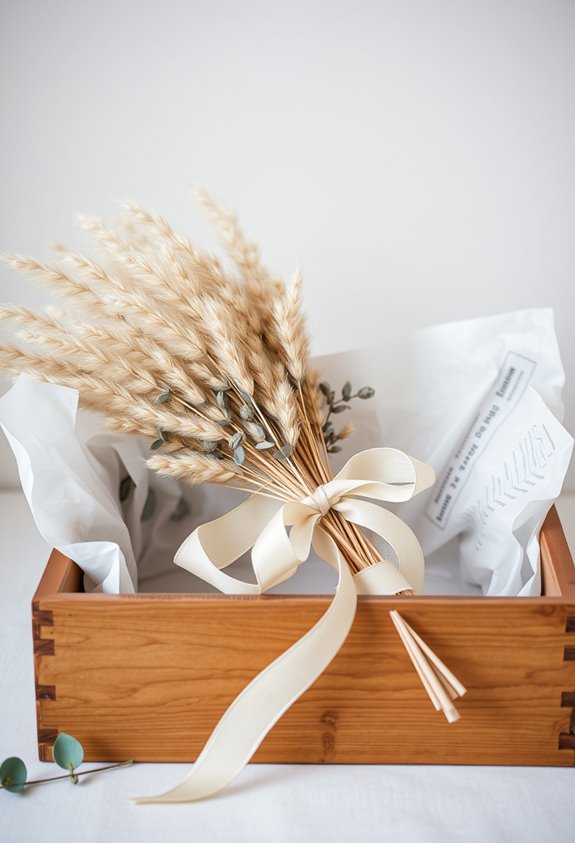
Use airtight, opaque containers with tissue paper separating bunches.
Toss in silica gel to control moisture.
Skip the plastic bags — they trap dampness and wreck everything fast.
Check stored arrangements regularly.
Replace saturated desiccants.
Rotate bundles so pressure doesn’t concentrate in one spot.
Garages and sheds may seem convenient, but avoid over winter — damp conditions in these spaces can quietly deteriorate your stored stems before you even notice.
Frequently Asked Questions
Can Dried Floral Arrangements Be Safely Used Around Open Candle Flames?
No, they can’t. Dried florals near open flames? That’s a fire waiting to happen.
The National Candle Association tested decorated candles with embedded flammable materials — every single case failed safety standards. Every one. Multiple large flames appeared, raising real fire risk.
Flowers sticking out of wax, botanicals near wicks — it’s genuinely dangerous. If you’ve got a gorgeous dried floral candle, here’s the hard truth: don’t light it.
Are Dried Florals Safe to Display in Homes With Pets or Children?
Dried florals can be displayed around pets and children, but you’ve got to be smart about it. Drying doesn’t neutralize toxicity — dried lilies are still dangerous. Cats especially will nibble anything. Keep arrangements elevated and out of reach. Stick to confirmed pet-safe varieties like roses, sunflowers, or zinnias. Even “safe” flowers can cause stomach upset if eaten in large amounts. Physical hazards — thorns, stems — matter too.
How Do Dried Florals Affect Indoor Air Quality or Trigger Allergies?
Dried florals aren’t just sitting there looking pretty — they’re quietly collecting dust, releasing VOCs if they’re treated or scented, and potentially harboring mold in humid spaces.
Residual pollen can trigger sneezing and congestion. Dust mites love them. Poor ventilation makes everything worse. If you’ve got asthma or allergies, you’ll likely notice it. Bigger arrangements mean more surface area for buildup. It’s not dramatic — it’s just chemistry.
Can Dried Floral Decor Be Composted or Disposed of Sustainably After Use?
Yes, you can compost dried florals — but only if they’re clean and natural.
Strip out the wires, floral tape, plastic picks, and packaging first. Those don’t belong in your compost bin. Ever.
If your florals have glitter, synthetic coatings, or unknown chemical treatments, skip composting entirely and toss them in landfill. Can’t verify what’s in them? Landfill wins.
Simple rule: natural and uncontaminated goes to compost; everything else doesn’t.
Do Dried Florals Attract Insects or Pests When Displayed Indoors?
Yes, dried florals can attract insects indoors — but it’s not guaranteed.
Leftover moisture, pollen, nectar, or incomplete drying makes them way more appealing to pests. We’re talking silverfish, beetles, moths, ants, even mites.
The Indian meal moth is the biggest culprit, according to Iowa State University Extension.
Warm, humid spots make things worse.
Good news though — these insects aren’t dangerous to you. They’re just annoying houseguests nobody invited.