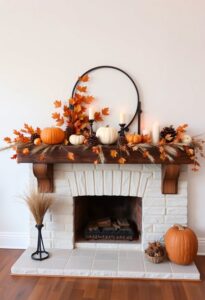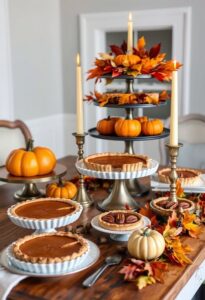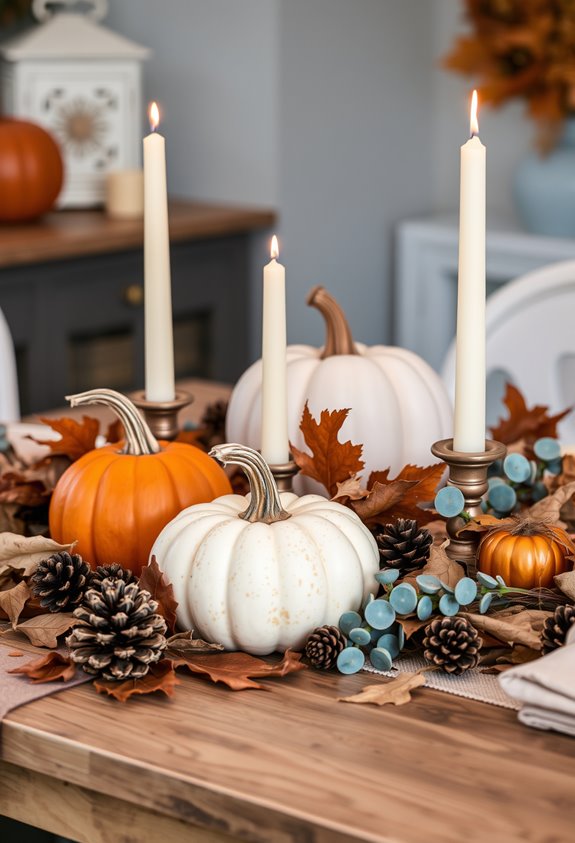
The easiest DIY Thanksgiving centerpieces don’t require a florist or a big budget — just a few smart choices. Hollow out a pumpkin and drop in a floral foam insert. Layer a greenery runner with grouped candles. Cluster mason jars with cranberries and floating tea lights. Arrange staggered bottles wrapped in twine. Stick to two or three colors, build around one focal piece, and leave negative space. Keep going — there’s a lot more where that came from.
Pumpkin Centerpieces That Take Under 10 Minutes
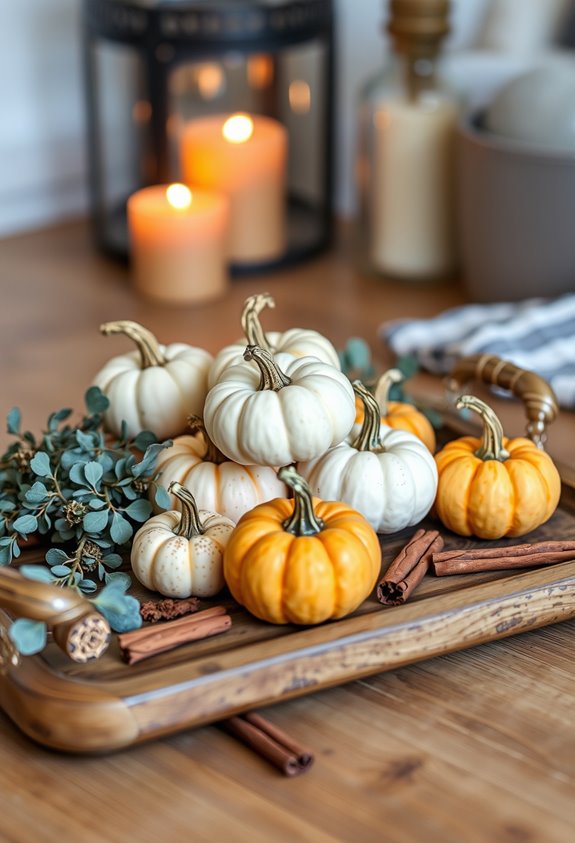
Grab a pumpkin and you’re already halfway there. Seriously, that’s how simple this gets.
Grab a pumpkin and you’re already halfway to a stunning fall arrangement. It really is that simple.
Cut a hole around the stem with a serrated knife, make the opening wide enough to fit a small vase or floral foam insert, and you’re basically done.
Drop in some seeded eucalyptus first — it creates volume fast. Then tuck in roses or whatever focal blooms you’ve got. Give stems a fresh cut before placing them so they actually absorb water. Vary the heights. Done.
No fresh flowers? No problem. Fill a hollow or Styrofoam pumpkin with faux eucalyptus, thistles, and artificial blooms instead. Zero water required. Reuse it next year.
The whole thing takes five to ten minutes. You belong in this — no special skills needed. White pumpkins give you a less traditional color palette that pairs beautifully with teals and greens while still nodding to Autumn.
How to Turn a White Pumpkin Into a Focal Point
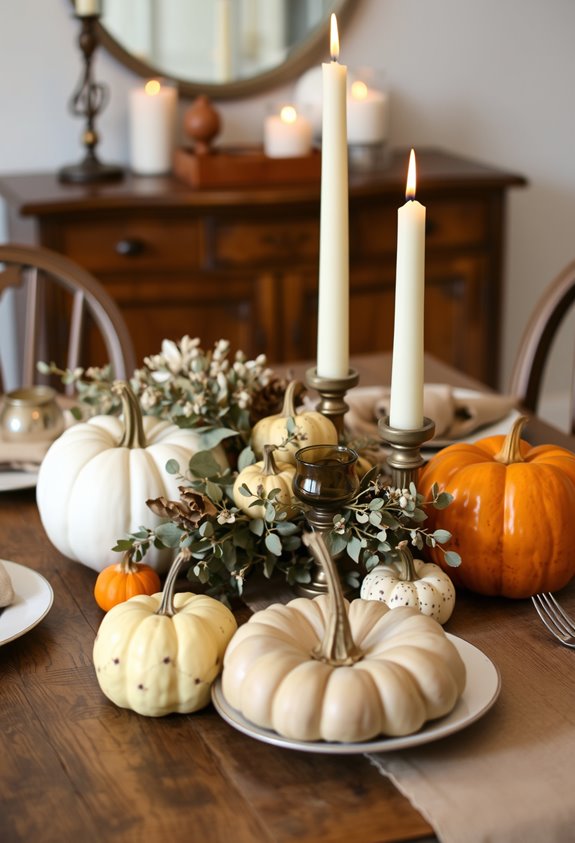
White pumpkins do something orange ones can’t — they make everything around them pop. That clean, pale surface creates high contrast against rich fall colors, and that contrast is what makes people stop and actually look at your table.
Start with a medium white heirloom pumpkin. Cut a wide opening at the top with a serrated knife, scoop out the inside, and keep it dry. Place soaked floral foam inside or tuck in a small watertight cup for fresh stems.
Build from there. Lay down thick greenery first, then add larger blooms, then fill gaps with smaller flowers. Different heights. Different textures. That’s what makes it feel intentional.
Set it on a burlap runner or wooden tray. Suddenly it’s not just a pumpkin. It’s the centerpiece. For extra texture and contrast, tuck in dried hydrangeas and chasteberry branches around the base of the pumpkin.
Candle and Greenery Centerpieces for Small and Large Tables
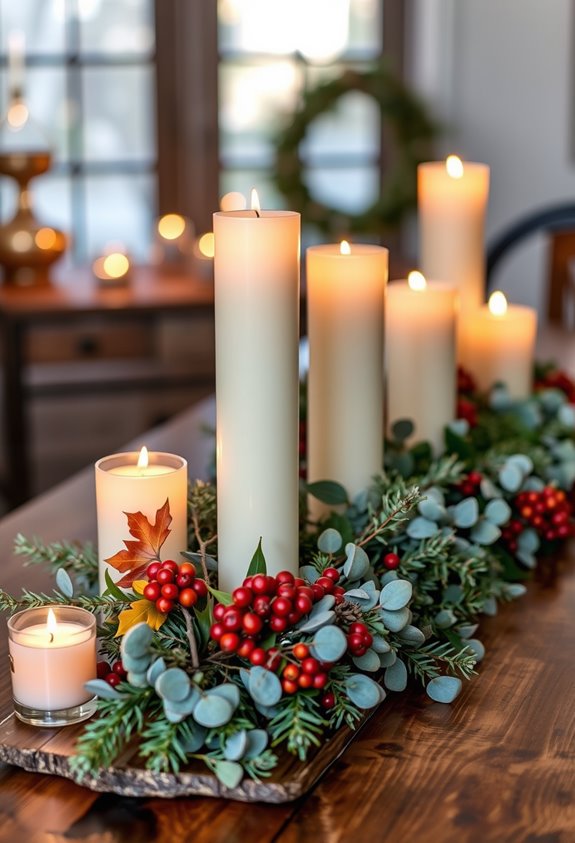
Candles and greenery don’t have to be complicated — but table size changes everything.
Small tables need low-profile arrangements that keep sightlines open. Nobody wants to shout “pass the gravy” across a wall of foliage. Stick to a simple formula: runner, greenery strip, candles, and one or two seasonal accents like mini pumpkins or pinecones. Done.
Larger tables can handle more.
Stretch a continuous greenery runner the full length, then repeat candle clusters along it for visual rhythm. Mix pillar candles, tapers, and votives for height variation — flat arrangements look lazy on a long table.
Both setups start the same way: lay your greenery base first, anchor with your largest piece, then fill gaps with smaller seasonal accents.
Build in sections if needed. It’s genuinely that straightforward. Using multiple colors, shapes, and sizes of candles adds interest and helps the overall arrangement feel finished and intentional.
Budget DIY Thanksgiving Centerpieces That Cost Less Than $20
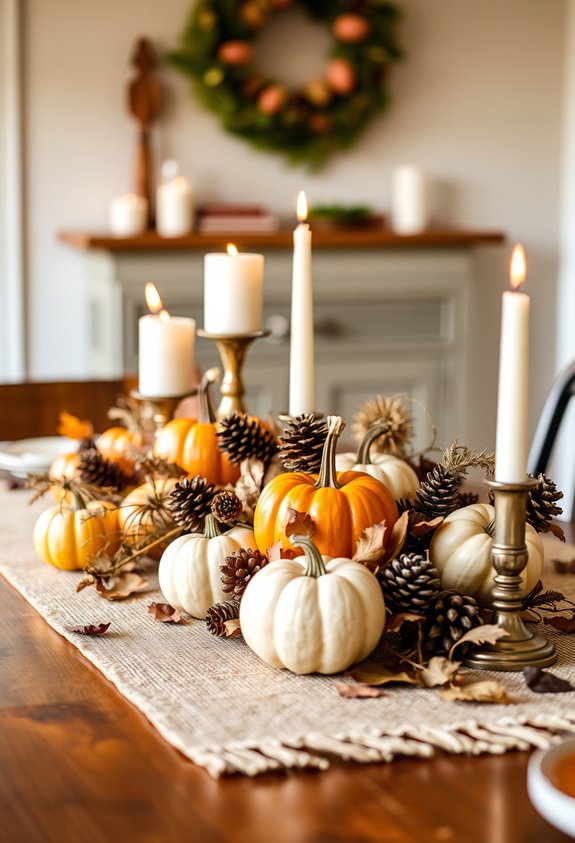
Spending $20 or less on a Thanksgiving centerpiece isn’t a compromise — it’s just smart shopping. Food Network proves it with ideas under $15. TODAY shows you multiple last-minute options under $20. Orison Orchards goes further — some cost nothing. Nothing. You’re not missing out; you’re just not overpaying.
The secret? Stuff you already own. Mason jars, tea lights, twine, a serving tray sitting in your cabinet. Grab some leaves or a handful of beans from the pantry, and you’ve got natural filler that actually looks intentional. Those leftover Halloween pumpkins? Hit them with gold spray paint. Done.
Grouping small candle vessels together creates a full, layered look without expensive florals. Budget centerpieces aren’t lesser. They’re just honest. A plaid scarf or pashmina draped down the center of your table works as a makeshift table runner and costs you absolutely nothing extra.
Dollar Store DIY Thanksgiving Centerpieces That Look Expensive
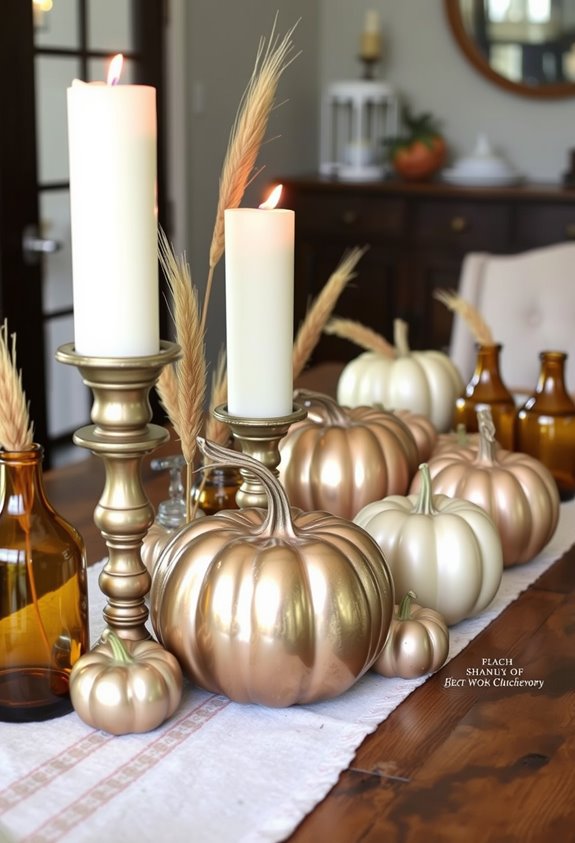
Taking “budget” one step further lands you at the dollar store — and honestly, it hits different. Dollar Tree’s fall section is stacked with everything you need to build something that looks seriously expensive. No joke.
Here’s what actually works:
- Leaf-and-pumpkin runners — layer faux maple garlands flat, then stack ceramic and faux leather pumpkins on top. Add pine cones. Done.
- Wreath-frame centerpieces — grab an 8-inch wire frame, attach 24 deco mesh bundles, glue brown felt on the back. Looks polished.
- Cornucopia arrangements — foam in a clear tray, fill with gourds and eucalyptus. One-sided draping hides the gaps.
- Painted accents — chalk paint transforms cheap pumpkins into custom pieces instantly.
Votive candles and cloth napkins seal the deal. For an extra cozy touch, small votive candles can be made by melting down Dollar Tree candles and repurposing old Oui jars as holders.
DIY Thanksgiving Centerpieces Using Mason Jars
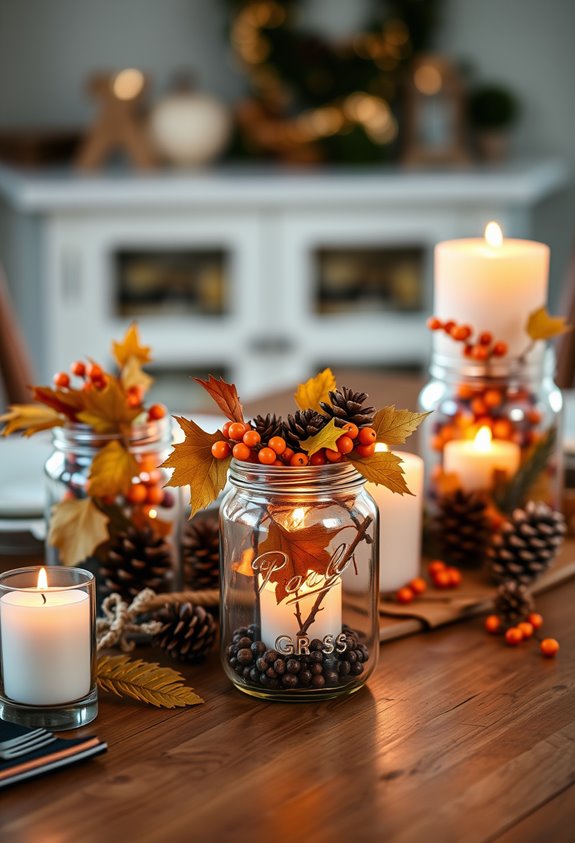
Mason jars are the workhorse of DIY centerpieces — cheap, available everywhere, and basically impossible to mess up. Seriously, if you’ve ever felt intimidated by crafting, this is your format.
The simplest move? Drop cranberries inside, add water, float a candle on top. Done. Or wrap the jar in orange ribbon and jute, hit it with hot glue, and call it rustic chic.
Want something more personal? Paint a chalkboard square, write “FALL” in chalk, tie twine around the neck. Extremely low effort. Huge payoff.
Key tips that actually matter: clean your jar with rubbing alcohol first, use light spray paint coats, and let layers dry between applications. Rushing causes smudging. Don’t rush.
Wide-mouth quart jars work best. Pine cones, wheat, and fake leaves round everything out perfectly. For a more polished look, trace your stenciled letters with a gold paint marker after the spray paint dries.
Grouped Bottles for a Staggered Thanksgiving Floral Look
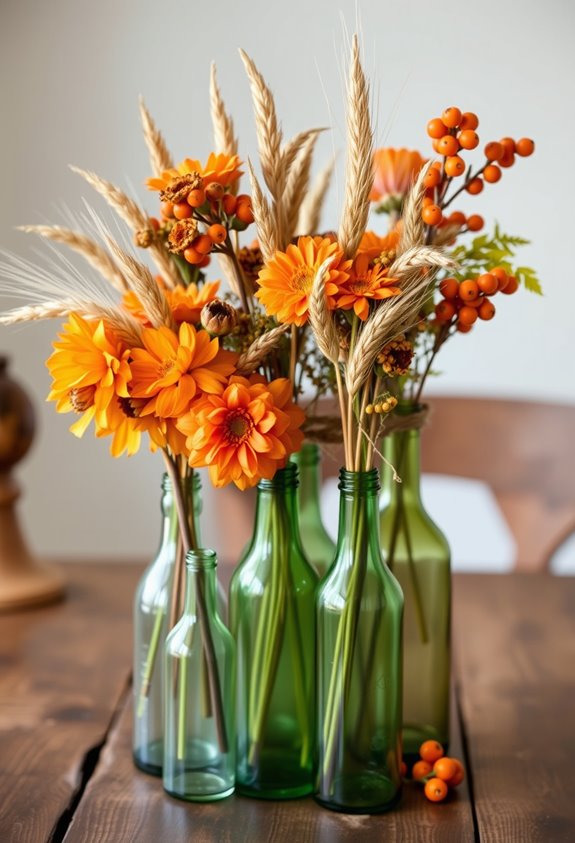
If mason jars feel too obvious, grouped bottles are your next move. Different heights, different shapes, one killer centerpiece.
It’s that simple.
Here’s what makes it work:
- Place the tallest bottle in the center and shorter ones toward the edges for that staggered floral effect.
- Leave space between bottles so greenery and flowers can cascade naturally over the sides.
- Use Boston round bottles for a compact, rustic look that actually photographs well.
- Wrap bottles in twine or raffia for an easy finish that fits right in.
Tuck in some mums, viburnum, and baby’s breath. Done.
No fancy mechanics, no stressing. Grouped bottles create visual length on long tables and feel intentional without trying too hard. You can also fill bottles with dried legumes and herbs to lean into the harvest theme without adding a single flower.
How to Use a Butternut Squash as a Natural Vase
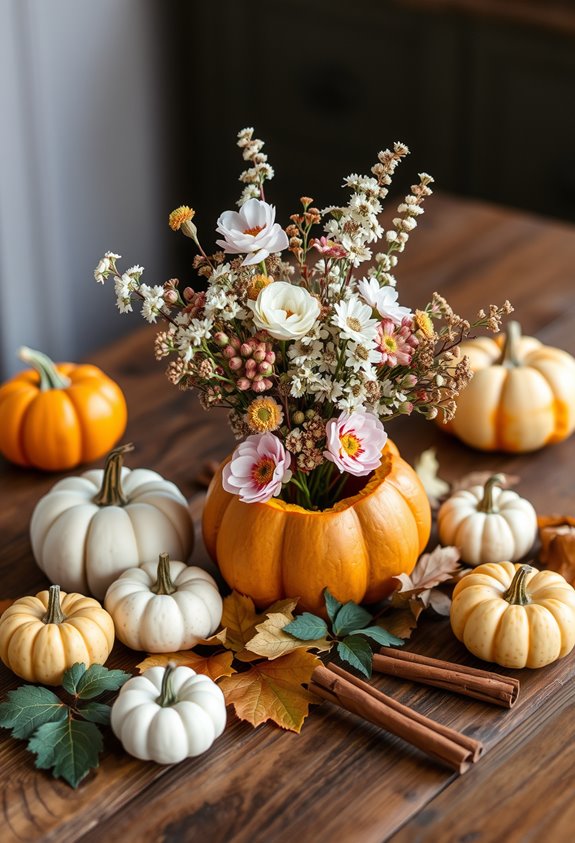
Cut the top off with a sharp knife, then hollow it out until you’ve got a cavity deep enough for water or floral foam. Leave roughly a half-inch wall. Don’t go thinner. You’re not sculpting.
For fresh flowers, you can pour water directly inside or drop in a small glass vial. The vial actually helps arrangements last longer. Floral foam works too, but fair warning — it molds faster because moisture just sits there.
Add sunflowers, dahlias, or cockscombs. Angle-cut your stems. Tuck in greenery. Suddenly, your table feels like fall showed up and meant it. Before any of that, set your squash on a flat surface and cut the top parallel — a level top cut is what makes it actually look like a vase.
The Simple Rules That Make Any Centerpiece Look Intentional
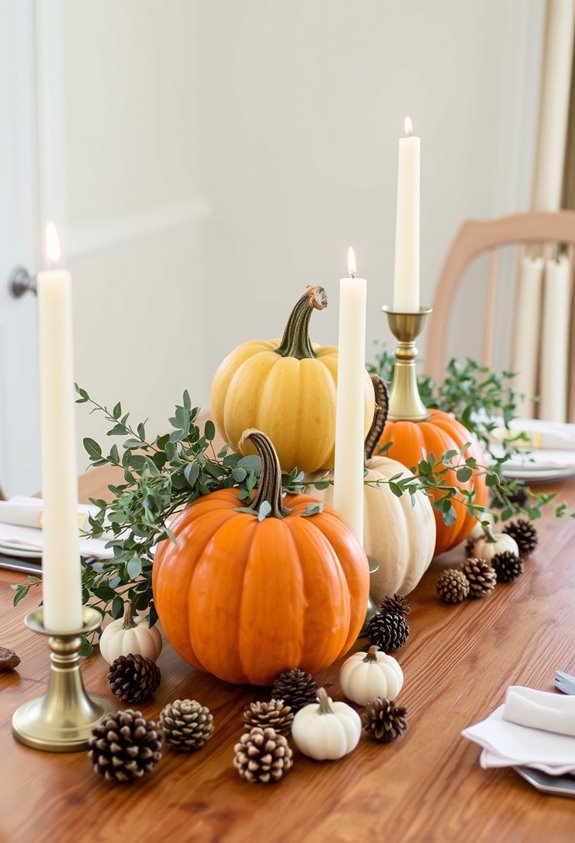
There’s a short list of rules that separate a centerpiece that looks like you tried from one that looks like you knew what you were doing. Spoiler: it’s not complicated.
- Keep it low. Guests need to see each other. Tall centerpieces block sightlines. Simple fix.
- Build one focal point. Start with your largest element, place it center, anchor everything else around it.
- Pick two or three colors. Oranges, creams, greens, browns. Choose a family and commit. Competing colors read as chaos.
- Repeat your materials. Three types of gourds beat twelve different random things. Repetition creates cohesion.
Finish by leaving breathing room between pieces. Negative space isn’t emptiness — it’s intentionality. Pack it too tight and you’ve lost the whole effect. Grounding your arrangement on a rustic tray pulls every individual element together into something that looks deliberately composed rather than loosely scattered.
Frequently Asked Questions
How Far in Advance Can I Make a Thanksgiving Centerpiece?
It depends on what you’re making. Dried or faux elements? You’ve got weeks.
Pinecones, gourds, and mini pumpkins? A few days, easy.
Fresh flowers? Don’t push it — same day or day-before is your window.
Here’s the rule nobody tells you: your most perishable ingredient sets the deadline. Fresh apples as candle holders? Make it the morning of. Build smart, and you won’t scramble.
How Do I Keep Fresh Greenery From Wilting During Thanksgiving Dinner?
Soak your floral foam completely before you start.
That’s it. That’s the secret.
Tuck stems into wet foam or a water-filled container, keep the arrangement away from candles and the oven, and assemble it as close to dinner as possible.
Heat kills fresh greenery fast — don’t underestimate that.
Water-filled floral picks help smaller stems too.
Stay consistent with hydration, and your centerpiece holds up all night.
Can Thanksgiving Centerpieces Be Reused or Repurposed After the Holiday?
Yes, you can absolutely reuse them. Save your structural base first—vases, trays, bowls, baskets, pitchers. Those shift easily into winter or everyday décor.
Remove organic fillers next. Fresh fruit, greens, and flowers? Sort them for eating, composting, or tossing. Keep nonperishable accents like ribbon, twine, and artificial stems. Carved pumpkins, though? Those are temporary. Accept it.
Centerpieces built with removable components give you the broadest repurposing options. Separate the reusable from the disposable, and you’re set.
What Centerpiece Materials Are Safe Around Young Children at the Table?
Imagine a toddler yanking a mason jar off the table. Glass everywhere. Not the vibe.
Stick with mini pumpkins, fresh greenery, and fabric elements like burlap or felt — they’re solid, soft, and won’t shatter.
Skip real candles entirely; flameless LED versions exist for a reason.
Avoid small loose beads or pins — choking hazards, full stop. You want everyone at the table feeling safe and included, not stressed.
How Do I Store Leftover Centerpiece Supplies After Thanksgiving Is Over?
Sort everything before you pack it. Separate reusable from disposable items — don’t save broken pieces out of some misplaced loyalty.
Clean and dry everything completely; mildew doesn’t care about your holiday memories. Wrap fragile décor in tissue paper, use clear labeled bins, and stack heavy stuff on the bottom.
Note what’s missing or broken now, while you remember. Store it all somewhere cool, dry, and dark. Future-you will be grateful.