You’re probably sticking a pumpkin on the porch and calling it a day. That’s fine, but you’re leaving a lot on the table. Pumpkins can work as fresh flower vases, drink coolers, personalized monogram displays, and even wreath foundations. Pick firm ones, wash them with a bleach solution, store them around 50–60°F, and they’ll actually last. There’s a lot more where that came from.
Keep Real Pumpkins Looking Fresh Before You Decorate
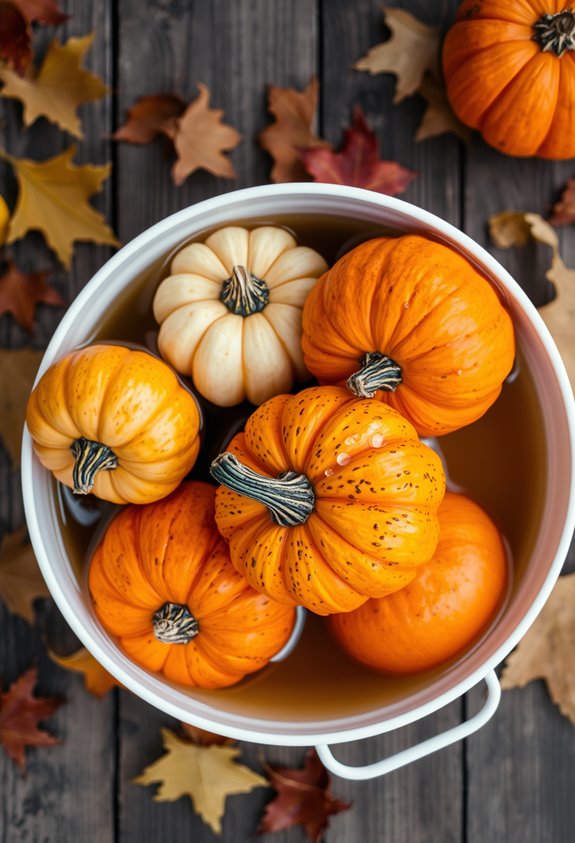
Picking the right pumpkin is half the battle. Skip anything with soft spots, scratches, or bruises — those pumpkins are already losing.
The right pumpkin starts with what you reject — no soft spots, no bruises, no second chances.
You want firm skin, a solid stem, and some weight to it. A stem with a little green still in it? Even better.
Once you’ve got your pumpkin home, wash it. Mix one gallon of water with two tablespoons of bleach and a squirt of dish soap.
That’s it. Scrub it down, then dry it completely. Moisture is the enemy here — don’t skip this step.
Store it somewhere cool, dry, and ventilated. We’re talking 50–60°F.
Keep it off the ground, give it some breathing room, and don’t stack anything on it. After the bleach treatment and drying, applying a coat of matte spray sealer adds an extra layer of protection against surface decay. Treat it right, and it’ll last.
Stack Pumpkins Into Layered Thanksgiving Displays
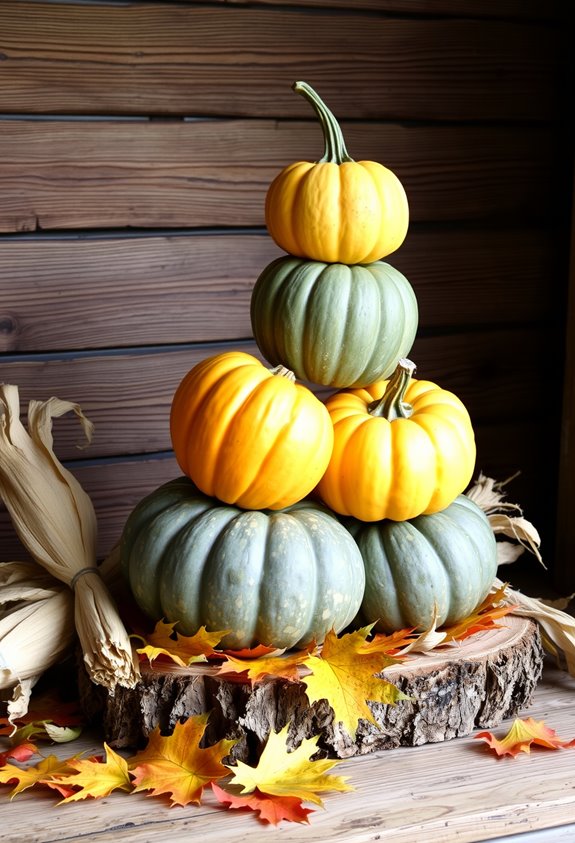
Stack them right, or watch the whole thing topple. Biggest pumpkin goes on the bottom. Always. That’s not a suggestion — it’s just physics.
Work your way up to the smallest piece on top, and you’ve got a tiered display that actually holds together.
Use something grippy between layers. Foam pads, rubber shelf liners, even pine straw work. They keep things from sliding and looking like a disaster by Thursday morning.
Taller stacks belong on porches and entryways. Smaller ones fit mantels and tables. Match the scale to the space, or it’ll look off.
Keep heavy stuff low. Wind and foot traffic are real threats outside. And skip the candles — LED lights are the smarter call for illuminated stacks. If you want a statement piece without the work, pre-stacked options like this one come ready to use at 22 inches tall and weigh nearly 16 pounds, so placement still matters.
Turn a Pumpkin Into a Fresh Flower Centerpiece
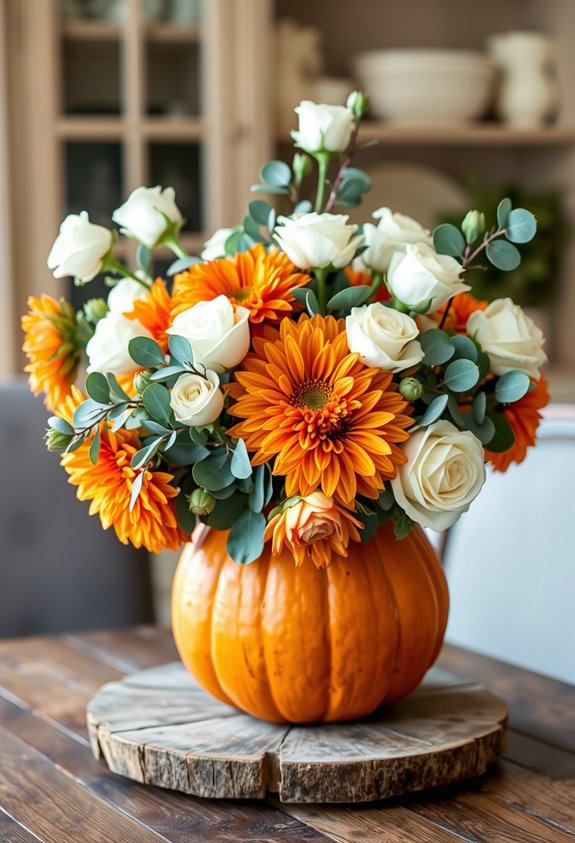
For a centerpiece that actually turns heads, your pumpkin choice matters more than people think. Flat-bottomed pumpkins sit steady and hold floral foam without wobbling. That matters. Nobody wants a lopsided centerpiece sliding across the table.
Cut a circular opening in the top, scoop everything out completely, then line the inside with plastic wrap before dropping in your soaked floral foam. The liner protects the pumpkin and slows moisture damage. Smart, right?
Trim stems short so blooms overhang the edge. Place larger flowers first, then fill gaps with smaller blooms and greenery. Stagger your stem lengths for a fuller look.
Be honest with yourself — you’ll need more flowers than you think. Fresh arrangements typically last three to five days, so plan accordingly. Before adding your floral foam, coat the interior with vegetable oil or petroleum jelly to extend the pumpkin’s lifespan even further.
Paint Pumpkins With Metallic, Copper, and Gilded Finishes
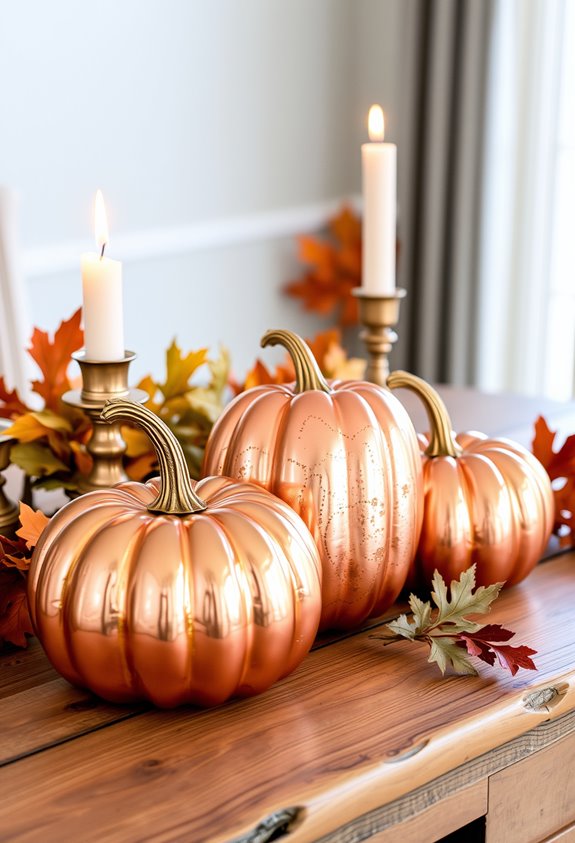
Fresh flowers rotting in a pumpkin not your speed? Metallic finishes are your move. Copper, gold, gilded — these looks are having a serious moment, and they work.
Start with a white or ivory base coat. It makes copper read brighter and more even. Skip it, and you’re fighting the pumpkin’s natural color the whole time. Two coats of metallic paint usually get you to full coverage.
Want something richer? Use a dark undercoat instead. It deepens the copper tone and adds dimension. Sponge darker accents into the grooves for a realistic patina effect.
Mixing copper with gold? Feather where the two colors meet. No hard lines. Seal everything with a clear acrylic spray. Done. Your pumpkins will actually look intentional this year. For an even more elevated finish, press transfer foil sheets onto a tacky leafing adhesive to create a mottled, dimensional metallic effect.
Personalize Pumpkins With Monograms, Tacks, and Stencils
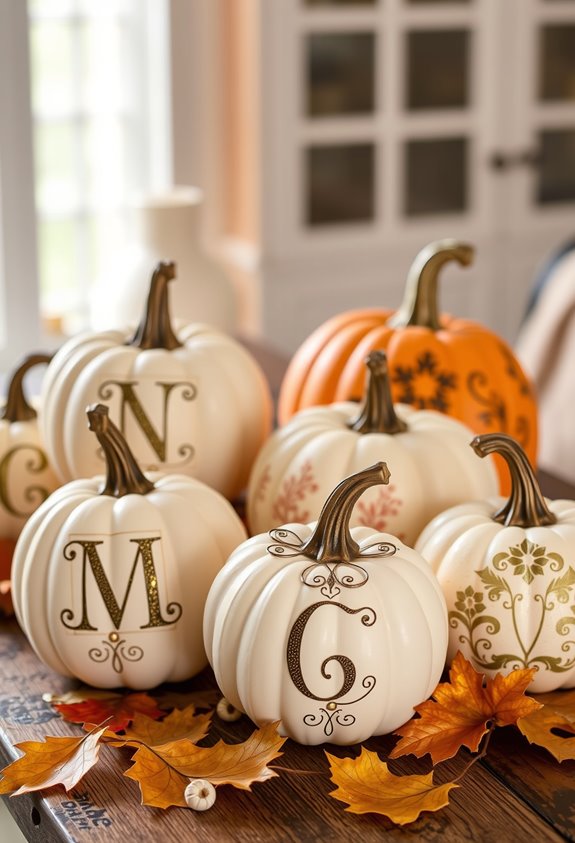
Monograms aren’t just for wedding gifts and towel sets. Your family name deserves a spot on the porch, too.
Start by sizing your letters to fit the pumpkin’s curve — slightly above center works best so nothing disappears around the sides. Vinyl monograms go on with transfer tape and a scraper. Clean finish. Easy win.
Size your letters to fit the curve. Transfer tape, a scraper, clean edges. That’s it.
Want something more textured? Gold thumbtacks outlining a traced letter create a look that’s genuinely impressive. Follow the letter line in uniform rows, starting at the top and working down. Mermaid-scale rows add even more dimension.
Faux pumpkins are your best friend here — reusable surfaces hold adhesives and tacks without drama. White pumpkins make everything pop. High contrast matters. Readability isn’t optional.
For a softer layer alongside the tacks, decoupaged napkin florals pressed on with matte Mod Podge add an elegant finish without competing with the monogram.
Use Mini Pumpkins as Place Card Holders
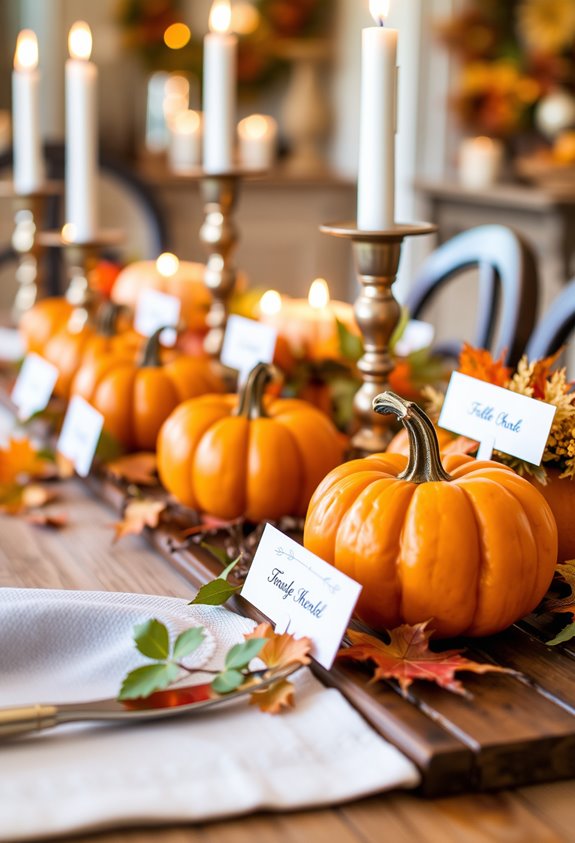
Place cards don’t have to be boring tent cards propped against a water glass. Mini pumpkins do the job better. Slip a name card into a slit cut into the stem, or wrap wire around it to form a small loop. Done. Guests find their seats, feel seen, and the table looks intentional.
Commercial versions come in sets of 4 to 40, made from resin, papier-mâché, or metal wire. Sizes range from just over an inch tall to about 3 inches. DIY versions use real mini pumpkins, roughly 4 inches wide, with kraft paper cards tucked right in.
White, cream, and neutral finishes work for modern tablescapes. These holders pull double duty at buffets too — label dishes, menu cards, or table numbers. Practical and seasonal. That’s a win. For a festive upgrade, sprinkle glitter over the pumpkin before the final coat dries and pick up an assorted glitter set at Dollar Tree to keep costs low.
Hollow Out a Pumpkin for a Drink Cooler
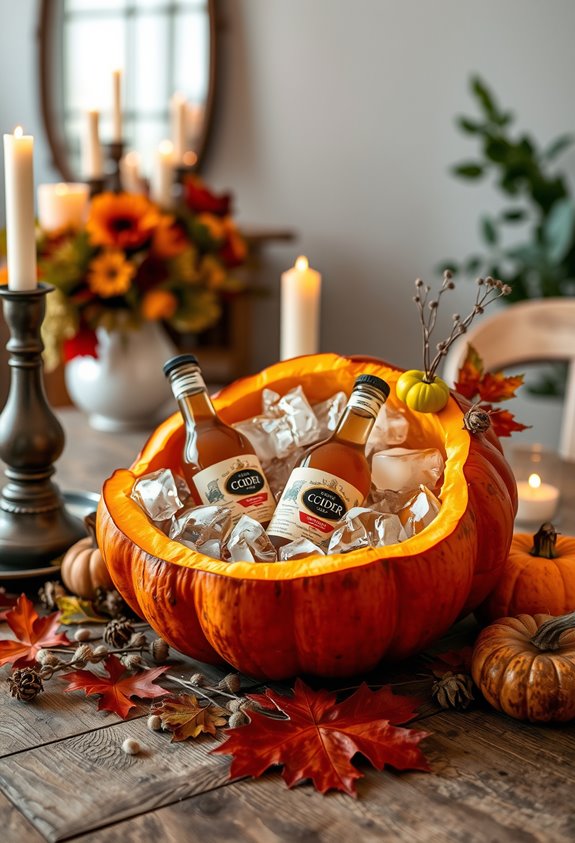
Mini pumpkins hold name cards. Big ones? They hold drinks. Grab the largest, firmest pumpkin you can find — no blemishes, no soft spots. Size matters here because bigger means more room for ice and bottles.
Cut near the top, angling your knife slightly inward so the lid actually sits back on without sliding off. Scoop everything out. Seeds, pulp, all of it. Rinse with cold water, then pat it dry.
Now fill it with crushed ice, cubes, or reusable ice packs. Drop in your sodas, beer, or wine. Done. It’s a cooler and a centerpiece simultaneously — your guests will absolutely notice. Replace the lid snugly between rounds to slow ice melt and keep everything colder longer.
Want drama? Add dry ice and water. It bubbles and smokes for about an hour. You’re welcome.
Build a Pumpkin Wreath That Actually Lasts
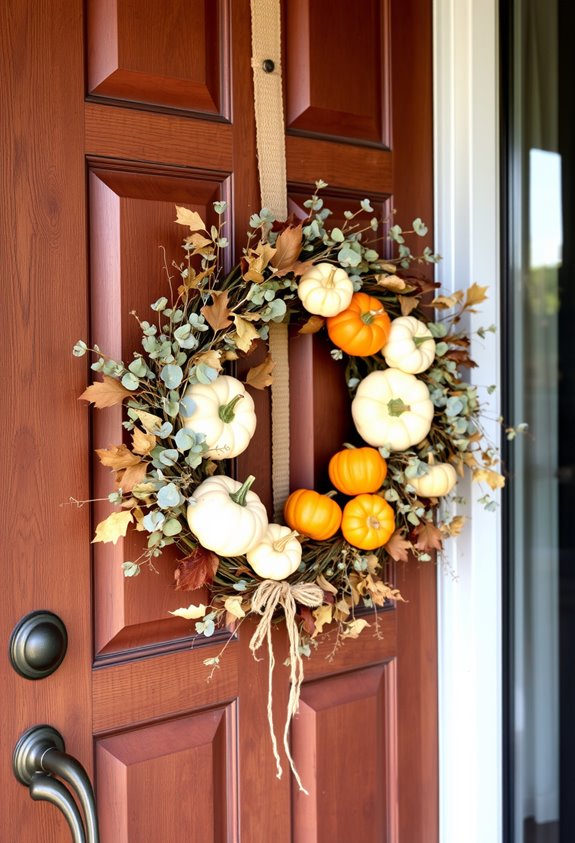
Wreaths fall apart because the build starts wrong. Skip the guesswork and grab a pumpkin-shaped wire frame — it does the silhouette work for you.
Pull your poly burlap mesh tight before you fasten anything. Loose mesh sags. It always sags. Cut your squares consistently, around 10 by 10 inches, and section the body evenly so fullness doesn’t bunch on one side.
Zip ties are your best friend here. Hot glue alone won’t survive a windy porch — trust the mechanical fastening. Use wired ribbon for bows because floppy accents ruin the whole thing. Anchor your decorative stem at the base with floral wire. Attach the bow last so you don’t loosen everything underneath it. Do it right once.
For a different approach, a grapevine wreath base gives you a natural, dimensional foundation you can press decorated foam pumpkins directly into using hot glue.
Light Up Your Thanksgiving Table With Pumpkin Lanterns
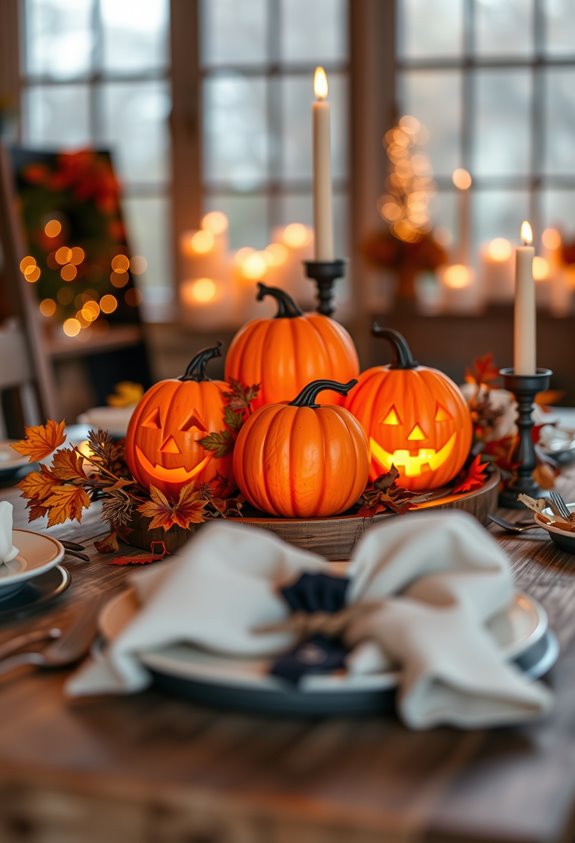
Candles look great until they drip wax on your grandmother’s tablecloth or tip over mid-dinner. Skip them entirely. Battery-operated LED lights give you that warm, flickering glow without the chaos. Bonus: no cords snaking across your table. Plastic pumpkins make this stupidly simple — just drop in a glow stick or tap light from below. Done.
Want something that feels more intentional? Try a wooden pumpkin lantern with an LED tea lamp inside. Filigree-style cutouts cast elegant patterns across your table. Vellum diffuses the light beautifully if you’re working with paper or cardstock versions.
Solar options work too, but they need real daylight hours to perform at night. Your windowsill isn’t a charging station. Plan accordingly. Small formats fit tables. Big porch pumpkins don’t. Simple as that. For a quick outdoor setup, slide a solar light stake through a hole cut in the bottom of a plastic pumpkin and place it somewhere it gets full sun during the day.
Frequently Asked Questions
Can Fake Pumpkins Be Used for Thanksgiving Decorations Instead of Real Ones?
Yes, fake pumpkins work perfectly for Thanksgiving. And no, you’re not “cheating” by skipping real ones. Artificial pumpkins are literally made for this holiday — centerpieces, mantels, wreaths, bowl fillers.
They come in orange, white, and gold, so you’ve got options. They won’t rot, won’t mold, and you can reuse them every year.
Real pumpkins offer natural texture and scent, sure. But fake ones? They just work.
How Do You Store Pumpkin Decorations After Thanksgiving Is Over?
Sort your decorations first — table decor, outdoor items, textiles, trinkets. Don’t just shove everything in a box.
Use clear bins with lids so you can actually see what’s inside next year. Label them, or use color-coded bins to separate Thanksgiving stuff from other seasonal decor.
Wrap fragile items in bubble wrap or tissue. And store everything somewhere dry — basements, attics, and garages can harbor moisture that destroys paper, wood, and fabric.
Plan ahead.
Where Is the Best Place to Buy Decorative Pumpkins for Thanksgiving?
Amazon’s got 40,000+ pumpkin decoration results — yeah, that’s a lot of gourds. If you want sheer variety, start there. Target and Michaels keep curated Thanksgiving decor sections that make coordinating easier.
Want something premium? Plush Pumpkin sells velvet sets that feel genuinely special. For natural pumpkins, hit your local farm, farmers market, or grocery store. Know what you need first. That decision makes everything else simple.
Are There Pumpkin Decor Ideas That Work for Both Halloween and Thanksgiving?
Yes, and it’s easier than you think. No-carve designs are your best bet — they don’t scream “Halloween” or “Thanksgiving,” they just say *fall*.
White and black pumpkins pull double duty effortlessly. Plaid and striped pumpkins? Totally holiday-neutral. The trick is small accessory swaps — add spiders for October, swap in ribbon and faux leaves for November. Same pumpkin, two holidays. Faux pumpkins make this even simpler since they don’t rot.
Can Children Safely Help Create Any of These Pumpkin Decoration Projects?
Yes, kids can absolutely help. Think painting, stickers, foam cutouts, and tissue paper designs — all safe, all fun.
No carving, though. That’s sharp tools territory, and it’s not worth the risk. Hot glue guns? Keep those away too.
For tiny ones under three, finger painting’s your best bet. Stick to washable, non-toxic materials, and you’ve got yourself a craft session that actually works for everyone.