You don’t need a knife to make a Halloween pumpkin worth talking about. Skip the carving altogether — paint it, drill it, stack it, or glue stuff on it. Chalk paint, metallic acrylics, googly eyes, hot glue, and a handful of pine cones can do more than you’d think. Preserve it right and it’ll outlast any carved pumpkin by weeks. Every creative approach you need is just ahead.
Design Highlights
- Chalkboard paint transforms pumpkins into reusable surfaces; apply two coats, let dry overnight, then draw and wipe designs seasonally.
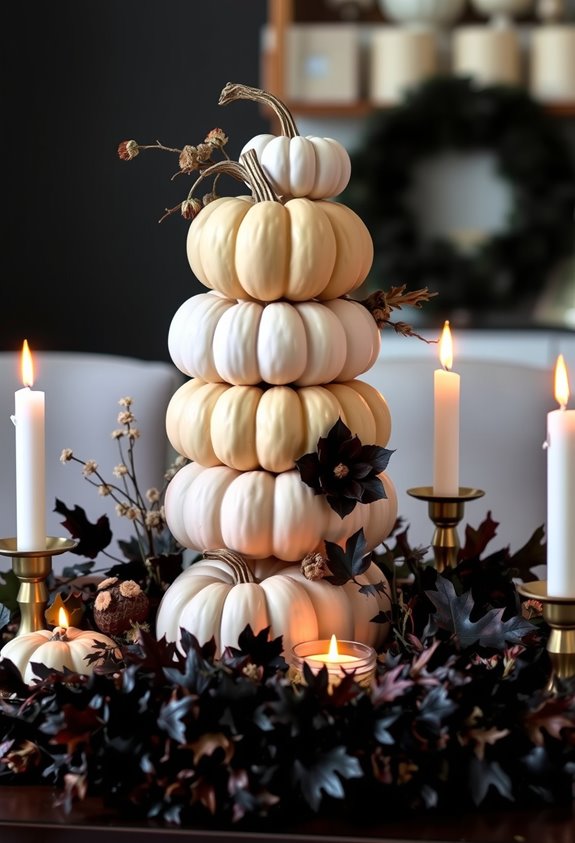
- Stack pumpkins largest-to-smallest using hot glue, mixing orange, white, and neutral tones to build eye-catching layered character displays without carving.
- Drill geometric light patterns into medium-to-large pumpkins, positioning LED strings behind holes for a glowing, knife-free luminaria effect.
- Mini pumpkins work as luminarias: hollow out seeds, insert LED tealights, punch holes, and thread twine for hanging garlands.
- Incorporate natural elements like pinecones, burlap ribbon, and raffia alongside heirloom pumpkins for a textured, rustic Halloween display.
Choose a Pumpkin That’s Actually Easy to Decorate
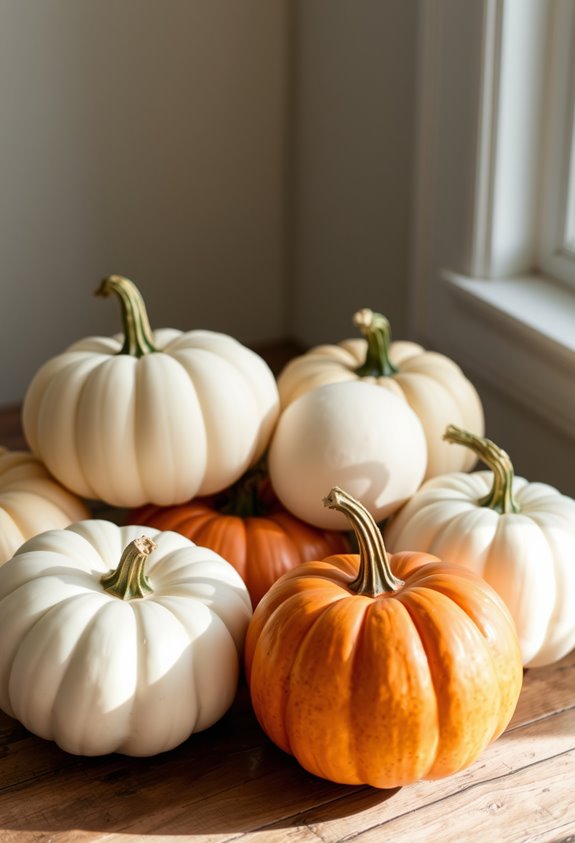
The pumpkin you pick matters more than you’d think. Skip the soft spots. Skip the grime. A firm, clean, completely dry surface is your starting point — without it, paint smears, glue slides, and your whole design suffers.
Nobody wants that.
Shape counts too. Round pumpkins handle repeated patterns evenly. Wide ones suit face designs and layered looks. Medium-size pumpkins give you enough real estate for stencils and lettering without overwhelming you. Mini pumpkins? Incredibly flexible — group them, stack them, tuck flowers in.
Surface color matters. White pumpkins make dark designs pop. Orange works beautifully with high-contrast shapes. Black pumpkins let metallics and florals shine.
A quick scrub with a damp cloth or vegetable brush beforehand. That’s genuinely all the prep you need. For painted designs, acrylic paints are recommended for best results and easiest clean-up.
Paint Your Halloween Pumpkin With Chalk or Metallic Acrylics
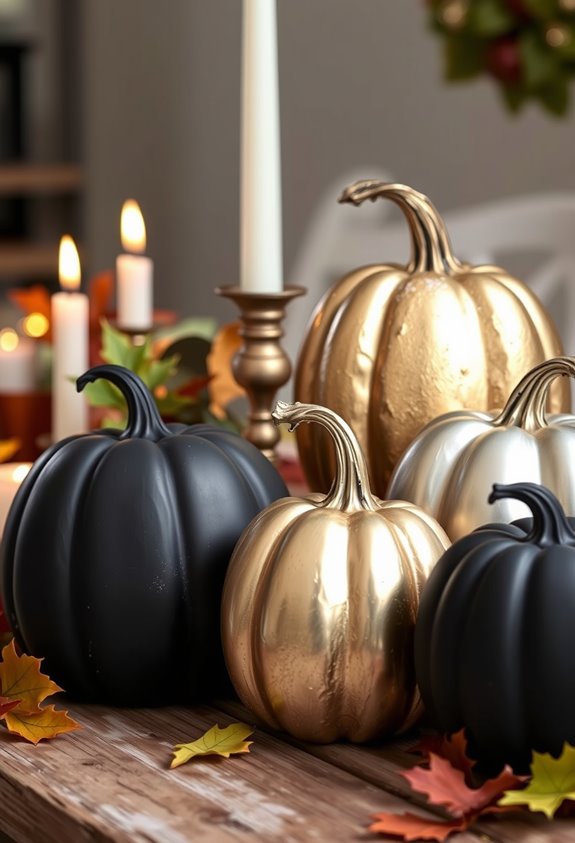
Chalk and metallic acrylics do very different jobs on a pumpkin — and knowing which one you’re working with changes everything.
Chalkboard paint turns your pumpkin into a reusable surface. Two coats, overnight drying, done. Then you draw, wipe, redraw. It’s genuinely flexible. Chalk markers go on top for sharper, more opaque lines — think clean Halloween faces, crisp details. Activate them first by shaking and pumping the tip. Light pressure only. Smearing is real and it’s annoying.
Metallic acrylics are a different animal entirely.
Gold on the stem, accent touches here and there. They’re not your writing surface — they’re your finishing move. Three layers for solid coverage. Dark metallic tones pop best against lighter chalk bases. That contrast is what makes the whole thing feel intentional.
For pumpkins you want to keep year after year, reusable small pumpkins and gourds are the smarter starting point — wipe the designs clean with a damp cloth and repaint the surface when you’re ready to start fresh.
Which Paint Patterns Work Best on Halloween Pumpkins?
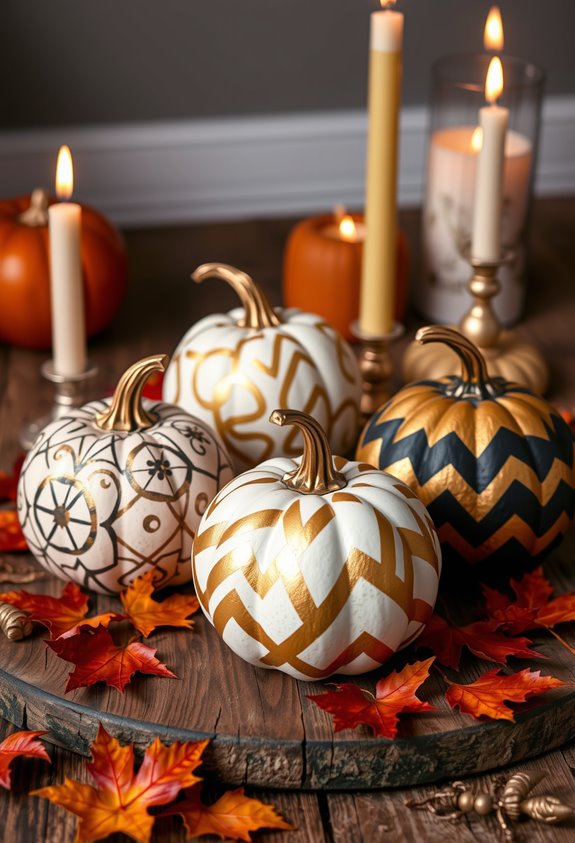
Patterns make or break your pumpkin. Stripes are a solid starting point — paint along the natural rib lines and you’ve got something that actually reads from a distance. Alternating thick and thin stripes adds rhythm. Uniform stripes? Boring. Step it up.
Stripes work. Paint the ribs, vary the widths, and you’ve already got something worth looking at.
Spiderwebs are everywhere for a reason. Curved lines between ribs follow the pumpkin’s shape and look convincing. Add a small spider accent or it just looks like abstract scribbling.
Splatters bring energy. Do it outside. Drip patterns work best with thin paint layers — heavy coats run and ruin the whole effect.
Check patterns need precision. Tape, dry completely, remove carefully. Rushing it costs you the whole design.
Black on white graphics? High contrast, classic, effective. You’ll fit right in. For a more dimensional take, long strips of tape can be arranged into a spider-web pattern, spray-painted over, then peeled off to reveal a clean graphic design.
Style Your Halloween Pumpkin With Rustic Natural Elements
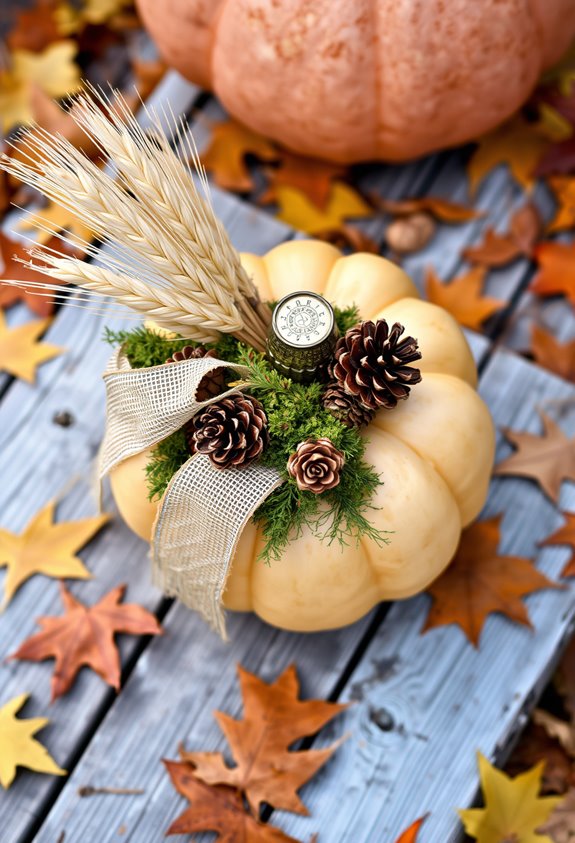
Rustic Halloween style isn’t about perfection — it’s about leaning into what’s already imperfect. Grab the weird, lumpy heirloom pumpkins. The ugly ones. Those irregular shapes and muted tones do more work than a perfectly round pumpkin ever could.
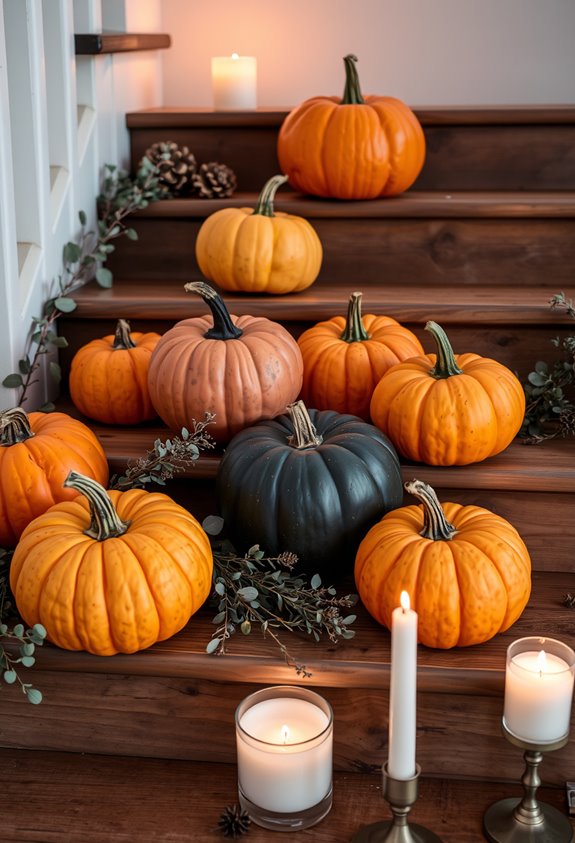
Layer in the details that feel lived-in. Pinecones, acorns, twigs, wheat — scatter them around your pumpkins like they belong there. Because they do. Burlap ribbon, jute, raffia — these coarse textures make everything feel grounded and intentional. Not overdone. Just real.
Your mantel, porch, or table centerpiece becomes something people actually connect with when it looks natural. Wicker baskets, wooden crates, fall foliage in deep reds and golds — it all ties together. Warm, earthy, cohesive. That’s the point. No forced perfection required. Pumpkins work just as well painted, carved, or displayed as is, giving you full control over how rustic or refined the final look feels.
Layer Halloween Pumpkins of Different Sizes for More Dimension
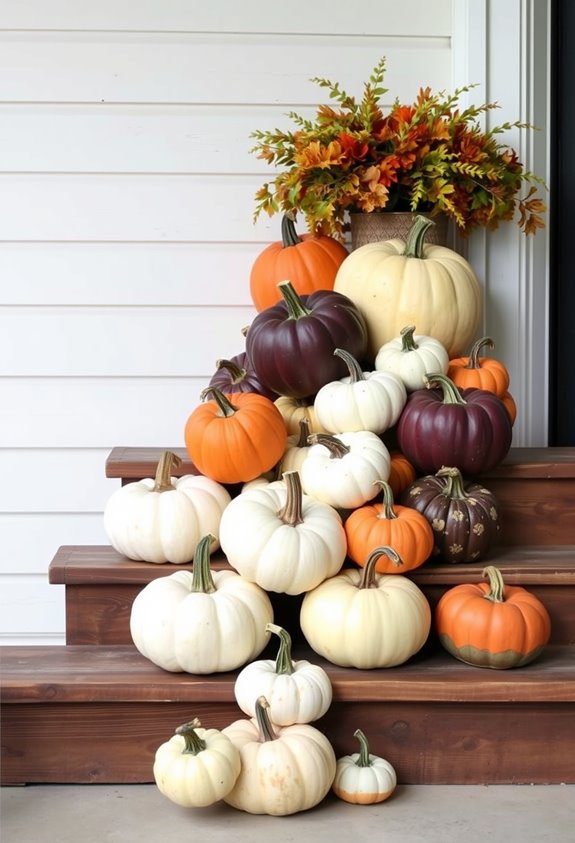
Once you’ve nailed the natural, imperfect look, sizing becomes your next lever to pull. Layering pumpkins of different sizes adds real depth — and no, matching sizes doesn’t cut it. Variety is the whole point.
Start with your two or three largest pumpkins at the base. Work upward with progressively smaller pieces. The eye naturally travels up through the size changes, landing on a clear focal point. That’s visual hierarchy doing its job.
Hot glue holds everything together. Apply it to the bottom of each upper pumpkin before pressing it onto the layer below. Want more height? Mount the whole stack on a terracotta pot base.
Mix orange, white, and neutral tones. The color contrast makes the size graduation pop even harder. For a moodier take, swap in gray and white heirloom pumpkins arranged asymmetrically to shift the whole feeling of the display.
How to Build a Halloween Pumpkin Centerpiece for the Table
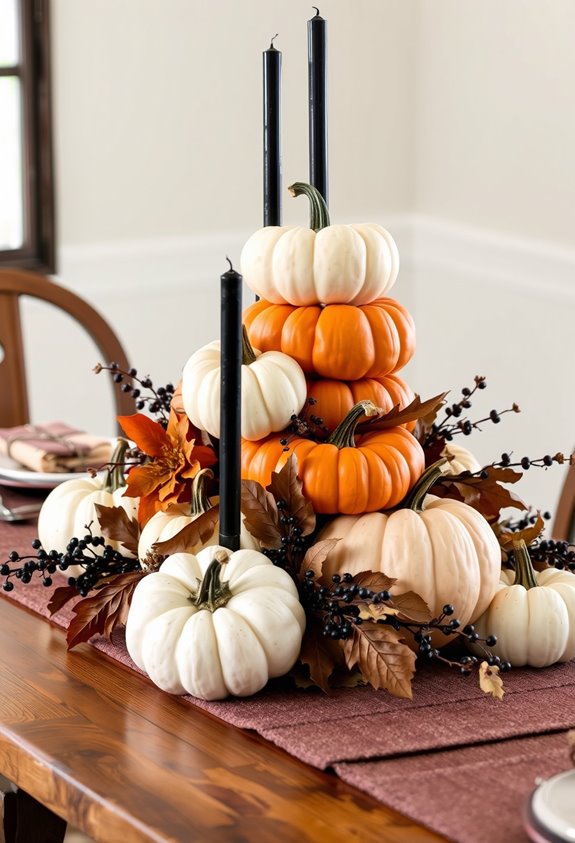
Table centerpieces live and die by one rule: don’t block the conversation. Keep everything under 14 inches tall unless your design is slim and vertical. Nobody wants to crane around a pumpkin tower to talk to their guest across the table. That’s just bad hosting.
Start with one anchor — a large pumpkin, a candelabra, something with presence. Build around it. Layer smaller pumpkins and gourds close in, not scattered randomly like an accident happened. Use a round tray or wooden board to contain the whole thing visually.
Mix textures. Matte and glossy finishes together instantly look more intentional. Tuck in LED tea lights at the base for a soft glow. Add cinnamon sticks or eucalyptus for scent. Small details make everything feel finished.
If you want to skip carving entirely, try detailing your pumpkins with white lace appliqué for an elegant, mess-free alternative that still commands attention on the table.
Turn Mini Halloween Pumpkins Into Candlelit Luminarias
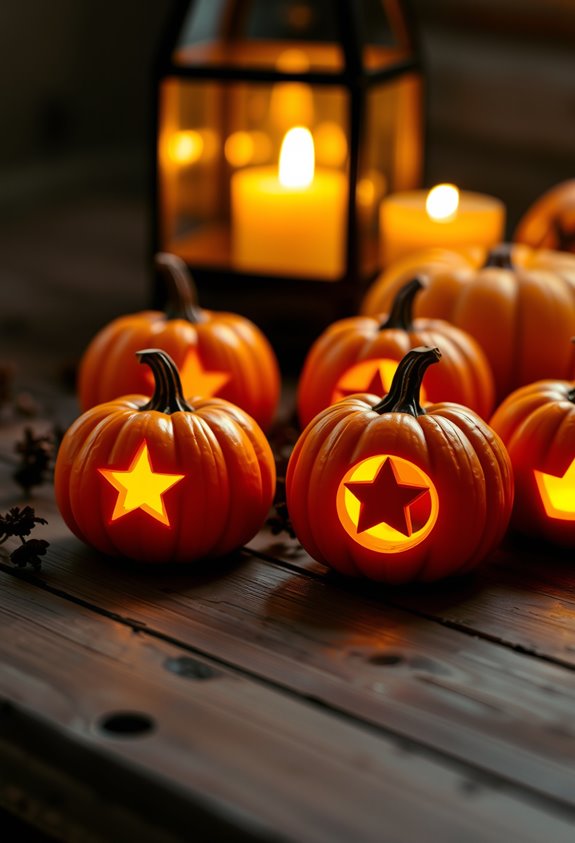
Move the centerpiece thinking off the table and onto a string. Mini pumpkins make surprisingly solid luminarias, and the process isn’t complicated. Slice off the stem top, hollow out the seeds and pulp with a metal spoon, and drop in an LED tealight. Done.
For a garland setup, punch two holes near each pumpkin’s opening and thread twine through them and out the stem hole. Budget about two feet of twine per pumpkin, with roughly one foot between each one. It keeps spacing clean and consistent.
If the glow looks weak, add more holes. Simple fix. Real votives burn brighter but carry obvious risks. LED tealights are just smarter. Hang the finished string along a windowsill or anywhere that needs a warm, spooky glow.
Drill Holes Into Your Halloween Pumpkin for Glowing Light Patterns
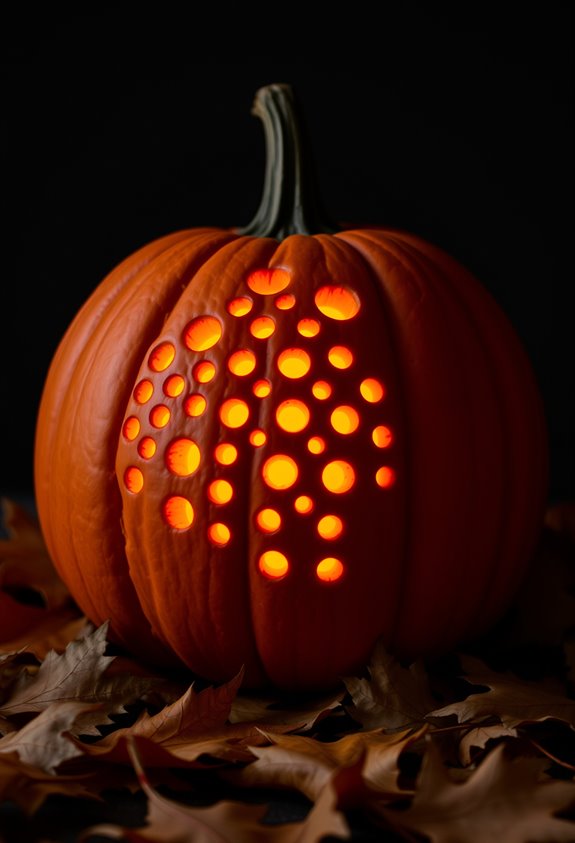
Drilling holes into a Halloween pumpkin sounds deceptively simple—and it mostly is, but preparation makes or breaks the result. Pick a sturdy, medium-to-large pumpkin. Cut the bottom off—not the top—so the cut line stays hidden. Scoop it clean, scrape the walls smooth, and dry the exterior. Moisture causes bit slip. Don’t skip that step. After drilling, use a wood skewer to knock away any tiny foam clinging to each hole for a cleaner finish.
Here’s what actually shapes your results:
- Bit size sequence — Go smallest to largest for control and varied light intensity.
- Hole spacing — Keep holes about ½ inch apart so the pumpkin doesn’t fall apart on you.
- Lighting choice — LED strings positioned behind each hole create the cleanest glow.
Hold the drill perpendicular, apply steady pressure, and let the bit work. You’re not forcing anything.
Turn Your Pumpkin Into a Character Without Touching a Knife
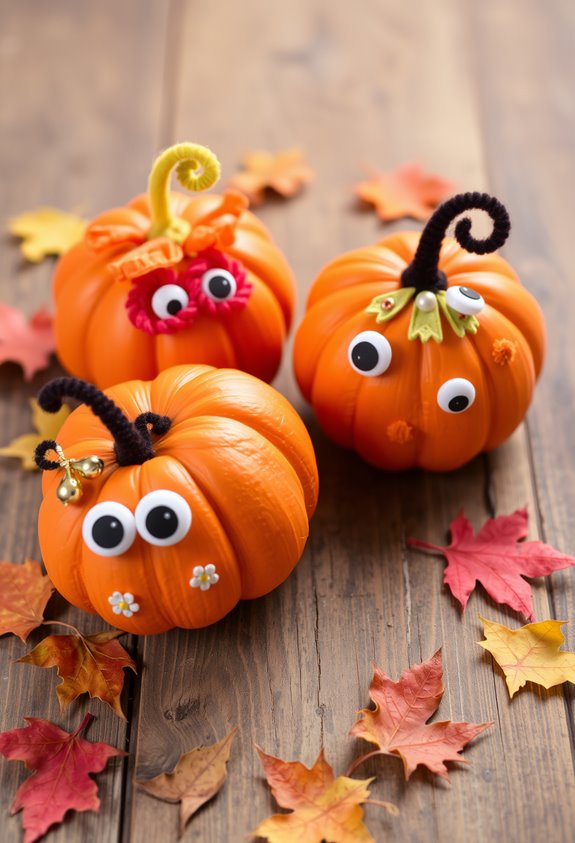
Carving gets all the credit, but you can turn a plain pumpkin into a full character without ever picking up a knife. Googly eyes. Done. Seriously, that’s a legitimate starting point. Add rhinestones, buttons, or sequins for a mouth, and you’ve already got something with personality.
Paint takes things further. Acrylic and painter’s tape let you block out a witch, cat, or monster with clean, sharp edges. Stencils help if your freehand skills are questionable—no shame there.
Want texture? Hot glue pine cones as brows or wrap the whole thing in gauze for a mummy look. Stack multiple pumpkins together and you’ve built an actual character figure. No blade required. Just glue, paint, and a little commitment. No-carve pumpkins also last significantly longer than carved ones, so your character stays intact well past Halloween night.
Keep Your Halloween Pumpkin Decorations Looking Fresh Longer
All that work decorating your pumpkin means nothing if it’s rotting by October 28th. Nobody wants that.
Here’s what actually works:
- Clean it first. Wash with mild dish soap, then soak in a bleach-water bath — about two tablespoons of bleach per gallon of water. Bacteria hate that.
- Seal it up. Once it’s completely dry, apply two coats of clear enamel spray. Petroleum jelly works too, especially on scrapes or exposed edges.
- Mind the location. Keep it cool, dry, and away from radiators or fireplaces. Seriously. Heat kills pumpkins fast.
Uncarved pumpkins can last months with proper care. Carved ones? Three to five days without help. Store them right, and you’ll hit Halloween looking like a pro. For extra protection on carved pumpkins, spray the entire interior with a mixture of two pints of water and one tablespoon of peppermint oil to slow decomposition and keep pests away.
Frequently Asked Questions
Can You Decorate a Pumpkin With Decoupage Patterned Paper?
Yes, you can absolutely decoupage patterned paper onto a pumpkin! You’ll apply Mod Podge, smooth your favorite paper over the surface, then seal it with another coat. It’s a creative way to belong to the crafting community!
What Base Works Best for Displaying Pumpkins on a Table?
Like a steady handshake, a flat-topped pumpkin on a wooden tray gives you the most stable base. It’ll keep your display secure, define your space, and tie your whole seasonal arrangement beautifully together.
Can Pumpkins Be Used With Glass Hurricanes for Candlelit Displays?
You can absolutely pair pumpkins with glass hurricanes for beautiful candlelit displays! Place a hurricane inside or alongside your pumpkins to create a warm, glowing focal point that’ll make your seasonal arrangement feel cozy and inviting.
How Do You Add Three-Dimensional Character Features to a Pumpkin?
You’ll create jaw-dropping, lifelike features by removing skin to expose lighter flesh, carving layers at varying depths, and using gouges and V-tools to define eyes, brows, lips, and wrinkles with crisp, dimensional detail everyone will admire.
What Halloween Phrases or Monograms Work Well on Decorated Pumpkins?
You’ll love phrases like “Creep it real,” “Gourd times ahead,” or “Resting witch face” on your pumpkins! Try monograms paired with “Boo” or “Witch” to keep your squad’s display festive, fun, and totally on-theme.
Conclusion
Your pumpkin display doesn’t have to be a sad, carved mess on the doorstep. Paint it. Stack it. Drill it. Wrap it in moss and call it art. These ten ideas prove you’ve got a million ways to make your Halloween setup unforgettable without ever picking up a carving knife. Mix techniques, experiment with sizes, and don’t overthink it. The best displays happen when you just commit and go for it.