A stunning Halloween dessert table starts with one committed theme — then everything else follows. Pick your colors, match your linens, build height with hidden risers, and make your centerpiece dessert the undeniable star. Fill gaps with candy jars, creepy accents, and layered lighting. Label treats with punny names, pre-portion bags for easy cleanup, and keep décor from upstaging the food. Nail these nine elements and your table looks intentional, not accidental. There’s a lot more worth knowing here.
Design Highlights
- Choose a single Halloween theme (classic spooky, playful cute, or elegant fall) to unify colors, props, and desserts cohesively.
- Layer linens, runners, and fabric textures to build a rich, visually dynamic base beneath your dessert display.
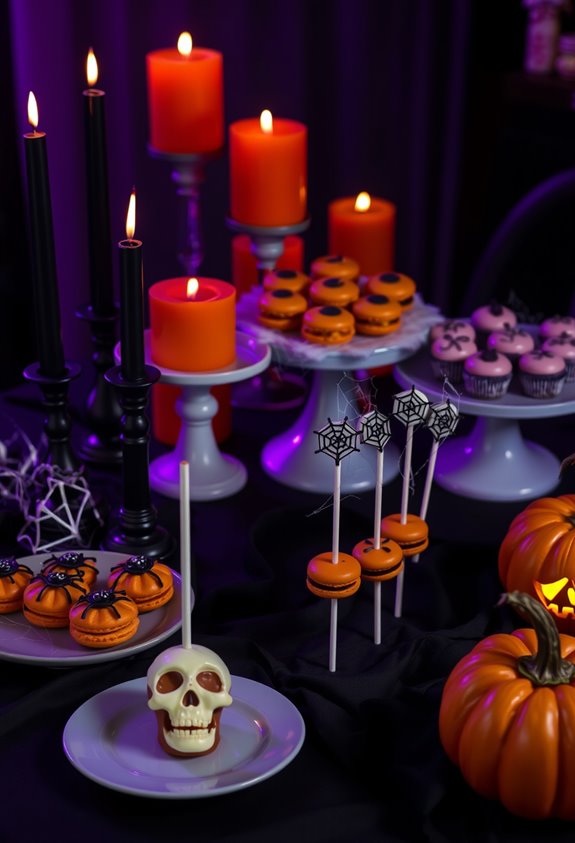
- Create height variation using hidden risers, cake stands, and tiered trays arranged tallest-to-shortest for an intentional layout.
- Feature one centerpiece dessert as the star, surrounding it with complementary decor that enhances without overpowering it.
- Use themed labels with puns or spooky names to identify treats quickly and add memorable personality to the table.
Pick a Halloween Theme Before Anything Else
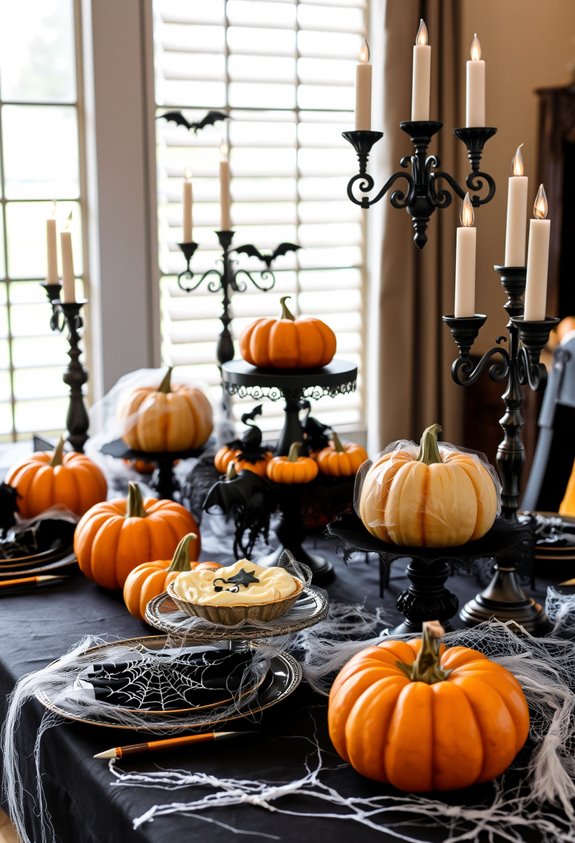
Before you buy a single plastic skull or bag of candy corn, pick a theme. Seriously. It’s the one decision that holds everything else together. Classic spooky. Playful cute. Elegant fall. Pick one and commit.
A defined theme does the heavy lifting for you. It narrows your color choices, guides your dessert picks, and tells you exactly which serving pieces belong on that table. Without it, you’re just throwing stuff out and hoping it lands. Spoiler: it won’t.
Your theme also needs to match your crowd. Family gathering? Go bright and fun. Adult party? Go dark and moody. The table should feel intentional, not like a Spirit Halloween clearance bin. Theme first. Everything else follows. For example, a playful family theme pairs perfectly with purple and green color schemes anchored by honeycomb balls and paper lanterns for a cohesive, festive look.
Set Your Halloween Dessert Table With Spooky Linens
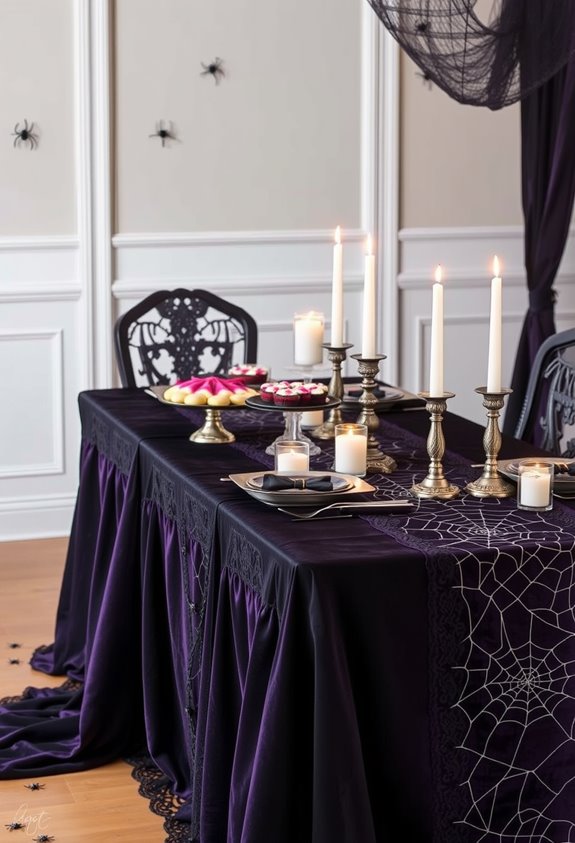
Your linens set the tone before a single cupcake hits the table. Black napkins folded into bat shapes? Instant atmosphere. White linen draped loosely? Ghost energy without trying too hard. It’s that simple.
Start with a monochrome or neutral tablecloth as your base. From there, layer. Seriously, don’t skip the layering. It adds depth and prevents your table from looking like a sad buffet situation.
Lace trims and velvet details push the vintage, haunted-house vibe further. Dried branches and organic elements pair naturally with linen textures. They belong together.
Dark linens make candles and pumpkins pop. White linens keep desserts visible and bright. Either way, your fabric choices should support the sweets — not compete with them. That’s the whole point. For a dramatic effect without committing to an entirely new tablecloth, a runner featuring Halloween motifs or black lace detailing threads atmosphere through the whole setup effortlessly.
Build Height Across Your Halloween Dessert Table
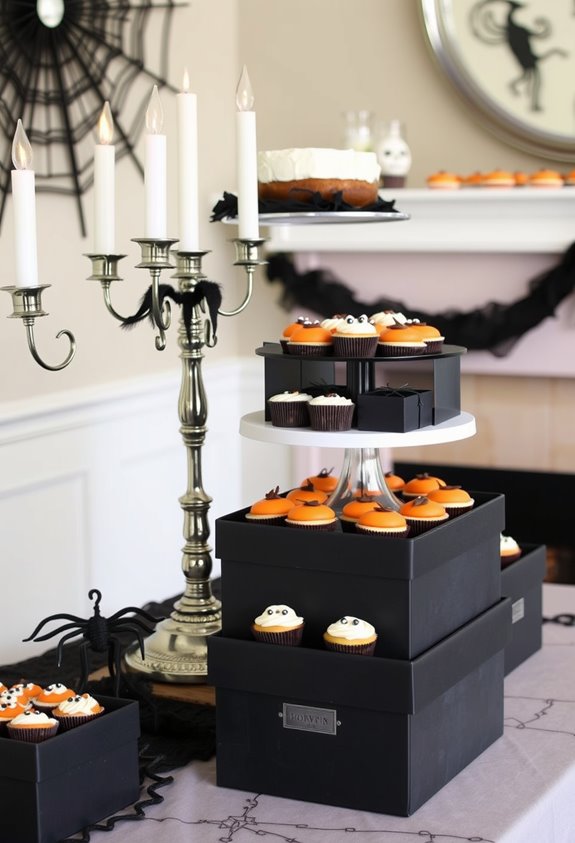
A flat dessert table is a boring dessert table. Nobody wants that. Height transforms your spread from “meh” to memorable, and it’s easier than you think.
Start with your tallest piece at the back center — that’s your anchor. Everything else builds outward and downward from there.
You don’t need fancy equipment either. Grab what you have:
- Boxes, books, or crates hidden under tablecloths work perfectly as risers
- Cake stands elevate cupcakes and cakes so they’re actually visible
- Upside-down bowls under trays create instant elevation for free
Work back-to-front, tallest to shortest. Keep shorter treats up front so guests can actually reach them.
Layered heights make your table feel fuller, more intentional, and honestly — like you knew exactly what you were doing. Serving dishes in varied sizes and heights — think platters, cake stands, and small bowls — are the key supplies to have on hand when building that layered look.
Make Your Halloween Dessert Table Treats the Star
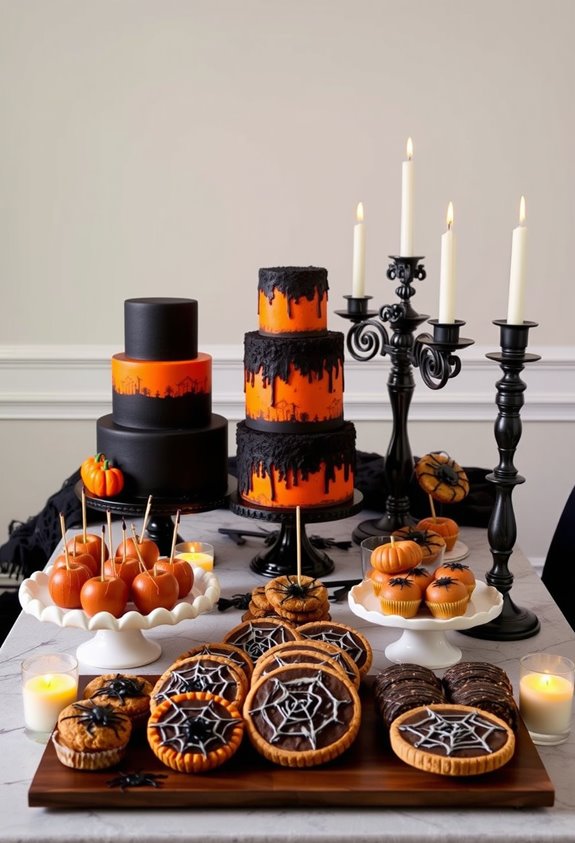
Everything else on your Halloween dessert table exists to frame the food — not compete with it. Pick one themed centerpiece dessert — a cake, mini cake tower, or cupcake arrangement — and make it the obvious star. Put it where everyone can see it. Simple.
From there, repeat one or two dessert motifs across the table so the whole display feels coordinated, not chaotic. Ghost marshmallow pops, pumpkin cookies, mummy brownies — these aren’t just treats, they’re decor.
Keep your color scheme tight. Black, orange, purple, white. Classic for a reason.
Surround the food with one or two statement pieces — candles, skulls, mini pumpkins — and position them *around* the serving dishes, never in front. The desserts are the point. Don’t bury them. Use apothecary jars to display assorted candies and small treats, adding both variety and an old-fashioned charm that complements the spooky atmosphere without stealing focus from the food.
Fill the Gaps With Halloween Candy and Jars
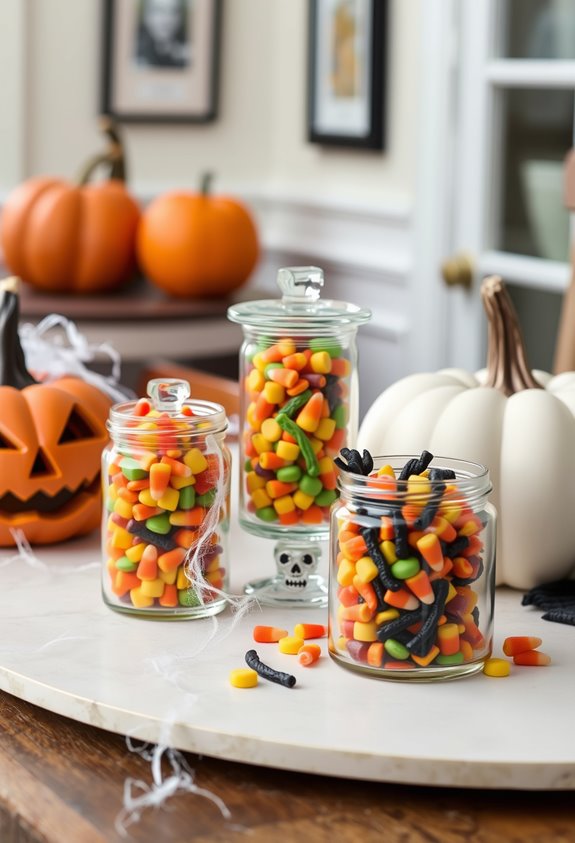
Once the main desserts are locked in, you’ve still got gaps to fill — and that’s where candy and jars do the heavy lifting. Clear glass vessels are affordable, easy to find, and let candy colors do the talking. No overthinking required.
Clear glass jars are the unsung heroes of any dessert table — affordable, effortless, and endlessly versatile.
Group candies intentionally across multiple jars to keep things looking organized instead of chaotic. Distribute by color, type, or brand. Odd-numbered groupings work better visually — just trust it.
A few things that actually make a difference:
- Vary jar heights using pillar candle holders as pedestals
- Layer smaller vessels around larger pieces for depth
- Add moss, mini skulls, or plastic bats to cover gaps at the base
Blank spots aren’t failures. They’re just opportunities you haven’t filled yet. Try leaning into a theme by labeling jars with convincing made-up names — like calling meringues “jellyfish skeletons” — to turn a simple candy display into something guests will actually stop and read.
Add Skulls, Pumpkins, and Creepy Accents That Pop
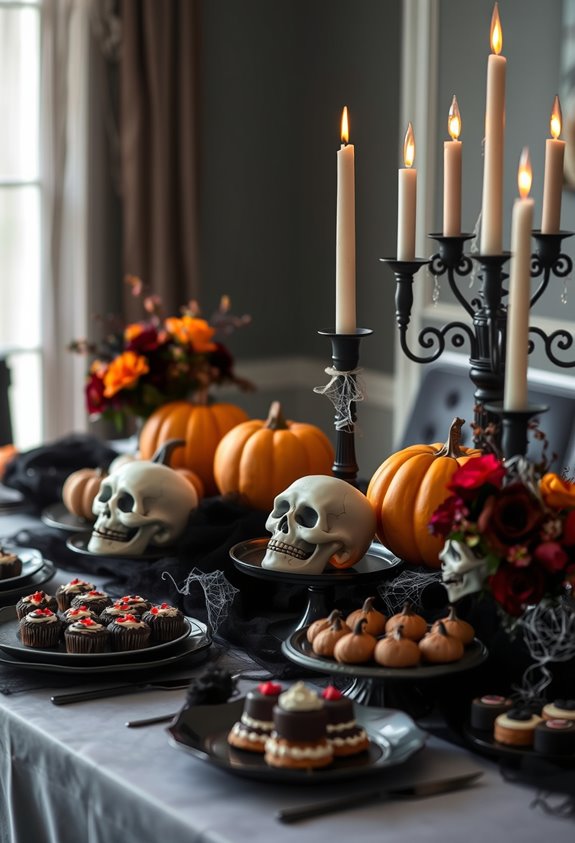
Skulls, pumpkins, and creepy little accents are what actually make a Halloween dessert table look intentional instead of just… festive. Place decorative skulls as centerpieces or group them near the middle. Tuck smaller ones beside mini pumpkins or beneath candleholders. Instant layering. No effort wasted.
Mini pumpkins break up dark décor with orange, cream, and muted green. Repeat them across multiple spots so your eye moves naturally across the display. That’s how a table feels curated, not chaotic.
For creepy details, plastic spiders and fake cobwebs around serving dishes do the heavy lifting. Skeleton hands, blackbirds, fake eyeballs — yes, all of it works. Drop small accents into gaps between dishes where they decorate without blocking anything.
Dark fabrics underneath make everything pop harder. A spiderweb table runner is an easy way to instantly build that spooky atmosphere without overcomplicating the base of your display. Simple.
Light up Your Halloween Dessert Table With Candles and Twinkle Lights
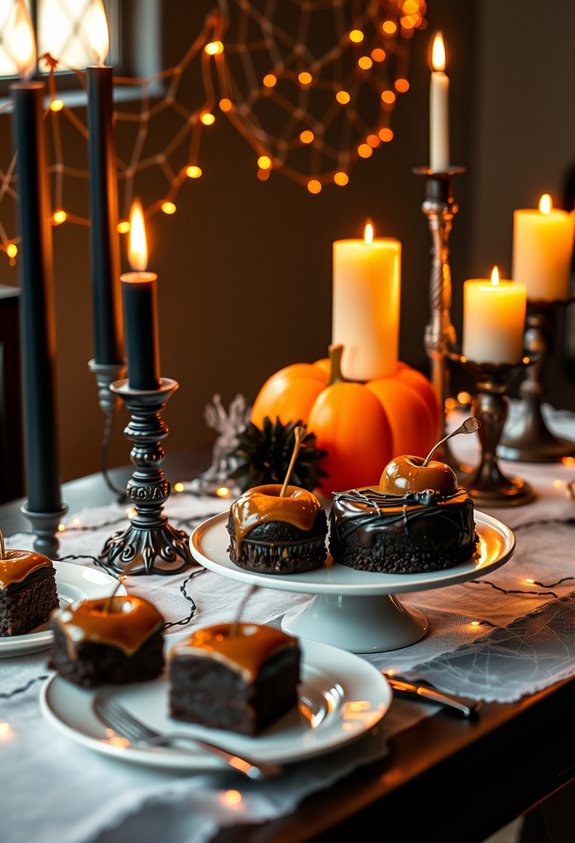
Lighting pulls the whole table together — and if you skip it, you’re basically setting up a buffet, not a display.
Candles bring warmth. Twinkle lights bring sparkle. Together, they create something that actually feels intentional.
Layer them strategically:
- Taper candles in black holders add height and drama without crowding your desserts
- Amber or black glass votives reinforce that moody Halloween palette everyone’s going for
- Tucked twinkle lights behind pumpkins or beneath decor make the table feel fuller and more dimensional
Worried about open flames near faux spiderwebs and paper accents? Use battery-powered tealights.
Flameless candles work beautifully in dim setups — no fire hazard, same vibe.
Dark tablecloths make every light source pop harder. That contrast isn’t optional. It’s the whole point. Try arranging pumpkins and gourds of different sizes and textures around your light sources to build a glowing, layered display that doubles as both decoration and ambiance.
Label Your Treats With Spooky Names and Signs
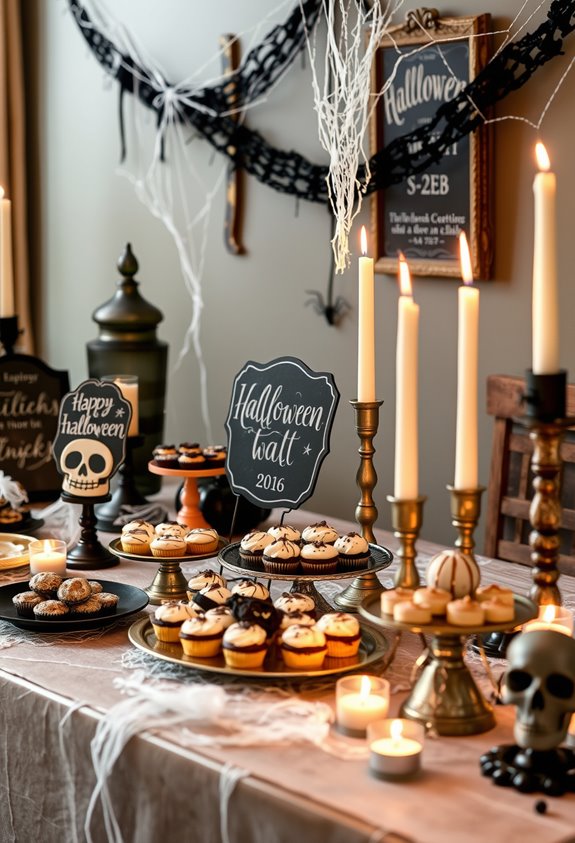
Naming your desserts is where the table goes from “nice spread” to actually themed. Labels do real work here. They help guests identify treats fast and pull the whole display together.
Dessert names do more than label — they transform a table from pretty to purposefully themed.
Pun-based names like “Boo-nana Pops” or “Black Magic Truffles” add personality without trying too hard. Match the name to what the dessert actually looks like. “Spiderweb Cheesecake” only lands if there’s a web on it. Obviously.
Tone matters too. “Ghostly Popcorn Balls” fits a family crowd. “Bloodshot Eyeballs” hits different at an adult party. You get to choose.
Keep labels short. “Mummy Cups” beats a paragraph every time. Use alliteration, rhyme, or spooky imagery to make signs memorable. Pair them with themed decorations and the whole table feels intentional. Even simple comfort foods get a full transformation with the right name, like mac and cheese rebranded as “Toxic Sludge” with green food coloring to match.
Set Up Treat Bags, Serving Tools, and Easy Cleanup Stations
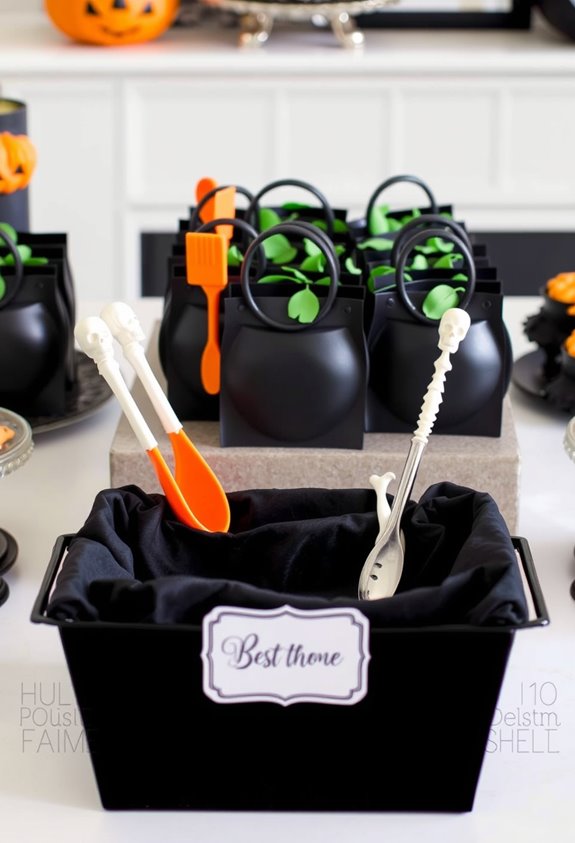
The fun part’s over once you open the table to guests — now it’s just damage control. Set yourself up to win before anyone touches a single treat bag. Use cellophane or clear food-safe bags so portions stay visible and contained. Pre-portioned bags cut down on handling and mess. Simple closures matter too:
- Ribbon ties secure glove bags and paper bags fast
- Staples or washi tape keep folded tops sealed and tidy
- Bag toppers add structure, making bags easier to line up or restack
Keep a dedicated bagging station with tape, ribbon, and tags grouped together. Open-top sorting trays organize candy types before bagging. Disposable packaging makes post-party cleanup genuinely fast. Small portions control crumbs. Preassembled bags mean less chaos once the crowd arrives. Mystery bags labeled by theme — like Fruity Lovers or Creature Candies — let you sort and stage treats ahead of time so distribution stays organized and stress-free.
Frequently Asked Questions
How Far in Advance Should I Set up My Halloween Dessert Table?
You can set up your Halloween dessert table the day before! Arrange linens, stands, backdrops, and decor 24 hours early, then add perishable treats like dairy and fresh fruit on party day.
How Many Guests Can a Standard Halloween Dessert Table Comfortably Serve?
You’d be surprised how far a well-stocked table stretches — a standard Halloween dessert table comfortably serves 10–20 guests, giving everyone enough treats to feel included in the celebration without anyone missing out.
Can I Use Fresh Flowers Alongside Halloween Decorations on My Dessert Table?
You can absolutely use fresh flowers alongside your Halloween decorations! Choose dark blooms like burgundy roses or marigolds, place them in pumpkin vases, and keep arrangements low so they don’t block your desserts.
What Is the Best Way to Protect Outdoor Halloween Dessert Tables From Weather?
Like a fortress guarding treasure, shelter your table under a canopy, secure it with stakes, cover desserts with domes, and keep a tarp nearby—you’ll protect every spooky treat your community gathers to enjoy!
Are There Allergy-Friendly Dessert Options That Still Fit a Halloween Theme?
You can absolutely create allergy-friendly Halloween desserts that fit the theme! Use gluten-free flour, vegan margarine, and gel food coloring to make spooky sugar cookies, cupcakes, and cake pops that everyone’s welcome to enjoy together.
Conclusion
Halloween dessert tables aren’t just cute—they’re a full experience. And people notice. According to the National Retail Federation, Americans spend over $3 billion on Halloween candy and food alone each year. That’s a lot of pressure on your dessert table. But you’ve got the tools now. Pick your theme, build your layers, light it up, and label everything. Your setup won’t just look good—it’ll be remembered.