Your Thanksgiving dessert table absolutely can steal the show — but only if you’re intentional about it. Height, layering, and smart layout do most of the heavy lifting. Stack risers, mix surfaces, and plan your levels before a single plate touches the table. Flat spreads look lazy. Seasonal décor, coordinated labels, and strategic filler pieces like nuts and jars handle the rest. The details ahead will show you exactly how to pull it all together.
Build Height Into Your Thanksgiving Dessert Table
When it comes to Thanksgiving dessert tables, height isn’t optional — it’s everything.
A flat table? That’s just sad. You want your guests’ eyes moving across the display, not glazing over because everything sits at the same level. That’s where a high-low layout saves you.
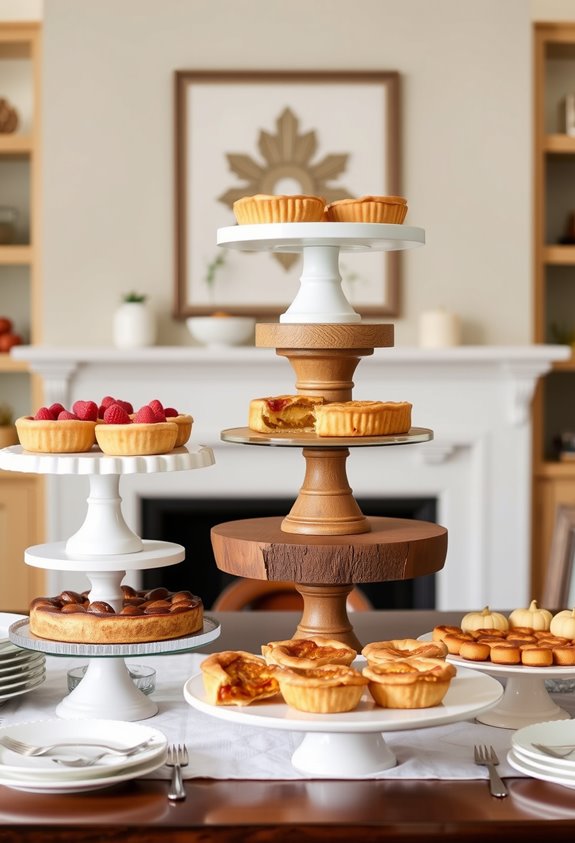
Put your tallest piece — probably the cake — at the back center. Work forward from there. Medium heights in the middle, flat trays up front. Grab what you already own: stacked books, upside-down baskets, gift box lids, votive cups flipped over. Cake stands aren’t just for cake, by the way.
Mix in wood trays, woven textures, and tiered stands. Height makes desserts visible, reachable, and intentional. Plan your levels before anything gets plated. Trust the structure.
A wooden crate turned over works beautifully as a riser, adding rustic texture while lifting cookies or small plates to just the right level.
Which Table Layout Keeps Guests Moving Comfortably?
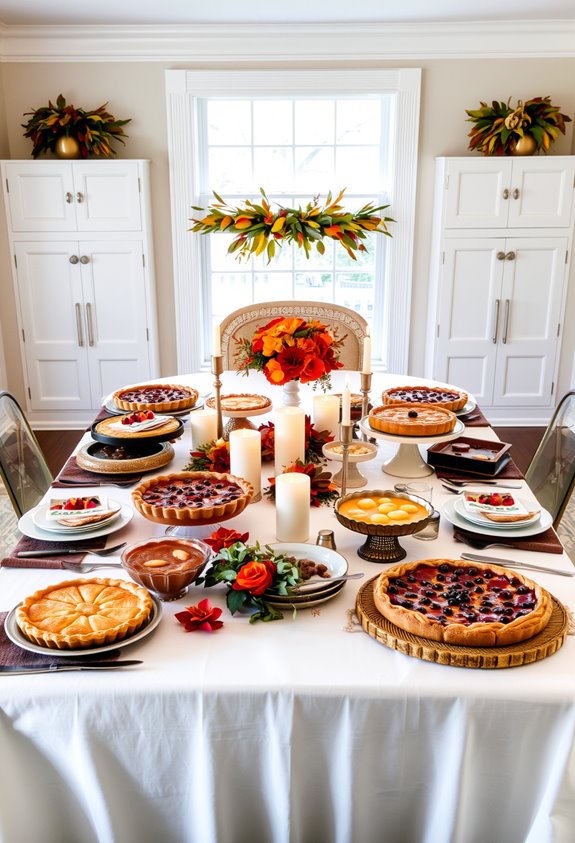
At a Thanksgiving dessert table, traffic flow isn’t a nice-to-have — it’s the whole game. Nobody wants to be the person blocking the pie while twelve relatives stack up behind them. So plan accordingly.
Keep it one-way. Guests approach, serve, and leave without crossing paths. Simple. A buffet-style layout makes this easy — people move at their own pace, circle back for seconds, and nothing becomes a bottleneck.
Leave at least three feet of clearance on the guest side. Put plates at the start of the line. Utensils go next to each dish. Labels speed up decisions. A separate drink station keeps the dessert line from stalling.
Place the whole station away from the main meal area. Congestion near two food zones? Nobody’s winning there. A buffet in the dining room works especially well as a designated dessert display area, keeping it distinct and accessible without competing for space.
Choose Surfaces That Make Your Thanksgiving Dessert Table Pop
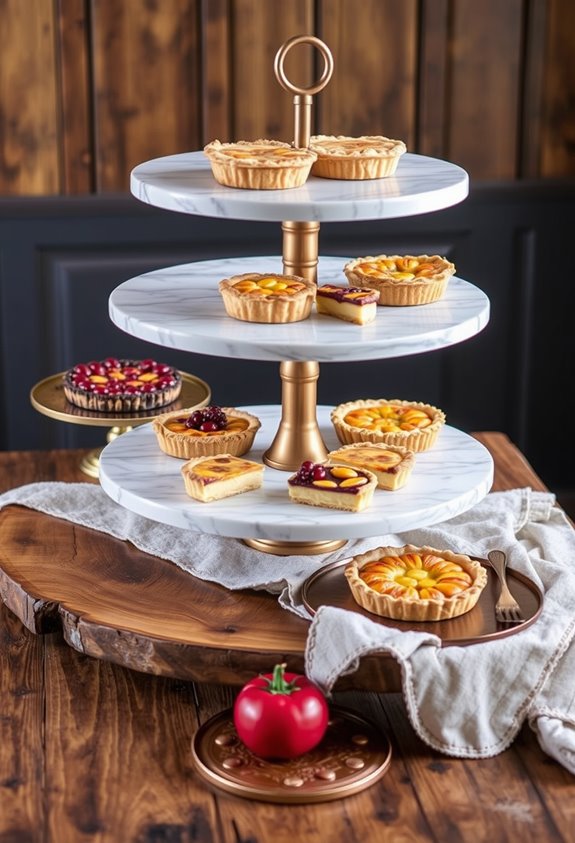
The surface under your dessert table does more work than most people give it credit for. It sets the mood before anyone touches a single slice of pie. A plain white tablecloth lets colorful desserts shine. A linen runner adds structure without stealing attention. Simple choices. Big impact.
Wooden surfaces bring warmth. Glass platters feel luxurious. Buffalo plaid runners add seasonal personality when you want something festive. Layering matters too. Cake stands create focal points. Tiered trays handle smaller items like cookies and chocolates. Books or wooden crates add height when you need it.
Here’s the blunt truth: a flat table looks forgotten. You don’t want forgotten. Choose surfaces that frame your desserts intentionally, and your table stops looking accidental. It looks like yours. Mixing materials like wooden boards, glass platters, and pedestal stands adds texture and visual variety that keeps eyes moving across the whole spread.
Fall Décor That Makes Your Thanksgiving Dessert Table Feel Seasonal
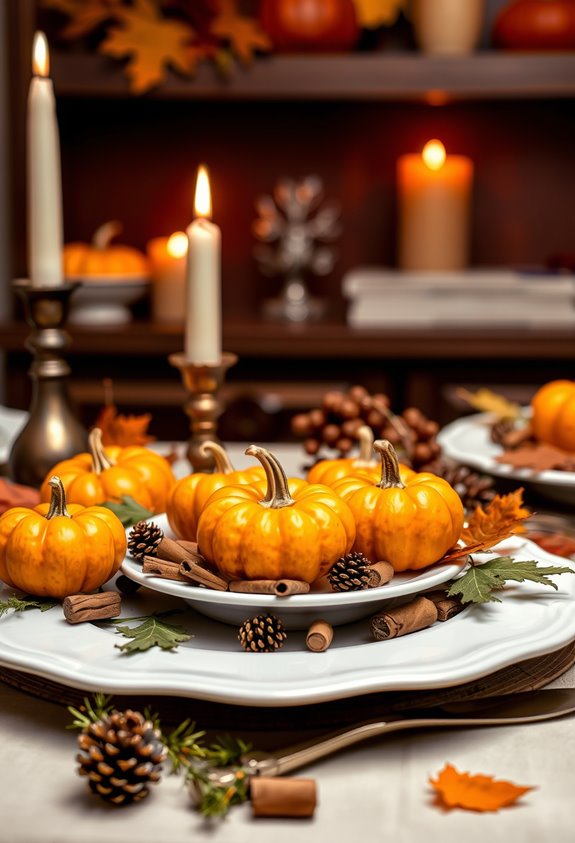
Seasonal décor doesn’t need to be complicated, but it does need to be intentional.
Intentional doesn’t mean complicated. It just means every detail earns its place on the table.
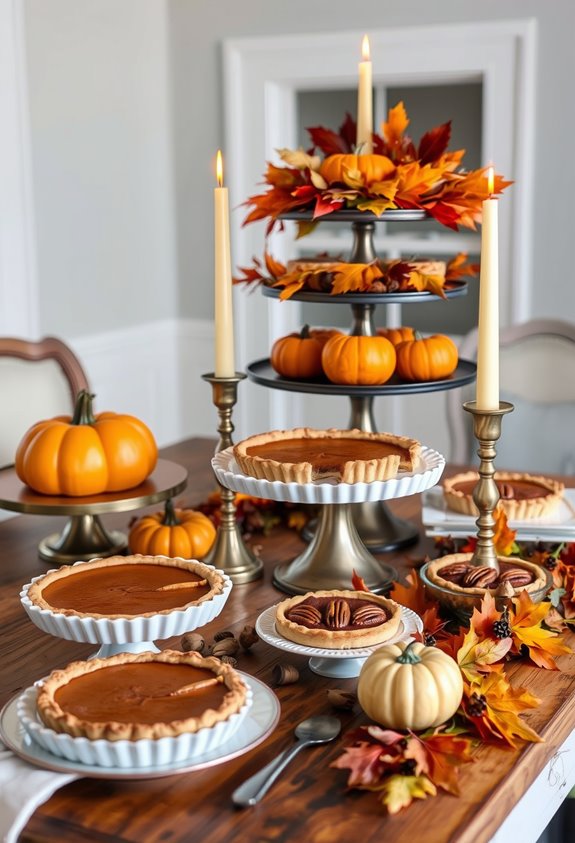
Grab pumpkins, gourds, apples, pomegranates, and pinecones — harvest elements that instantly say “fall is here.” Layer in some fresh or faux autumn leaves for quick seasonal character. Nobody’s judging you for using faux leaves, by the way. They work.
Flowers matter too. Sunflowers, berries, and mixed fall blooms bring color and texture without overcomplicating things.
Foraged grasses and branches? Affordable and surprisingly beautiful.
Then add candles. Pillar candles, votives, mismatched tones — all of it creates warmth and atmosphere. Pair them with pumpkins for that classic, cozy look everyone recognizes and loves. If the table will be unattended or around children, battery-operated candles are a smart and safe alternative that still deliver the same warm glow.
Small details finish the story. Mini pumpkins as place-card holders. Rustic wood trays. Intentional touches that make your table feel like it belongs to this moment.
How to Mix Dessert Sizes for a Fuller Spread
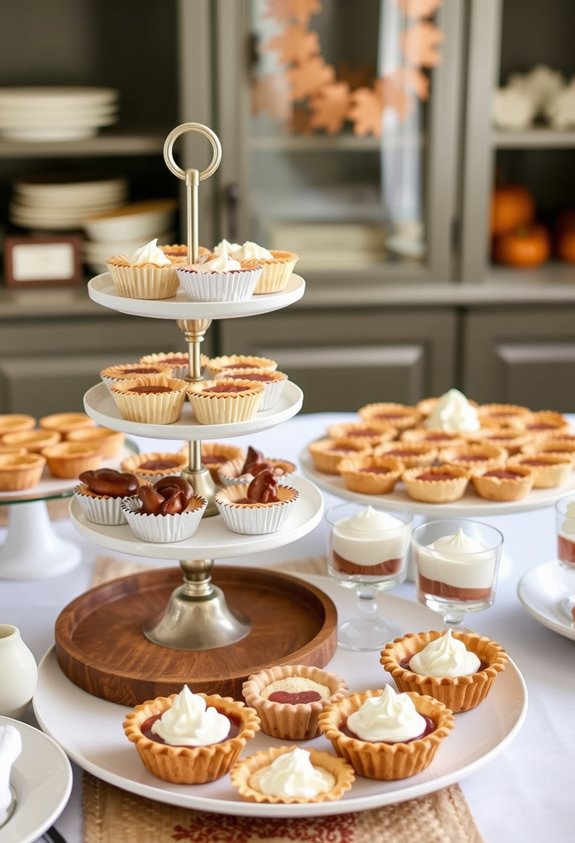
Mixing dessert sizes is the difference between a table that looks intentional and one that just looks sad.
You need three size categories working together. Large desserts anchor the whole display. They signal abundance before anyone even picks up a plate. One or two focal pieces — a 10-inch round serving about 28, a 12-inch serving around 40 — do the heavy lifting.
Medium desserts bridge the gaps. A 6-inch cake handles 8 to 12 portions and fills space without overwhelming everything else.
Then come the small bites. They increase visual density, cover awkward edges, and make your spread look loaded even after the first serving round. Nobody belongs at a half-empty table. Small items fix that. Keep in mind that cakes shorter than 3 inches yield about half the expected servings, so size up if your small bites are on the shallower side.
Three sizes. Simple system. Stunning result.
How to Stack and Tier Desserts for Maximum Impact
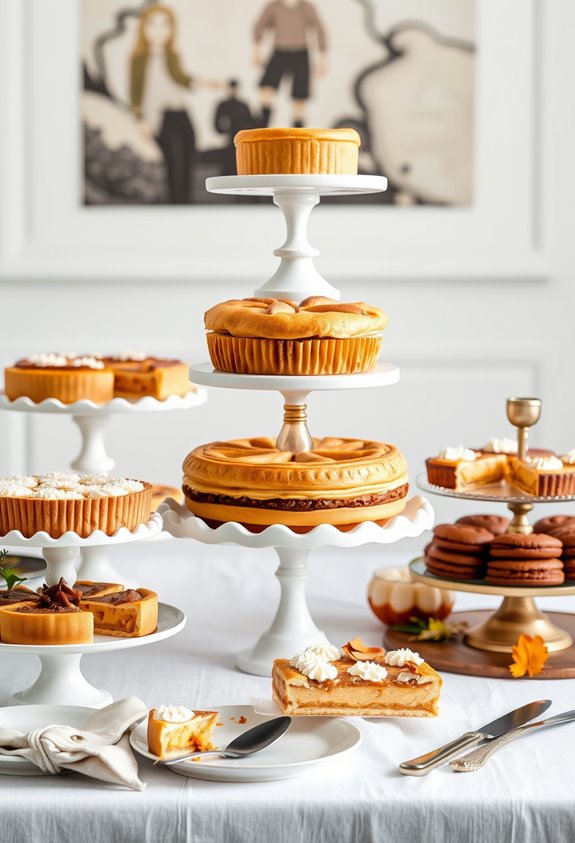
Stacking desserts without a plan is how you end up with a leaning tower of frosting and regret.
Everyone’s seen it. Don’t be that person. The secret? Structure, chilling, and precision.
Here’s what actually matters:
- Insert dowels straight down into the lower tier, cut them to the exact height of the cake surface, and space four evenly — your upper tier needs a level landing pad, not a sinkhole.
- Chill each frosted tier for 15–30 minutes before stacking — firm frosting doesn’t smear, doesn’t shift, and makes you look like you know what you’re doing.
- Drive a sharpened central dowel through all tiers into the base board — gravity isn’t your friend in tall stacks.
Belong to the table that wows. Build it right. For a double barrel cake, place a cardboard separator halfway up and insert four to five bubble tea straws or dowels beneath it, cut to the height of the first two layers.
Use Labels and Signs to Add Charm and Clarity
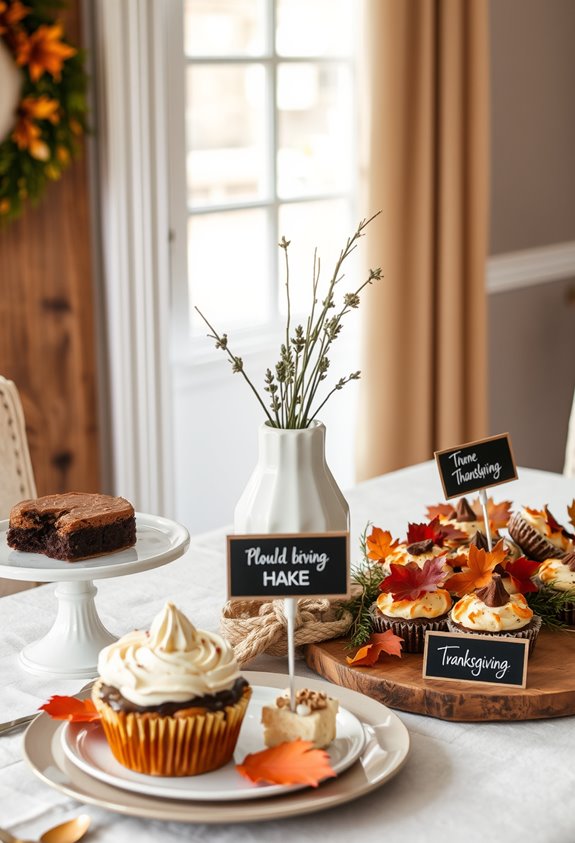
Once your desserts are stacked and looking sharp, don’t let them sit there unnamed like mystery items at a potluck. Labels matter. They help guests identify what’s in front of them without hovering over the table squinting at identical-looking pies.
Tent cards work great for buffet setups because they stand upright and stay visible. You can print them at home on cardstock. Easy. Use playful names like “Pumpkin Pie Perfection” to add personality. Match the font and colors to your table’s palette for a polished, cohesive look.
Labels also communicate dietary needs. Gluten-free, dairy-free, vegetarian — put it on the card. Nobody wants to track down the host mid-meal for ingredient details. Clear signage handles that conversation for you. Smart, simple, effective. For a ready-made solution, free Thanksgiving label sheets are available for download and can be printed at home on full sheet label paper.
Use Nuts, Chocolates, and Jars to Fill Space Naturally
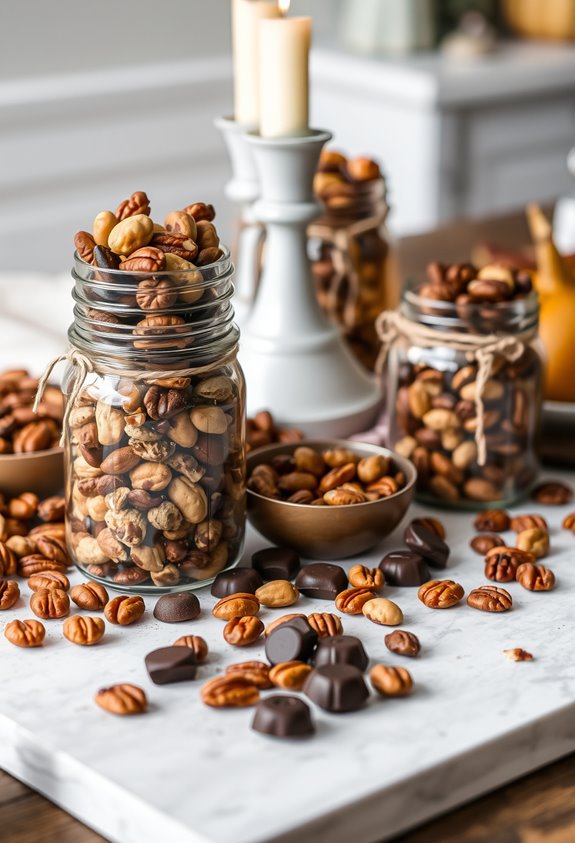
Even the most stunning dessert table can fall apart if you’ve got awkward gaps staring back at you between the pies. Nobody wants that. Fortunately, three humble heroes save the day:
- Nuts — Scatter mixed nuts in small bowls to fill gaps while adding crunch, color, and autumn-harvest energy that screams Thanksgiving without trying too hard.
- Chocolates — Stack them in tiered stands or glass apothecary jars. Gold foil-wrapped pieces catch light beautifully and anchor the whole display visually.
- Clear jars — Fill them with layered candies, truffles, or decorative fillers. They add height, volume, and that polished look everyone notices immediately.
Tight arrangements matter. Sparse tables look unfinished. Mix smooth chocolates, crunchy nuts, and gleaming glass together, and suddenly your table feels intentional, full, and genuinely impressive. For an extra layer of charm, consider filling clear mason jars with pudding, whipped cream, and crushed cookies to create mini dessert jars that double as both filler and a crowd-pleasing individual treat.
Labels, Napkins, and the Details That Complete Your Table
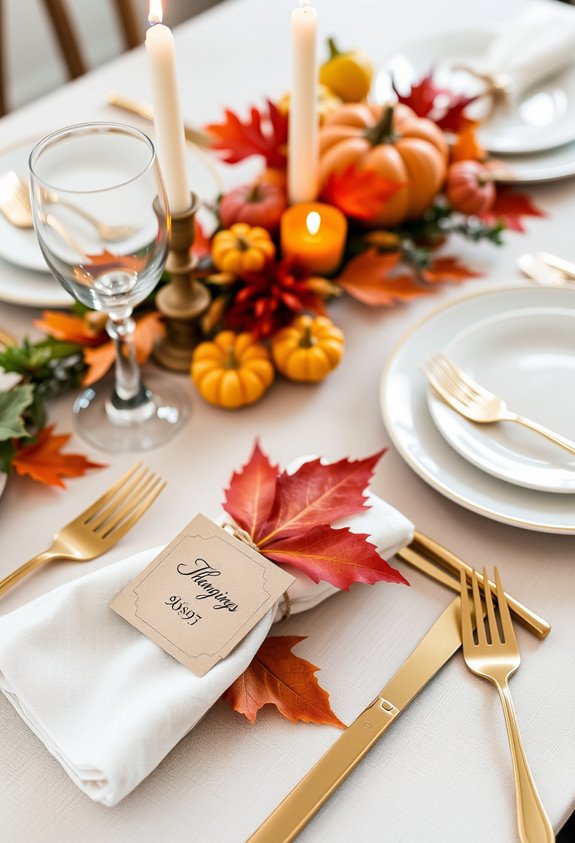
The finishing details make or break a dessert table — and labels are doing more work than most people give them credit for. They identify dishes fast, especially when your spread is packed. Tent cards stand on their own. Sticker formats seal containers. Cardstock holds its shape. These aren’t fancy choices — they’re functional ones.
Labels can also flag gluten-free, dairy-free, or vegetarian items. That’s not just thoughtful. It’s necessary. Fun names add personality. Write-in designs keep things flexible when your menu shifts last minute.
Then there are napkins. Small detail. Big impact. Coordinated colors and patterns pull the whole table together without adding clutter. Pair them with matching signage and suddenly everything looks intentional. Mirrored rectangle boards with bases and markers take that coordination even further by giving your table a polished, cohesive look.
Because it is. That’s the point.
Frequently Asked Questions
How Far in Advance Can I Set up My Thanksgiving Dessert Table?
You can set up your Thanksgiving dessert table 1 to 2 days ahead — or even the night before.
Some hosts go full overachiever mode and set it up a week early if the space stays undisturbed.
The real deciding factor? Kids, pets, and foot traffic.
A busy household means waiting longer.
Keep it simple: tablecloth, stands, jars.
Let the food do the talking.
How Do I Keep Desserts Fresh While Displayed on the Table?
Perfectly preserved pastries don’t happen by accident. Keep room-temperature desserts between 60°F–70°F. Rotate small batches onto the table and stash backups in a cooler nearby. Cover cut surfaces with plastic wrap immediately. Use cloches or display cases to block dust without trapping moisture. Cookies and brownies stay fresh in airtight containers. Cheesecake? Keep it refrigerated until serving. Practice FIFO—first in, first out. Fresh desserts up front, always.
Can a Dessert Table Work in a Small Dining Space or Apartment?
Yes, it absolutely can. Small space? Not an excuse. Tiered stands and cube risers add height, so you’re not spreading everything flat across the table.
Group desserts by type to cut clutter. Repurpose bowls, boxes, and trays as risers — cheap and smart.
Stick to a cohesive theme, and you’ll actually need fewer items. Less chaos, more impact. Your apartment dining space can totally pull this off.
How Many Desserts Should I Plan per Guest at Thanksgiving?
Too many cooks spoil the broth — and too little dessert spoils Thanksgiving.
For a classic pie spread, plan one 9-inch pie per 6–8 guests.
Running a full dessert table? Aim for 1.5 desserts per person.
Mini bites? Count 2–4 small pieces per guest, not per item. Add a 10–15% buffer. Nobody wants to be the host who ran out.
Variety matters — your guests want options, not just pie.
Should the Dessert Table Match the Main Dining Table’s Décor?
It doesn’t have to match exactly, but it should coordinate. Use the same 2-3 colors from your dining table. Echo the vibe, rustic, modern, floral, whatever you’ve got going on. Similar linens, matching serveware, a few shared accents like mini pumpkins or candles. That’s it. You’re not cloning the table. You’re connecting it.
A neutral tablecloth keeps desserts as the star. Coordination beats repetition every time.