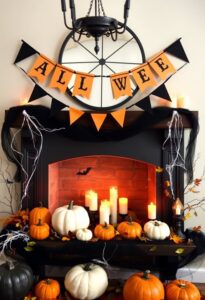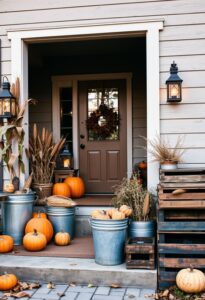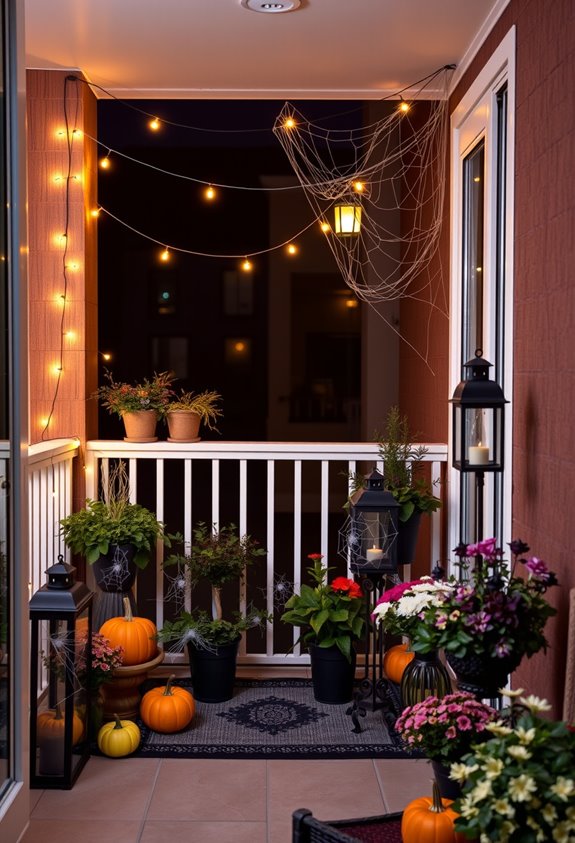
Your balcony’s small, but it doesn’t have to look like it. Pick one strong focal point — a skeleton, lantern cluster, or oversized inflatable — and build everything else around it. Stack pumpkins for height, hang bats on fishing line, drape black fabric over railings, and let warm amber lights do the heavy lifting after dark. Secure everything against wind and rain. One cohesive color palette pulls it all together. There’s more to unpack here.
Design Highlights
- Anchor your balcony with one dominant focal point—like a skeleton or lantern cluster—instead of crowding the space with competing decorations.
- Stack pumpkins largest-to-smallest using a center dowel to build impressive height without consuming valuable floor space.
- Hang lightweight bat cutouts on fishing line and stretch faux webbing across railings to add spooky depth without bulk.
- Use warm amber LED string lights, flameless candles, and solar-powered lanterns to create moody nighttime atmosphere safely.
- Choose weather-resistant materials, secure everything with zip ties or removable hooks, and inspect decorations frequently throughout the season.
Pick One Focal Point That Anchors Your Balcony
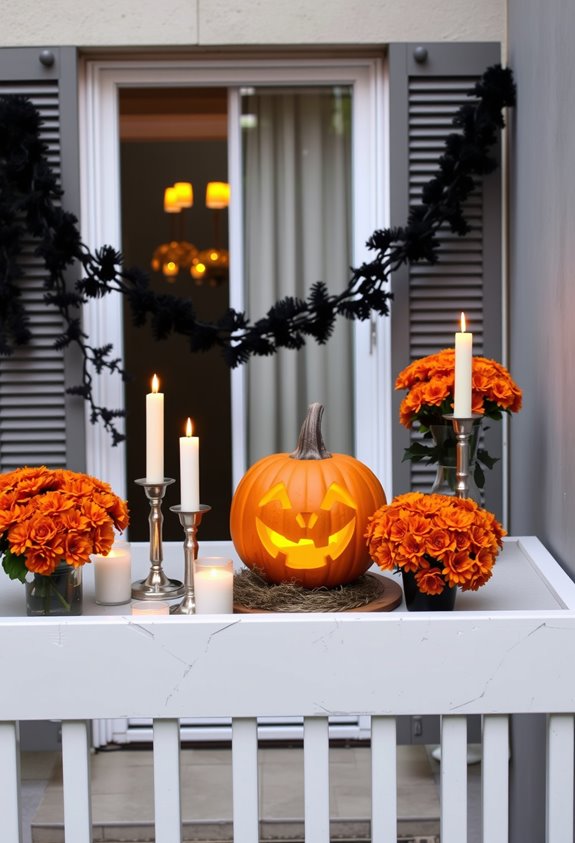
Because small balconies punish clutter fast, your best move is anchoring the whole space with one dominant visual. One focal point. That’s it. Pick a skeleton, a lantern cluster, or a themed corner display and commit. Don’t scatter six medium-sized decorations around and wonder why everything looks chaotic.
Your focal point gives everyone’s eyes a place to land, including yours when you glance out the door with your morning coffee. It makes the space feel intentional, not accidental.
Height matters here too. Cornstalks, tall planters, vertical arrangements — build upward and suddenly your compact balcony feels fuller. String lights can emphasize that vertical structure after dark.
One strong centerpiece beats ten competing ones every time. Pick yours, then build around it. An oversized jack-o’-lantern inflatable works especially well as that bold anchor, delivering high visual impact without requiring anything else around it to carry the weight.
Stack and Layer Pumpkins on Your Balcony to Add Height
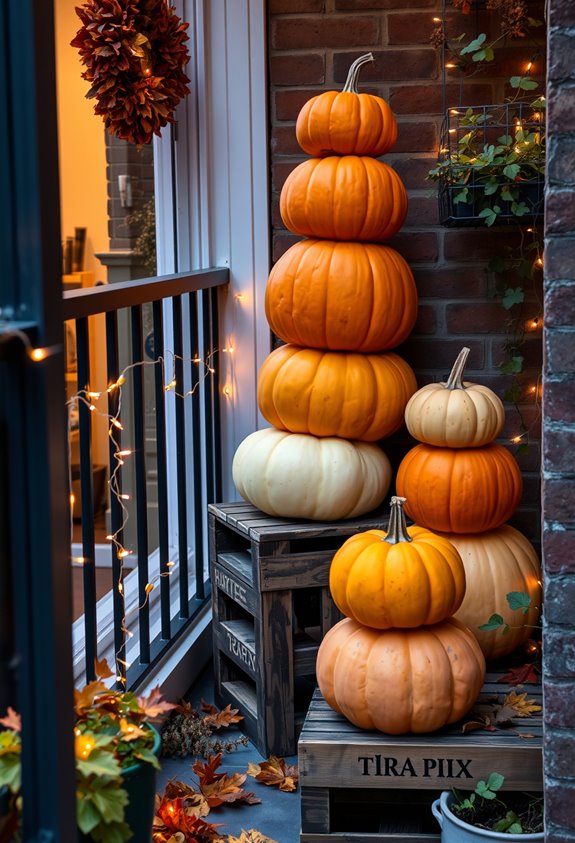
Stacking pumpkins is one of the simplest ways to pull real height out of a small balcony without eating up floor space. Start with your largest pumpkin on the bottom, then work upward with progressively smaller ones.
Simple concept. Huge visual payoff.
Use faux pumpkins if you’re stacking more than two tiers — they’re lighter and easier to secure. A wood dowel drilled through the center keeps everything from toppling over. Hot glue handles the smaller shifts.
Tuck decorative moss or pine straw between layers to fill gaps and make the whole thing look intentional. Mix shapes, too. Flat pumpkins, round gourds, classic orange — variety makes the stack feel curated, not chaotic. Try placing your stack inside a vintage wagon or wheelbarrow to add a rustic container base that anchors the arrangement.
Finish with a distinctive stem on top. Done.
Hang Bats and Webs From Railings and Ceilings
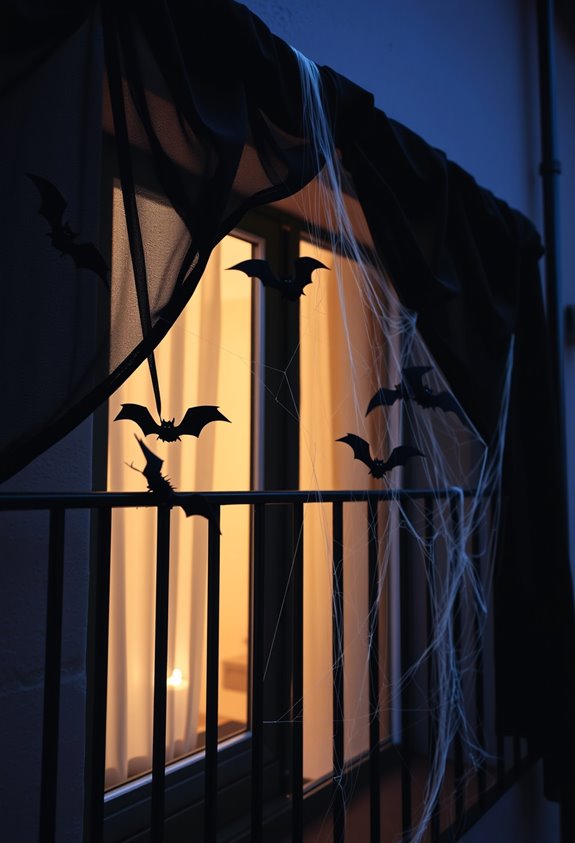
Once your pumpkin stack is pulling vertical weight on the floor, it’s time to move the eye upward — railings and ceilings are your next canvas. Hang lightweight bat cutouts using fishing line. It’s nearly invisible and creates that floating effect everyone loves. Small holes in your bats let the line pass through cleanly — no visible hardware, no mess.
For webs, stretch that faux material *thin*. Seriously, thin. A clump of web looks lazy and fake. Anchor the edges to corners, hooks, or railing posts so it pulls tight. Removable adhesive hooks are your best friend here — no drilling required.
Stagger your bats at different heights. A straight line is boring. Mix heights, space them out, and suddenly your balcony looks intentional. For an extra touch of creepiness, add plastic spiders or cockroaches to your stretched web to make the scene feel complete.
Which Lights Work Best on a Small Balcony?
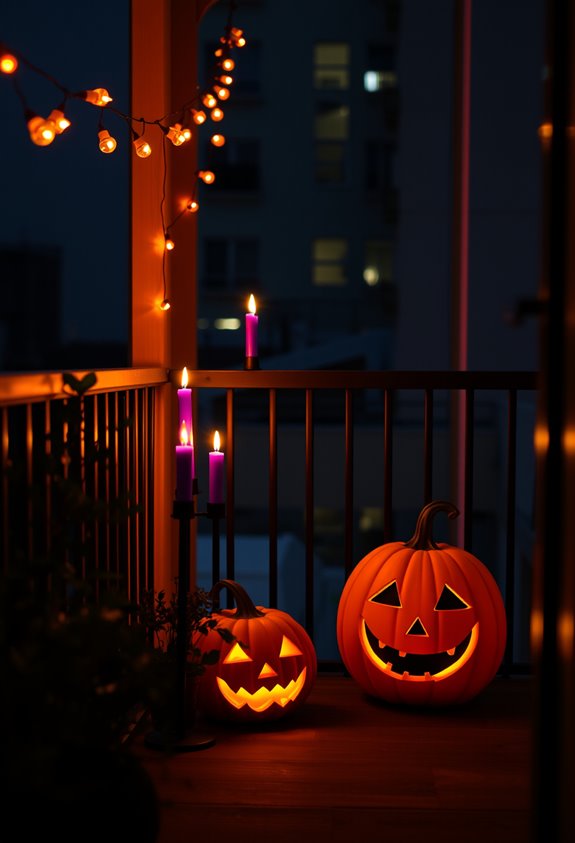
Lighting can make or break your Halloween balcony setup — especially when you’re working with limited square footage. Warm LED string lights? Almost non-negotiable. They’re efficient, they don’t visually crowd a tight space, and they hit different at night.
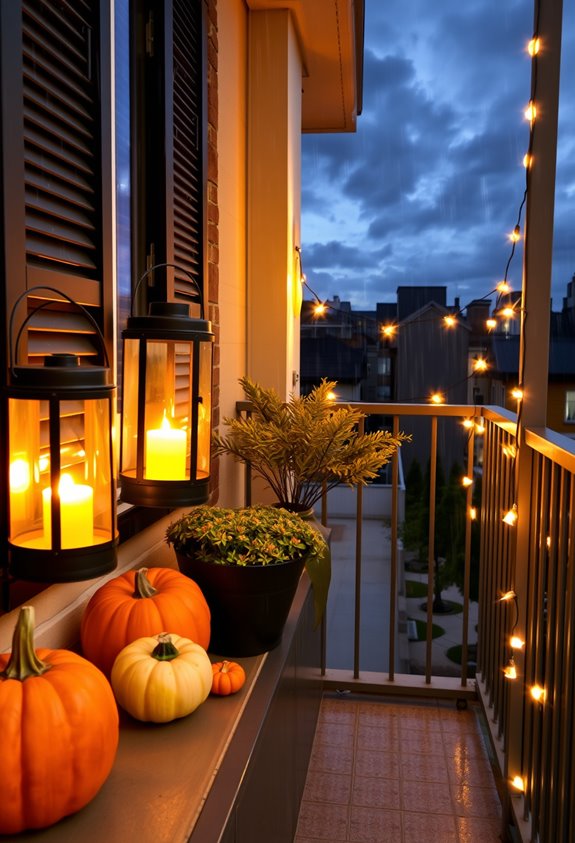
Guirnaldas — those classic bulb strands — are your best friend here. Drape them along railings or the perimeter. They stay out of your walking space. Smart move. If you’ve got no outlet access, solar lights handle that problem cleanly. Some models run up to 12 hours on a full charge.
For depth, tuck LED strips under furniture or behind plants. Indirect light adds atmosphere without overwhelming the space. Layer your sources — string lights, strips, a small wall sconce — and you’ve got something that actually feels intentional. For a fixed lighting point, a wall sconce like the Ravello offers a modern look while freeing up floor space entirely.
Arrange Candles and Lanterns for After-Dark Impact
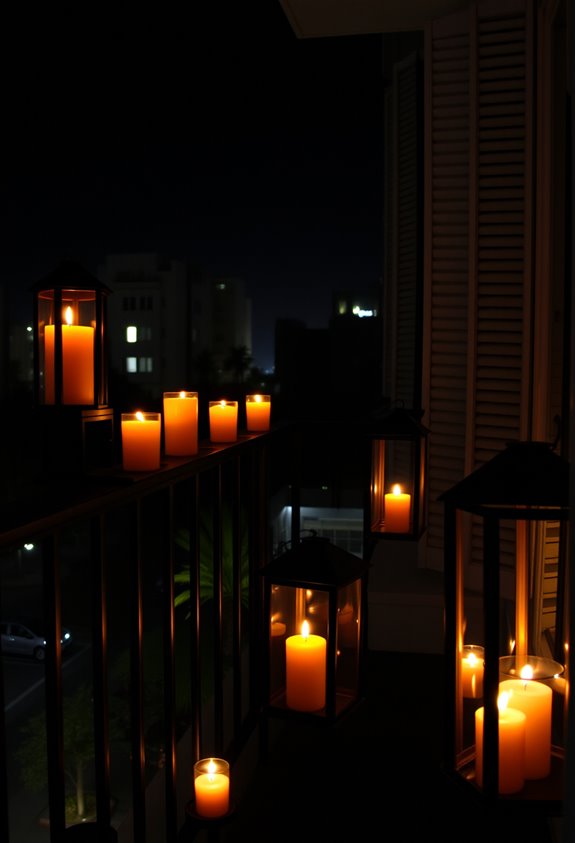
Candles and lanterns do the heavy lifting after dark — if you place them right. Skip the single overhead light. It’s flat, boring, and honestly kind of sad.
Instead, layer your sources: floor lanterns, table candles, hanging lanterns above your seating area. Different heights. Different zones. That’s where the magic happens.
Group candles together for real impact. A cluster beats scattered tiny lights every time. Scattered looks chaotic. Clustered looks intentional. Big difference.
Follow your use zones. Lanterns beside seating warm the gathering spot. Lanterns along walkways keep things visible without killing the vibe. Corners anchor the space.
Flameless candles with timers? Genuinely smart. You’re not relighting candles every night like it’s 1692. Let the setup do the work. Glass lanterns and glossy surfaces around your candles aren’t just decorative — reflective surfaces amplify the light and spread warmth further across the space.
Drape Fabric and Lace Over Railings for a Spooky Effect
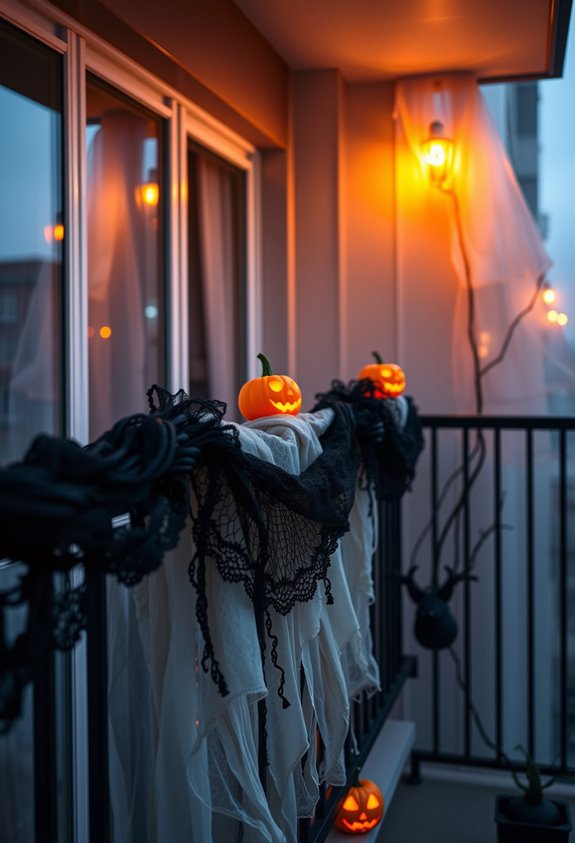
Your railings are basically a blank canvas, and black fabric, tulle, or lace is the fastest way to transform them into something that actually looks haunted.
Black fabric, tulle, or lace turns any plain railing into something that actually looks haunted.
Drape panels over the railing and let them hang unevenly — varying lengths create a layered, natural look that flat, uniform draping never pulls off.
Overlap a few panels for depth.
Let them move in the breeze. That’s the whole point.
Want it to look genuinely eerie? Rough the fabric up a little.
Small tears, gentle fraying, claw-like pulls — you don’t need to destroy it.
Just enough to make it look aged.
Secure everything with removable hooks or zip ties.
Wind is real, especially on higher floors.
Lightweight and well-anchored beats decorative and scattered across your neighbor’s balcony. Gauzy mesh or cheesecloth is particularly well-suited for high-floor balconies because its low weight lets it drift and shift in the breeze without becoming a wind hazard.
Make Potion Bottles and Painted Decor on a Budget
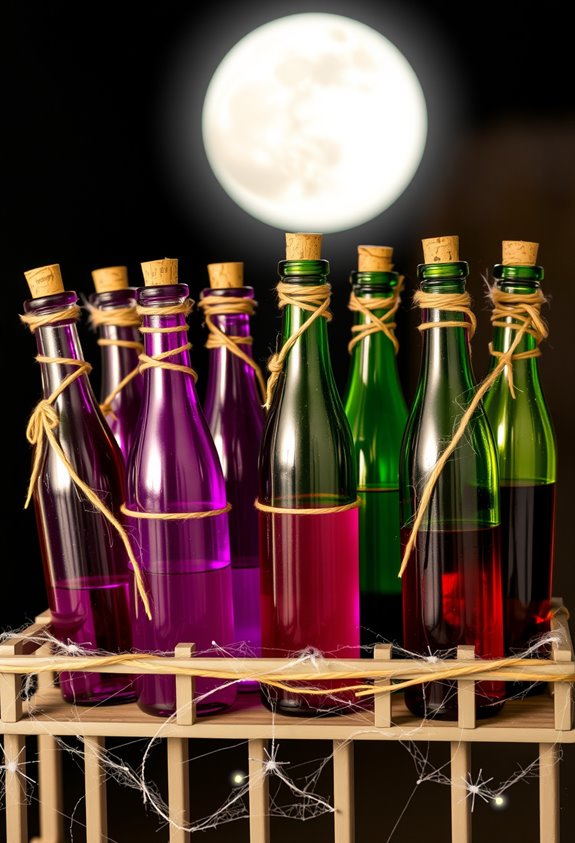
Potion bottles are one of those Halloween crafts that look expensive and take almost no money to pull off. Grab reused glass bottles, jars, or mini liquor bottles. Clean them with hot soapy water, wipe the outside with rubbing alcohol, and let them dry completely. Skipping that step ruins adhesion. Done.
Layer torn paper towel or gauze onto the glass with Mod Podge for texture. Paint with black acrylic, then dry brush metallic silver over the raised areas. Two coats minimum. Fill bottles with glitter hair gel, dyed water, or stretched cotton balls for that foggy, mystical look.
Finish with a printed label sized to the bottle, twine around the neck, and a cork top. Your balcony shelf just became an apothecary. You’re welcome. If you’re using a corked bottle, fill it with distilled water rather than rubbing alcohol to prevent the cork from shrinking and breaking down over time.
Keep Halloween Balcony Decor Safe in Wind and Rain
Those apothecary bottles look great until a gust sends them shattering across your balcony floor. Weather happens. Plan for it.
Start with weather-resistant materials — plastic, metal, synthetic fabrics. Paper and cardboard absorb moisture and warp fast. They’re basically decorative trash after one rainstorm.
Paper and cardboard don’t survive rain. One storm turns them into soggy, warped garbage. Choose plastic, metal, or synthetic fabrics instead.
Anchor anything tall. Weight hollow decorations with water jugs or bricks. Use rope, bungee cords, or twine for tie-downs. Lightweight pieces belong in sheltered corners, not exposed railing spots.
Cover what you can’t waterproof. Tarps and plastic sheeting work. Pair them with tie-downs so wind doesn’t rip the cover off too.
Keep cords along edges, away from walkways. Use GFCI-protected outlets and weatherproof covers on exposed plugs. Check everything frequently — secured doesn’t mean permanently secured. Before packing everything away, dry decorations completely to prevent mold and mildew from forming during storage.
Choose a Halloween Color Palette That Ties the Balcony Together
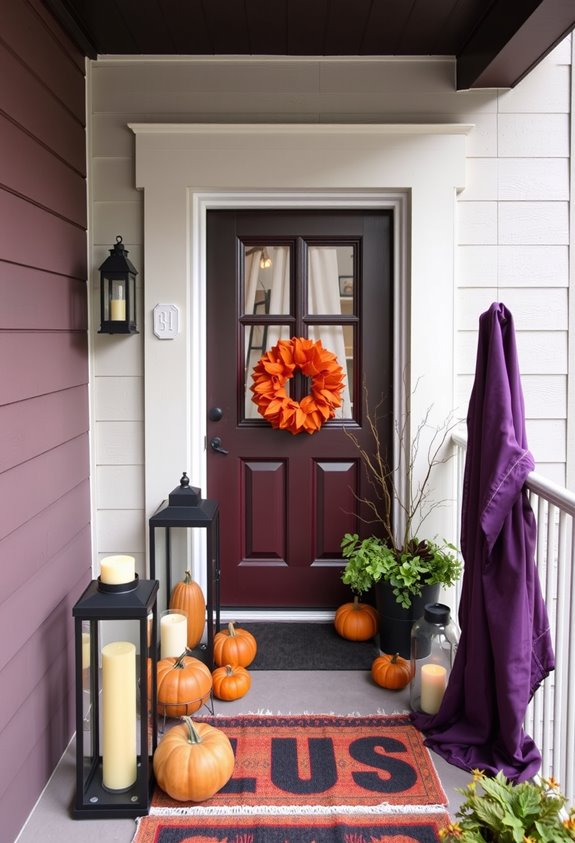
Most balcony decorators make this harder than it needs to be. Pick black plus one accent color. Done. Black works with metal railings, dark furniture, and night lighting better than anything else. It’s basically the little black dress of Halloween decor.
Your accent does the heavy lifting. Orange signals Halloween instantly. Deep purple goes gothic and eerie. Bone white creates contrast that makes your pumpkins and lanterns actually pop. Pick one. Seriously, just one.
Then repeat it. Put that accent color in your lanterns, your cushions, your pumpkins. Same color, multiple spots. That’s what creates a cohesive look instead of a chaotic mess.
Your balcony’s existing surfaces matter too. Dark railings already support a gothic palette. Light walls make orange and white hit harder. Use what you’ve got. For lighting, stick to warm amber tones in the 2200K–2700K range so your color palette reads moody and spooky instead of washed out under harsh white light.
Frequently Asked Questions
Can I Add Halloween Decor to a Shared Apartment Balcony?
Yes, you can! Check your lease first, then use renter-friendly options like railing clips, removable hooks, and lightweight decor. You’ll create a festive space your neighbors will love without breaking any rules.
How Early Should I Start Decorating My Balcony for Halloween?
You can start as early as September 1st or wait until October 1st—both work! Most decorators begin in early October, so you’ll fit right in with your neighbors while still enjoying a festive balcony all season long.
How Do I Store Halloween Balcony Decor After the Season Ends?
Wipe down your balcony pieces, then sort them into keep, donate, or toss piles. Wrap fragile items, coil lights neatly, and pack everything into labeled, stackable bins you’ll store off the floor.
Are There Halloween Decor Ideas Suitable for Balconies Facing Busy Streets?
Like a friendly neighborhood haunted mansion, you’ve got plenty of street-facing options! Secure lightweight bats, faux webs, and LED string lights to your railings using zip ties, keeping displays compact so everyone below enjoys your spooky welcome.
What Halloween Decor Works Best for Balconies With No Overhead Structure?
You’ll love using felt bats, ghost cutouts, and paper silhouettes hung from railings to create height without a ceiling. Weave battery-operated string lights through railings and add hanging paper lanterns to complete your spooky, community-worthy display!
Conclusion
Your balcony doesn’t need a courtyard or a sprawling front porch to make Halloween magic happen. Pick your focal point, layer your pumpkins, string your lights, and call it done. Even medieval castle dwellers worked with what they had. Small spaces force creativity, and honestly? That’s not a bad thing. Stick to your color palette, secure everything against wind, and your tiny balcony will hit harder than you’d expect.