Your staircase doesn’t need a makeover — it needs a strategy. Pick a tight theme, commit to two or three colors, and treat the banister, treads, and wall as separate zones. Stack pumpkins on the treads, wrap the railing with webs and lace, and let bat cutouts climb the wall. Keep the walkway clear — tripping guests aren’t impressed guests. The right lighting ties everything together, and there’s a lot more to unpack here.
Design Highlights
- Choose a unified theme—classic spooky, whimsical ghosts, or haunted manor—and limit your color palette to two or three colors maximum.
- Treat your staircase as three distinct zones: banister, treads, and wall, decorating each intentionally for a theatrical, cohesive look.
- Use strategic placement over volume—fewer props repeated consistently create more visual impact than cluttered, mismatched decorations.
- Layer lighting with purple or orange LED string lights, flameless candles, and smart timers to automate a consistent eerie atmosphere.
- Keep treads clear of hazards by placing props only on alternating steps and using LED step lights to define walkable edges.
Pick a Halloween Theme Before You Start
Before you buy a single fake cobweb or plastic skeleton, pick a theme. Seriously. Nothing kills a staircase’s Halloween vibe faster than a random pile of decorations that don’t talk to each other. A clear theme ties your colors, props, and lighting together so everything feels intentional. Not thrown together at midnight.
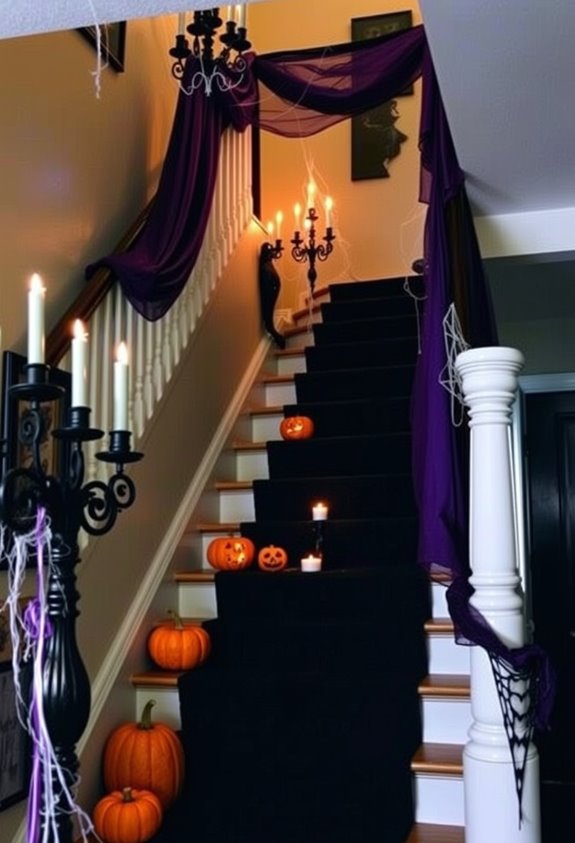
You’ve got solid options. Classic spooky goes dark and dramatic. Pumpkin patch keeps things cozy and warm. Whimsical ghosts stay fun and family-friendly. Elegant haunted manor brings the luxury gothic energy. Each one works. But only if you commit.
Here’s the blunt truth: a unified theme makes your staircase a focal point. No theme makes it a cluttered mess. Pick something that feels like *you*, then build from there. If you’re decorating indoors, you have even more flexibility since there are no weather or durability concerns, meaning you can freely use delicate materials like lace, burlap, or fresh pumpkins to support whatever theme you choose.
Dress All Three Zones: Banister, Treads, and Wall
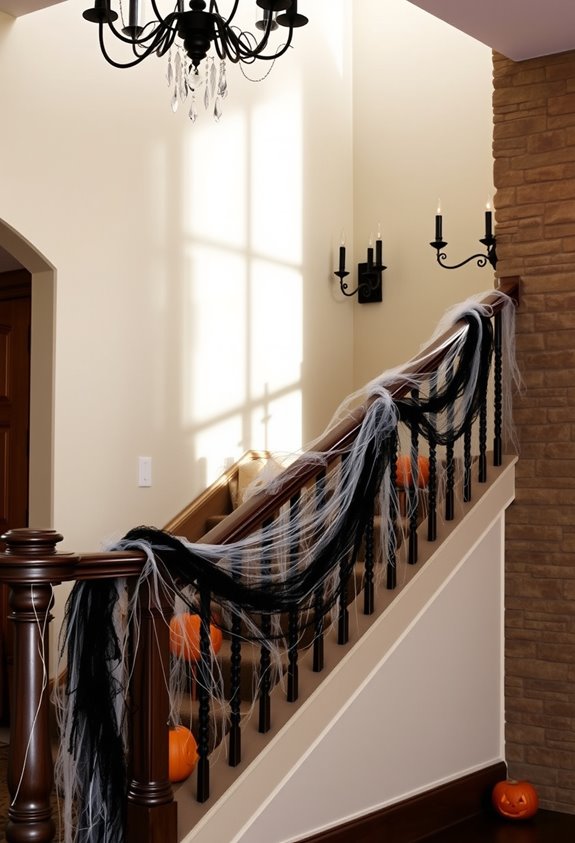
Once you’ve locked in your theme, it’s time to think in zones. Three of them. Banister, treads, wall. Ignore any one of them and your staircase just looks half-finished.
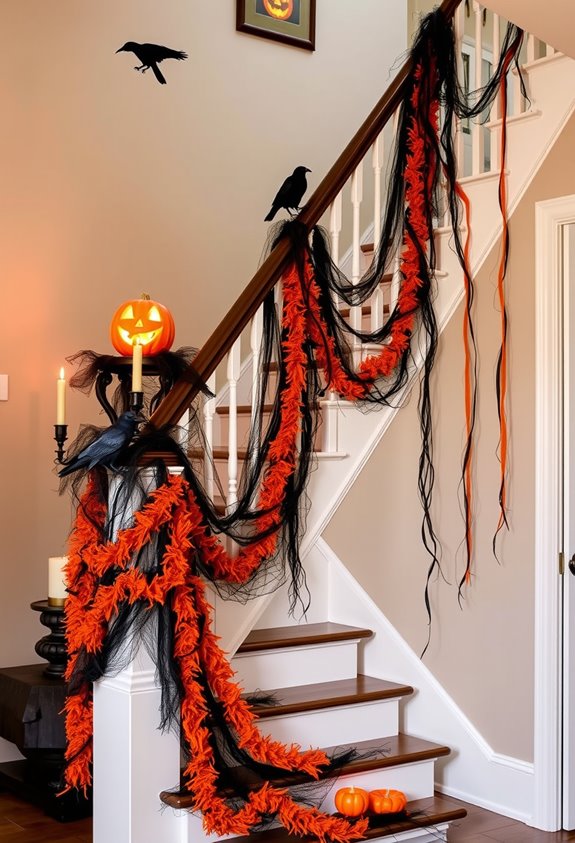
Start with the banister. Wrap it with faux spiderwebs, black lace, or black branches. Add string lights in orange or purple for that nighttime glow. Toss in some bat cutouts to guide the eye upward.
The banister sets the tone. Wrap it, light it, and let the bats pull every eye upward.
Then hit the treads. Mini pumpkins, flameless candles, or skull props on alternating steps create rhythm without blocking traffic. Smart placement matters here.
Finally, the wall. A cascading flock of bats connects everything top to bottom. Uplights cast dramatic shadows. Suddenly your staircase feels theatrical.
All three zones working together? That’s when it actually looks intentional. For a finishing touch that ties the whole look together, post an “Enter if you dare” sign at the base of the staircase to set the mood before guests even take their first step.
Stack and Mix Pumpkins on Your Halloween Staircase
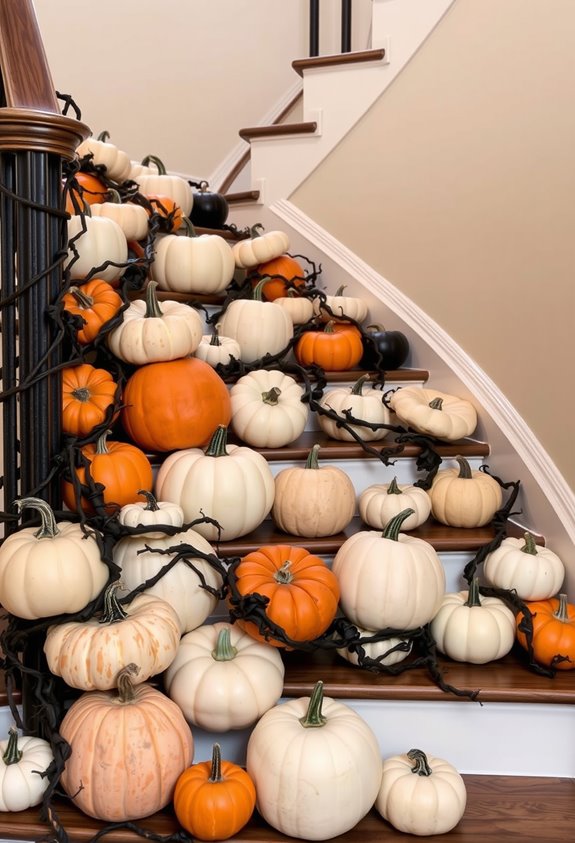
Now that your banister’s dripping with spiderwebs and your walls are doing their dramatic thing, let’s talk about the real showstopper: pumpkins. Stack them. Mix them. Make them mean something.
Start big at the bottom. Seriously, don’t fight gravity. A heavy planter as your base keeps everything anchored, and larger pumpkins low down reduce tipping.
Work upward with smaller sizes for that clean topiary look everyone recognizes as intentional.
Color matters. Orange alone is basic. Mix in white, pale gray, or black pumpkins for contrast that reads from the street. Spray paint unifies mismatched pieces instantly.
Add battery-powered lights inside the stack for a glow effect after dark. No cords crossing the treads. Safety isn’t optional. Neither is leaving enough open tread space to actually walk.
Black pumpkins clustered in groups of different sizes create a strong, dramatic look that stands out against stone or dark railings without relying on extra color. Add lanterns nearby to keep the overall setup simple while providing light after dark.
Haunt the Railing With Webs, Bats, and Garlands
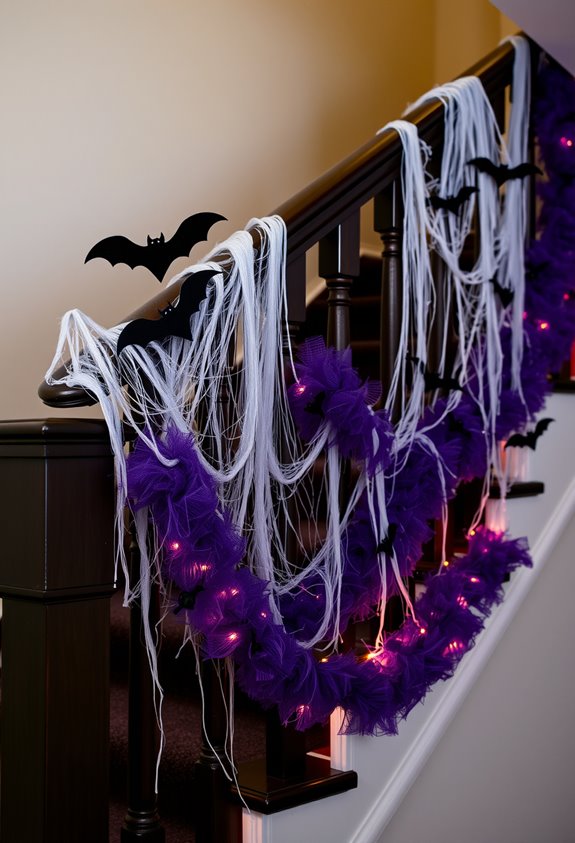
The railing’s your next target, and it’s actually the easiest part to transform fast. Start with faux spider webs. They go up quickly, they look instantly Halloween, and everyone recognizes them.
Layer in some bat cutouts along the banister or up the wall beside the stairs. Seriously, dozens of bats climbing upward toward the landing? That’s a visual payoff worth the ten minutes it takes.
Add a black lace or velvet garland draped over the railing to pull everything together. Then wrap string lights through the whole setup. Lights make the webs, bats, and garland actually visible at night — without them, you’ve decorated for yourself.
One rule though: keep webbing off the steps. Safety isn’t optional, even during Halloween season. For an extra layer of atmosphere, weave purple or orange twinkle lights through the railing alongside your garland to cast a magical, eerie glow across the whole staircase.
Pose Skeletons and Creatures on the Steps
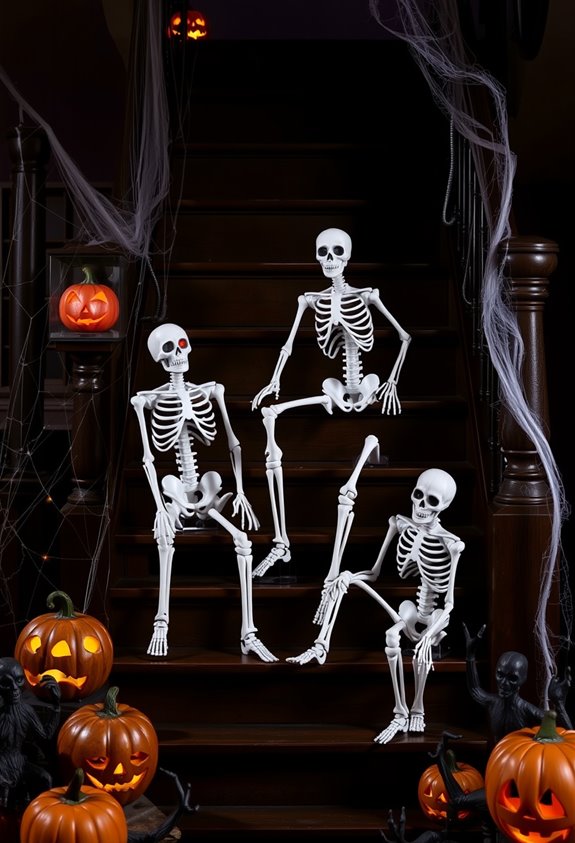
Skeletons are where your staircase goes from “decorated” to actually haunted. One skeleton standing alone? Boring. You want a squad. Arrange them like they belong there — climbing, lounging, greeting guests, or just vibing on the landing. That’s when people stop and stare.
One skeleton is forgettable. A whole squad of them, actually living on your staircase? That’s haunted.
Here’s how to pull it off:
- Stage a scene — pose skeletons across several steps so they tell a story
- Lock the joints — use zip ties, floral wire, or fishing line to stop sagging
- Add props — hats, signs, and buckets make poses read instantly
- Tuck in creatures — hide rats, spiders, and ravens between steps for surprise details
Layer it. Build it out. Your staircase should feel inhabited, not decorated. For stubborn limbs that won’t hold position, insert wire inside limbs to lock joints into exactly the pose you want.
Keep Your Halloween Staircase Safe Without Killing the Vibe
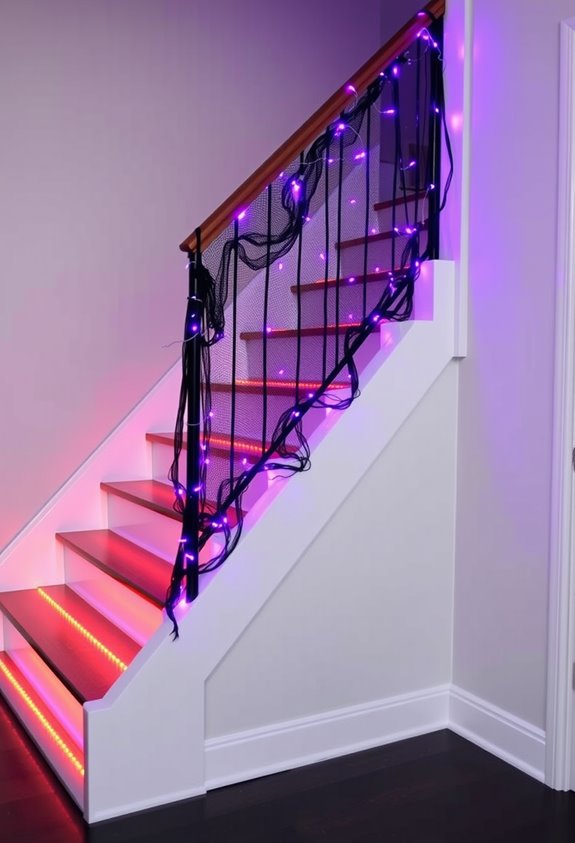
Most people don’t think about staircase safety until someone eats it on the front steps — and that’s a bad time to start. Check your railings now. Apply pressure. Any wobble means fix it before Halloween night. Loose floorboards? Same deal.
Keep the walking path clear. No jack-o’-lanterns, no hoses, no random props sitting in the footpath. Sweep wet leaves — damp organic material on steps is basically a slip-and-fall waiting to happen.
Add friction tape to your stairs. Sixty feet costs around $16. Worth it. Use LED strip lights or tap lights to define step edges, especially on darker porches. Battery-operated candles over real flames. Always.
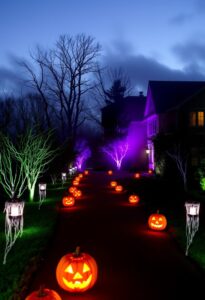
Secure your décor. Lightweight, fastened, out of the walking line. Consider solar-powered pathway lights along your walkway to guide trick-or-treaters safely from the sidewalk to your front door. Spooky is the goal. Liability isn’t.
Light Your Staircase for a Spooky Glow
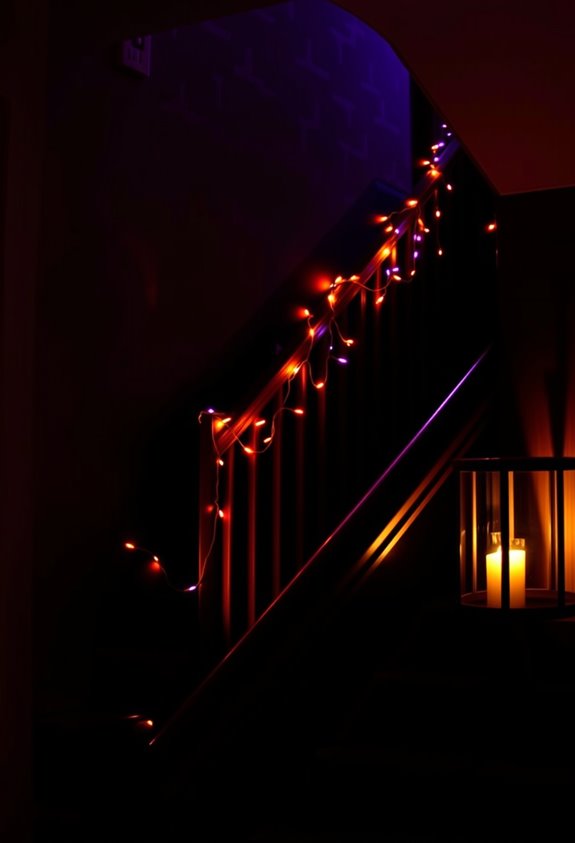
Once your staircase is safe and secured, lighting is where the real Halloween magic happens. Skip the bright overheads. They’ll ruin everything. You want shadows, mood, and that unmistakable “something’s wrong here” feeling your guests won’t forget.
Ditch the bright overheads. You’re after shadows, mood, and that creeping feeling something’s not quite right.
Here’s your spooky lighting playbook:
- Go colored — purple, orange, or red LEDs set the tone instantly.
- Add LED candles on the steps — flickering light, zero fire hazard.
- Tuck battery-powered spotlights behind props — the shadow projection does the heavy lifting.
- Wrap string lights around your banister — simple, effective, atmospheric.
Layer your sources. Overhead, low-level, and hidden lights working together create genuine depth. Set a timer so it runs from sunset to midnight automatically. Consistent atmosphere matters more than you think. To go a step further, consider smart bulbs from brands like Philips Hue or Govee that let you program flickers, pulses, or color shifts — app-controlled scenes allow instant changes across different zones of your staircase without lifting a finger.
Decorate Your Halloween Staircase Without Overspending
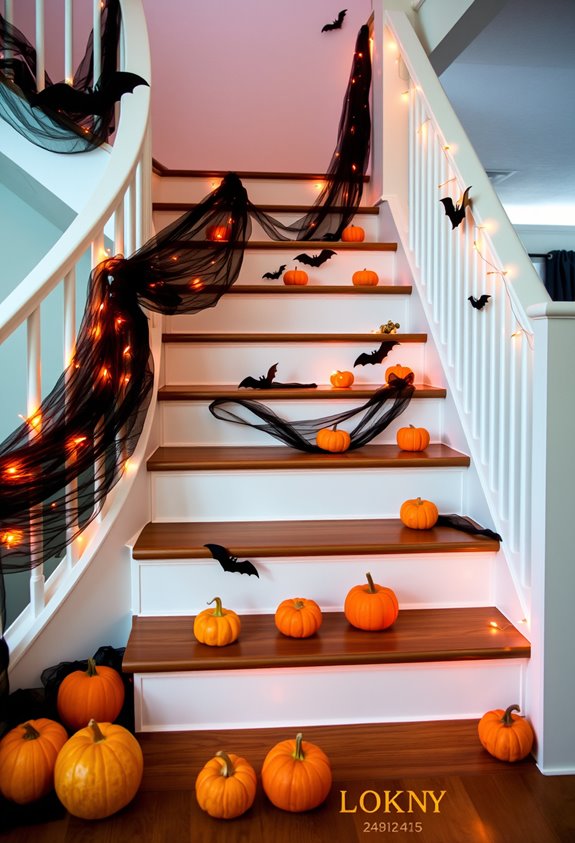
Halloween décor can add up fast if you’re not careful. But here’s the thing — you don’t need to spend big to impress anyone. Paper bats cost almost nothing and cover serious visual ground. Faux spiderwebs stretch across banisters and railings like they were made for it. Reusable riser decals go on fast, look sharp, and come back out next October. That’s a win.
DIY garlands from fabric scraps or black lace? Absolutely valid. Repeat one motif across your whole staircase and suddenly a handful of items looks intentional. Stick to black and orange, and everything ties together without extra spend.
Smart placement matters more than volume. Step edges, risers, banisters — use what you’ve got strategically. Less clutter, more impact. Simple math. Two strands of black lace garland twisted together give you a fuller, more sophisticated banister wrap for around $25 — still well under what most people spend on décor that photographs half as well.
Tie the Whole Look Together With Three Core Motifs
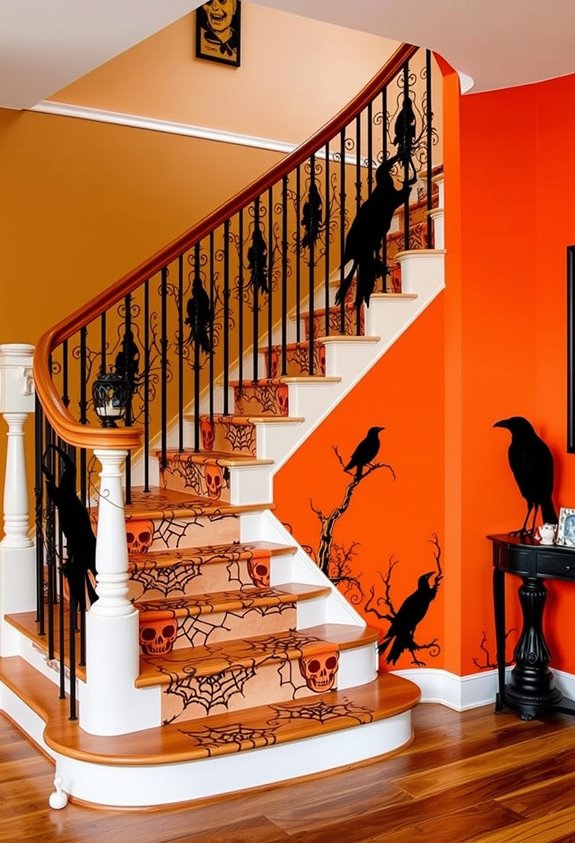
Throwing a dozen random props at your staircase isn’t a design strategy — it’s a mess. Pick three motifs and commit. That’s it.
The classic trio that actually works:
- Bats on the wall behind the staircase for vertical movement
- Pumpkins along the treads as your ground-level anchor
- Ravens on the banister or landing for a gothic, intentional finish
Each motif owns a different zone. That’s what makes it feel designed instead of dumped.
Keep your palette tight — two or three colors max. Black, deep purple, orange. Done.
This approach isn’t just aesthetically smart — it’s how you signal to every guest that you actually knew what you were doing. People notice that. They remember it. Weave warm purple or orange LED string lights through your banister garland and plug them into a smart timer so the whole staircase glows automatically at sunset.
Frequently Asked Questions
How Early Should I Start Decorating My Staircase for Halloween?
You can start decorating your staircase as early as October 1st, which is when most people begin. If you’d like a longer display, kick it off around Labor Day to join the early-decorating crowd!
Can Halloween Staircase Decorations Work in Small Apartments or Condos?
Who says small spaces can’t haunt? Your tiny staircase absolutely can dazzle with mini pumpkins, banister garlands, and string lights. Stick to three motifs, one focal zone, and you’ll nail it!
How Do I Store Halloween Staircase Decorations After the Season Ends?
Sort your decorations by type, wrap fragile pieces carefully, and store everything in labeled bins. You’ll keep your collection organized, protect it from damage, and make next Halloween’s setup feel like a fun, familiar tradition.
Are There Pet-Safe Halloween Decoration Options for Staircases?
Over 90% of pet owners decorate for holidays! You’ll love these pet-safe staircase picks: flameless candles, faux pumpkins, and secured garlands. They’re festive, non-toxic, and keep your furry family members safe this Halloween season.
Can Renters Decorate Their Staircases Without Damaging Walls or Banisters?
Yes, you can absolutely decorate your staircase without causing any damage! Use removable adhesive hooks, tension rods, and wall-safe tape to hang lights and garlands while keeping your walls and banisters perfectly intact.
Conclusion
Your staircase is the spine of your Halloween setup — get it right, and everything else falls into place. Pick your theme, work all three zones, layer your lighting, and don’t blow your budget doing it. Three core motifs, tied together consistently, make the whole thing sing. You’ve got the roadmap now. No excuses for a sad, bare banister on October 31st. Make it scream.