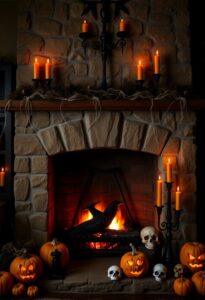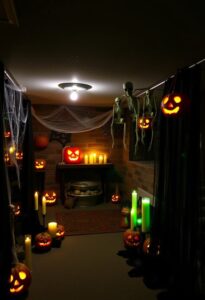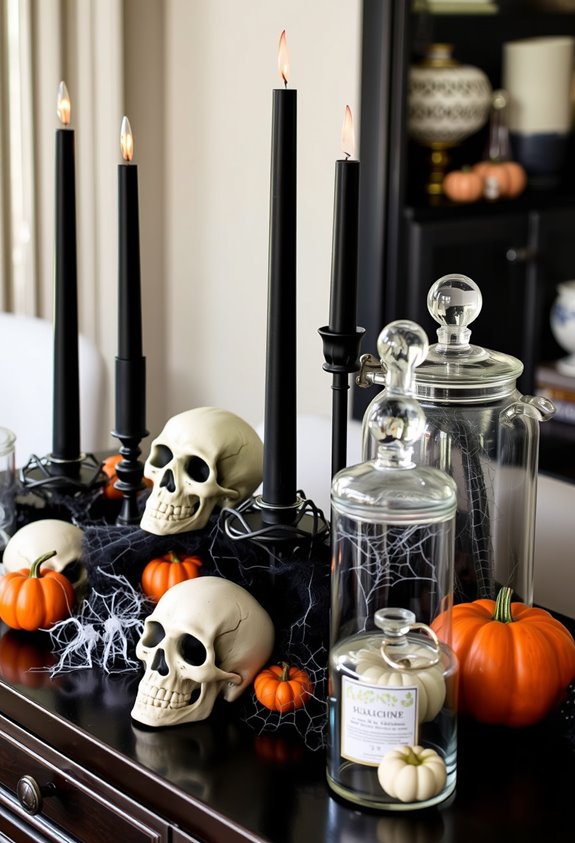
Dollar store Halloween decor looks cheap because most people don’t know the tricks. Spray paint, cheesecloth, and LED candles do more heavy lifting than price tags ever will. Stick to black, white, and one metallic, and suddenly mismatched plastic skulls look intentional. Foam balls become ghost garlands. Mason jars become luminaries. Twigs from your backyard add height for free. Nine specific ideas turn a modest haul into something that looks genuinely boutique-made.
Design Highlights
- Spray painting dollar-store finds in matte black, granite, or metallics unifies mismatched materials and instantly elevates their appearance.
- Limiting your palette to black, white, and one metallic transforms cheap plastic and foam into a boutique-style display.
- Cheesecloth draped over foam balls and hardened with fabric stiffener creates ghost decorations that look polished and expensive.
- Clustering luminaries, candles, and painted skulls in varied heights creates intentional, curated vignettes rather than cluttered arrangements.
- Combining soft cheesecloth, bare twigs, and LED candles produces a cohesive texture trio that signals high-end seasonal decorating.
Dollar Store Cheesecloth Ghost Garlands That Look Boutique-Made
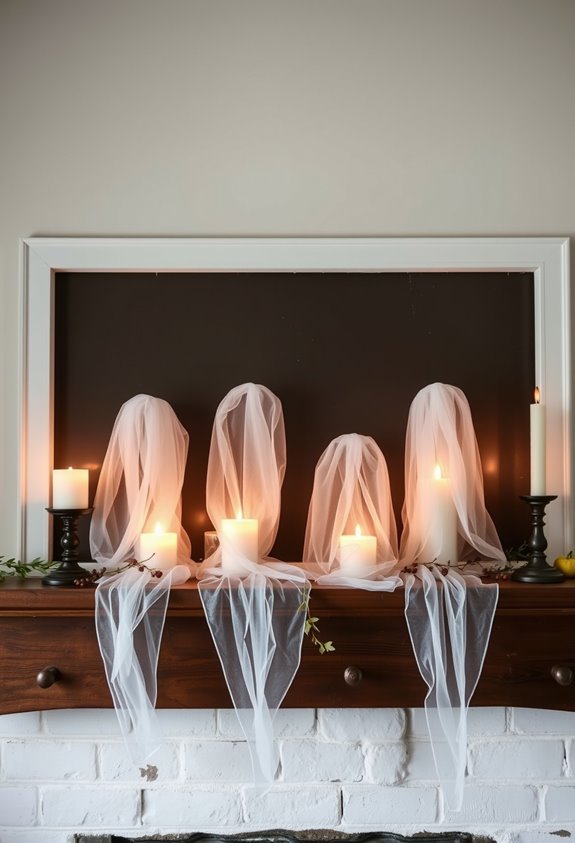
Cheesecloth ghost garlands look like they came from a boutique Halloween shop, but they’re almost entirely made from dollar-store supplies. Foam balls form the heads. Cheesecloth wraps around them. Fabric stiffener or diluted Mod Podge hardens everything so the shape actually holds. That’s the whole secret.
Layer the cheesecloth. Seriously, one thin layer looks cheap. Two or three layers create that soft, polished silhouette everyone assumes costs real money. Shape the drape while it’s wet, then leave it overnight. Don’t rush it.
Thread your finished ghosts onto twine with even spacing. Add tiny felt eyes or a simple marker face. Keep it minimal. One standard pillowcase gives you enough fabric to make eight individual ghosts. The result looks intentional, designed, and honestly kind of impressive — all from supplies that cost next to nothing.
Bat Wall Silhouettes That Make a Dramatic Entryway Statement
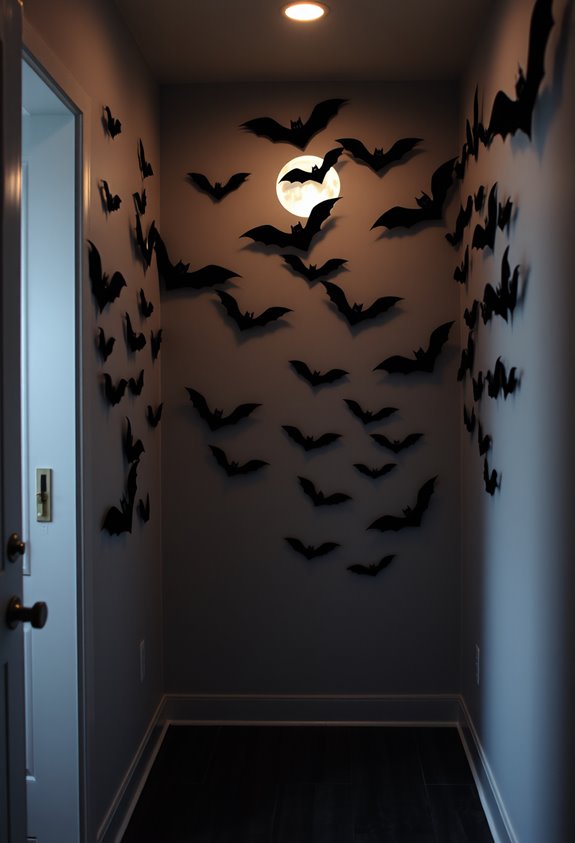
Bat wall silhouettes are one of those rare Halloween decorations where cheap actually works in your favor. Black poster board, scissors, a free stencil — that’s genuinely all you need. Some people spend $2 total. Two dollars. And the result looks intentional, dramatic, even designed.
Here’s the move: fold your poster board hotdog-style, cut half-bat shapes, open them into full silhouettes. Mix sizes on each sheet. Mount them with adhesive dots, smallest bats low, larger ones climbing upward. That diagonal, swarm-in-motion layout is what makes entryways stop people cold.
The secret isn’t money. It’s placement and scale. Black silhouettes against a light wall create instant contrast. Strong shapes. Clear movement. You don’t need expensive decor when the design does all the work itself. Kids can get in on it too — hand them a white colored pencil and let them add red eyes and faces to each bat for a personal, creepy touch that makes the whole swarm feel more alive.
Dollar Store Skull Wreaths That Look Like Boutique Front-Door Finds
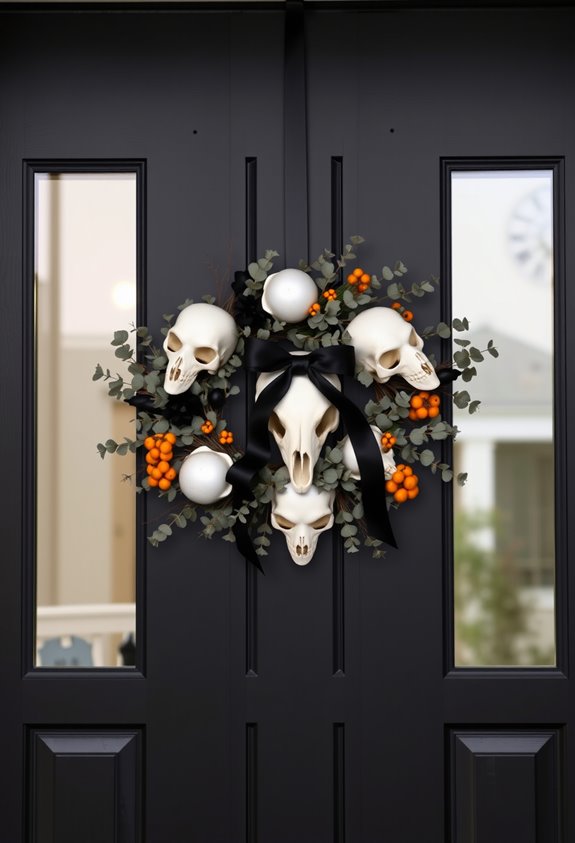
Skull wreaths have absolutely no business looking this good for under $10, and yet here we are. Dollar Tree skulls, a wire wreath form, and hot glue are genuinely all you need. The secret? Intentional design. Tight, symmetrical skull placement creates that boutique silhouette everybody recognizes instantly.
Here’s what transforms cheap into chic:
- Layer mesh and ribbon to add volume and hide the base
- Add red roses for dramatic, gothic contrast
- Keep skulls touching for a curated, balanced front-facing circle
- Finish with a bow to signal intentional design
Black-and-red palettes. Ravens. Chain accents. Suddenly your $8 wreath looks like a $60 front-door find. Remove hot-glue strings when done. That small step alone separates polished from obviously homemade.
For an elevated sugar skull version, try building over a spider web base, securing your garland and swag with zip ties and bow wire for a hold that keeps everything in place all season long.
Spray Paint Dollar Store Skulls and Pumpkins Into Premium Decor
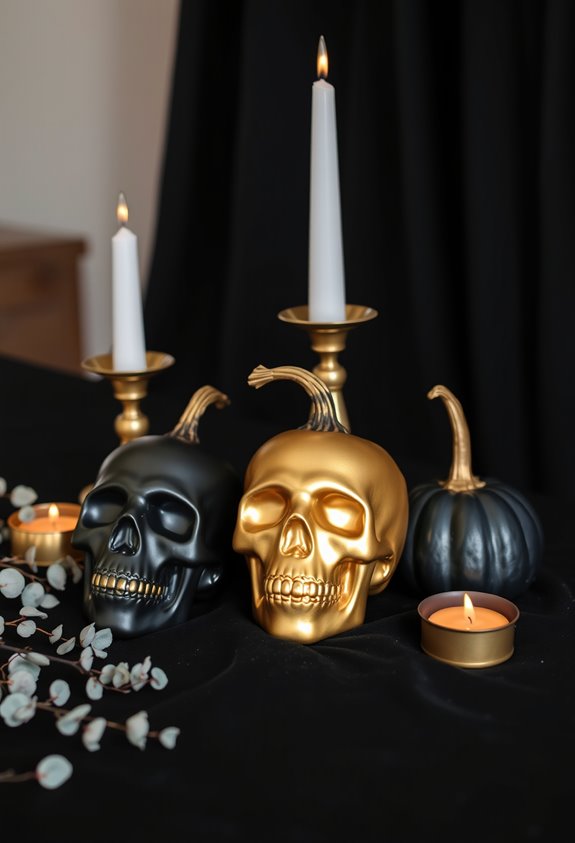
Grab a can of spray paint and suddenly that $1.25 plastic skull stops looking like a clearance bin embarrassment.
Prep matters first. Remove stickers, hit the surface with Goo Gone, sand it lightly, wipe it clean, then prime it. Skip those steps and you’ll regret it.
For finishes, matte black reads dramatic. Granite-effect spray paint adds convincing texture. Metallic gold or copper makes people actually ask where you bought it.
Technique counts too. Thin coats only. Rotate the skull as you spray. Let each side dry fully before flipping. Ventilate properly.
Once they’re dry, group your pieces in clusters. Vary the heights. Add a candle or some greenery. Suddenly your $3 total investment looks like a styled vignette someone pinned intentionally. Plastic pumpkins spray-painted gold work especially well mixed into these clusters for a cohesive elevated look.
Dollar Store Pumpkins Painted for a Luxe Centerpiece Look
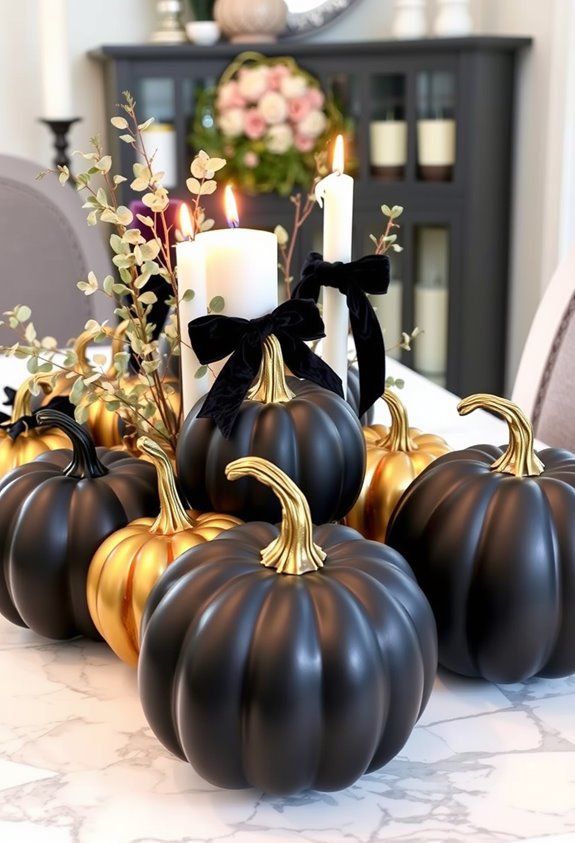
Skulls aren’t the only dollar store item worth rescuing with a can of spray paint. Those cheap plastic pumpkins? Total hidden potential. With the right prep and paint, they become centerpiece-worthy pieces that belong on a styled holiday table — not a clearance bin.
Dollar store plastic pumpkins have serious hidden potential — with the right paint, they become centerpiece-worthy.
Here’s how to pull it off:
- Sand lightly first to reduce that telltale plastic sheen
- Remove handles for a cleaner, more intentional silhouette
- Apply two light coats of metallic gold, copper, or matte white
- Group finished pumpkins on a tray with greenery, berry garland, or florals
The results genuinely look expensive. Nobody’s guessing dollar store. That’s the whole point — creating something that feels like it belongs, because it does. If the pumpkins have jack-o-lantern faces, simply turn them around so the plain side faces forward for a cleaner, more polished look.
Jar Luminaries That Look Like Expensive Halloween Candle Accents
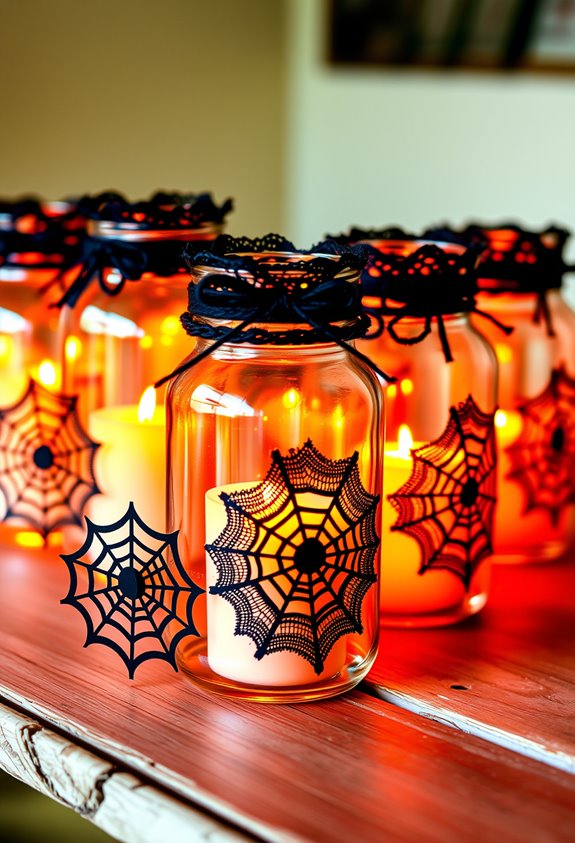
Jar luminaries punch way above their price tag. A plain mason jar, some cheesecloth or tissue paper, and a battery-operated candle inside? That’s genuinely all it takes. The light diffuses through the sheer layers and creates a soft, atmospheric glow that looks intentional and styled. Not accidental. Not cheap.
Layer your materials. Wrap twine, ribbon, or faux moss around the outside for texture. Cut crisp black tape silhouettes — skulls, pumpkin faces, bats — directly onto the glass. The dark accents create contrast, which makes the illuminated sections pop dramatically.
Cluster several jars together on a mantel or table. One luminary looks cute. Six luminaries look like a curated Halloween vignette from a boutique shop. The difference is just repetition. To get clean, precise shapes, lay overlapping strips of duct tape on wax paper first, draw your design, and peel the whole thing off as a ready-made sticker. You’ve got this.
How to Layer Black and White Tablecloths for a High-End Halloween Table
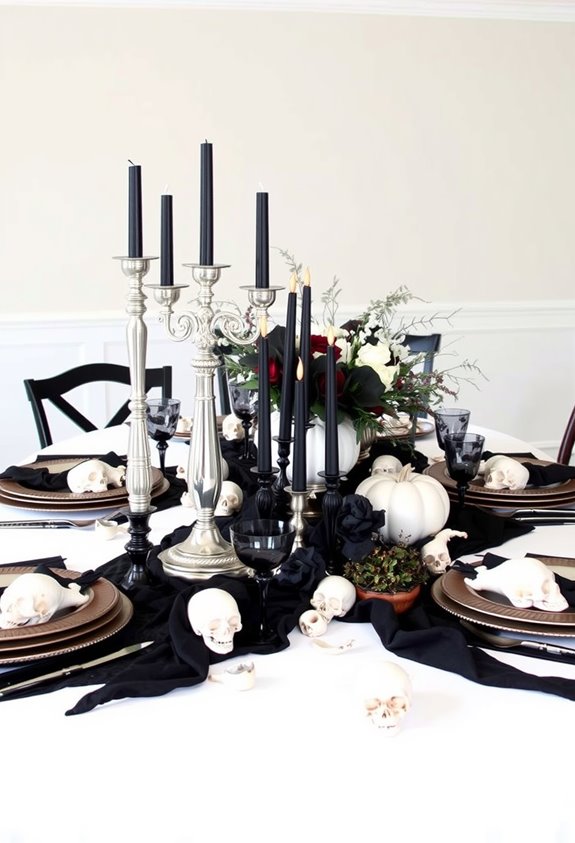
Black tablecloths pull the whole thing together before you’ve even set down a single plate. Monochrome reads polished. Busy reads amateur.
Here’s how to layer like you actually know what you’re doing:
- Start with white underneath. Let it peek out slightly. That contrast hits hard.
- Lay black on top. Solid, clean, dramatic. The whole table shifts immediately.
- Add a runner or cheesecloth strip down the center. It creates a visual line without covering everything.
- Place white placemats at each setting. They define the space and make black plates pop.
Mix textures. Lace, velvet, gauze. They’re cheap and they add dimension nobody expects from a dollar store haul.
Varying heights across candles and plates makes everything feel intentional. It really is that simple. Brass candlesticks in multiple varying sizes scattered around a centerpiece skeleton take the whole table from flat to dramatic without spending much at all.
Mantel Vignettes Using Cheesecloth, Branches, and Faux Candles
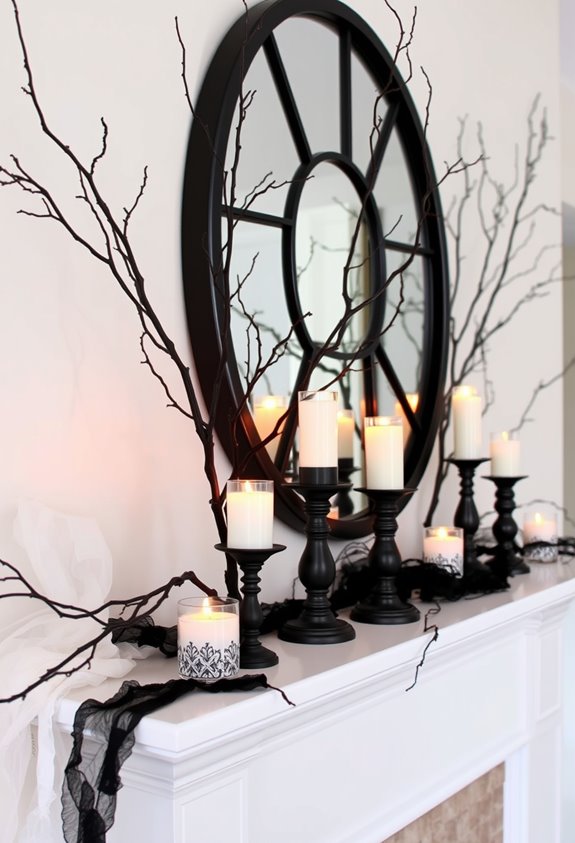
Once you move from the table to the mantel, the whole game changes. Suddenly you’ve got height, depth, and a real chance to make something look intentional.
Start with LED candles. Wrap them in cheesecloth using double-stick tape for clean edges. That loose, airy weave reads expensive. It just does. Group candles in different sizes so the cluster feels layered, not lined up like soldiers.
Then grab some backyard twigs. Free. Curved ones create movement and break up that rigid mantel line. Place them behind your candle cluster for height variation. The bare silhouettes are moody, seasonal, and add zero color clutter.
Three textures — soft fabric, organic wood, glowing light — working together. That combination is what makes people ask where you bought everything. To take it further, tuck in some artificial fall flowers without glue so you can swap them out season to season.
One Color Palette That Makes Every Dollar Store Piece Look Cohesive
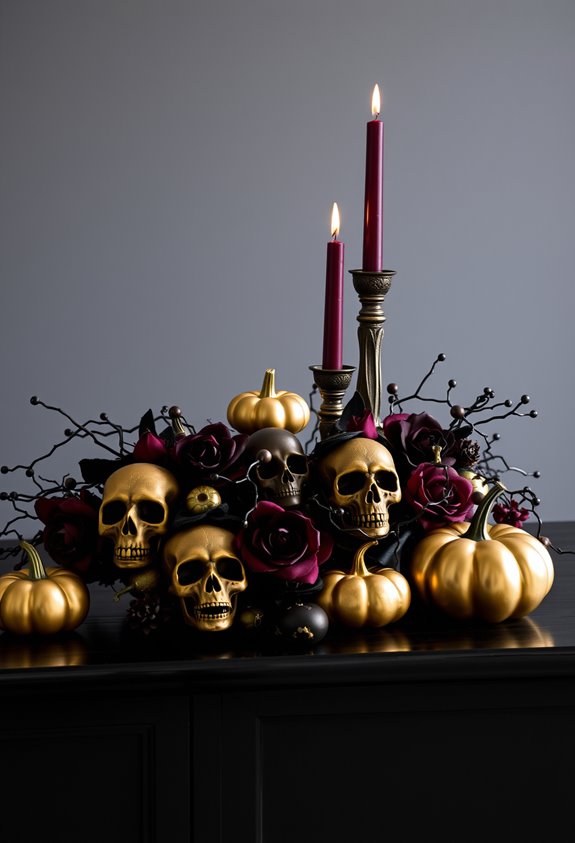
What ties that mantel together isn’t the cheesecloth or the candles — it’s the fact that everything shares the same visual language. Color does the heavy lifting. Pick black, white, and one metallic. That’s it.
Here’s why that limited palette works so hard for you:
- Black unifies mismatched surfaces — plastic, foam, ceramic — instantly
- White creates the clean contrast that makes cheap materials look intentional
- Gold or bronze accents signal “boutique” without the boutique price tag
- Repeating the same colors across every piece makes the whole display feel designed, not assembled
You don’t need expensive pieces. You need discipline. One ribbon, same color, every item. Suddenly it’s a collection. Not a clearance aisle. That’s the whole secret. A quick pass of spray paint over mismatched Dollar Store finds pulls them into your palette instantly.
Frequently Asked Questions
Where Are the Best Places to Shop Besides Dollar Stores?
You’ll find amazing deals at HomeGoods, Marshalls, and T.J. Maxx for elevated looks. Hit Michaels or Hobby Lobby with coupons, and don’t overlook thrift stores, garage sales, or after-season clearance for up to 80% off!
How Early Should You Start Decorating for Halloween?
Start decorating in early October—nearly 50% of people agree it’s the sweet spot! You’ll fit right in with your neighborhood while enjoying three to four weeks of spooky seasonal fun before Halloween night.
Can These Decorations Be Safely Used Outdoors in All Weather?
No, you can’t safely use these in all weather. Check for UL, CSA, or ETL certification marks before heading outdoors. Always plug into GFCI outlets, and replace any damaged cords to keep your display safe!
How Do You Store Dollar Store Halloween Decor After the Season?
Like seasoned medieval collectors, you store dollar store Halloween decor by cleaning and drying everything first, then wrapping fragile pieces, grouping items by type, and keeping bins in a cool, dry spot so your crew’s collection lasts!
Are These Crafts Safe and Easy Enough for Children to Help?
Yes, many of these crafts are totally kid-friendly! You’ll want to handle hot glue and cutting yourself, then let your little ones paint, place stickers, and decorate pre-cut pieces—it’s a perfect family bonding activity!
Conclusion
You don’t need a big budget to pull off Halloween decor that actually impresses people. These nine ideas prove it. According to the American Retail Federation, Americans spend over $3.6 billion on Halloween decorations annually — most of it unnecessarily. A cohesive color palette, some spray paint, and a little cheesecloth go a long way. Spend smart. Your front door doesn’t know the difference between boutique and dollar store. Neither will your guests.