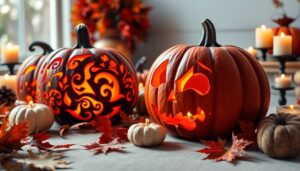
Transform your home into a spooky skeleton paradise with easy DIY decorations that won’t break the bank. You’ll need basic materials like white cardstock, scissors, markers, and glue to craft bone-chilling displays. Turn everyday items like milk jugs into glowing skull lanterns, create paper mache bone sculptures, and repurpose household materials into skeletal art. With strategic placement and proper lighting, your handmade decorations will make your Halloween setup truly spine-tingling. Let’s explore these haunting projects in detail.
Design Highlights
- Transform clean milk jugs into glowing skeleton lanterns by drawing faces and adding LED lights for an eerie outdoor display.
- Create paper mache bone sculptures using newspaper strips, wire frames, and white paint for realistic skeletal decorations.
- Repurpose household items like plastic hangers and paper towel rolls to construct cost-effective ribcages and bone segments.
- Paint cardboard boxes black to make spooky coffins, then add skeleton decorations and strategic lighting for dramatic effect.
- Install decorations using weatherproof zip ties outdoors and removable adhesive hooks indoors, ensuring pathways remain clear for safety.
Essential Materials and Tools for DIY Skeleton Crafts
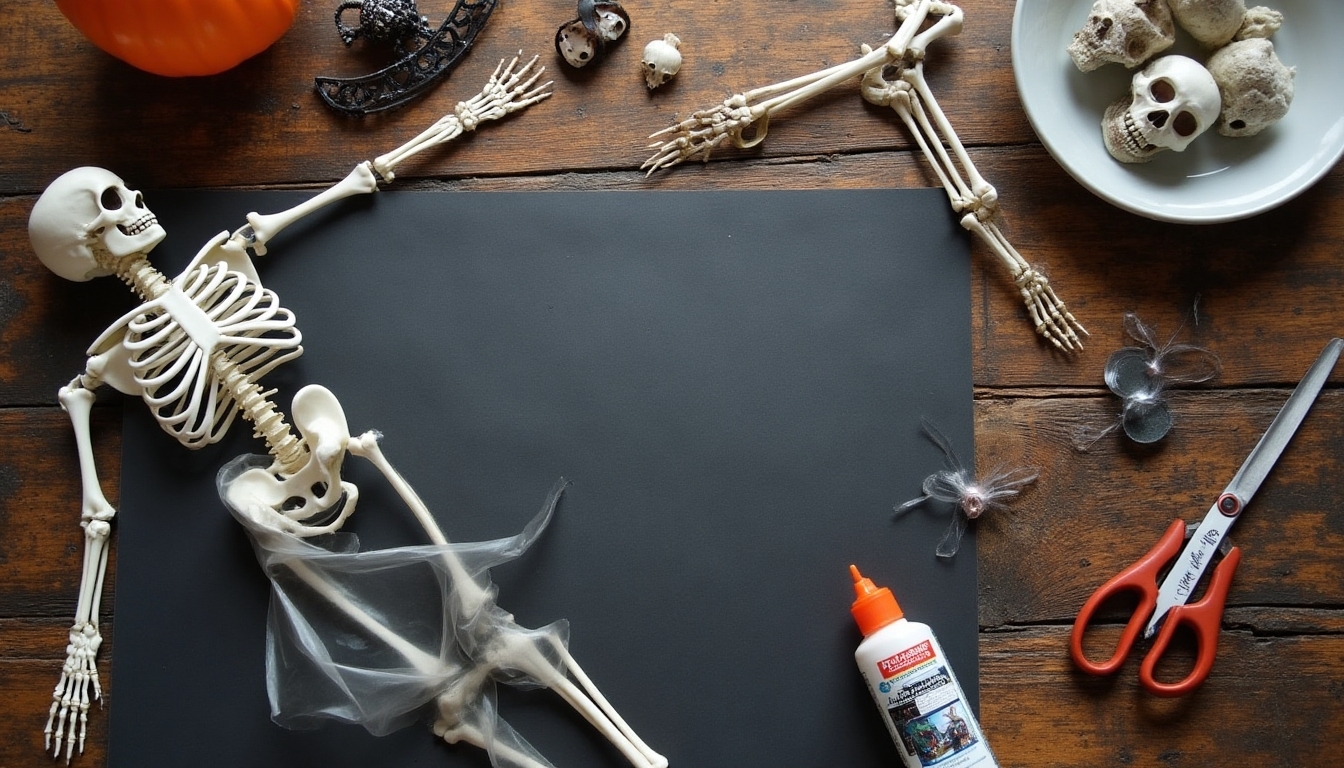
Whether you’re a Halloween enthusiast or just getting started with spooky crafts, you’ll need the right supplies to create amazing DIY skeleton decorations. Your essential toolkit should include white cardstock or construction paper, scissors, black markers, string or fishing line, and a reliable glue gun with plenty of glue sticks.
Don’t forget to grab some basic crafting tools like pencils, rulers, and tape. You’ll also want to have white paint, paintbrushes, and maybe some glow-in-the-dark paint for extra spookiness. For more durable decorations, consider picking up some plastic bones or PVC pipes that you can easily transform into spine-chilling displays. Additionally, incorporating durability and weather resistance can enhance the longevity of your DIY skeleton decorations throughout the Halloween season.
Quick and Easy Milk Jug Skeleton Lanterns
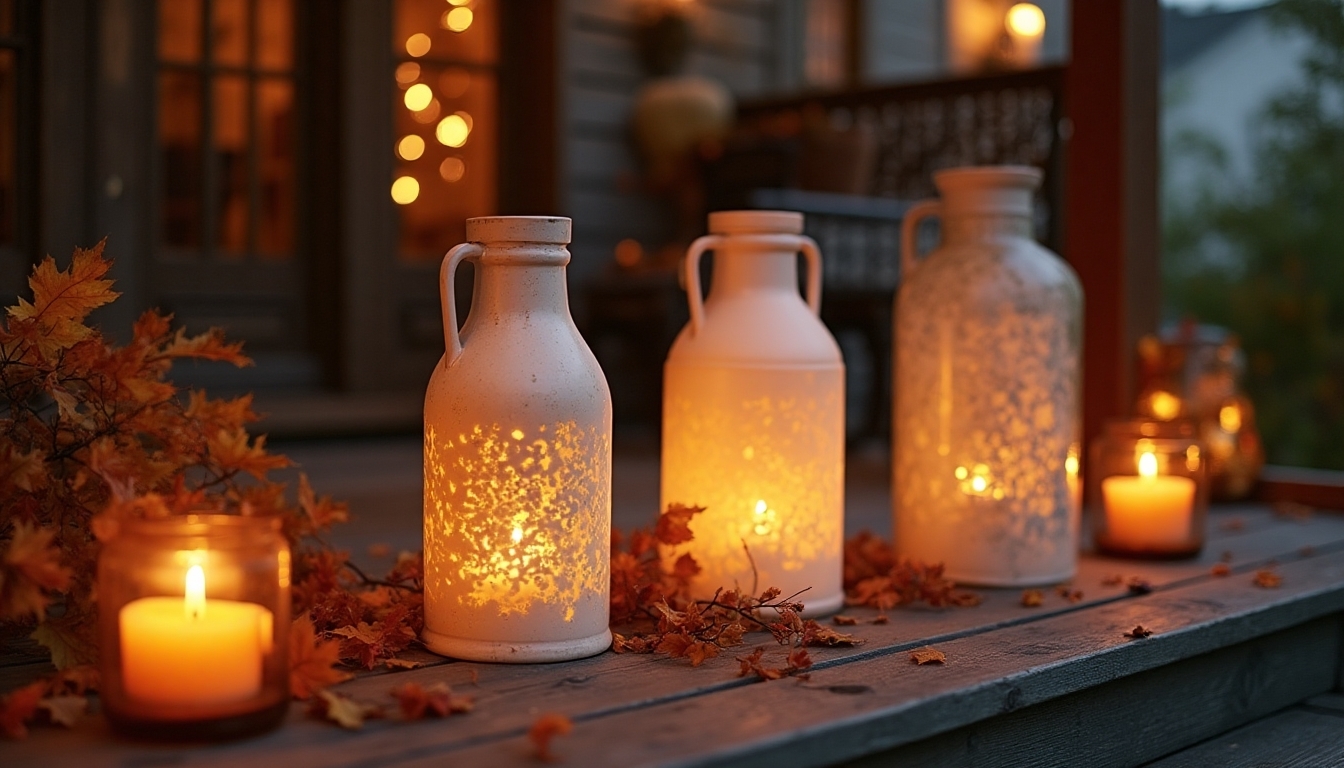
When you’re looking for a fun and budget-friendly Halloween project, milk jug skeleton lanterns are an absolute treasure to create. You’ll love how these spooky decorations light up your porch and welcome trick-or-treaters with their ghostly glow. Plus, you can pair these lanterns with other Halloween kitchen decor ideas to really set the mood for your festive gatherings.
Start by collecting clean milk jugs and drawing simple skull faces on them with black markers. Cut a small opening in the back of each jug for your lights, and don’t forget to keep the caps on. String your favorite battery-operated LED lights through the jugs, spacing them evenly. You can connect multiple jugs to create a delightful chain of glowing skeleton faces.
Paper Mache Bone Sculptures and Wall Art
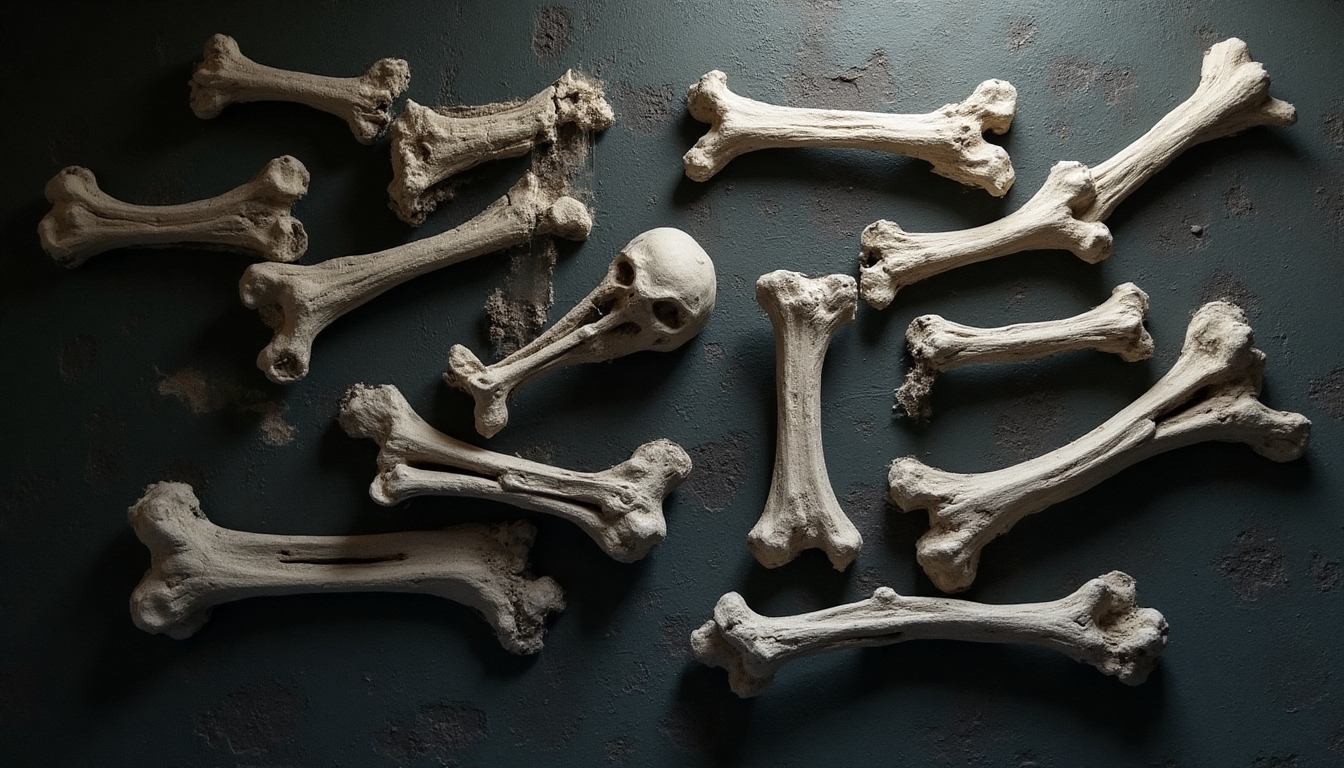
Looking for a truly spectacular Halloween decoration that’ll make your home stand out? Paper mache bones are the perfect way to create unique, eye-catching displays that’ll impress your neighbors and trick-or-treaters alike.
Start by mixing paper mache paste and tearing strips of newspaper. Shape chicken wire or aluminum foil into basic bone forms, then layer your strips over them. Once dry, paint them with white acrylic paint and add shadows with gray tones for depth. You can create skull centerpieces, hanging ribcages, or even full skeletal hands reaching out from your walls.
Don’t worry if they’re not perfect – slightly crooked bones add character and spookiness to your creation! Additionally, consider incorporating Halloween fence line decor to enhance your outdoor spooky atmosphere even further.
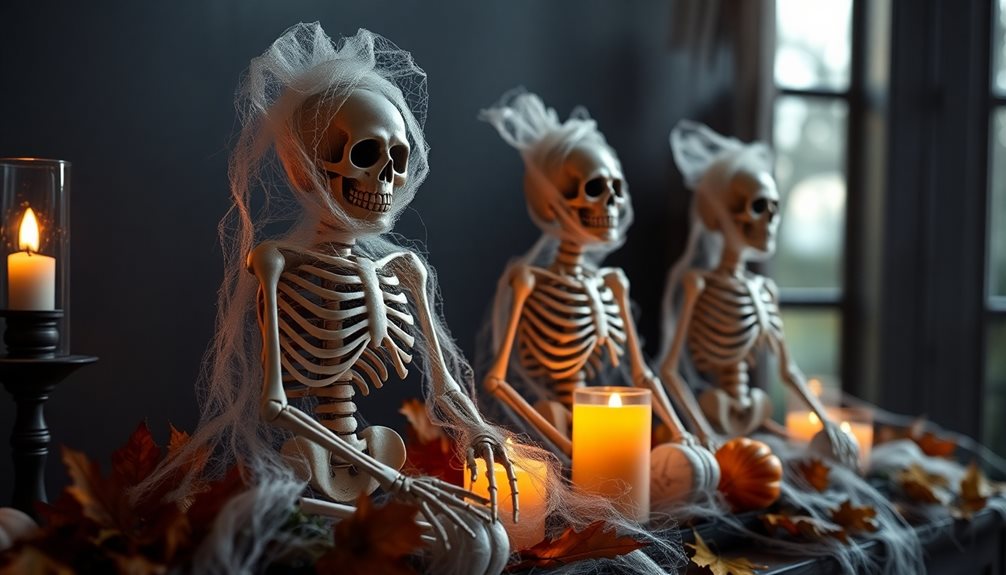
Upcycled Household Items Into Skeletal Displays
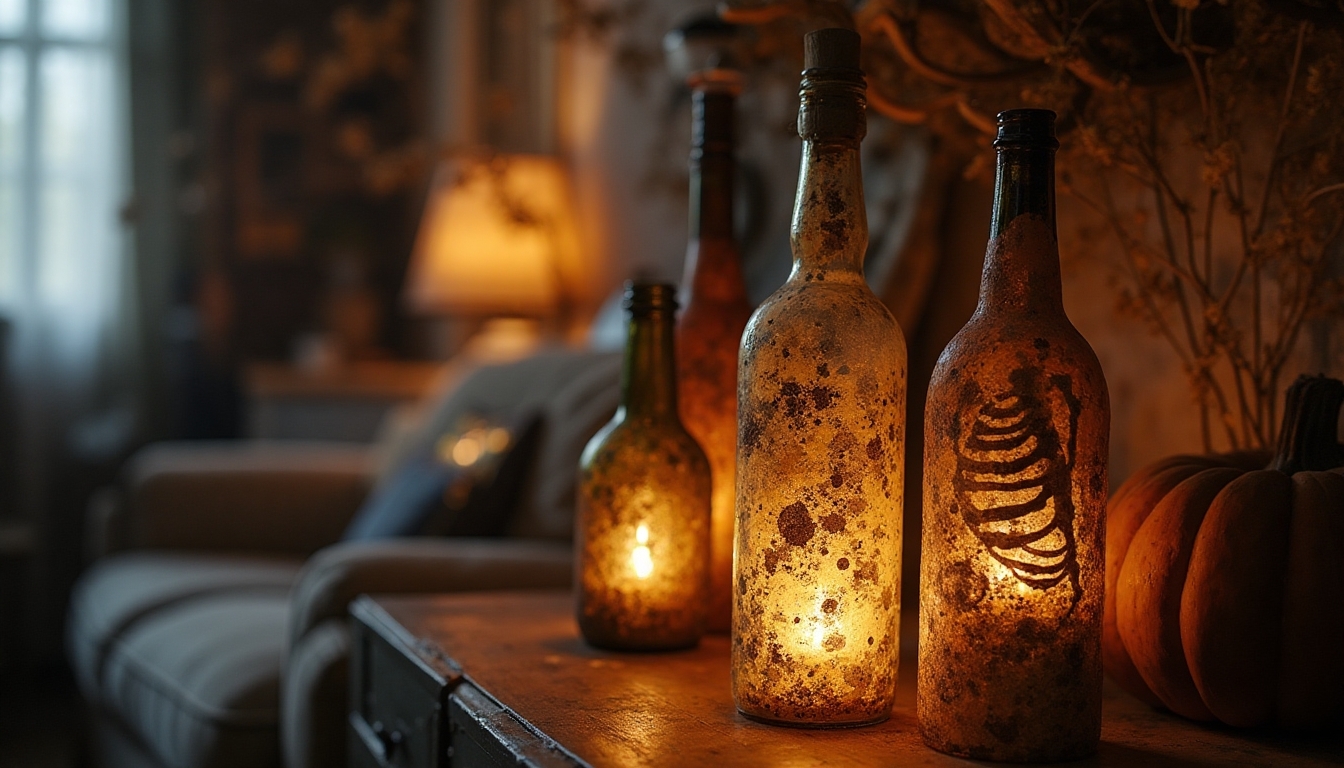
Transform everyday household items into spooky skeletal decorations with these creative upcycling ideas. You’ll love turning old milk jugs into glowing skull lanterns, and plastic hangers can become perfect ribcages when heated and reshaped. Empty paper towel rolls make fantastic bone segments, while white plastic spoons create eerie spine arrangements.
Get creative with white-painted branches as finger bones, and transform cardboard boxes into coffins with simple black paint. You’re part of a community that sees treasure in everyday items! Don’t forget to collect clear plastic bottles, which, when cut and painted, make wonderful curved bones for your haunting display. Additionally, consider incorporating eco-friendly decoration alternatives to enhance your spooky atmosphere sustainably.
Tips for Installing Your Spooky Skeleton Decor
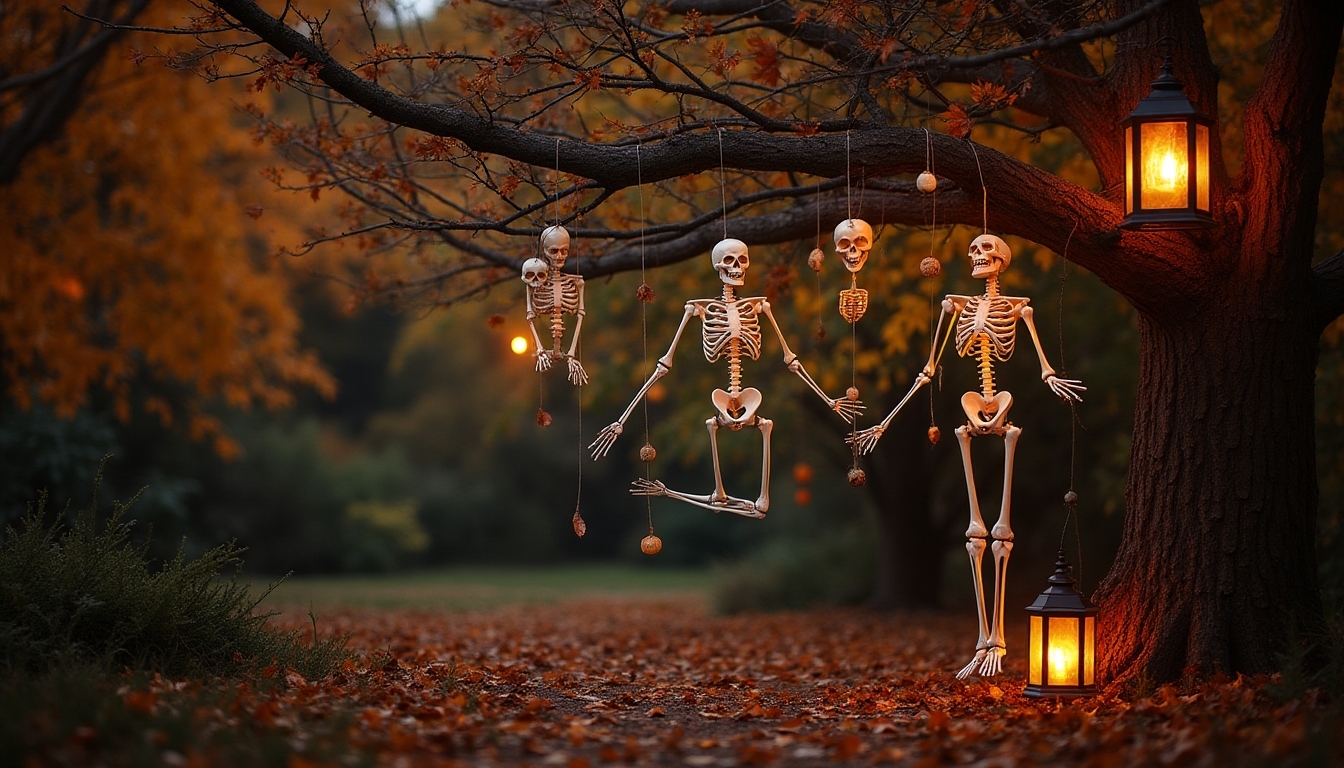
Now that you’ve created your bone-chilling decorations, let’s set them up for maximum spooky impact! Choose strategic spots where your skeletons will catch visitors’ eyes, like near entryways or peeking from behind bushes.
Secure your decorations properly to protect them from wind and weather. You’ll want to use weatherproof zip ties for outdoor displays, while removable adhesive hooks work great for indoor setups. Don’t forget to angle your lighting to create dramatic shadows! Additionally, consider incorporating products related to halloween front yard decor to enhance the overall theme of your display.
Remember to keep pathways clear and decorations above ground level to prevent tripping hazards. Your fellow Halloween enthusiasts will appreciate your attention to both spookiness and safety.
Frequently Asked Questions
How Long Will Homemade Skeleton Decorations Last in Outdoor Weather Conditions?
Like a trusty companion through October’s chill, your homemade skeleton decorations can last 2-3 seasons when you’ve properly weatherproofed them. You’ll want to seal them with waterproof spray or outdoor polyurethane to protect against rain and moisture. For best results, bring them inside during severe weather and store them in a dry place after Halloween. If you’ve used paper materials, they’ll only last one season, even with protection.
Can These DIY Skeleton Crafts Be Safely Stored for Next Halloween?
Yes, you’ll be happy to know that your DIY skeleton decorations can last for many Halloweens to come with proper storage! Keep them in a cool, dry place like your attic or basement, and wrap them carefully in bubble wrap or old bedsheets to protect them. You’ll want to store them in sturdy plastic bins with tight-fitting lids to keep out moisture and dust. Your spooky friends will be ready to welcome you next October!
Are These Skeleton Decorations Appropriate for Young Children’s Halloween Parties?
Want to make sure your Halloween party is just right for the little ones? You’ll be happy to know that DIY skeleton decorations can be perfectly kid-friendly when you choose the right approach. Focus on making them playful rather than scary – think colorful bones, silly poses, and cheerful facial expressions. You can even turn it into a fun craft activity where kids help decorate the skeletons with ribbons, glitter, and non-toxic paint.
What Type of Lighting Works Best to Illuminate DIY Skeleton Displays?
You’ll create the perfect spooky atmosphere for your skeleton displays with LED spotlights in purple, green, or orange colors. Place battery-operated flickering tea lights near your skeletons to cast eerie, dancing shadows that’ll make your decorations come alive. For an extra special touch, try using blacklights with glow-in-the-dark paint on your skeletons, or wrap them with white string lights to make them glow mysteriously in the dark.
How Can I Prevent My Outdoor Skeleton Decorations From Being Stolen?
You’ll want to keep your spooky friends safe and secure this Halloween! Anchor your skeletons with sturdy garden stakes or zip ties through their joints, attaching them firmly to your porch railings or sturdy decorations. You can also use security cables, just like the ones for bikes, to loop through the ribcage. Don’t forget to bring your most valuable decorations inside at night, and consider installing motion-sensor lights to deter mischief-makers.