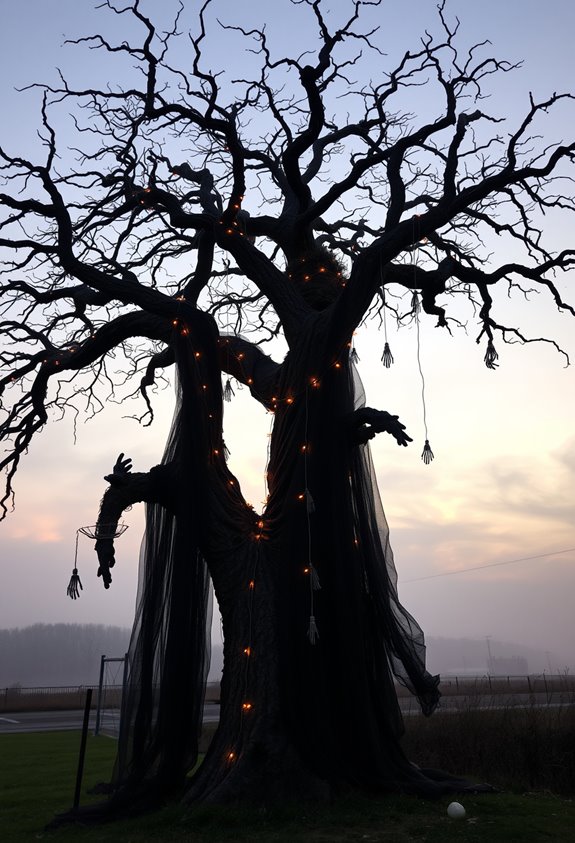
Bare branches beat leafy ones every time — gnarly silhouettes are the whole point. Start by matching your tree to your space, because a bad foundation ruins everything else. Go black and orange for classic contrast, add warm amber or red lighting at night, and skip the blue-white bulbs entirely. Anchor it properly, or it’s a wind event waiting to happen. There’s a lot more to unpack across all eight ideas.
Design Highlights
- Bare branches create the eeriest silhouettes; their gnarly, irregular shapes remain visible from a distance and let each decoration stand out.
- Upward lighting from the base casts dramatic shadows, while warm amber or orange tones deliver the best nighttime spook effect.
- Anchor your tree using a welded steel stand, ballast weights, and zip ties to keep props secure against wind.
- Match tree size to your space first—tabletop for small areas, full-size for open rooms, porch trees for outdoor scenes.
- Layer tombstones, low fog, skulls, and hanging bats around the trunk to create a unified, immersive haunted yard scene.
Start With Bare Branches for Maximum Spook Factor
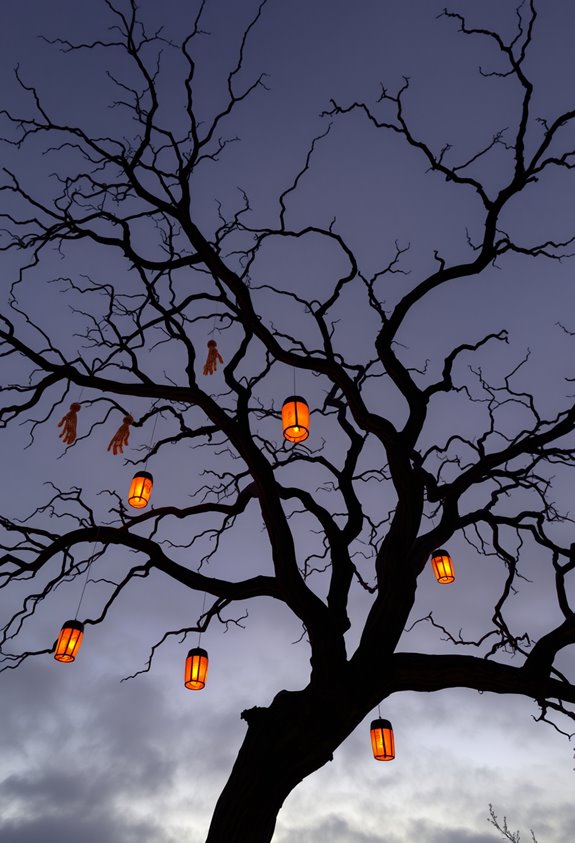
When it comes to Halloween yard trees, bare branches are your secret weapon. No leaves, no clutter. Just raw, twisted limbs doing exactly what nature intended — looking unsettling.
Stripped-down branches expose every gnarly angle and irregular shape, and that stark silhouette reads as eerie from a distance. No heavy decoration required. Your neighbors will get it immediately.
Bare branches also pull double duty. They naturally support bats, crows, hanging ghosts, and skeleton props without looking overcrowded. Sparse spacing lets each decoration breathe and stand out.
Add upward lighting from the base, and those exposed limbs cast dramatic shadows that do the heavy lifting for you. For extra atmosphere, fill a vase with stones or sand to keep bare branches stable and upright as a standalone display.
Here’s the blunt truth: leaves ruin the effect. Bare is better. Always has been. Your haunted yard deserves that clarity.
What Colors Make a Halloween Tree Look Haunted?
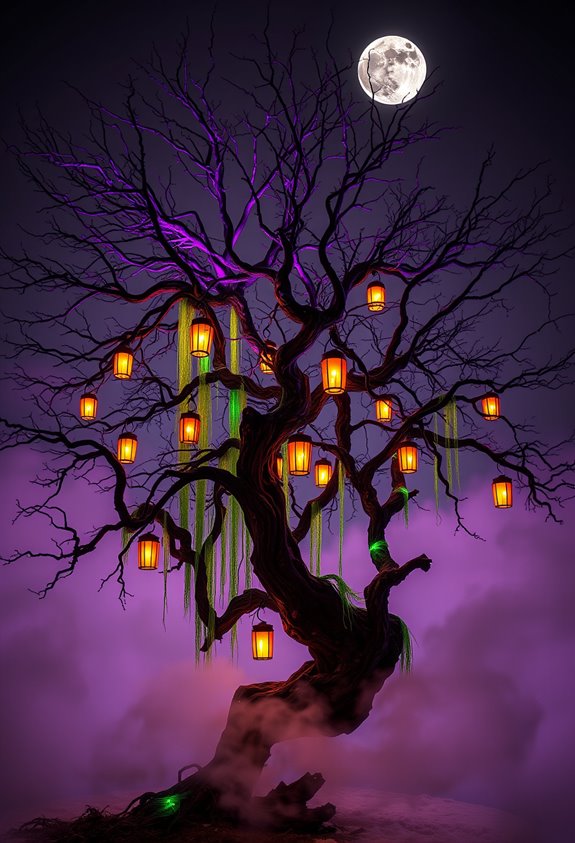
Color is doing more work than your plastic skeletons ever will. Black and orange is the classic pairing for a reason — black creates that shadowy silhouette, orange adds warm, eerie glow. Together, they signal Halloween without any confusion. Want something darker? Add blood red as an accent. Not a dominant color. Just enough to suggest something sinister happened here.
Purple and eerie green layer in beautifully over a black base. Green makes the whole thing feel monstrous. Purple keeps it dramatic. Both are standard in the haunted-tree community, and yes, that’s a community you want to be part of.
White lights against black branches produce stark, ghostly contrast. Warm white flickers. That matters. Skip the multicolored strands. They belong on a different holiday entirely. Painting the inside of any cut-out face feature yellow intensifies the glow effect and makes the tree look lit from within even before you add LED lights.
Build a DIY Creepy Halloween Tree From Scratch
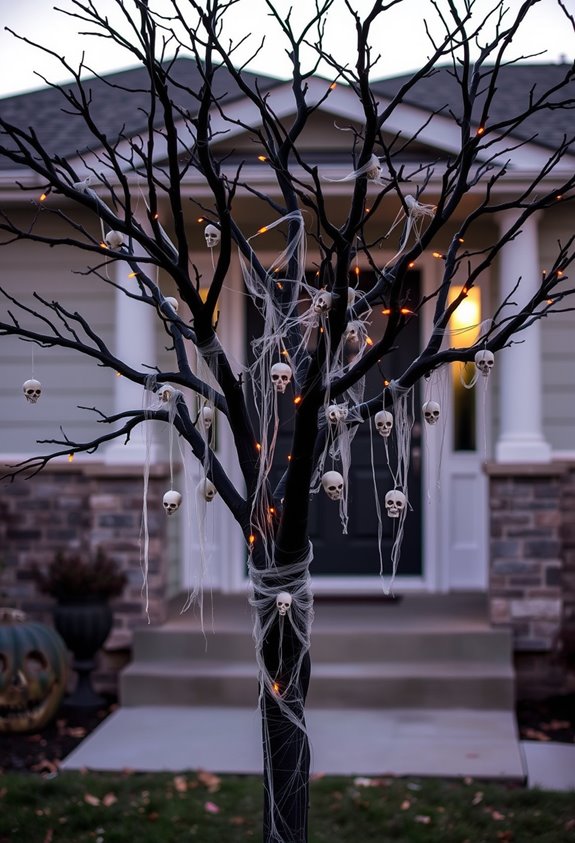
Building a tree from scratch sounds intimidating, but it’s mostly just committing to the process.
Start with a central trunk—PVC pipe, cardboard tube, or an actual branch if you’re feeling fancy. Add arms using wire, twisted paper, or PVC elbows. Shape the top into something jagged and threatening. Friendly silhouettes aren’t the goal here.
The trunk comes first. Everything jagged and unsettling follows from there.
Cover your frame with chicken wire, paper strips, or spray foam to build up that bark-like texture. Layer it. Let it dry completely before touching paint.
Cut a face into the trunk. Back those openings with dark fabric so they actually look deep and hollow. Add glowing eyes.
Finish with a black base coat, then dry-brush brown and gray over everything. If you don’t have brown paint on hand, you can mix your own by combining red and green paint until you hit the right earthy tone. Drape cobwebs. Hide lights inside. Done.
Lock Your Tree Down Before You Decorate
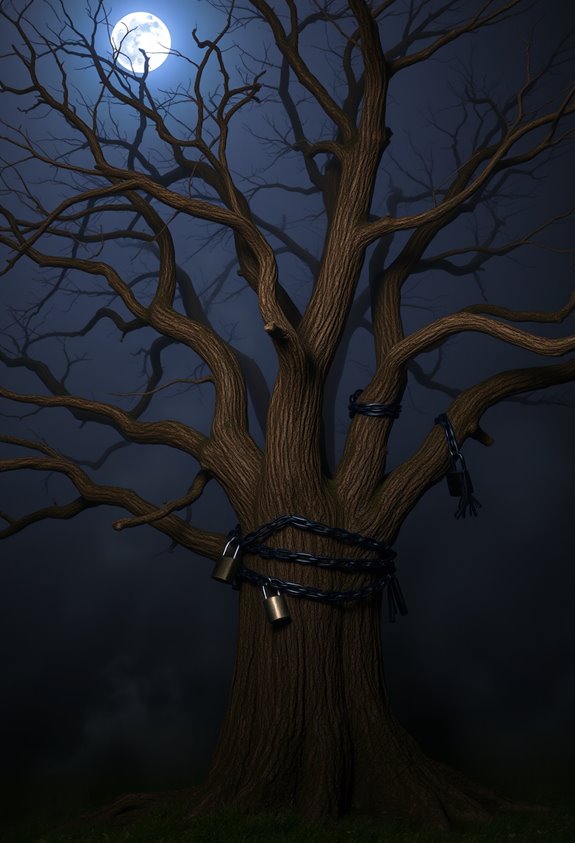
Your tree’s built. Now don’t skip this part. Before a single skeleton hand touches a branch, you need to lock that tree down.
A welded steel stand is your best friend here. Add ballast — exercise weights, bricks, whatever’s heavy — to the base. Wind doesn’t care how beautiful your display is.
Place the tree near a fence, pillar, or column to cut down on wind exposure. Keep it away from walkways. Trick-or-treaters shouldn’t be dodging a falling tree — that’s not the fun kind of scary.
Use zip ties, fishing wire, or straps to fasten everything tight. Multiple tie points per prop. One fastener fails, the rest hold. Anchoring isn’t glamorous. But neither is explaining to your neighbors why your tree crushed their pumpkins.
When attaching anything to your actual yard trees, use yarn or built-in straps to secure decorations without damaging the bark.
Hang Bats and Ghosts on Your Halloween Tree
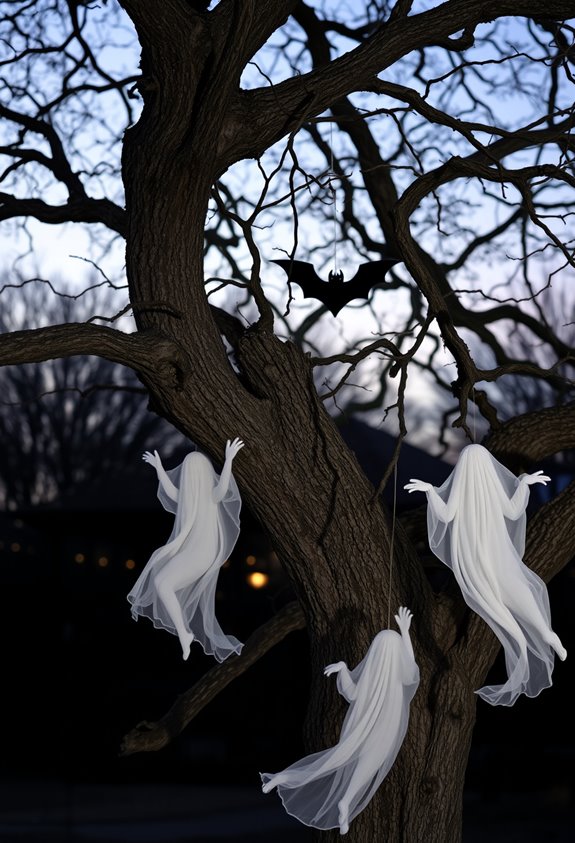
Bats and ghosts are where your tree stops looking like a decorated stick and starts looking like something worth slowing down for. Material and placement matter more than you’d think.
Bats and ghosts are what separate a decorated tree from one that actually stops traffic.
Four things that actually make a difference:
- Use fishing line. It’s nearly invisible and makes everything look genuinely suspended. Creepy in the best way.
- Mix your sizes. Small, medium, oversized — varied cutouts create depth. Same-size everything looks amateur.
- Cluster, don’t scatter. Groups read better than lone pieces dangling awkwardly across branches.
- Pick weather-resistant materials. Felt, foam, or coated cardstock survive dew and wind. Plain paper won’t.
Stick to black and white. Matte finishes pop against bark and night sky. Tattered edges on wings and ghost hems? Non-negotiable.
Light Up Your Halloween Tree for Nighttime Impact
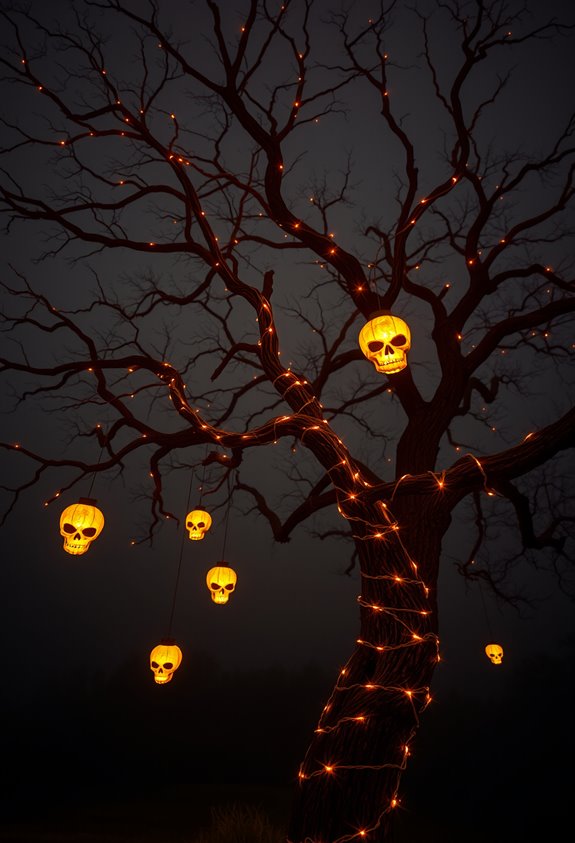
Darkness is what makes a Halloween tree actually terrifying — and lighting is what ruins it or seals it. Go warm. Red, orange, and amber tones hit different at night and won’t wreck local wildlife the way blue or daylight-white lights do.
Skip the uplighting — seriously. Shining light upward increases tree stress and blows out your whole creepy aesthetic anyway. Point light downward, keep it targeted, and use a timer.
Experts recommend no more than six hours of daily runtime. All-night lighting disrupts tree dormancy and growth cycles, and trees are sensitive to surprisingly low light levels. Put your Halloween lights on a timer, set them to shut off at bedtime, and let the darkness do the heavy lifting. That’s where the fear lives. Studies have shown that 12-hour light exposure can cause ginkgo trees to respire at four times their normal rate, which depletes the carbon storage that fuels healthy growth.
Layer Tombstones, Fog, and Pumpkins Around the Base
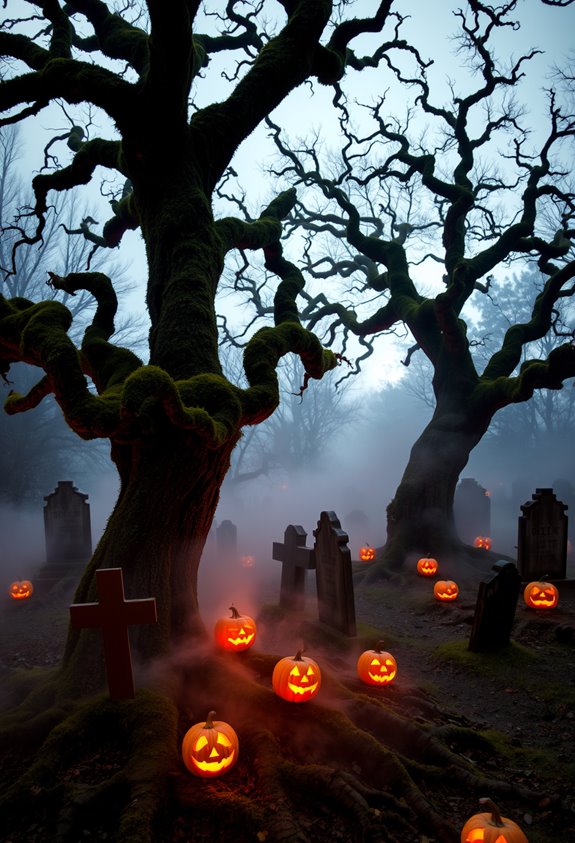
Once the tree’s dressed and lit, the real work happens at ground level. The base makes or breaks the whole scene. Sparse props? It’ll look unfinished. Trust that.
Here’s how to build a base that actually lands:
- Cluster tombstones tight around the trunk — dense placement sells the buried plot feel far better than spacing them out.
- Run a fog machine low to pool mist near the base, connecting tombstones and pumpkins into one unified scene.
- Anchor orange with pumpkins — they cut through gray tombstones and dark branches instantly.
- Mix in skulls or cobwebs to bridge the gap between trunk and yard.
Dense. Layered. Intentional. That’s the difference between a Halloween yard everyone slows down for and one they ignore. Trees like Bald Cypress add natural drama at ground level, with knobby root knees protruding from the soil like mysterious buried forms that need zero decoration to unsettle.
Which Halloween Tree Works Best for Your Space?
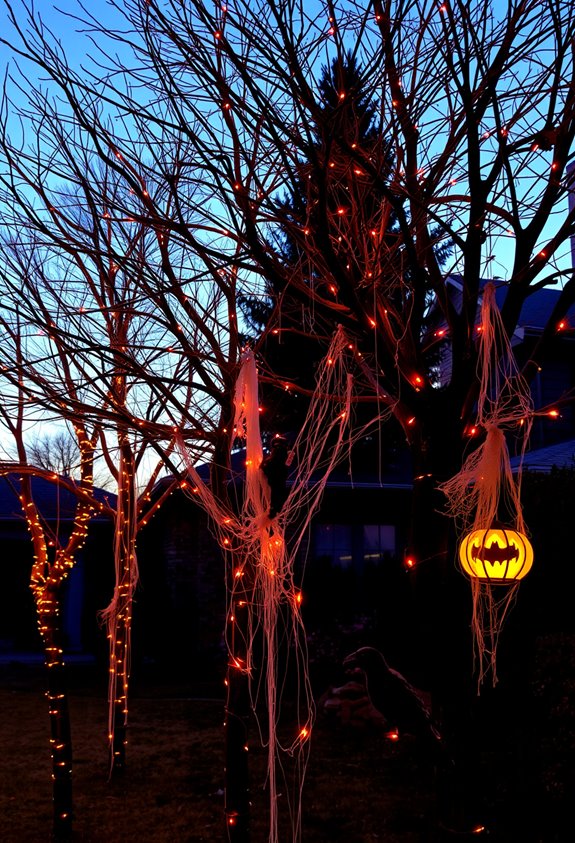
Now that your base is locked in, there’s one question worth asking before any of that matters: did you even pick the right tree for your space? Because none of the fog, pumpkins, or tombstones will save a tree that’s completely wrong for where you live.
The wrong tree kills the whole setup. No amount of fog or tombstones fixes a bad foundation.
Small apartment? Go tabletop.
Open living room or foyer? Full-size tree, no debate.
Tight budget with a minimalist vibe? Painted branches in a pot. Done.
If you’re decorating a porch or patio where street visibility actually matters, you need a porch tree that anchors the whole outdoor scene. That’s the one doing the heavy lifting.
Match the tree to your space first. Then decorate. That order isn’t optional. A candy corn tree works especially well for porch display, using paint to create a striped effect before any ornaments go on.
Frequently Asked Questions
Can Halloween Tree Decorations Withstand Heavy Rain or Strong Wind Storms?
Your Halloween tree decorations can withstand heavy rain and strong winds if you use weather-resistant materials, secure them with stakes or ties, and protect electrical connections with waterproof covers—we’ve all got to keep our spooky displays safe!
Are Halloween Yard Trees Safe to Display Near Young Children or Pets?
You can safely display Halloween yard trees near kids and pets if you anchor them securely, avoid dangling cords, skip real candles, and keep small decorative pieces out of their reach.
How Early in October Should You Set up Your Halloween Tree?
You’ll want to set up your Halloween tree during the first two weeks of October — and it’s no coincidence that’s when your neighbors start decorating too, making the whole street feel festively united.
Can Artificial Trees Be Reused for Multiple Halloween Seasons Without Damage?
Yes, you can reuse your artificial Halloween tree for 5–10 seasons if you store it carefully, clean it annually, and inspect the wiring. Proper care keeps it looking hauntingly great for your whole crew!
What Is the Average Cost to Build a DIY Halloween Yard Tree?
You’ll typically spend $50 to $150 building your DIY Halloween yard tree, joining countless crafters who create spooky displays on a budget. Ultra-budget builds using dollar-store supplies can cost you as little as $20 to $40.
Conclusion
Your yard can be the haunted crown jewel of the neighborhood this Halloween. Pick your tree, grab your supplies, and commit to the bit. Bare branches, creepy lighting, fog machines, tombstones — it all works together like a perfectly choreographed nightmare. Don’t overthink it. Start simple, layer in details, and let the atmosphere build itself. Your neighbors will either love you or avoid your house entirely. Honestly, both outcomes are a win.