Your mailbox is prime Halloween real estate, and most people waste it. Perch a skeleton on top for instant street-level drama. Layer bats high, spiders mid, and crawling figures low for a scene that actually tells a story. Tuck purple string lights underneath to throw shadows upward after dark. Drape Spanish moss, add dark florals in odd numbers, and you’re done. Stick around — there’s a lot more where that came from.
Design Highlights
- Perch a skeleton on top of your mailbox for instant silhouette and street-stopping visual impact from a distance.
- Layer creatures vertically: bats near the top, spiders at mid-level, and crawling skeletons or figures below.
- Use purple or orange twinkling string lights mounted low to cast eerie upward shadows across your mailbox.
- Drape Spanish moss as a base and add dark florals like black roses or burgundy dahlias in odd numbers.
- Keep costs under $5 using dollar-store spiderwebbing, felt spiders, small skeletons, and faux crows for maximum spooky effect.
Halloween Mailbox Skeleton Scenes That Stop Traffic
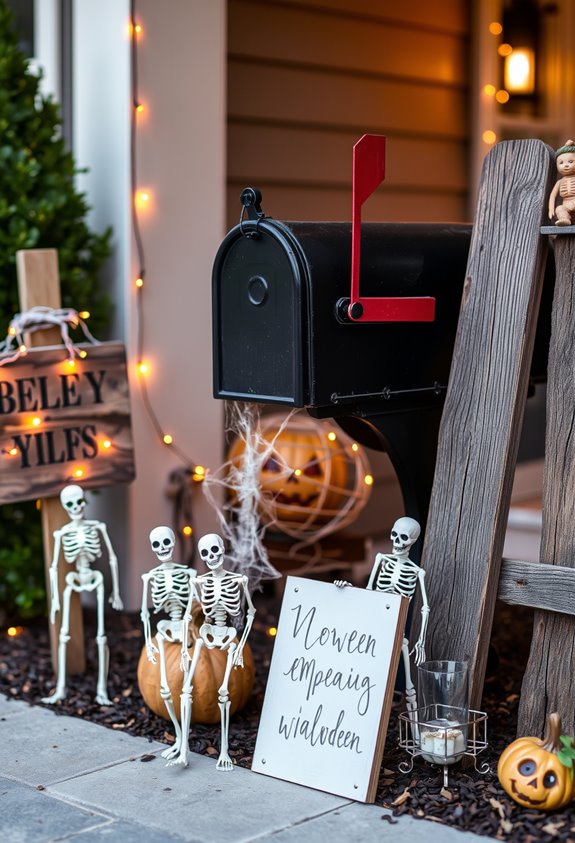
When it comes to mailbox Halloween decor, less is genuinely more. Your mailbox is a mini stage, not a storage unit. Pick one clear skeleton moment and commit to it. A skeleton perched on top creates an instant silhouette — spooky, cute, eye-catching. Done. Climbing arrangements work too, making the skeleton look like it’s gripping the post mid-escape. Bent knees and raised arms beat a stiff, upright pose every single time. That “caught in the act” energy is what stops cars.
Want more impact? Pair your skeleton with dark accents — black butterflies, faux flowers, or moss. The contrast does the heavy lifting. Keep the pose simple and exaggerated. Street-level reads fast. Complicated displays don’t. Your neighbors will notice. That’s the whole point.
For an elevated twist, take inspiration from yard displays and pose your skeleton mid-action, like it’s tending to a small plant or gripping a tiny watering can — skeleton in action scenes like these add humor and story without cluttering the space.
Where to Place Bats, Spiders, and Skeletons for Maximum Impact
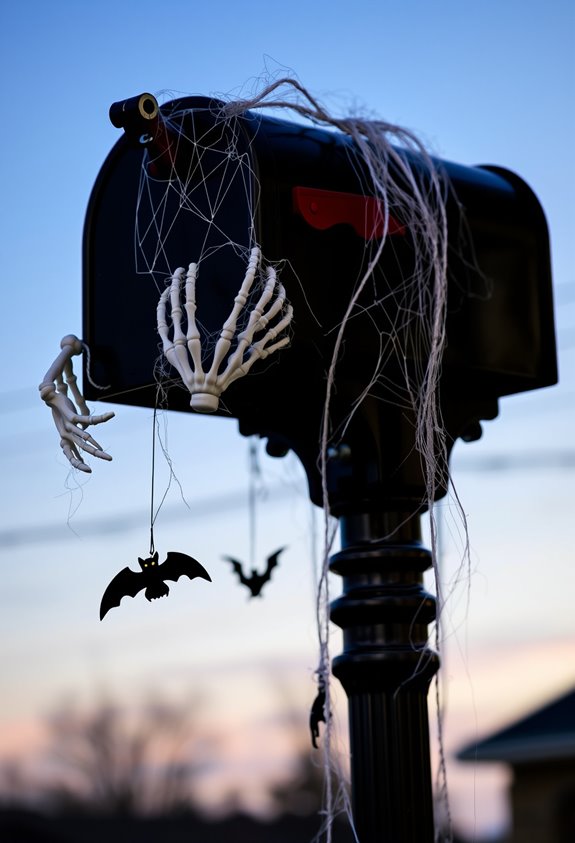
Placement makes or breaks your whole Halloween mailbox setup. Don’t overcrowd one spot and call it done. Spread things out. Put bats high — near the post cap or lamp — so they read from the street like an actual swarm.
Spiders belong mid-level, gripping web anchor points so they look intentional, not just stuck there randomly. Skeletons go low, crawling or peeking from behind the post or plants. That vertical layering — bats up top, spiders in the middle, skeletons below — creates a scene that actually works together.
Extend everything onto nearby fences, doors, and porch trim. One surface isn’t enough. Keep the mail slot clear and the house number visible. Functionality matters. Nail the placement, and your neighbors will absolutely notice. For an added storytelling touch, hang a sign above the mailbox — something like “Boo, who stole our skelly!?” — to give your display a narrative that stops people in their tracks.
Bats, Crows, and Spiders That Amplify the Scare Factor
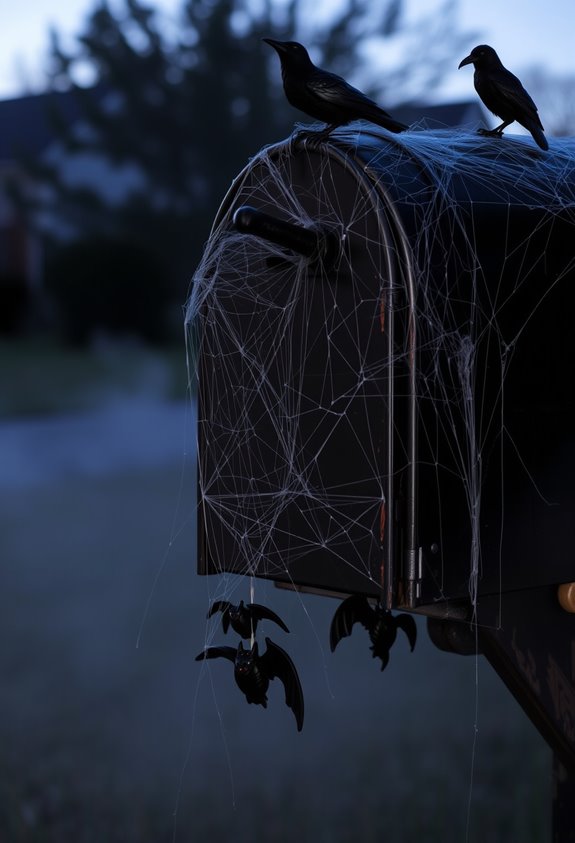
Bats, crows, and spiders aren’t interchangeable — each one signals a different kind of threat, and that’s exactly why you want all three. Bats bring that swift, airborne menace. Crows deliver gloom. Spiders? Pure creep factor. Together, they make your mailbox feel genuinely overtaken rather than just decorated.
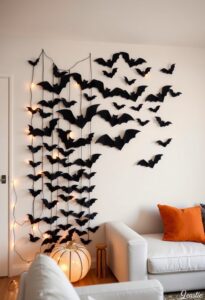
Felt or paper bats work great as high-contrast silhouettes because their wing shapes read clearly from the street. Black crow figures hit harder against lighter mailbox surfaces — the contrast does the work for you. And spiderwebs create controlled visual clutter that makes everything look abandoned.
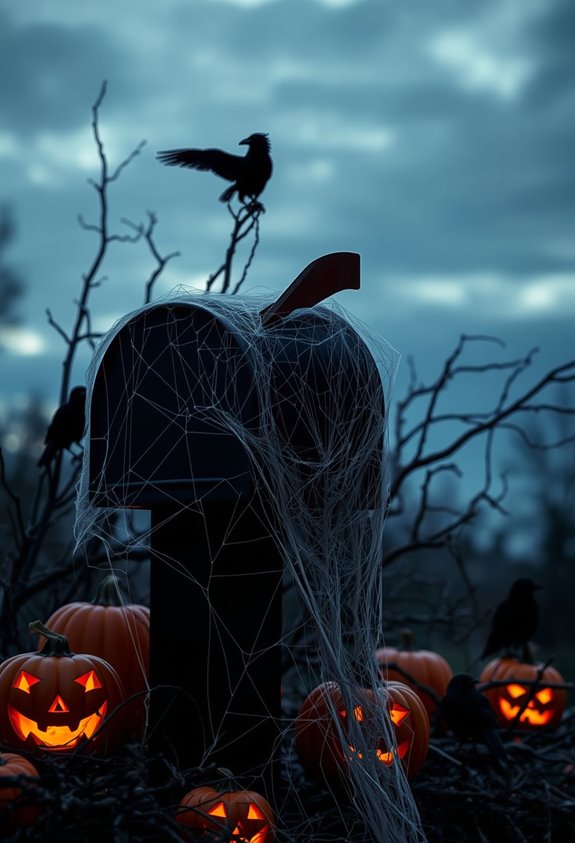
Layer them. Cluster small bat groupings near the topper. Tuck crows into twig accents. Stretch webbing across the whole setup. For spiders specifically, position them to appear crawling around the mailbox opening for maximum unsettling effect. That combination is what separates a spooky mailbox from a forgettable one.
Lights That Make Your Halloween Mailbox Terrifying After Dark
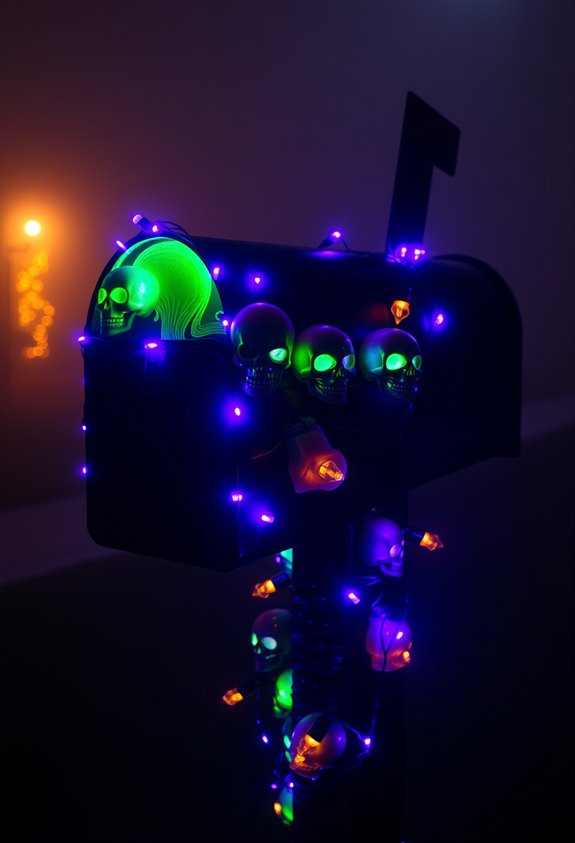
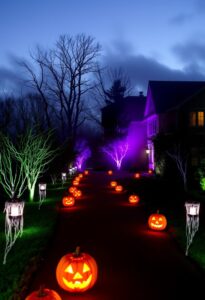
Creatures and silhouettes do the heavy lifting during the day, but after dark, your lighting either seals the deal or kills it entirely. Skip the bright white bulbs. They’ll ruin everything you’ve built. Instead, go for purple or orange battery-powered string lights wrapped around your post or tucked into your display. No wiring headaches, no electrician required. Twinkling effects beat steady light every time because movement creates tension.
Simple as that. Try under-mount or low-angle placement to throw shadows upward across your mailbox — that classic technique makes ordinary shapes look genuinely unsettling. Hide the light source when you can. The less visible the hardware, the more convincing the illusion. Black fixtures and dimmable bulbs let you control exactly how much creepy you’re delivering after sunset. Gothic or vintage-style wall sconces mounted nearby can also infuse an ominous glow while adding antique mystery to your overall display.
Moss, Dark Florals, and Leaves That Add Haunted Texture
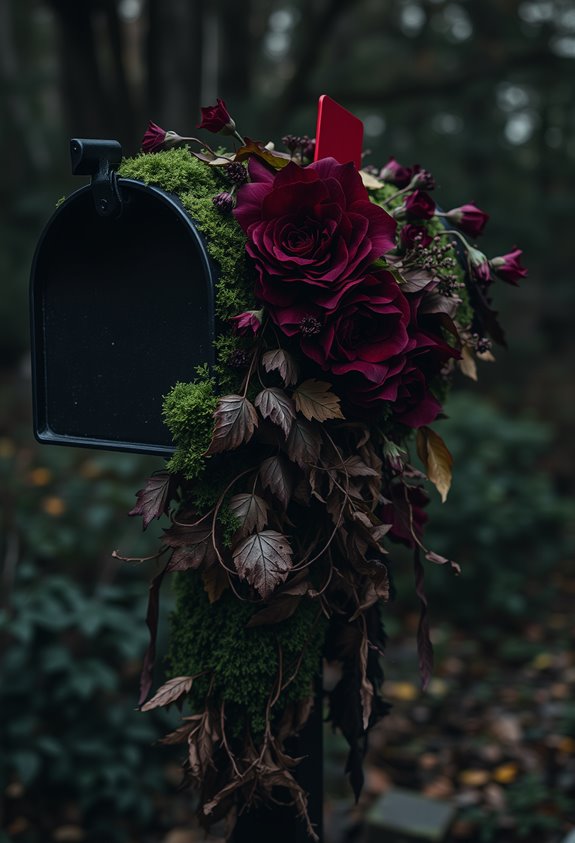
Texture is what separates a mailbox display that looks intentional from one that looks like you grabbed whatever was on clearance.
Start with Spanish moss as your base. Drape it low, tuck it into corners, and let it spill. It signals overgrown and abandoned without any extra effort.
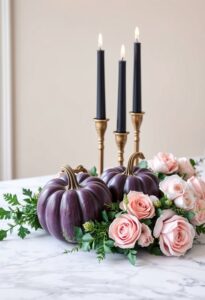
Then layer in dark florals — black roses, burgundy dahlias, deep purple asters. Use odd numbers. Three stems. Five, max. Pair those with dried twigs, crunchy leaves, and maybe a thistle or two for that withered, skeletal feel.
The contrast between soft velvety petals and crumbling dried botanicals is what makes the whole thing dimensional.
Rust, muted green, dusty orange — these tones keep everything seasonal without screaming it. Moss anchors it. Florals elevate it. Dried elements make it haunted. For an extra layer of depth, dried eucalyptus sprayed black or bronze works beautifully alongside the other botanicals without overpowering them.
Best Budget Mailbox Halloween Ideas Under Five Dollars
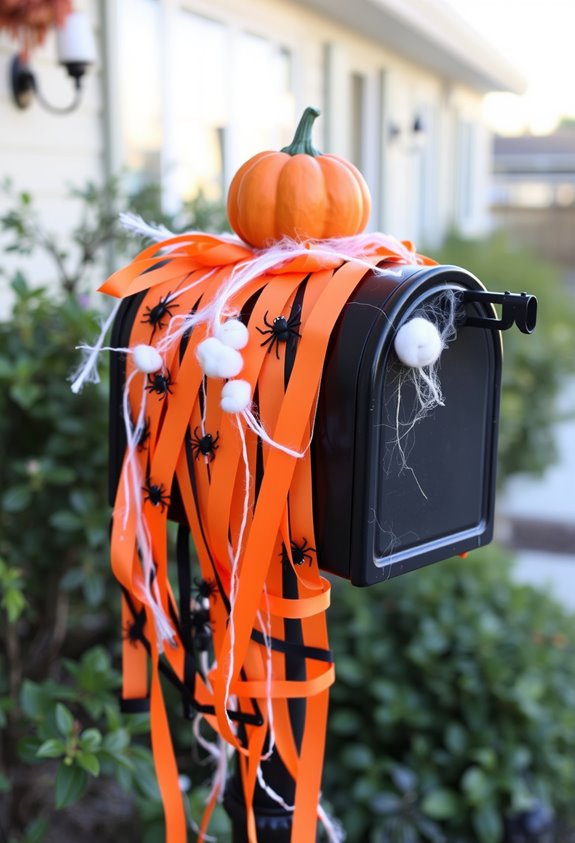
Most of what you need for a Halloween mailbox setup costs less than five dollars — and no, that’s not a typo. Dollar Tree is basically your Halloween headquarters here. Grab some spiderwebbing, three black felt spiders, and a small skeleton. Done. That’s already a solid setup.
Fishing line keeps everything secure without showing. Twist ties work too. Nobody’s judging your attachment method.
Want more? Toss in a ribbon bow or a bat cutout made from black cardstock. Orange cardstock works for pumpkins. Use 110 lb cardstock if you want it to actually hold up outside.
Faux crows, artificial leaves, zip ties — all cheap, all effective. The point is, you don’t need to spend much. You just need to start. Fake cobwebs draped over your mailbox are another instant, low-cost way to pull the whole spooky look together.
How to Layer Props, Lights, and Naturals Into One Killer Display
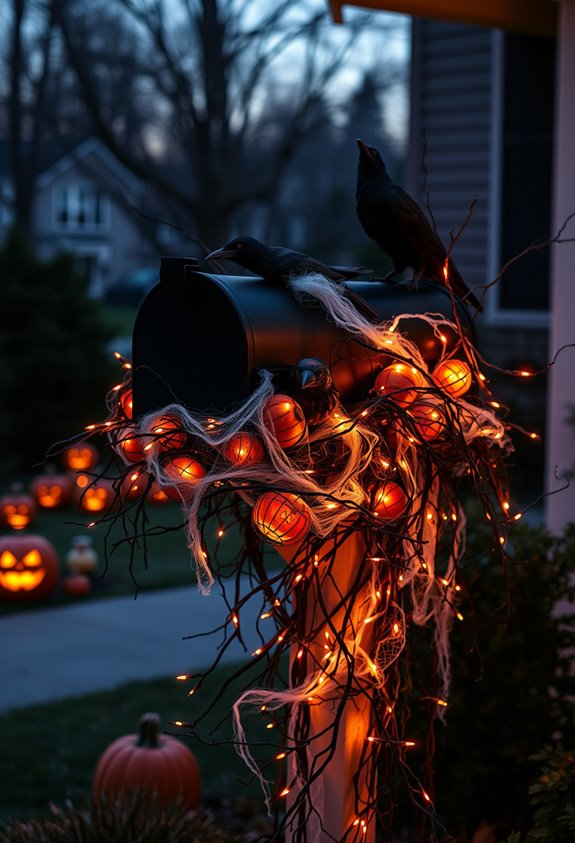
Once you’ve got a budget setup in place, the real fun starts — layering it into something that actually looks intentional.
Start with autumn textures: wood, straw, foliage. That’s your base. Keep it simple so your props actually pop instead of drowning in visual noise.
Autumn textures set the stage. Keep it simple — let your props breathe.
Then build structure. Taller pieces go back, smaller ones up front. Done. Depth isn’t complicated — it just takes discipline.
Now light it properly. Low-angle lighting creates shadows. Warm white around 2700K reads haunted, not hardware store. Place lights behind props to throw silhouettes onto flat surfaces. Separate your effect lighting from your safety lighting — people still need to see your steps.
Finally, add branches or organic shapes near lights. Irregular shadows. Instant atmosphere. Everything connects, and suddenly your mailbox looks like you actually planned it. For fog effects, place blue or green well lights below the fog line so the fog itself glows while the fixture stays completely hidden.
Frequently Asked Questions
Can Halloween Mailbox Decorations Withstand Rain or Harsh Weather Conditions?
Your Halloween mailbox decorations can withstand rain if you choose wisely! Opt for plastic, metal, or sealed materials, secure everything with zip ties, and seal painted surfaces. You’ll keep your spooky display standing strong all season!
Are There HOA Rules That Restrict Halloween Mailbox Decorating?
Your HOA might restrict Halloween mailbox decorations based on its CC&Rs and architectural guidelines. You’ll want to check your governing documents for rules on exterior attachments, seasonal décor windows, and uniformity standards before decorating.
How Early in October Should You Start Decorating Your Mailbox?
Like your neighbors lighting the way, you’ll want to start decorating your mailbox in the first week of October. It’s the sweet spot that lets you enjoy the full Halloween season with your community!
Will Heavy Decorations Damage or Misalign My Mailbox Permanently?
Heavy decorations can permanently damage or misalign your mailbox by stressing hinges, loosening fasteners, and causing tilting over time. You’ll want to stick with lightweight, balanced decorations so your festive setup stays secure and damage-free all season!
Can Mailbox Decorations Interfere With Mail Delivery or Postal Regulations?
Yes, your decorations can interfere! Keep them off the door, flag, and address numbers. You’ll stay USPS-compliant by ensuring your carrier can easily open, access, and close your mailbox without any obstruction or safety hazard.
Conclusion
Your mailbox is the first impression of your whole Halloween setup — don’t waste it. You’ve got the ideas now: skeletons, bats, lights, moss, budget hacks, and layering techniques that actually work. Think of your mailbox as the opening note of a haunted symphony. Set it right, and the whole street feels it. Get started before your neighbor beats you to it.