Halloween banners don’t have to look like you grabbed whatever was left at the dollar store. You can build solid bunting from cardstock, kraft paper, foam sheets, or felt — each material brings something different to the table. Cardstock cuts cleanly, felt layers beautifully, and foam adds real dimension. Thread everything onto cotton cord, raffia, or ribbon, and you’ve got a display that actually holds up. Stick around and you’ll have seven specific ideas worth stealing.
Design Highlights
- Cut identical pennants using a cardboard template from cardstock, kraft paper, or foam sheets for consistent, polished Halloween banners.
- Fold double-sided cardstock in half and secure around twine with glue dots for quick, sturdy flag assembly.
- Add iron-on appliqués of ghosts, bats, or pumpkins onto fabric panels for durable, decorative bunting with visual impact.
- Personalize banners with phrases like “Enter If You Dare” or “Creep It Real” using individual letter flags on black cardstock.
- Support longer banner runs at the midpoint and use adhesive hooks or push pins suited to each banner’s weight.
Best Materials for Halloween Banners and Bunting
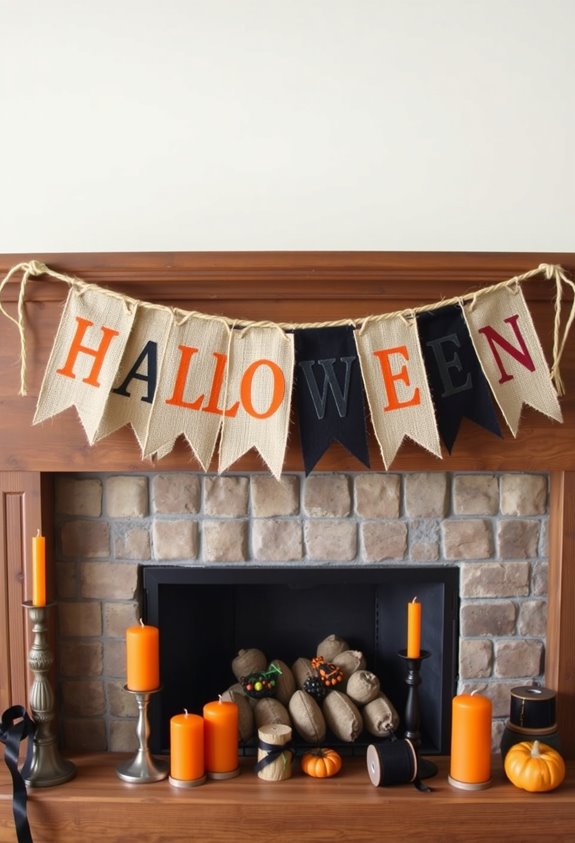
Choosing the right material makes or breaks your Halloween banner. Cardstock holds its shape and cuts cleanly into repeated forms.
Kraft paper’s your go-to for rustic vibes and easy customization.
Colored paper keeps classic palettes — orange, black, gray — simple and sharp.
Foam sheets, though? That’s where things get interesting. Foami adds volume, layers, and clean contrast with glitter or acetato accents. Stick to 1mm thickness for cleaner cuts. Use liquid silicone to bond layers properly. Don’t skip that step.
For hanging, cotton cord looks clean and holds well.
Rafia adds handmade character.
Ribbon threads through holes without adhesive at all.
One rule that’s non-negotiable: reinforce every perforation point on paper pieces. Thin material tears fast. You’ve been warned.
How to Build Halloween Bunting From Scratch
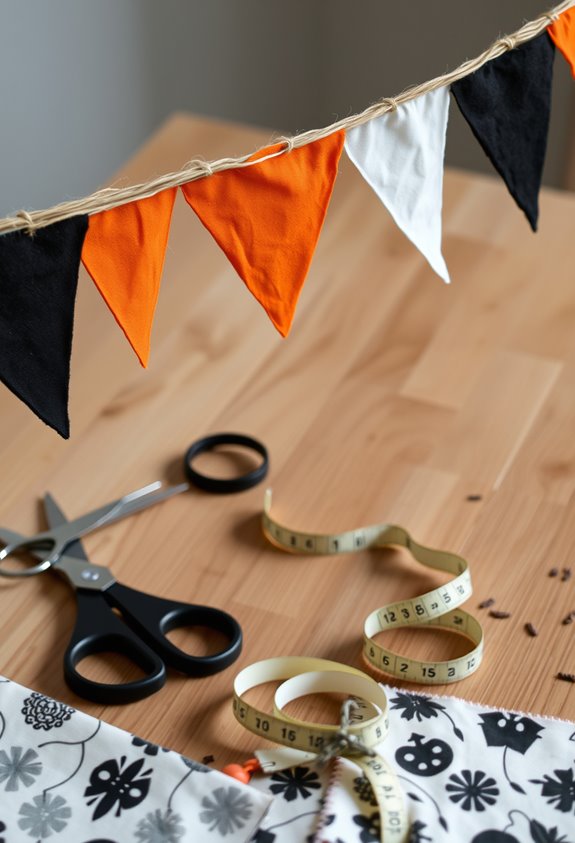
Before you cut a single piece, measure your display area. Seriously, measure it first. Bunting length depends entirely on your hanging space, so skipping this step guarantees a mess. Add extra string at both ends for tying off.
Next, make a cardboard template. It keeps every flag identical. Cut your triangles, fishtails, or rounded shapes from your chosen material, then fold paper in half for symmetrical bats or ghosts. Smart, not lazy.
Add facial features before assembly. Eyes, bandages, painted lettering — do it now, not after. Glue or tape each motif onto your string, spacing pieces evenly. Reinforce heavier pieces.
Punch holes if you’re threading twine through. Flip the finished strand so the decorative side faces outward. For a glowing, translucent effect, sandwich your cut shapes between two layers of wax paper and iron them together before assembly. Hang it. Done.
Easy Paper and Cardboard Halloween Banner Ideas
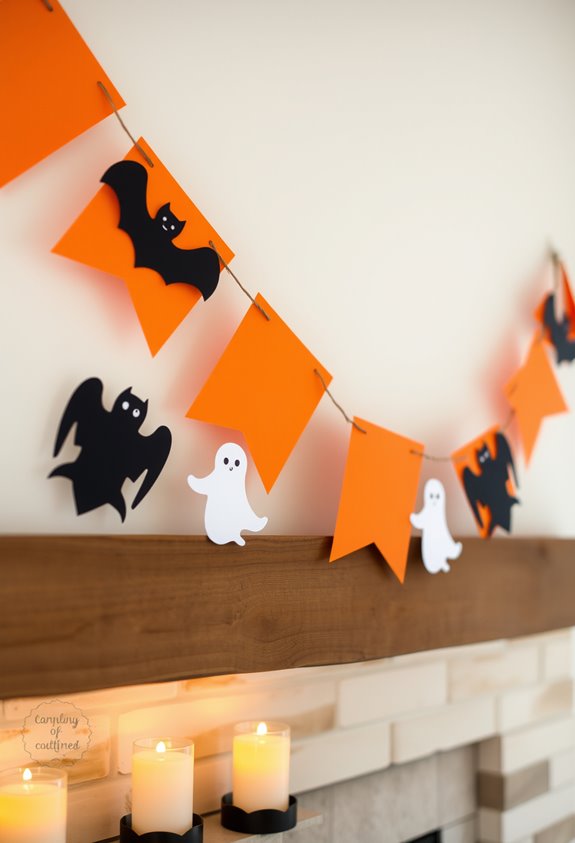
Once you’ve got your bunting sorted, paper and cardboard banners are the next logical move — and honestly, they’re even easier. Cardstock, scrapbook paper, black construction paper. That’s basically all you need.
Here’s what works well:
- Mount printed images onto black card for bold, high-contrast lettering that’s readable across a room
- Fold double-sided cardstock pieces in half, then secure them around twine with glue dots
- Punch corner holes instead of cutting tabs — it’s faster and cleaner
- Use clothespins to clip paper pennants directly onto twine
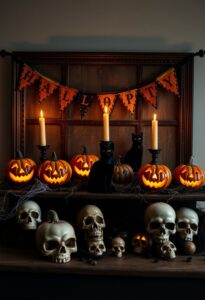
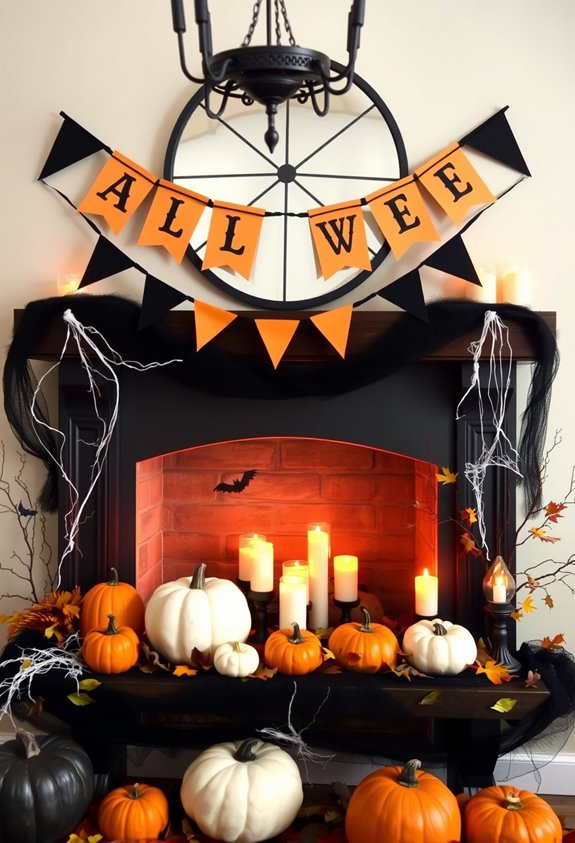
Bat cutouts, pumpkin pennants, ghost shapes — mix sizes for visual variety. Markers and paper scraps handle the detail work. Washi tape and adhesive rhinestones add sparkle if you’re feeling ambitious. Display anywhere: mantels, windows, cabinets. Done.
A full “Happy Halloween” banner requires 14 base flags cut from solid black cardstock, with individual letter flags glued on top to spell out the message.
Fabric and Felt Halloween Banner Ideas
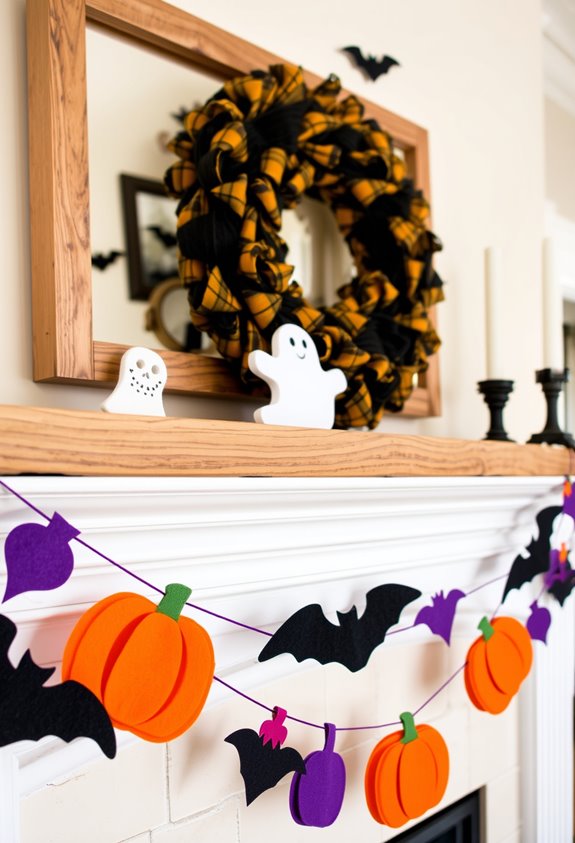
Fabric and felt banners take things up a notch — more effort, yes, but also more structure and way better durability. Fusible interfacing is your best friend here. One layer gives you semi-stiff panels. Two layers? Solid, structured wall art. Iron-on appliqué makes attaching ghosts, bats, pumpkins, and letters genuinely satisfying.
Black, orange, white, green, cream — classic Halloween palette, no overthinking required. Quilted versions layer fabric front, fabric back, and batting for a padded, polished look. Stitching after layering adds durability and texture.
For hanging, twine works great. Embroidery floss spans longer — about nine yards if you need the reach. Want something more dramatic? A wooden dowel turns your banner into a proper wall display. Buttons, embroidery details, rhinestones — all fair game for finishing touches. When working with patterned Halloween fabric, choose prints with distinct separate motifs like black cats, owls, or pumpkins so individual shapes are easier to cut cleanly without overlapping elements.
Ribbon, Glitter, and Trim Ideas for Halloween Banners
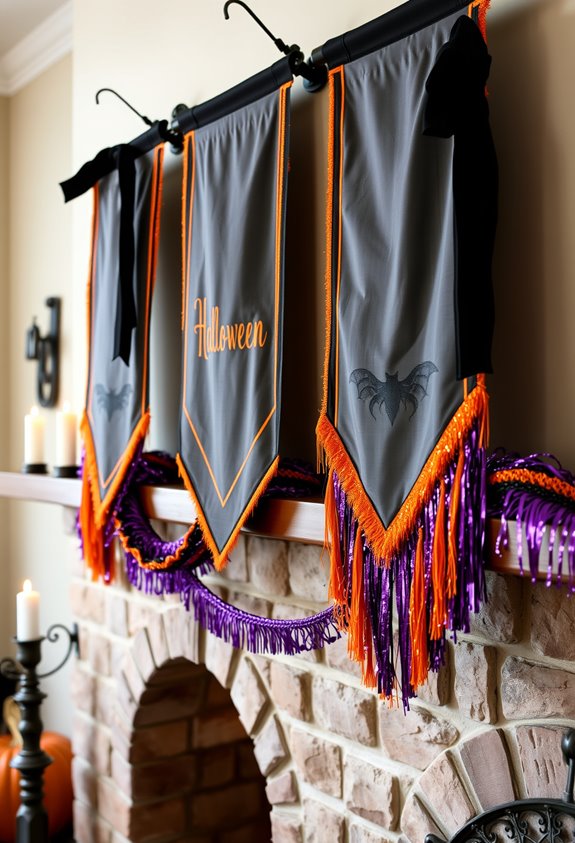
Ribbon, glitter, and trim can completely change what a Halloween banner feels like — same basic structure, totally different vibe. Your material choices drive everything. Black, orange, purple, white, and metallic ribbon all hit differently depending on texture and finish. Patterned ribbon with bats or pumpkins adds detail without extra pieces. Smart, right?
Here’s what actually works:
- Loop-and-pull knots keep ribbon sections secure and visually clean
- Glitter works best as an accent — full coverage gets messy fast
- Metallic ribbon substitutes for glitter while adding reflective punch
- Bow trims between banner sections balance spacing and add polish
Reinforce edges with glue so nothing slides. Punch corners before threading. Plan your ribbon lengths around the full hanging area first. Short tails are embarrassing. For a personalized touch, consider using ribbons printed with phrases like “Enter if You Dare!” or your family name to make the banner feel intentional and custom.
Halloween Banner Phrases and Visual Themes to Try
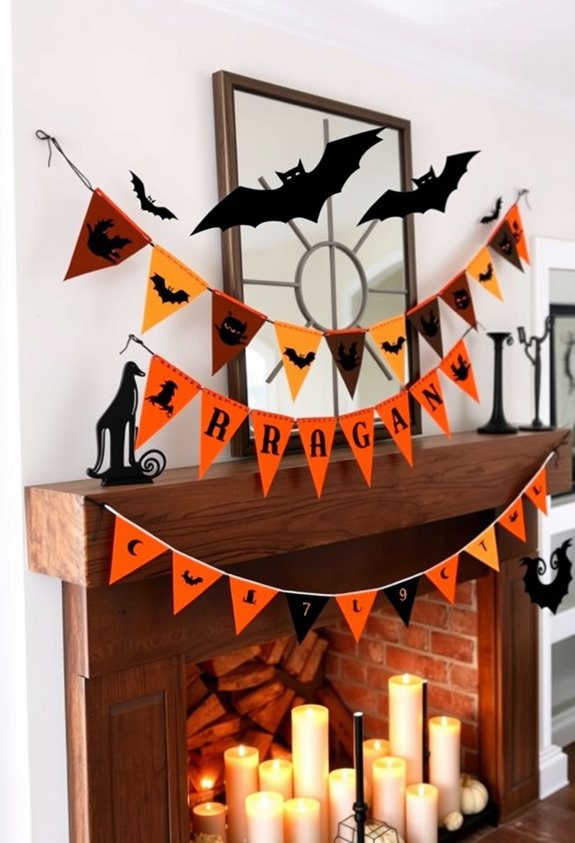
What you put on your banner matters just as much as how it looks. Words set the tone. Choose wrong, and your whole display falls flat.
Classic phrases like *Enter If You Dare* or *Where the Chills Begin* nail that haunted-house energy instantly.
Want something lighter? *Creep It Real* and *Boo Happens* keep things fun without trying too hard. For treat-focused displays, *No Tricks, Just Treats* does exactly what it says.
Visual themes work the same way. Pumpkins are timeless. Ghosts and goblins keep it kid-friendly. Haunted house imagery goes darker if that’s your crowd.
Short slogans work best on bunting. Alliteration and wordplay with *boo* or *witch* make phrases stick. Keep it punchy. Nobody’s reading a paragraph off your banner. If you’re using your banner as part of a seasonal promotion, pairing a tagline with social proof like a star rating or short customer quote can make even simple phrases work harder.
How to Hang Halloween Bunting at Home
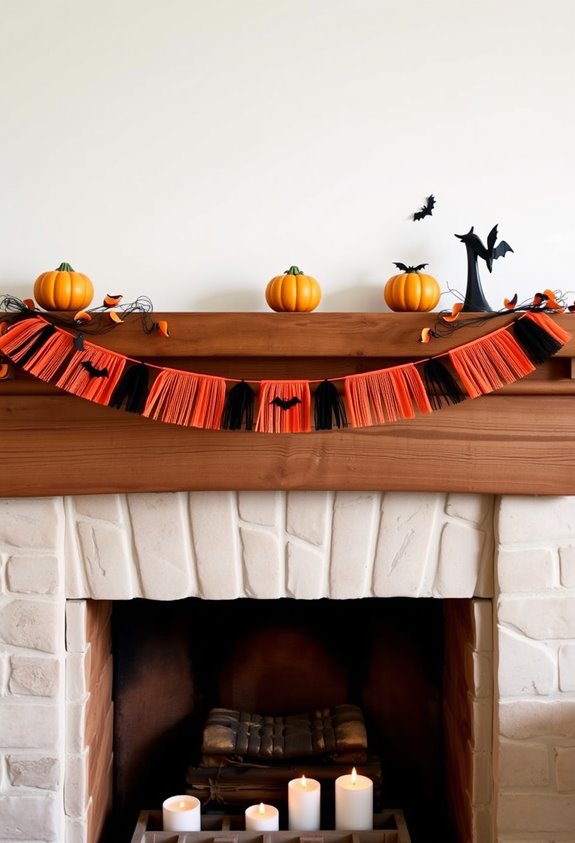
Before you touch a single flag, measure the space. Full span. Both endpoints. No guessing. Mark your wall with pencil guides so you’re not eyeballing it later like some kind of haunted amateur.
Measure first. Both endpoints. No guessing, no eyeballing—just pencil guides and actual numbers before anything goes up.
Here’s what actually holds bunting in place:
- Masking tape works fine for lightweight indoor displays on walls or windows
- Adhesive hooks at both ends and the midpoint keep things cleaner on smooth surfaces
- Nails or push pins handle heavier or longer bunting when tape won’t cut it
- Extra string on both ends lets you tie off securely before trimming
Add a midpoint support for longer runs. Sagging bunting looks sad, not spooky. Space your hooks evenly, hang with intention, and you’re done. For a finished look, thread twine through the punched holes at the top of each flag before hanging, sliding them along the string to adjust spacing as needed.
Frequently Asked Questions
How Far in Advance Can I Make Halloween Banners?
You can make Halloween banners 1–2 months ahead! Simple styles only need a few days. Store them flat and dry, and you’ll have stunning decor ready without any last-minute crafting stress.
Can Halloween Bunting Be Safely Used Around Candles or Open Flames?
Like a moth to a flame, you’re taking a real risk! You can use Halloween bunting near candles, but keep it at least 3 feet away and always choose battery-operated lights instead for everyone’s safety.
How Do I Store Halloween Banners Without Damaging Them After the Season?
Roll your banners instead of folding them, wrap them in tissue paper, and tuck them into a labeled breathable bag. Store everything in a cool, dry spot, and you’ll keep your collection looking great for next Halloween!
Are Halloween Banners Appropriate Decorations for School or Office Settings?
You can absolutely use Halloween banners in schools and offices! Just choose friendly, inclusive designs featuring pumpkins or fall themes, follow your setting’s policies, and place them in common areas where they’ll create a welcoming, festive atmosphere everyone enjoys.
Can Young Children Help Make Halloween Bunting Safely?
Your little ones can absolutely join the fun! Let them pick colors, draw spooky faces, and add stickers to pre-cut shapes. You’ll handle the grown-up tasks—cutting, hole-punching, and stringing everything together safely.
Conclusion
Halloween banners and bunting aren’t complicated. You’ve got the ideas, the materials, and now the know-how. Just pick a direction and start creating. Take Sarah from Austin — she hot-glued felt ghosts onto twine the night before her party. Guests wouldn’t stop asking where she bought it. That’s the thing: handmade hits harder. Your space deserves something personal. Stop overthinking it. String something up.