You can transform your Thanksgiving table with stunning centerpieces that won’t break the bank. Try filling mason jars with colorful fall leaves, creating mini pumpkin arrangements with battery-operated tea lights, or crafting apple votive holders wrapped in cinnamon sticks. I’ve discovered that burlap table runners with pine cones, wheat bundles tied with rustic ribbon, and repurposed tin cans make incredible focal points. These creative projects will inspire you to explore even more festive possibilities.
Design Highlights
- Use mason jars filled with colorful fall leaves and twigs, grouping three at varying heights for maximum visual impact.
- Create wheat bundle centerpieces by securing 15-20 dried stalks with rustic ribbon, placing them between dinner plates.
- Make a burlap table runner with hot-glued pine cones and battery-operated fairy lights for under ten dollars.
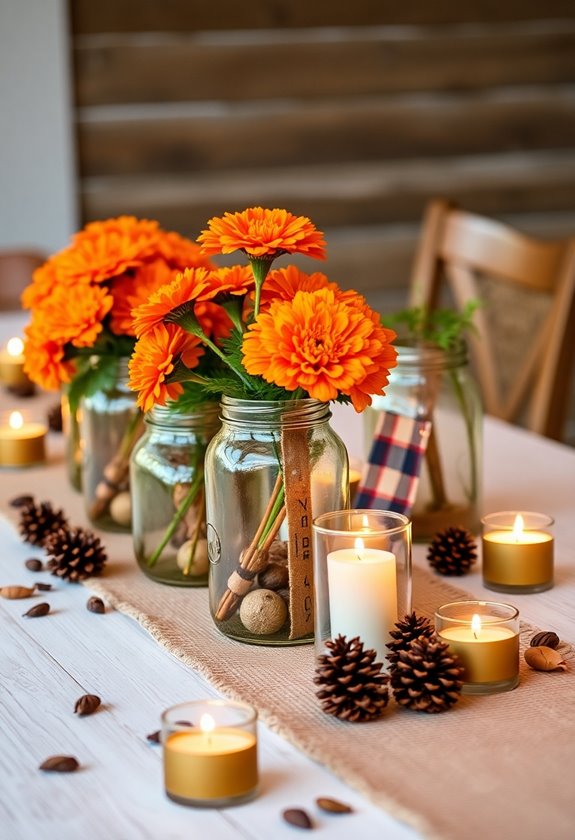
- Transform empty soup cans into seasonal planters by covering with burlap and filling with mums or mini pumpkins.
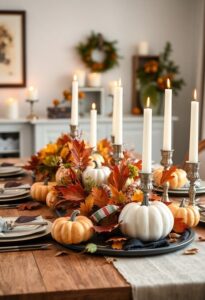
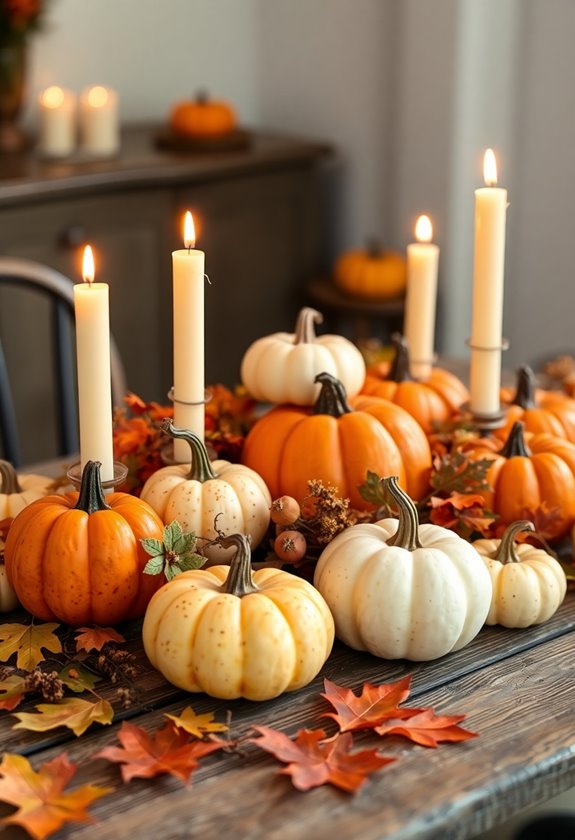
- Arrange mini pumpkins and gourds on wooden trays with battery-operated tea lights for a 15-minute centerpiece solution.
Mason Jar Harvest Display With Fall Leaves and Twigs
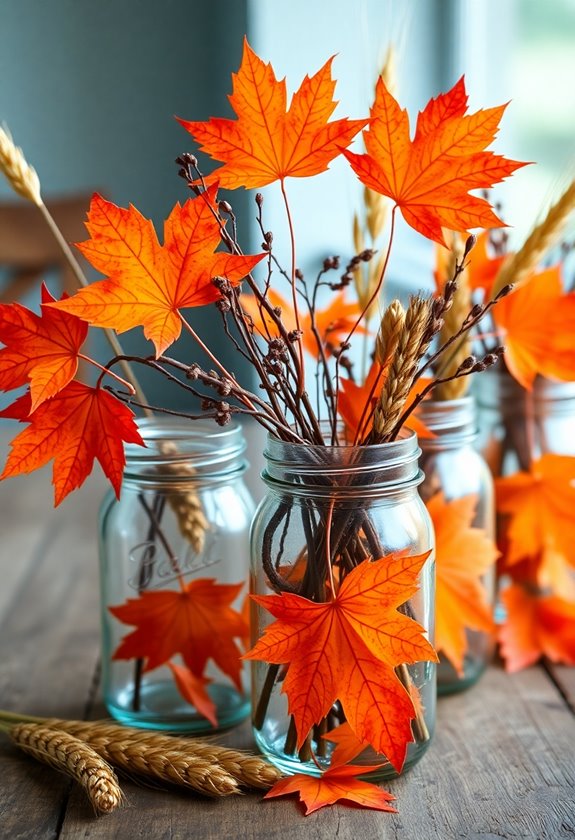
Simplicity becomes your best friend when you’re creating a mason jar harvest display that’ll make your Thanksgiving table look like it belongs in a cozy farmhouse magazine. Trust me, I learned this after overcomplicating my first attempt with glitter and ribbon – what a disaster!
Start by collecting colorful fall leaves from your yard or local park. You’ll want different shapes and sizes for visual interest. Grab some sturdy twigs too – they add that perfect rustic touch. Clean your mason jars thoroughly, then arrange the leaves inside, layering different colors. I like placing the brightest ones toward the front where guests can see them.
Add your twigs strategically, letting some peek over the rim. Here’s my secret: slightly crush the leaves first to release their earthy scent. Group three jars together for maximum impact, varying their heights with small books underneath. This centerpiece costs practically nothing but delivers magazine-worthy results every time. Additionally, consider adding Thanksgiving garden decor elements such as mini pumpkins or gourds for an extra festive touch.
Mini Pumpkin and Gourd Arrangement With Candles
While those mason jars create stunning rustic charm, mini pumpkins and gourds paired with flickering candles bring an entirely different kind of magic to your Thanksgiving table. You’ll love how simple this arrangement becomes when you start with what’s already available at your local grocery store.
Grab a wooden tray or cutting board as your base, then scatter mini pumpkins and gourds of varying sizes and colors. I’ve discovered that mixing orange, white, and green varieties creates visual interest without breaking your budget. Nestle battery-operated tea lights between them—trust me, you don’t want real flames near your feast!
For extra warmth, weave in some cinnamon sticks or sprigs of rosemary from your herb garden. The scent will have your guests asking for your secret. This arrangement took me just fifteen minutes to create, and it cost under twelve dollars. Sometimes the simplest ideas shine brightest. Additionally, incorporating Thanksgiving garden decor ideas can elevate the overall ambiance of your gathering.
Burlap Table Runner With Pine Cone Accents
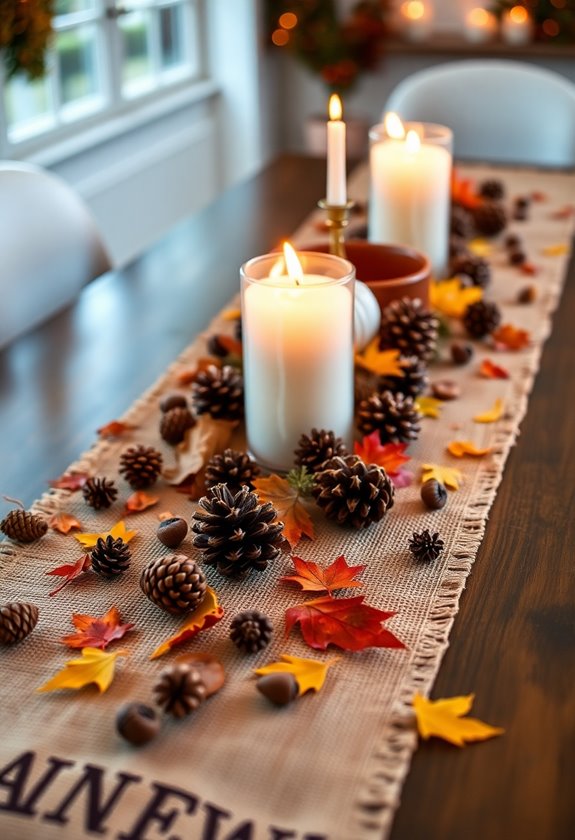
When you’re ready to transform your dining space with natural textures, nothing beats the rustic elegance of a burlap table runner adorned with pine cones you’ve collected yourself. I learned this trick during my first apartment Thanksgiving, when my budget was tighter than my jeans after finals week!
Start by measuring your table and cutting burlap fabric accordingly, leaving six inches of overhang on each side. Here’s where it gets fun – fray the edges deliberately for that perfectly imperfect farmhouse look. I remember spending an entire evening pulling those loose threads while binge-watching holiday movies.
Next, gather pine cones from your yard or local park. Clean them gently, then hot-glue them along the runner’s center, spacing them about eight inches apart. Add small battery-operated fairy lights between the cones for magical ambiance. This runner costs under ten dollars but looks like you splurged at an expensive boutique! For added flair, consider placing Thanksgiving fireplace decor near your dining area to enhance the cozy atmosphere.
Wheat Bundle Centerpiece Tied With Rustic Ribbon
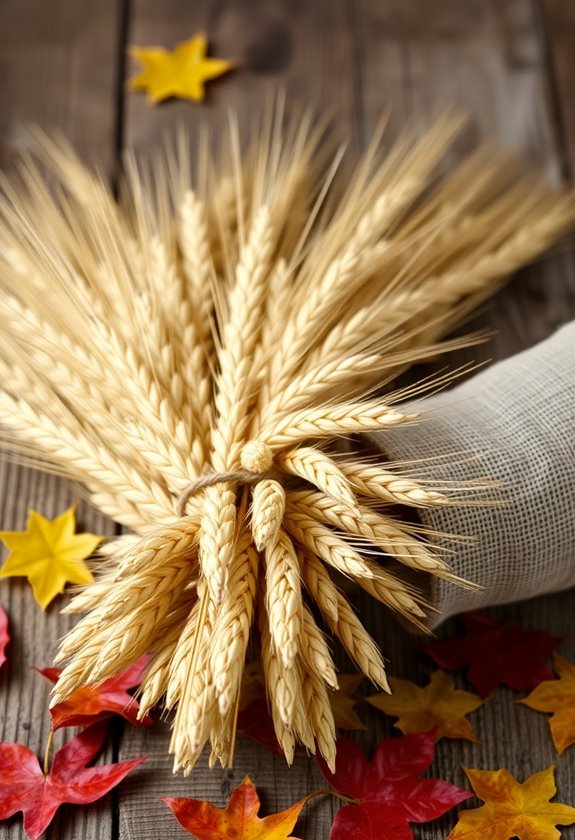
Three simple wheat bundles can instantly transform your table into a harvest masterpiece that’ll have your guests thinking you hired a professional decorator. Trust me, I learned this trick during my first Thanksgiving hosting disaster—nothing says “autumn elegance” quite like golden wheat stalks.
You’ll need dried wheat (find it at craft stores for under five dollars), burlap or twine ribbon, and maybe ten minutes of your time. Gather fifteen to twenty stalks per bundle, arranging them so the heads align nicely. Wrap your rustic ribbon around the stems about four inches from the bottom, creating a secure bow that’s loose enough to look effortless.
Place these bundles down your table’s center, spacing them evenly between your plates. The golden texture catches candlelight beautifully, and here’s the best part—you can reuse them for fall decorating throughout the season. Additionally, consider incorporating playful patterns in your overall decor to enhance the festive atmosphere. Simple, stunning, and seriously budget-friendly.
Apple and Cinnamon Stick Votive Holders
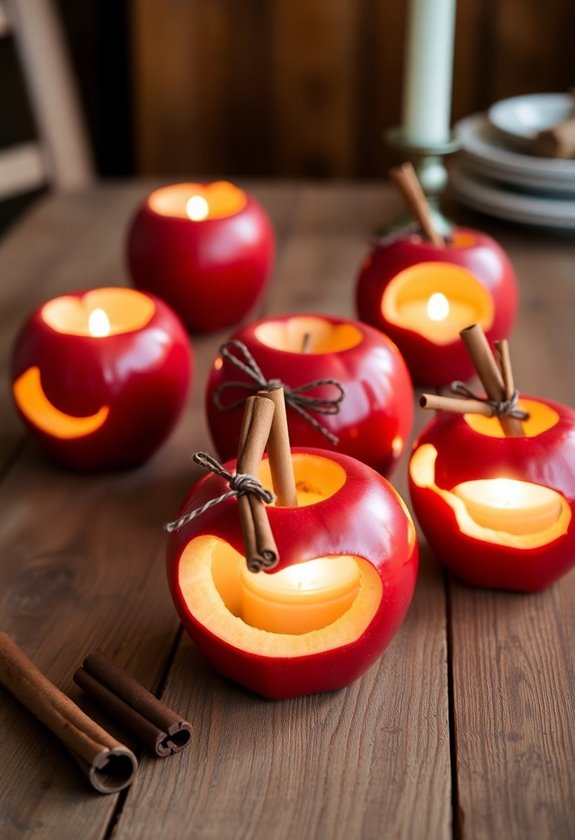
Here’s what you’ll do: core each apple about halfway down, creating a perfect candle-sized cavity. Don’t go too deep, or you’ll hit the bottom. Next, hot-glue cinnamon sticks vertically around each apple’s circumference, covering the entire surface. The sweet aroma fills your kitchen instantly.
Drop tea lights into the hollowed centers, and you’ve got rustic elegance that costs under five dollars total. The warm glow filters beautifully through the cinnamon gaps, while the apple’s natural moisture keeps everything fresh-looking throughout dinner. Pro tip: choose firm, unblemished apples that’ll stand steady and won’t topple over when guests reach across your table. Additionally, consider pairing your centerpieces with Thanksgiving basement decor ideas to create a cohesive festive atmosphere throughout your home.
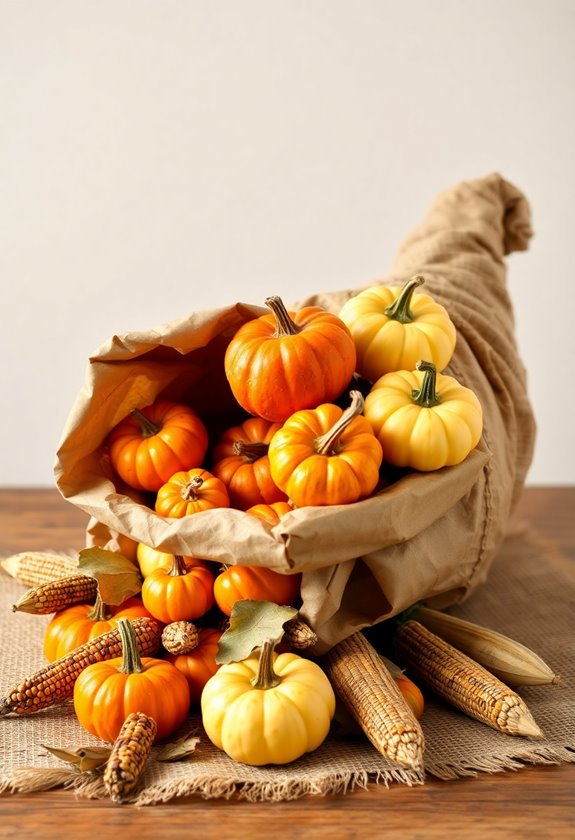
Cornucopia Made From Brown Paper Bags and Newspaper
The humble cornucopia holds a special place in my heart because it reminds me of the disaster that almost ruined my third Thanksgiving dinner. I’d spent hours crafting an elaborate centerpiece, only to watch my cat knock it over minutes before guests arrived. That’s when I learned the beauty of simple, sturdy alternatives.
You’ll love how easy this cornucopia is to make. Start with a brown paper bag and roll it into a cone shape, securing with tape. Stuff crumpled newspaper inside to give it structure and prevent collapsing. The newspaper acts like a skeleton, keeping everything in place.
Once you’ve got your basic horn shape, you can fill it with mini pumpkins, gourds, or even colorful fall leaves from your yard. The best part? If someone knocks this over, you’re only out a paper bag and some old newspaper. No tears, just quick cleanup and easy replacement.
Acorn and Oak Leaf Garland With String Lights
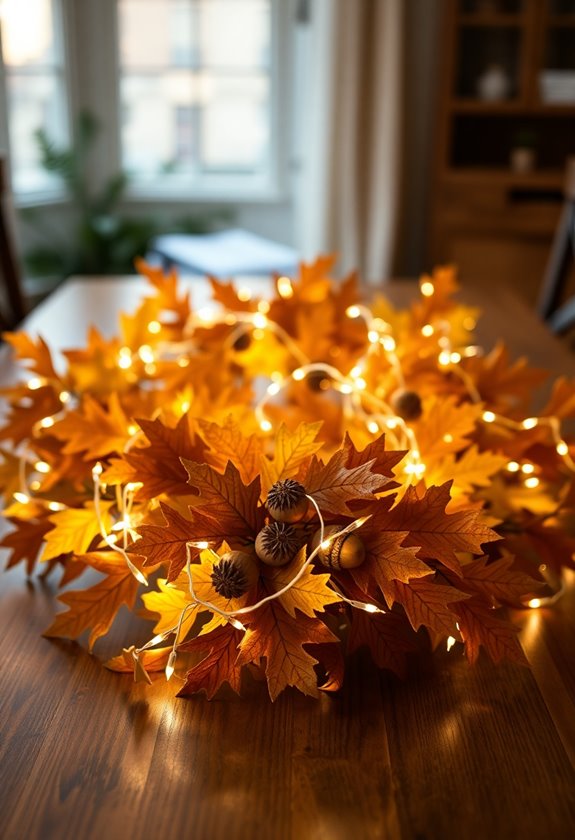
Moving beyond single centerpieces, you can create a magical lighting display that spans your entire table with this acorn and oak leaf garland. This project reminds me of those late-night film shoots where we’d string lights everywhere to create atmosphere—except now you’re the director of your own dining room scene.
You’ll need battery-operated string lights, real or artificial oak leaves, and acorns from your yard (or craft store). Thread the lights through holes you’ve poked in the leaves, spacing them about six inches apart. Hot glue acorns along the cord between leaves for texture. The trickiest part? Getting those tiny holes just right without tearing delicate leaves—I learned this the hard way after destroying half my leaf collection.
Drape your finished garland down the table’s center, weaving around existing dishes. The warm glow transforms ordinary dinnerware into something cinematic, creating intimate pockets of light that’ll make your guests feel like they’re dining in a cozy autumn forest.
Repurposed Tin Can Planters With Seasonal Flowers
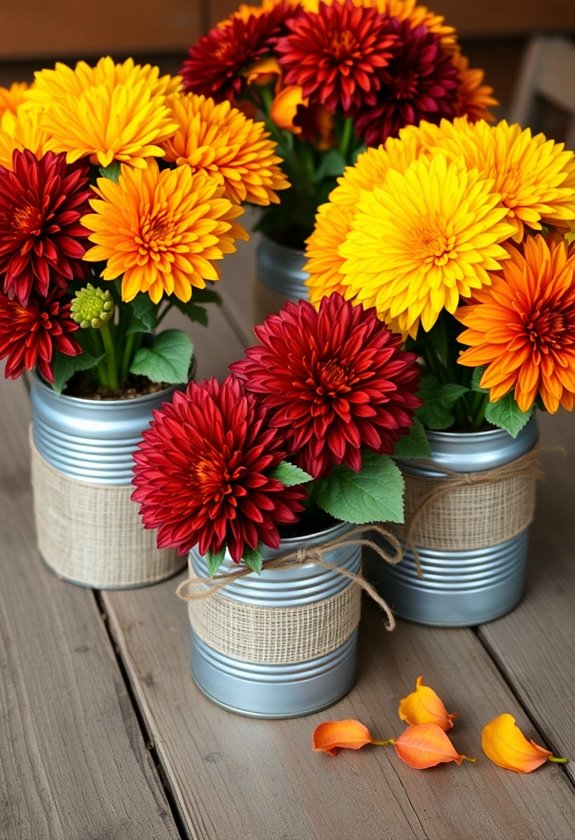
Before you toss those empty soup cans into the recycling bin, consider transforming them into charming seasonal planters that’ll add rustic elegance to your Thanksgiving table. I discovered this trick during my college days when budgets were tighter than my dorm room space – those cans became my creative salvation.
Start by removing labels and washing thoroughly. Wrap each can with burlap, twine, or autumn-colored fabric using hot glue. For that extra touch, tie raffia bows around the middle. I’ve learned the hard way that drainage holes are essential – use a hammer and nail to punch several holes in the bottom.
Fill with small mums, mini pumpkins, or seasonal greenery from your yard. Marigolds work beautifully too and won’t break your budget. Arrange multiple cans at varying heights using small books or wooden blocks underneath for visual interest. Your guests will never guess these elegant centerpieces started as yesterday’s lunch containers.
Wooden Box Display Filled With Mini Pumpkins and Berries
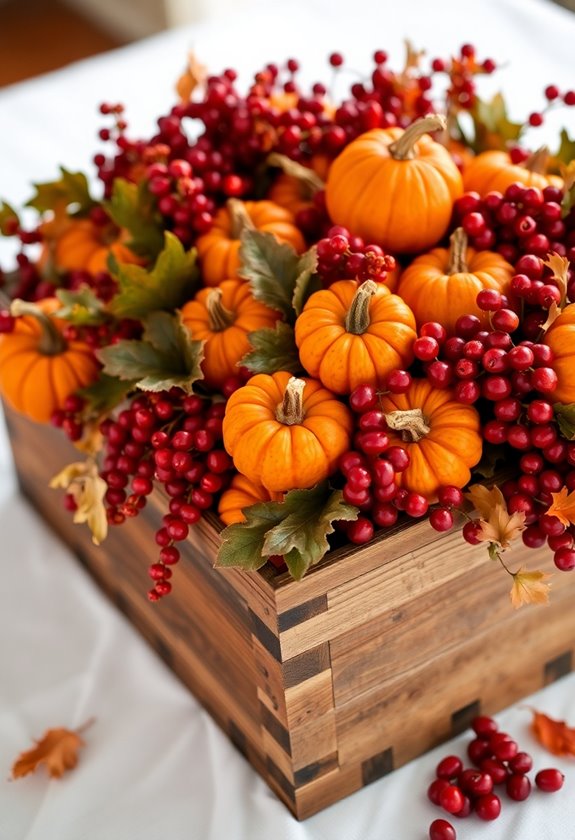
While tin cans offer that rustic charm, wooden boxes bring a completely different warmth to your Thanksgiving spread – one that reminds me of my grandmother’s old recipe box she’d pull out every holiday season.
Wooden boxes carry the same nostalgic warmth as grandmother’s treasured recipe collection, creating heartfelt holiday memories.
You can find wooden boxes at thrift stores for under three dollars, or you might already have one tucked away somewhere. I discovered mine in my garage, covered in dust but perfect for this project.
Fill your box with mini pumpkins from the grocery store – they’re usually fifty cents each during fall sales. Add clusters of artificial berries, which you can snag at dollar stores. The key is layering: place larger pumpkins in back, smaller ones in front, then tuck berry sprigs between them.
Here’s my filmmaker’s eye trick: arrange everything in odd numbers. Three pumpkins look better than four, and five berry clusters create more visual interest than six. It’s simple math that makes magic happen.
DIY Turkey Centerpiece Using Paper Plates and Construction Paper
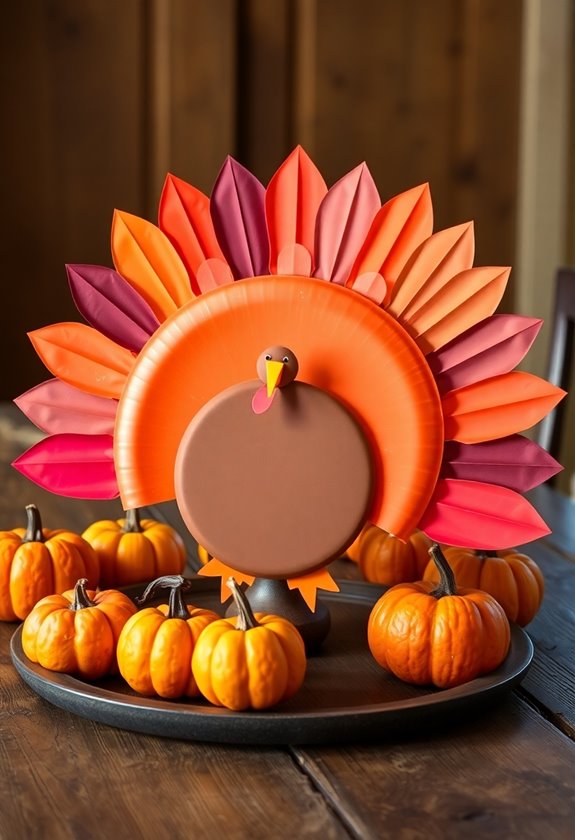
Sometimes the most memorable centerpieces come from the simplest materials, and I learned this lesson during my broke college days when I couldn’t afford fancy decorations but still wanted to host friends for Thanksgiving. That’s when I discovered the magic of paper plate turkeys – they’re ridiculously cheap yet surprisingly charming.
You’ll transform ordinary supplies into a delightful turkey that’ll make everyone smile. Here’s what you’ll need:
- Two paper plates (one for the body, one cut into feathers)
- Brown, orange, and red construction paper for the head and wattle
- Googly eyes or draw your own with markers
- Scissors and glue stick for assembly
Cut one plate in half for tail feathers, fold accordion-style for dimension. Attach the turkey head you’ve crafted from construction paper, add those wobbly eyes, and watch your guests chuckle at your adorable creation.
Frequently Asked Questions
How Far in Advance Can I Make These Centerpieces Before Thanksgiving?
You can totally make most centerpieces 2-3 days ahead! I learned this the hard way when I scrambled last-minute one year. Fresh flowers and produce work best made 1-2 days before, while items like painted pumpkins, candle arrangements, and dried elements can be crafted a week early. Store everything in a cool, dry spot. Trust me, you’ll feel so much calmer having them ready beforehand!
What’s the Total Estimated Cost for Creating Multiple Centerpieces for Large Tables?
Creating centerpieces is like planting a garden of memories that won’t break your wallet. You’ll spend roughly $15-25 per centerpiece, depending on your table size and creativity. For three large tables, I’d budget around $60-75 total. Here’s my trick: buy supplies in bulk and mix expensive elements with free finds like pinecones or branches. Last year, I made five stunning centerpieces for just $80, and guests couldn’t believe they weren’t store-bought!
How Do I Preserve Fresh Elements Like Apples and Leaves Longer?
You’ll want to treat apples with lemon juice to prevent browning, just like I learned after watching my first centerpiece turn embarrassingly brown overnight. For leaves, I’ve discovered that pressing them between wax paper with an iron works beautifully, or you can spray them with clear acrylic sealer. Store everything in the fridge when possible, and honestly, replacing fresh elements halfway through the week keeps things looking crisp and vibrant.
Can These Centerpieces Be Safely Used Around Small Children and Pets?
You’ll want to check each element carefully before displaying your centerpiece. Remove small decorative items like berries or acorns that could become choking hazards, and avoid toxic plants such as certain leaves or flowers. I’ve learned to place centerpieces toward the table’s center, away from grabbing hands and curious paws. Consider using larger, safer alternatives like fabric pumpkins instead of real ones with stems that pets might chew.
What Are Good Storage Methods for Reusing These Decorations Next Year?
Crumpled decorations versus pristine stored treasures—you’ll want the latter next November! I’ve learned the hard way that tossing everything into random boxes creates holiday heartbreak. You should wrap delicate items in tissue paper, use clear containers so you’ll actually find things, and label everything with specific dates. Don’t forget to take photos of your setups—trust me, you’ll forget how gorgeous they looked and wonder why you kept random pinecones and ribbons together!