Halloween potion bottles are genuinely one of the easiest ways to nail that apothecary witchy aesthetic. You’re working with narrow-necked bottles in amber or dark green, aged paint, vintage labels, and layered contents like colored alcohol mixed with gel food coloring. Prep matters — skip cleaning and nothing sticks right. Mix sizes, wrap necks with twine, and arrange at varying heights for a display that looks collected, not cheap. There’s a lot more to unpack here.
Design Highlights
- Choose narrow-necked amber or dark green glass bottles in varied sizes to create an authentic, collected apothecary aesthetic.
- Paint bottles with brown-black acrylic, stipple edges for aging, then seal with matte spray for a dusty, weathered finish.
- Design parchment-toned labels using old-style serif fonts, Latin-sounding names, and period terms like “tincture” or “elixir” for authenticity.
- Fill bottles with colored rubbing alcohol, luster dust, and glitter, then wrap necks with jute twine or add wax drips.
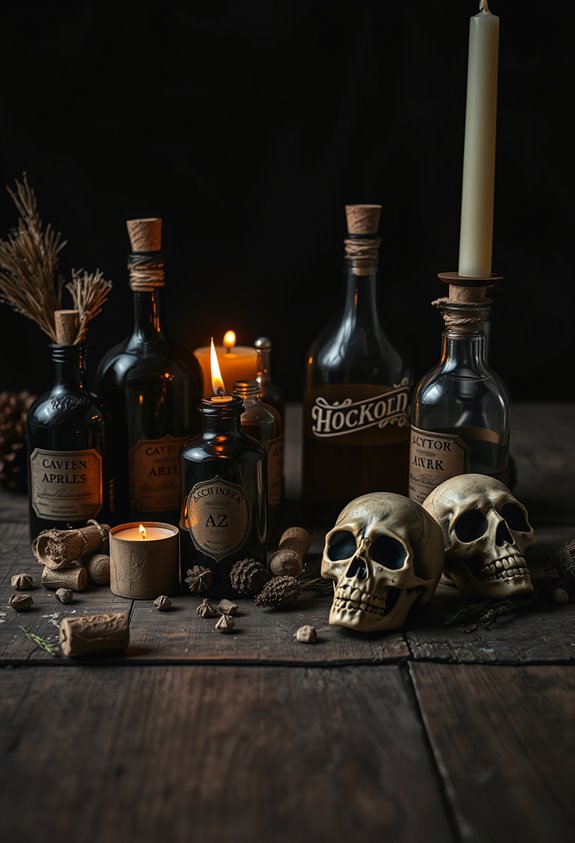
- Display on mantels or trays with skulls, Spanish moss, candlesticks, and faux webs to build a layered, witchy scene.
Pick the Right Bottles for an Apothecary Look
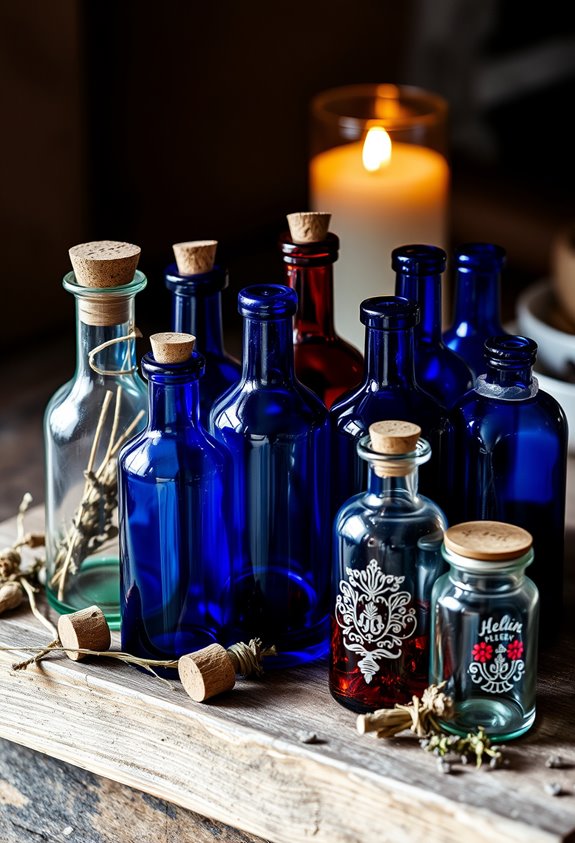
Because the bottle shape matters just as much as what you put inside it, starting with the right glass is non-negotiable. Narrow necks, rounded shoulders, squat silhouettes — these details separate an actual apothecary vibe from a sad row of repurposed spaghetti sauce jars. Shape is everything.
Go for amber, dark green, or smoked glass. These tones do most of the heavy lifting before you’ve added a single label. Colored glass just *looks* like it’s hiding something ancient and slightly dangerous. That’s exactly what you want.
Mix your bottle sizes and proportions. Real apothecary collections were assembled over time, not pulled from matching sets at a big-box store. Variety signals authenticity. Uniformity kills the mood fast. Trust that.
Clean and Prep Your Bottles Before Decorating
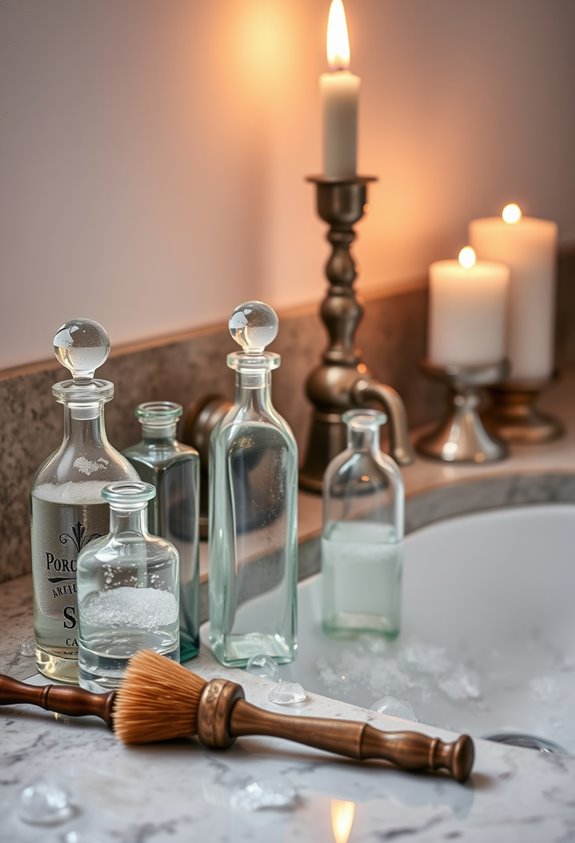
Skipping the prep work is how you end up with a gorgeous label sitting crooked over a grease smudge. Not a good look. Start by peeling off every price tag and sticker, then soak your bottles in warm, soapy water to loosen stubborn adhesive. Scrub with a sponge. Check the seams and corners because adhesive hides there. Rubbing alcohol, Goo Gone, or even olive oil handles anything leftover.
Wash inside and out. Rinse completely. Then let them air-dry upright, and actually wait until they’re bone dry. Check the shoulders and base for trapped moisture. Seriously, check.
Once dry, wipe the exterior with rubbing alcohol on a cotton ball. That removes oils and helps your hot glue and embellishments actually stick. Also wipe the inner top of the lid with rubbing alcohol and let it dry, since improved glue adhesion depends on a completely clean, residue-free surface before sealing. Now you’re ready.
Paint and Age Your Halloween Potion Bottles for a Witchy Finish
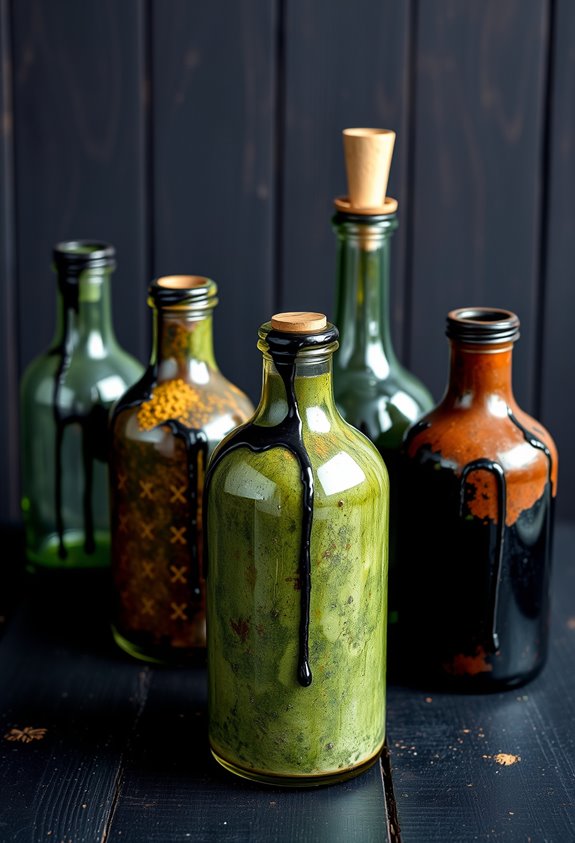
Now that your bottles are clean and dry, it’s time to rough them up. Grab 80-grit sandpaper and scratch the glass surface. This helps paint grip instead of sliding right off. Sand in multiple directions if you want that extra worn, aged look.
For the base coat, mix brown and black acrylic together. Stipple dark paint around edges, rims, and corners. It should look grimy. That’s the goal. Paint lids separately in flat black or gray.
Let the paint get tacky — about 15 to 20 minutes — then wipe most of it back with a paper towel. That smeared, uneven result? Exactly what you want. Finish with matte clear spray so everything reads dusty, dry, and delightfully old. To push the aged effect even further, dry-brush black acrylic paint along label edges once your labels are applied for a naturally darkened, weathered appearance.
Seal Your Labels So They Stay Put
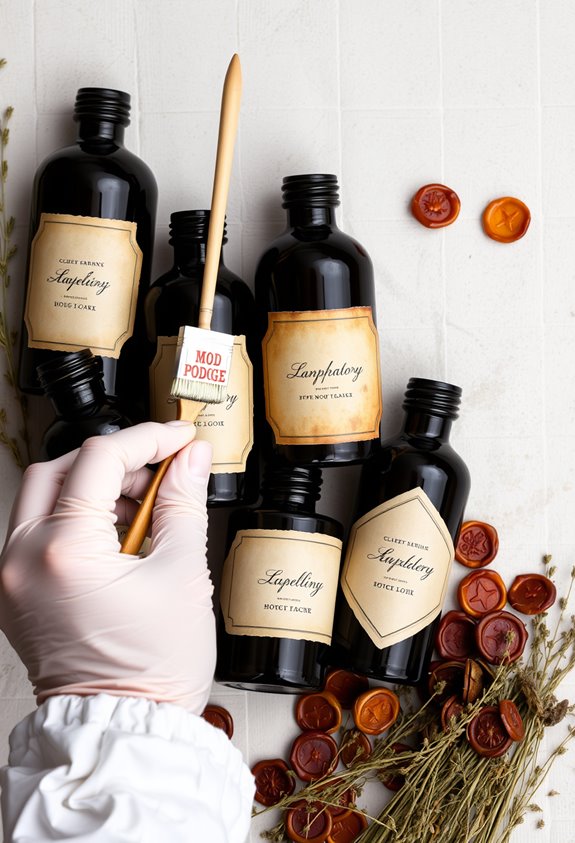
Your labels will peel. Guaranteed — unless you seal them properly. Here’s the move that separates a gorgeous display from a sad, curling mess.
- Let your label dry about 15 minutes after placement before touching it again.
- Brush a thin layer of Mod Podge directly over the label surface.
- Let that sealing coat dry fully before handling the bottle.
That’s it. Seriously. Mod Podge bonds the paper down *and* protects the printed surface from handling damage. It also wipes away excess glue edges for a cleaner finish.
You’re basically doing decoupage — a technique crafters have trusted forever. The free label set includes four unique labels in different sizes with spooky names you can use right away.
Firm pressure after placement helps too. Hit those edges and corners hard. Because peeling corners are embarrassing, and your potion shelf deserves better.
Design Potion Labels That Look Authentically Vintage
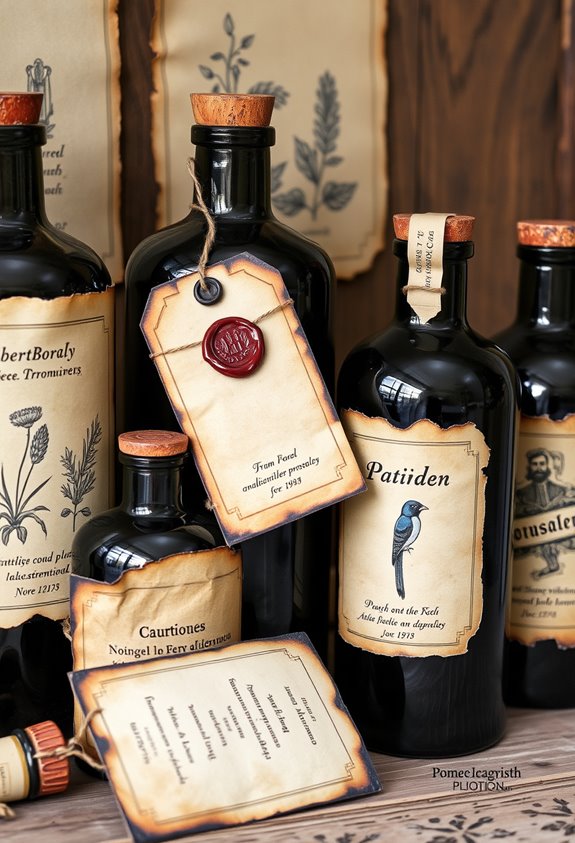
The label is where your potion display either sells the illusion or completely falls apart. No pressure.
Start with a cream, tan, or parchment-toned background — bright white screams “printed this morning.” Add subtle mottling or uneven tone to mimic natural aging.
Avoid bright white — it’s a dead giveaway. Aged parchment tones with subtle mottling sell the illusion instantly.
It matters more than you’d think.
For typography, go old-style serif. All-caps for the main name, smaller serif text for ingredients or warnings.
Condensed, decorative lettering feels handcrafted and archival. Just don’t get so distressed with the font that nobody can read it.
Lean into period-accurate wording. Think “tincture,” “elixir,” “draught.” Throw in Latin-sounding names and dosage phrasing.
Centered layouts with border ornaments and layered elements — title, subtitle, emblem — complete the look. Consistency across your bottle set makes it feel like a real collection, not a craft accident.
Wrap the Neck for a Rustic or Gothic Touch
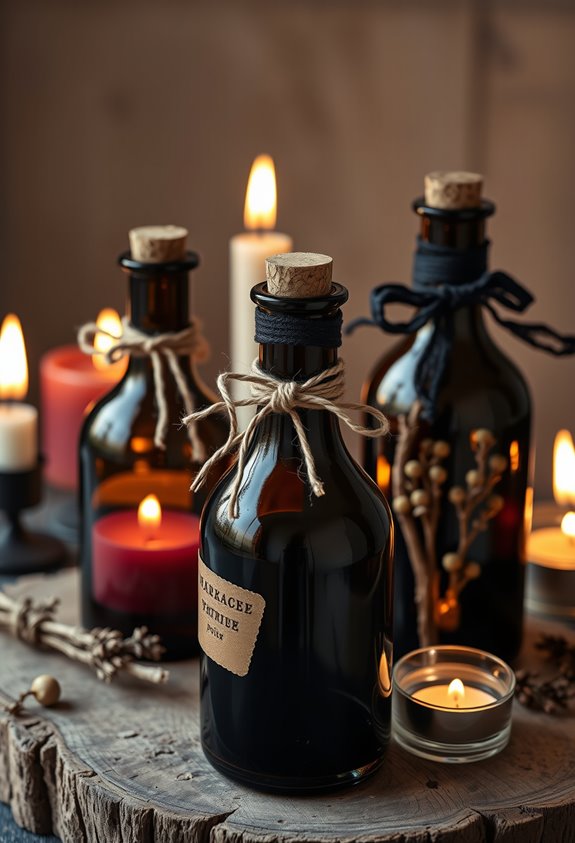
Once the label’s locked in, the neck wrap is what gives your bottle actual texture and dimension. Skip it, and your bottle looks unfinished. Don’t skip it.
Here’s what works:
- Jute twine — the go-to for apothecary vibes; wrap tight, press it flush, and secure with hot glue
- Black twine or dark string — swap natural fiber for dark if you’re leaning gothic; it shifts the whole mood instantly
- Wax drips or scrap fabric — for something more dramatic or worn-looking
You’re part of a whole aesthetic here. These bottles aren’t solo acts — they belong grouped on trays, surrounded by moss, charms, or Halloween netting. Recycled glass or plastic bottles work just as well as anything store-bought, so don’t overthink your starting point.
Twine plus a cork stopper? Classic. That combination signals *intentional* craft, not accidental clutter.
Fill Your Halloween Potion Bottles With Layered Contents
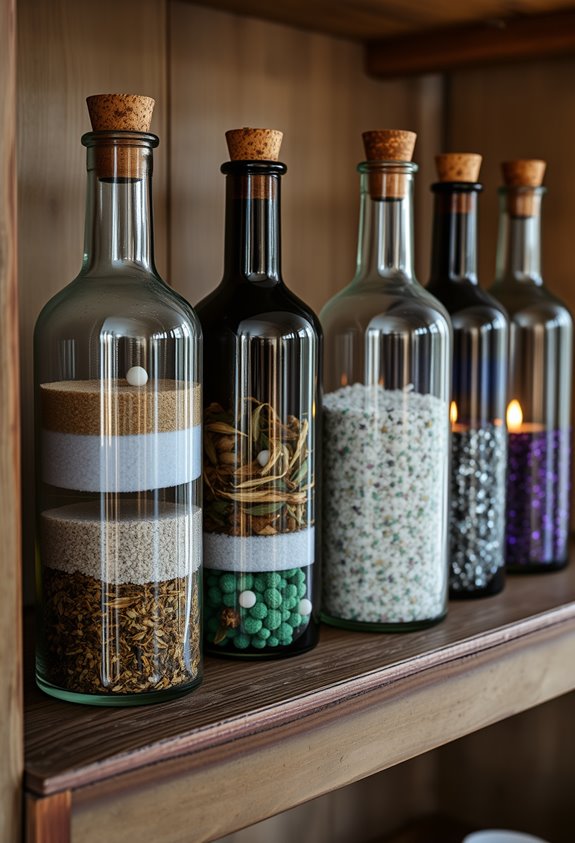
Now that your bottle’s got shape and texture on the outside, what’s *inside* is where the real magic happens — or where it falls completely flat.
Start with colored liquid. Rubbing alcohol mixed with gel food coloring hits different in glass. Don’t fill it all the way — half-full lets things move and layer.
Colored liquid is your foundation. Rubbing alcohol plus gel food coloring, half-filled so everything moves.
Next, pack cotton at the bottom with a skewer. Yes, actual cotton. It mimics mist and creates separation between layers. Pour colored liquid over it.
Then add luster dust mixed with vegetable glycerin for that suspended, iridescent shimmer. Glitter on top. Fake worm pieces distributed on multiple sides. Done.
Combining cotton, liquid, and glitter produces depth that a single-fill bottle simply can’t. Each layer needs to stay visible. That’s the whole point. Old pill bottles make surprisingly effective vessels for these layered fills once their surfaces are roughed up and painted with black as a base coat.
Style Multiple Bottles Into a Full Apothecary Vignette
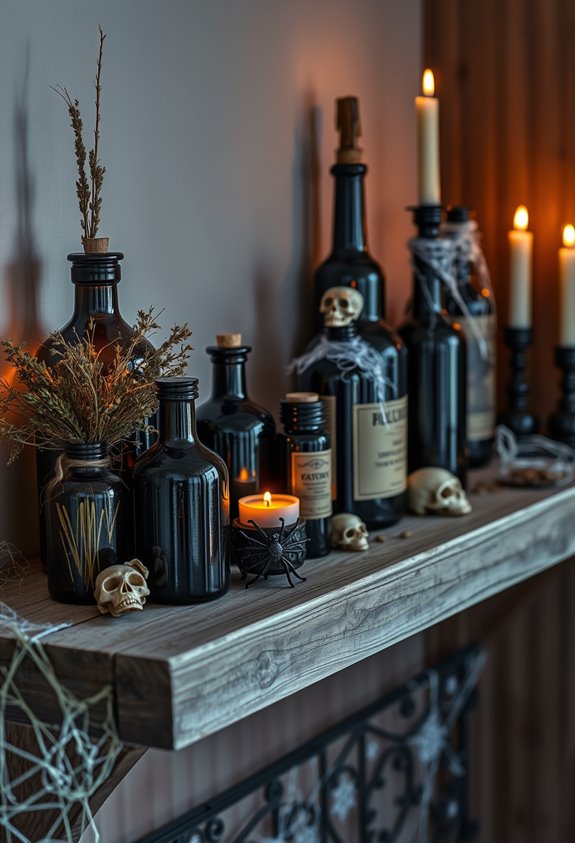
Most people stop at the bottle itself — big mistake. A single bottle is just a bottle. A cluster? That’s a vignette. Grouping multiple bottles together is what transforms your shelf into an actual apothecary display.
Here’s what makes the arrangement work:
- Anchor tall bottles at the back and step shorter pieces forward for a layered silhouette.
- Vary your heights using books or candle holders as risers — no extra purchases needed.
- Mix old and new pieces that share a similar color story for a collected, non-uniform look.
Fill gaps with smaller props so nothing looks accidental. Repeating bottle shapes across the cluster keeps it cohesive without making it matchy. Eclectic beats matching every single time. Adding Spanish moss as filler between bottles brings in texture that ties the whole arrangement together.
Where to Display Your Halloween Potion Bottle Decor
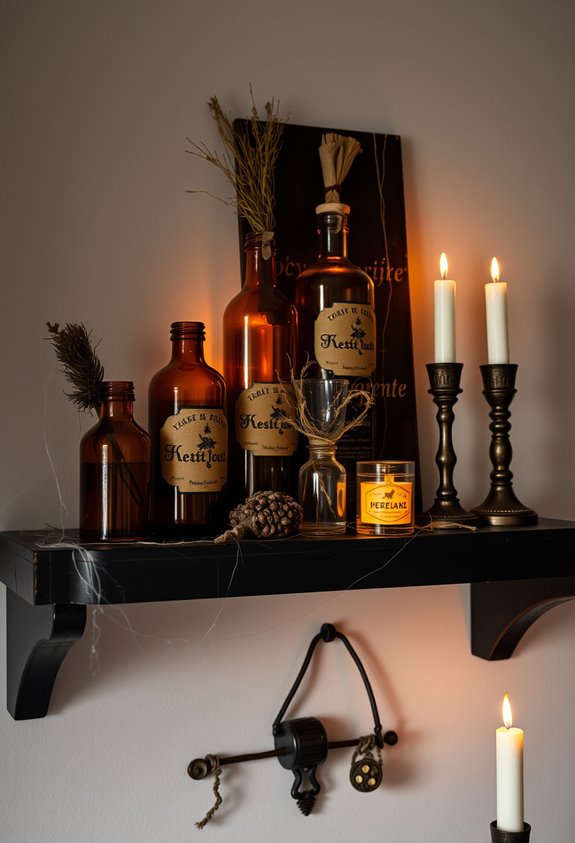
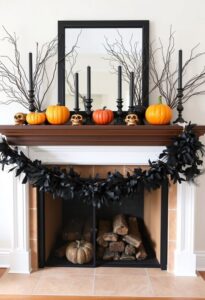
Where you place your potion bottles matters more than most people think. Seriously, location makes or breaks the whole vibe. Mantels and shelves are the go-to spots because they hit eye level and create a natural focal point. Mix in candles, skulls, and faux spider webs, and you’ve got a full scene. Done.
Dining tables work beautifully too, especially for gatherings. Build around a large black or metallic tray, add dried flowers or fake bones, and you’ve got a centerpiece people actually talk about.
Want maximum drama? Try an entryway or porch. Stage bottles on an old wooden crate, add a lantern, and visitors get the witchy welcome before they even knock. It’s a first impression. Make it count. Use a glass candlestick alongside your bottles to vary the heights and create a more dynamic, layered arrangement.
Frequently Asked Questions
Can Kids Safely Help Make Halloween Potion Bottle Decorations?
Yes, your kids can safely join in! Let them choose potion names, place stickers, and shake glitter while you handle the hot glue, sharp tools, and liquid fillers yourself.
How Long Do Finished Potion Bottles Typically Last Before Deteriorating?
Your sealed potions won’t crumble overnight like a villain’s plan—they’ll last one season to many years! Store them cool and dark, and your witchy collection stays spellbinding for your fellow potion-crafting coven to admire.
Are Potion Bottles Safe to Use Around Open Flames?
They’re not safe near open flames! You’ll want to swap real candles for LED ones, fill your bottles with dyed water or glycerin, and keep any flammable liquids far from your witchy display.
Can Potion Bottles Be Repurposed for Other Holiday Decor Themes?
You don’t need a new collection for every holiday — you can repurpose your potion bottles into Christmas centerpieces or party decor by simply swapping labels, fillers, and ribbon to match your seasonal theme.
What Is the Average Cost to Make One Potion Bottle?
You’ll typically spend $2–$5 per bottle when sharing supplies across multiple bottles. If you’re using Dollar Tree finds, you can stay closer to $2, while craft-store bottles with custom labels’ll run you higher.
Conclusion
Your Halloween potion bottles are the anchor of the whole display — every other element orbits around them. Pick the right bottles, nail the labels, layer the contents, and style them together. It’s not complicated. Clean, prep, paint, seal, wrap, fill, and arrange. Done. Whether you’re going full witch’s lair or just adding a little dark whimsy to a bookshelf, these nine ideas give you everything you need to pull it off.