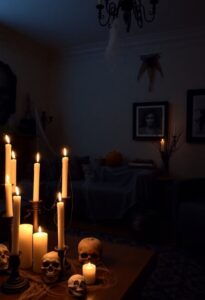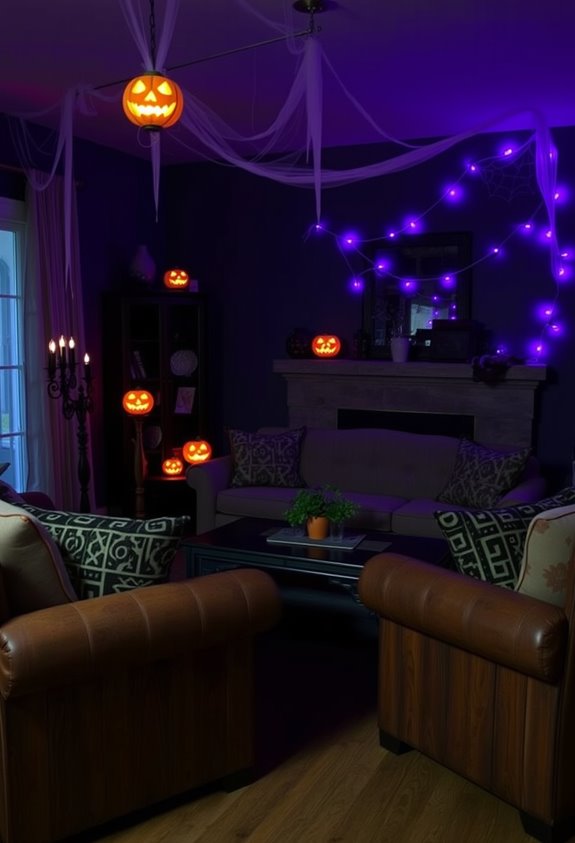
Throwing a Halloween party everyone talks about isn’t about spending more — it’s about planning smarter. Start with a tight color palette, pick a cohesive theme before buying anything, and focus your money on three focal zones: entry, mantel, and buffet table. Layer fog, lighting, and sound for atmosphere that actually hits. Cheap props look cinematic in dim rooms with the right bulb. Stick around — there’s a lot more where that came from.
Design Highlights
- Choose a cohesive theme before buying anything; it unifies décor, lighting, food, costumes, and music into one memorable experience.
- Layer string lights, flickering LED candles, and colored spotlights to build shadow, mood, and cinematic atmosphere affordably.
- Focus decor spending on three high-impact focal zones: the entry, mantel, and buffet table.
- Use fog machines aimed low toward tombstones or snack tables, paired with eerie soundscapes, for a reactive haunted effect.
- Cheap materials like black cardstock, old sheets, glass jars, and gauze fabric can transform any space dramatically.
Start With Curb Appeal That Stops Trick-Or-Treaters Cold
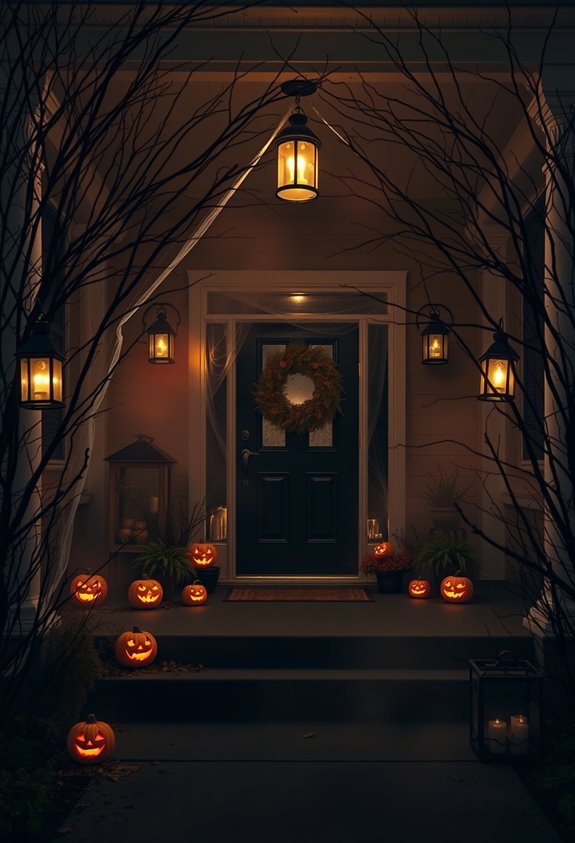
Halloween decorating starts at the curb — and if your front yard looks like an afterthought, no amount of indoor décor will save you. Rake the leaves. Edge the lawn. Trim the shrubs. A messy yard buries your decorations before anyone even sees them.
Once you’ve cleaned up, the real fun starts. Group pumpkins and gourds at varying heights on your steps or retaining walls — depth matters. Stretch faux spider webs across hedges. Hang lightweight bats or ghosts from tree branches. Your landscape is already a stage; use it.
Lighting ties everything together. String lights, solar pathway lights, and colored spotlights in purple, green, or orange keep things spooky without killing visibility. Skip the real candles. LED everything. For an extra eerie focal point, dig a shallow hole in the front lawn, cover it with spaced wooden planks, and install a bright orange light inside to cast an unsettling glow. Your neighbors will notice. So will every trick-or-treater on the block.
Decorate Your Entry to Set the Halloween Mood
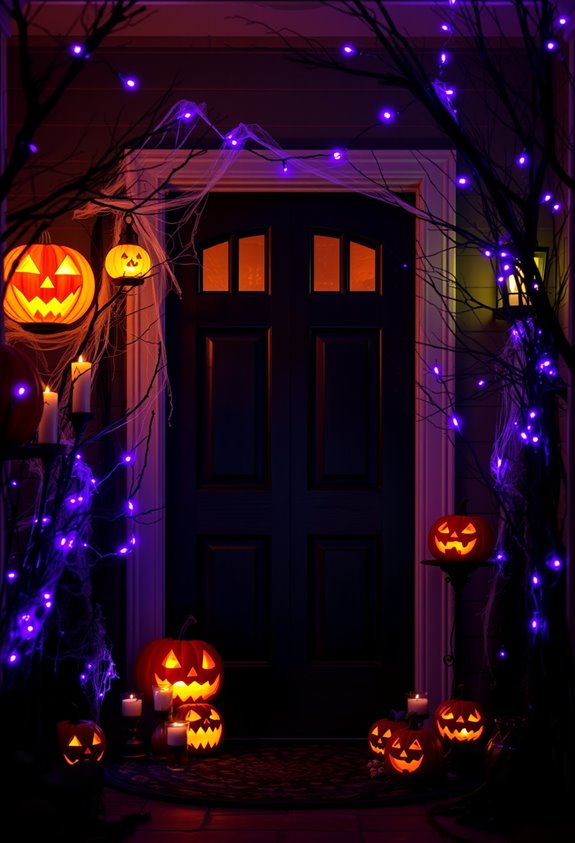
Once trick-or-treaters make it past your yard, the entry does the heavy lifting. This is where your theme either clicks or falls apart. No pressure.
Keep it intentional with these three moves:
- Lock in a tight color palette — black, amber, rust, and cream. Two or three colors max. Repetition makes everything look curated, not chaotic.
- Layer your lighting — string lights, lanterns, flickering LED candles. Shadow does half the work. Let it.
- Anchor the door first — a wreath, garland, or themed doormat signals the season before guests even knock.
Then build your console table around grouped accents: dark branches, mini pumpkins, a candy bowl. Trays contain the chaos beautifully.
Your entry should feel like a warm, spooky welcome — not a last-minute scramble. Try positioning a lounging skeleton on a bench styled with pumpkins, bats, and pillows to create an engaging, conversation-starting focal point the moment guests arrive.
Build a Haunted Atmosphere Room by Room
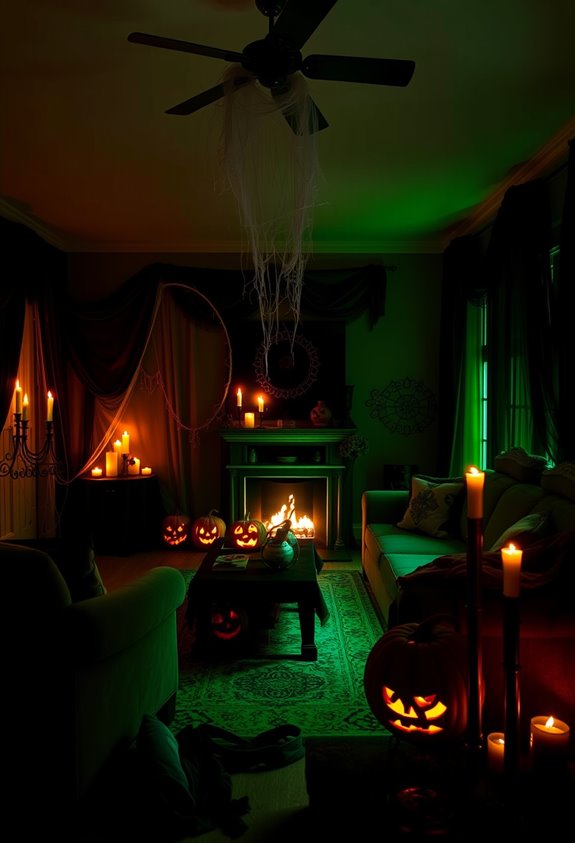
The entry’s handled — now it’s time to move deeper into the house. Every room deserves its moment.
Start with your living room. Swap basic wall art for haunted portraits. Add floating shelves loaded with skulls, potion bottles, and black candles. Cobwebs in the corners? Non-negotiable.
Your bedroom’s next. Tattered fabrics draped over the headboard, skeleton-print bedding, a creepy doll on the nightstand. Small details hit hard.
The dining room gets a Victorian treatment — dark tablecloths, candles, ornate chairs, burgundy and black everywhere. It’s giving haunted aristocracy, and that’s exactly the point.
Don’t ignore hallways. Hang bat cutouts from railings. Use dim lanterns to pull guests through connected spaces.
Every room tells a story. Make sure yours is worth remembering.
Use Fog, Lighting, and Sound to Scare Every Guest
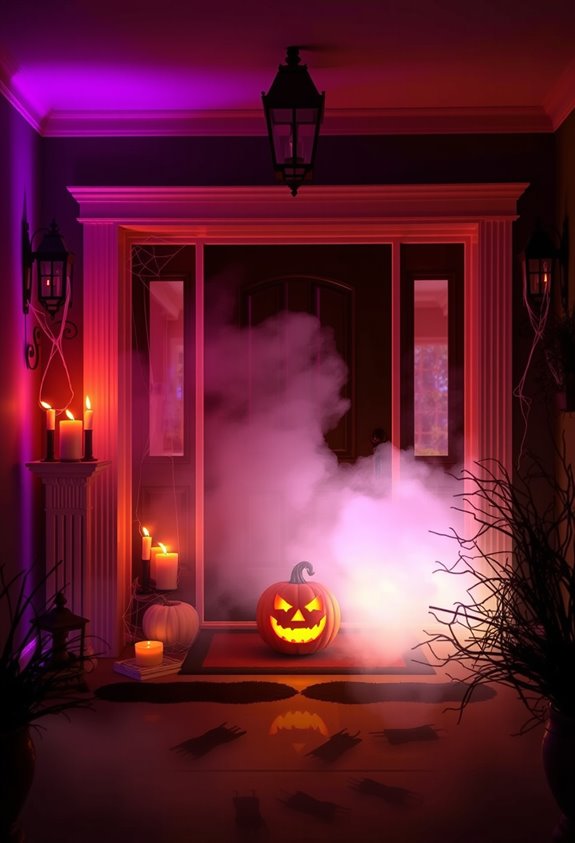
Fog alone won’t cut it. You need the full trio working together if you want guests talking about your party for years.
- Fog placement: Keep the machine low. Direct it toward tombstones, cauldrons, or your snack table for intentional, creepy effect.
- Lighting: Aim torches or directed lights directly into the fog. Then kill the overhead lights. Watch the room transform instantly.
- Sound: Eerie soundscapes paired with fog bursts timed to door openings or music cues make the space feel alive and reactive.
Here’s the truth: fog without lighting is just… mist. Boring mist.
Replace melted ice in your fog chiller throughout the night so the effect stays sharp. Reset attention. Refresh the scare. Repeat. For the densest, most dramatic effect, use hot water at around 50°C in your fog vessel, as warmer water reacts more powerfully with dry ice to produce thick, ground-hugging fog.
Style a Halloween Buffet Table They’ll Actually Remember
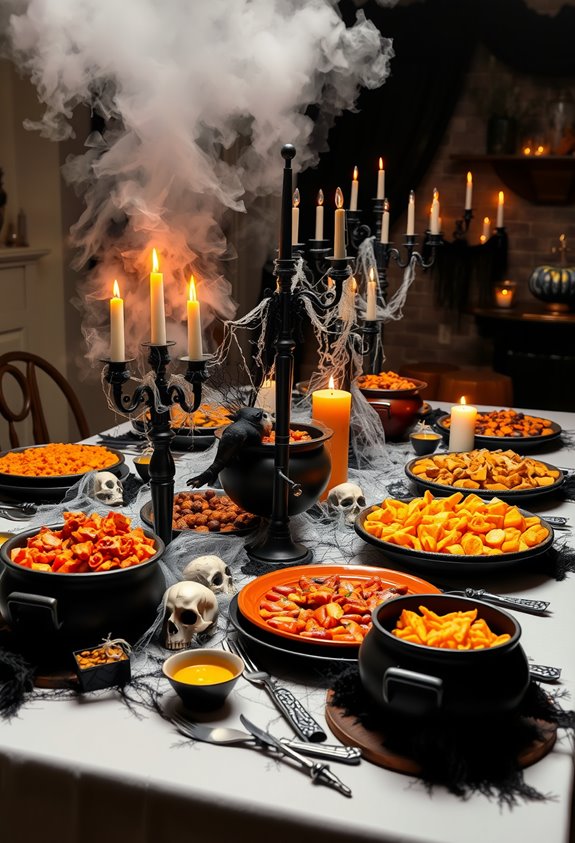
Now that you’ve nailed the atmosphere, don’t blow it with a sad folding table covered in a plastic grocery store cloth. Your buffet table is part of the decor. Treat it that way.
Start with a black tablecloth. Layer matte black chargers, charcoal plates, and Halloween-themed salad plates on top. Add silver trays, candelabras, and skull glassware for shine. Height matters. Stack books or risers under serving pieces so everything isn’t sitting flat and forgettable.
Start with a black tablecloth. Add height. Layer textures. Make the table work as hard as the rest of the room.
Group your food by theme and label it. “Vampire bites” beats a blank sticky note every time. Use tiered trays for desserts, a cauldron as a centerpiece, and drippy pre-lit candles for gothic texture.
Small details stick. Mozzarella ghosts. Olive spiders. Tombstone cutouts. That’s what people actually remember. For drinks, lean into themed cocktails like Black Sangria or a Witch’s Brew Shimmering Cocktail to make the beverage station just as visually striking as the food spread.
Turn Your Yard Into a Classic Graveyard Scene
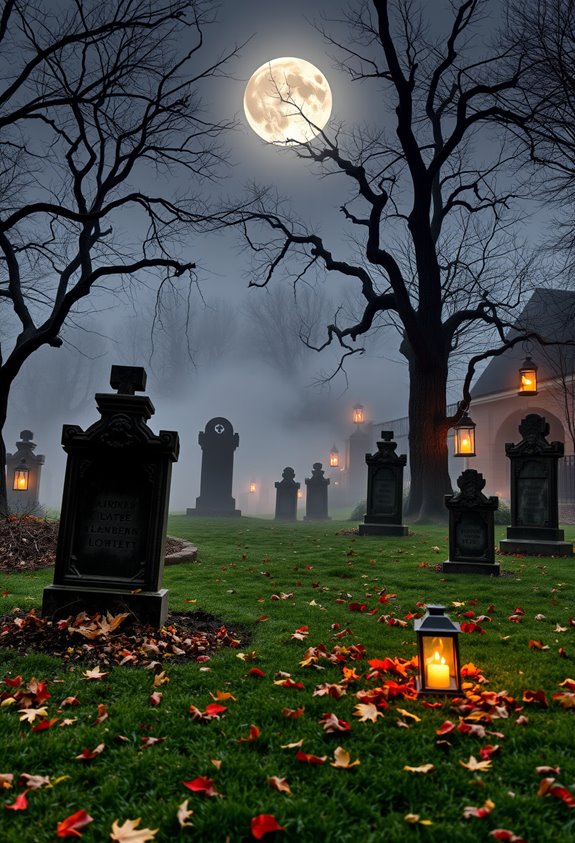
Your yard is either doing work or it isn’t. A flat row of identical tombstones? That’s a parking lot, not a graveyard. Here’s what actually builds atmosphere:
- Place three to five foam tombstones in varied shapes and sizes along a winding path
- Uplight from the ground using blue or purple tones to cast dramatic shadows
- Add a fog machine low to the ground with lights aimed directly into it
Lean into the details. A skeleton posed mid-emergence. A caretaker figure holding a lantern. Funny epitaphs like “Rest in Pieces” keep it approachable without killing the vibe.
Use natural dips in your yard to partially hide tombstones. Concealed speakers playing distant organ music seal the deal. Pairing a skeletal dog or cat alongside a human skeleton adds a surprisingly memorable and amusing twist to the scene. Your neighbors will notice.
Create Interactive Halloween Corners That Keep Guests Engaged
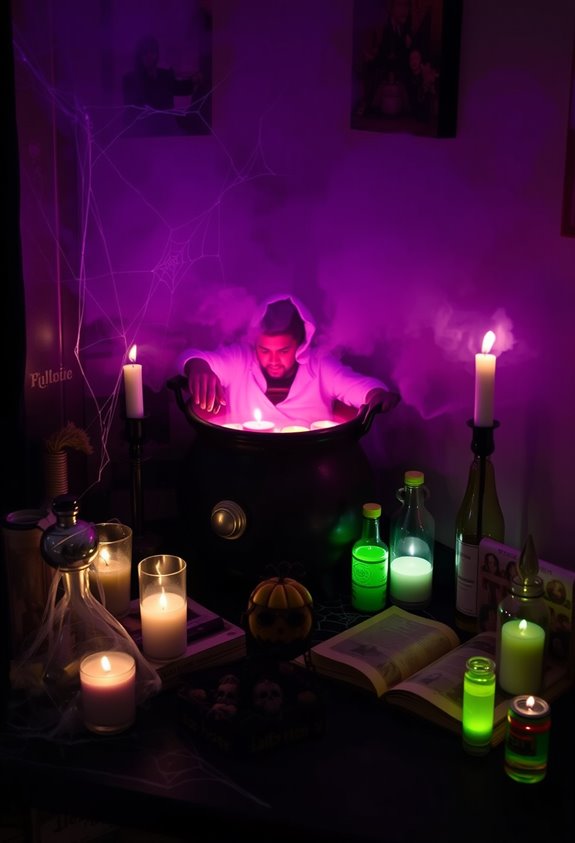
Guests standing around a Halloween party aren’t having fun — they’re just waiting to leave. Fix that with interactive corners. Here’s the setup: hang a different Halloween image in each corner of the room. When the music plays, everyone moves. When it stops, they pick a corner fast. You draw one image from a bowl. Whoever’s standing in that corner? Gone. Simple. Brutal. Perfect.
The corners do double duty. They’re décor and gameplay at the same time. No expensive equipment. Just posters, tape, and a bowl.
Keep the rules short. Explain elimination once before you start. Run multiple rounds. Award something small to the last person standing. That’s your party anchor — the moment everyone remembers and talks about the next day. As the group shrinks, pull corner images to reduce the number of choices and keep the pressure on.
DIY Halloween Decor Ideas That Cost Almost Nothing
Interactive corners cost nothing but paper and tape. Seriously. You don’t need a budget to make something people remember.
The best Halloween setups cost almost nothing. All you really need is paper, tape, and a little creativity.
Here’s what actually works:
- Cut black cardstock bats and hang them from the ceiling with string — instant movement, instant drama.
- Swap bulbs to orange, red, or green in existing lamps — one bulb transforms an entire room’s mood.
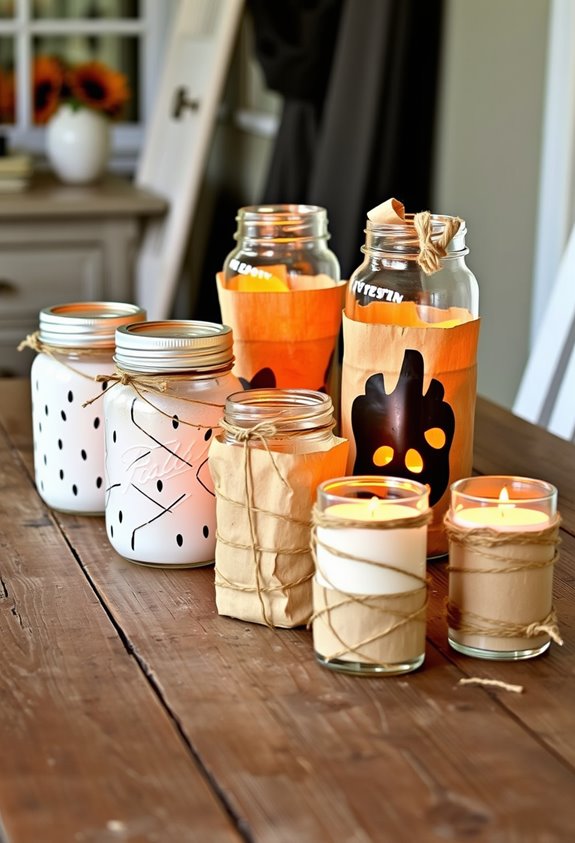
- Repurpose glass jars with cheesecloth wraps and LED tea lights — free lanterns that look intentional.
Old sheets become ghosts. Cardboard becomes tombstones. Thrifted frames become haunted mirrors with a little spray paint and attitude.
Dim the room, and suddenly your cheap props look cinematic. Shadow does half the work for free. Your crowd won’t know what you spent. They’ll just know it felt right.
Draping gauze-like spooky fabric over furniture and pulling sections apart creates an old-timey haunted look that costs around $10 and requires zero crafting skills.
Halloween Decor Ideas That Work for Any Budget
Decorating for Halloween doesn’t require a big budget — it requires a smart one. Start by shopping your own home. Seriously. Designers say this first, and they’re right. Dark books, autumn-colored accents, old stuffed animals — you already own spooky.
Next, hit thrift stores and garage sales for frames, candlesticks, and books you can repurpose. Dollar Tree exists for a reason. Use it.
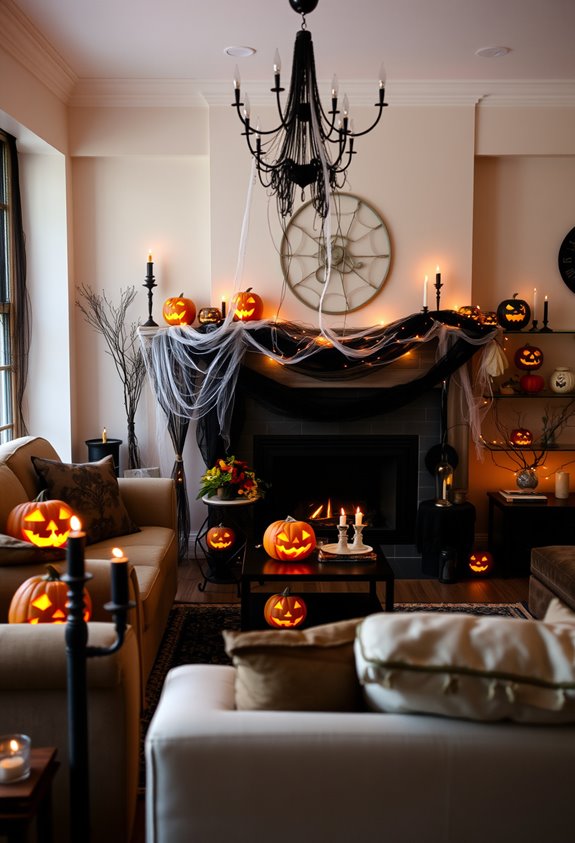
Focus your spending on a few focal zones: the mantel, the table, the entry. Don’t scatter cheap stuff everywhere hoping it adds up. It won’t.
Layer what you have — cloth, candles, lighting, a few props — and it feels intentional. And here’s the smartest move: buy everything in November’s clearance sales. Future you’ll be grateful.
Swapping out your regular lamp bulbs for black light or red bulbs instantly transforms the mood of any room without spending more than a few dollars.
Pick a Cohesive Halloween Theme Before You Buy Anything
Before you buy a single plastic skull or string of orange lights, pick a theme. Seriously. Random décor is how you end up with a haunted house that somehow also has tropical vibes.
A clear theme ties everything together — décor, food, costumes, music, invitations — and makes every purchase intentional.
Popular themes that actually work:
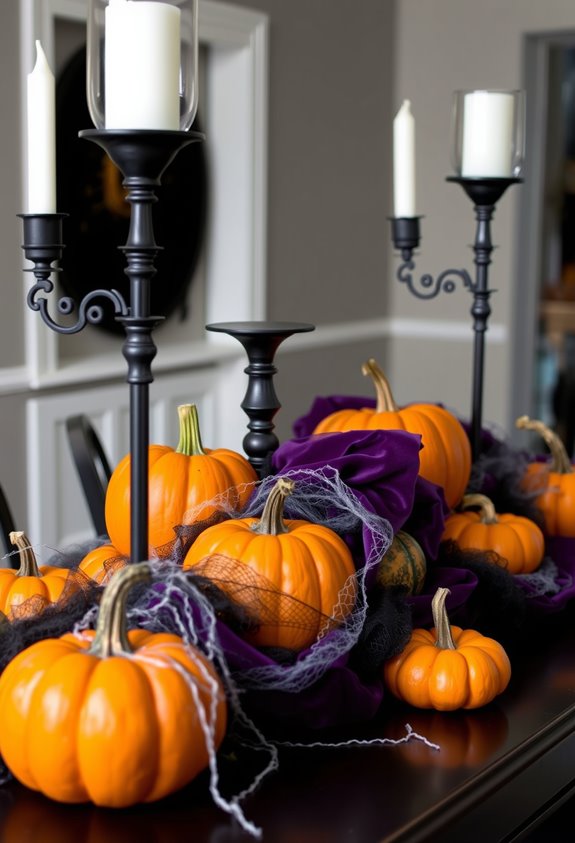
- Gothic elegance — black lace, candles, dramatic shadows
- Zombie apocalypse — gritty, distressed, gloriously chaotic
- Vampire masquerade — rich jewel tones, masks, candlelight
Your theme also tells you what to *exclude*, which matters more than people admit.
It’s not about buying more stuff. It’s about buying the *right* stuff.
Define your color palette, signature props, and lighting style first. Then shop. Themes like Twisted Alice or Día de los Muertos show just how far you can push a concept — from twisted Wonderland set pieces with oversized surreal props to candlelit altars and marigold displays rooted in Mexican tradition.
Frequently Asked Questions
How Early Should I Start Setting up Halloween Decorations Before the Party?
Start setting up three to four weeks before your party! You’ll have plenty of time to test lighting, finish DIY pieces, and build excitement with friends by adding spookier touches closer to Halloween night.
Are Halloween Decorations Safe to Use Around Pets and Small Children?
Many aren’t safe, but you can make them work! Swap real candles for LED ones, secure loose small parts, cover cords, and skip fake cobwebs. You’ll keep your little ones and furry friends protected all night!
How Do I Store Large Halloween Decorations After the Party Ends?
Like Frankenstein’s monster, you’ll break large pieces into parts, bundle matching sections together, and label every bin. Store them somewhere climate-controlled, wrap fragile pieces well, and you’ll reunite your monster crew next Halloween!
Can Outdoor Halloween Decorations Withstand Rain or Bad Weather Conditions?
Many outdoor Halloween decorations can handle rain if you choose plastic, metal, or resin materials. You’ll also want to secure them against wind with stakes or weights, and unplug electrical components when storms roll in.
What Permits or HOA Rules Should I Check Before Decorating Outdoors?
Check your local municipal code and HOA rulebook before decorating. You’ll want to confirm rules on lighting, noise, attachments, and public-space use so your display stays compliant and your community enjoys the celebration with you.
Conclusion
Your Halloween party is a blank canvas. Every fog machine, flickering candle, and creepy buffet table is another brushstroke. You don’t need a massive budget or a design degree. You need a plan, a theme, and the willingness to commit. Start early, stay consistent, and don’t cheap out on lighting — it’s doing half the work. Do this right, and people won’t stop talking about your party until next October.