Create a festive shamrock banner with just eight basic craft supplies: green cardstock, pencil, scissors, string, hole punch, tape, ruler, and a template. Start by folding cardstock to make heart shapes for your shamrocks, then cut out multiple pieces. Punch holes at the top corners, thread your string through, and space them evenly. Hang your banner on a mantel or doorway using removable hooks. Let’s explore the step-by-step process to craft your perfect St. Patrick’s Day decoration.
Design Highlights
- Create a shamrock template by folding green cardstock, drawing half a heart, and cutting three identical hearts for the clover pattern.
- Cut multiple shamrock shapes from green cardstock using your template, ensuring consistent size and shape throughout.
- Punch holes in the top corners of each shamrock piece to prepare for stringing.
- Thread white string or ribbon through the holes, maintaining 2-3 inch spacing between each shamrock.
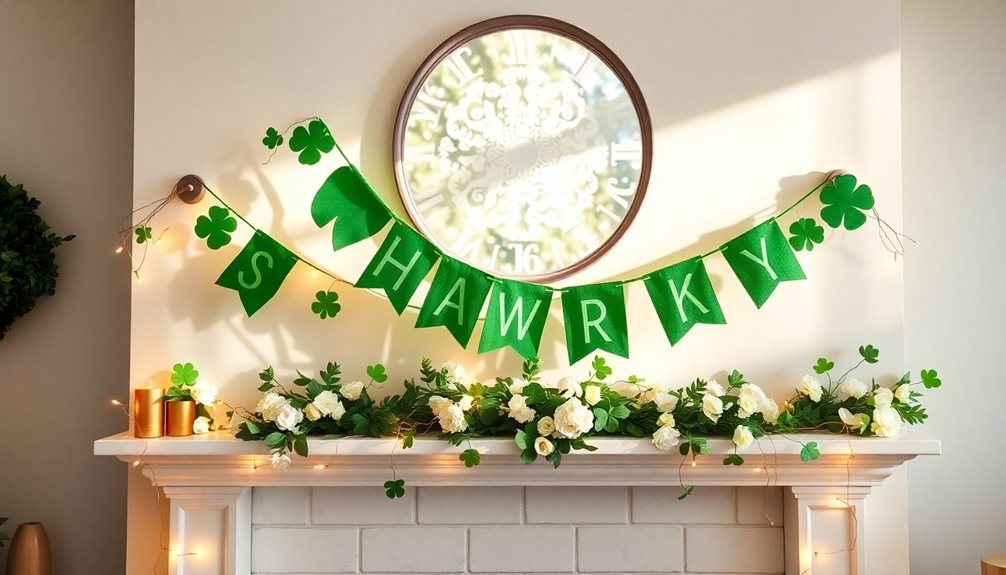
- Hang your completed banner using removable hooks, ensuring it’s securely fastened and displayed in a sheltered location.
Supplies Needed
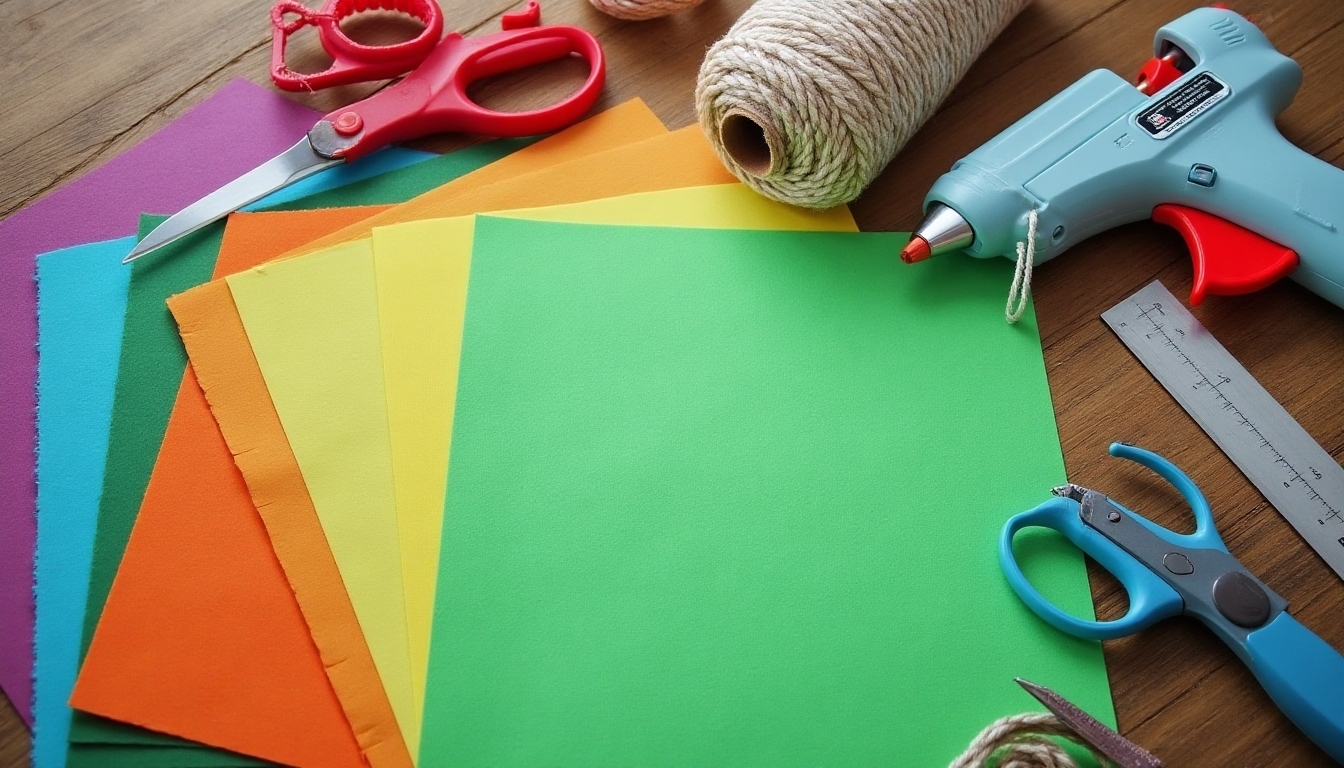
For this delightful shamrock banner project, you’ll need just eight basic craft supplies to create something truly special. Gather your green cardstock paper, a pencil, scissors, white string or ribbon, a hole punch, clear tape, and a ruler. You’ll also want to have a simple shamrock template, which you can easily print from home. Plus, consider adding some charming St. Patrick’s Day decor to your laundry room to complete the festive atmosphere.
Don’t worry if you’re new to crafting – these materials are easy to find at your local craft store or might already be in your supplies drawer. Everything you’ll need is affordable and beginner-friendly, making this the perfect project to create alongside friends or family members.
Creating Your Shamrock Template

The magic of your shamrock banner begins with creating the perfect template. You’ll want to fold a piece of green cardstock in half, then draw half a heart shape along the fold. When you cut and unfold it, you’ll have a perfect heart!
Create three identical hearts, then arrange them in a clover pattern with the points meeting in the middle. Add a small rectangle at the bottom for your stem. Once you’re happy with the arrangement, trace around the entire shape onto sturdy cardboard to make your master template. Now you’re ready to create multiple shamrocks for your banner! Additionally, using St. Patrick’s Day deck decor ideas can enhance the festive atmosphere in your home while showcasing your creative banner.
Cutting and Assembling the Banner Pieces

Now that you’ve got your template ready, it’s time to bring your shamrock banner to life! Carefully cut out each shamrock shape using your scissors, making sure to follow the lines precisely. You’ll want to cut multiple pieces to create a festive length for your space.
Lay out your freshly cut shamrocks in a row, spacing them evenly. Connect each piece by punching small holes at the top corners and threading your ribbon or twine through them. Don’t worry if they’re not perfect – that’s what makes your banner unique and special to your home’s St. Patrick’s Day decorations. You can also enhance your decor by incorporating St. Patrick’s Day kitchen decor ideas that will complement your festive theme beautifully.
Stringing the Banner Together
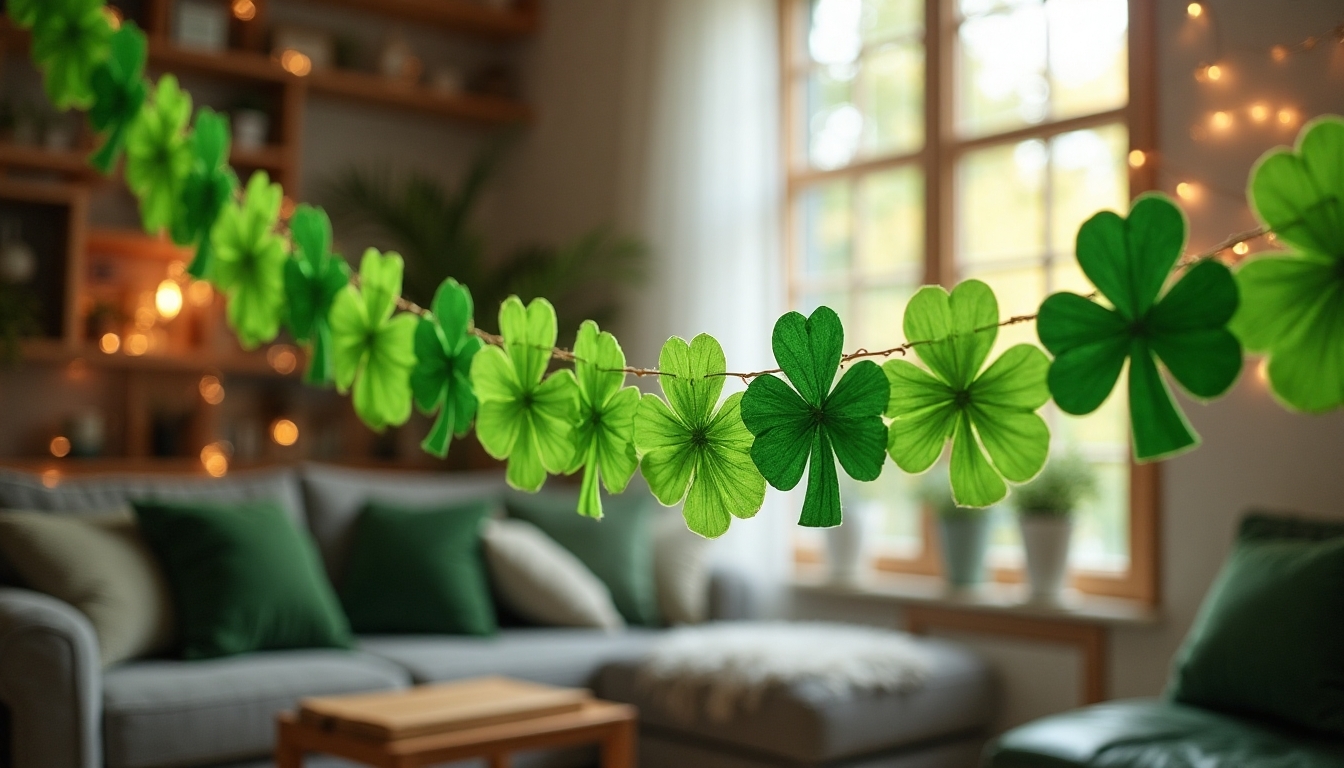
Creating a beautiful flow with your banner starts with carefully stringing each shamrock piece together. Lay out your pieces in order, making sure they’re evenly spaced. You’ll want to thread your ribbon or twine through the pre-punched holes at the top of each shamrock.
As you connect each piece, leave about 2-3 inches between shamrocks so they’ll hang naturally. Don’t pull the string too tight – you’ll want some gentle movement when it’s displayed. Once you’ve threaded all your pieces, tie secure knots at each end, leaving extra length for hanging. Now you’re ready to share your festive creation! To enhance your display, consider adding festive roof decor that complements your banner and brings additional charm to your St. Patrick’s Day celebration.
Hanging and Display Tips

Once you’ve crafted your beautiful shamrock banner, finding the perfect spot to display it will make all your hard work shine. Your festive creation will look stunning across a mantel, over a doorway, or along a staircase railing.
Before hanging, check that your string or ribbon is securely fastened to prevent any shamrocks from slipping. If you’re hanging indoors, removable adhesive hooks work perfectly and won’t damage your walls. For outdoor display, choose a sheltered spot away from direct wind and rain. You can also drape your banner along a fence or between posts on your porch for a welcoming St. Patrick’s Day decoration. Additionally, consider incorporating festive wall decorations to enhance the overall holiday atmosphere in your space.
Frequently Asked Questions
How Long Will the Shamrock Banner Last if Stored Properly?
If you store your shamrock banner with care, you’ll be delighted to know it can last for several years! The key is keeping it in a cool, dry place away from direct sunlight, which helps preserve its vibrant colors and prevent fading. You’ll want to store it flat or loosely rolled, and it’s best to keep it in a plastic container or bag to protect it from dust and moisture. With proper care, you’ll enjoy your festive creation for many St. Patrick’s Days to come!
Can I Make the Banner Waterproof for Outdoor Use?
You can definitely make your banner waterproof for outdoor display! The best way is to spray it with a clear waterproof sealant made for fabric, which you’ll find at your local craft store. Just lay your banner flat, spray evenly in thin layers, and let it dry completely between coats. Two or three coats should do the trick! Remember to test the sealant on a small corner first to make sure it doesn’t affect your design.
What Alternative Materials Can I Use Instead of Paper?
While paper is traditional, you’ve got so many exciting alternatives for your banner! You can use felt or fabric for a soft, cozy look, or try waterproof options like vinyl and outdoor canvas that’ll stand up to the elements. For a unique twist, consider using foam sheets, which are easy to cut and come in vibrant colors. You’ll also love working with ripstop nylon or even recycled plastic bags – they’re durable and eco-friendly!
How Do I Remove the Banner Without Damaging My Walls?
Here’s how you can safely take down your banner without leaving any wall damage! If you’ve used adhesive hooks or tape, gently warm them with a hairdryer for about 30 seconds – this will help loosen the sticky residue. Then, slowly peel from one corner, pulling at a downward angle. For stubborn spots, use a bit of adhesive remover or rubbing alcohol on a cotton ball. You’ll have your walls looking perfect in no time!
Can I Wash or Clean the Banner if It Gets Dusty?
You’ll be delighted to know that keeping your banner fresh and clean is actually quite simple! For light dusting, you can gently wipe it with a soft, dry microfiber cloth or use your vacuum’s brush attachment on low power. If it needs deeper cleaning, you can carefully spot clean with a slightly damp cloth and mild soap, but don’t soak the banner. Let it air dry completely before hanging it back up, and it’ll look as good as new!


