Start by measuring your rooflines, trees, and walkways to determine how many lights you’ll need, then choose a style that complements your home’s architecture. Install your outdoor Christmas lights using plastic gutter clips and a sturdy ladder, making sure all connections use outdoor-rated extension cords with GFCI protection. Secure everything against wind and moisture with weatherproof covers, and set up timers to automate your display. Throughout the season, check for burnt-out bulbs and blown fuses regularly to keep your lights shining bright. The sections below walk you through each step in greater detail.
Design Highlights
- Plan your display by mapping key features, measuring dimensions, and selecting lights that complement your home’s architectural style.
- Prioritize safety with sturdy ladders, proper clips for gutters and shingles, and avoid damaging materials like nails or staples.
- Use outdoor-rated extension cords, calculate total wattage to prevent overloading circuits, and install weatherproof timers with GFCI protection.
- Troubleshoot issues by checking fuses, replacing burnt bulbs immediately, testing sockets for corrosion, and using light tester tools.
- Enhance displays with layered decorations, consistent spacing, and automatic timers while keeping all connections weatherproofed and away from flammables.
Outdoor Christmas Light Style Guide: Choose Your Look Before You Install
Before you start measuring rooflines or climbing ladders, it helps to decide what kind of outdoor Christmas look you want to create. Choosing a style first makes the rest of the decorating process easier and helps you buy the right lights the first time.
Here are a few popular approaches to consider:
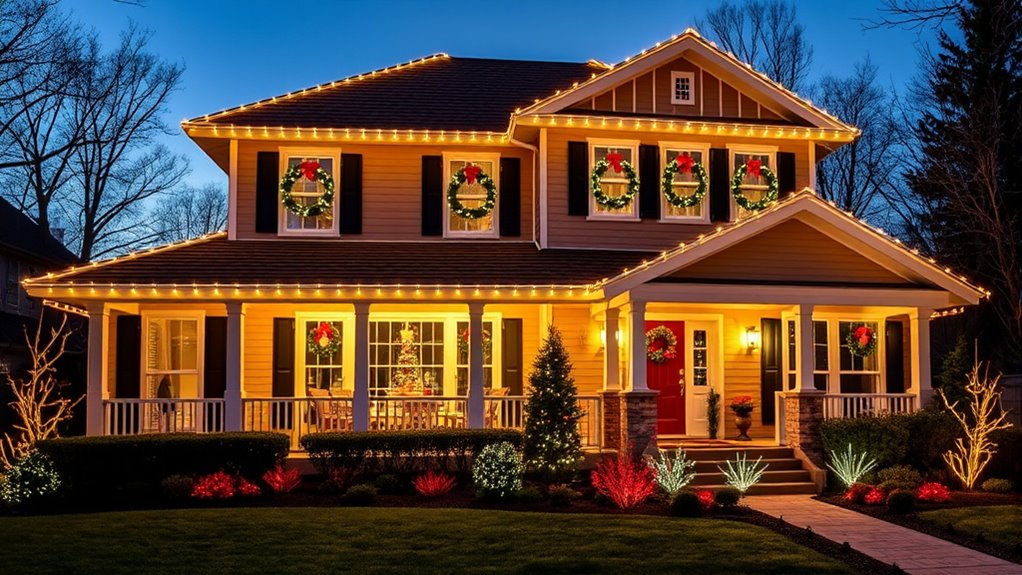
Classic Warm White Elegance
Perfect for traditional homes and timeless curb appeal. Warm white lights outline rooflines, windows, and pathways for a clean, inviting glow that never goes out of style.
Colorful Family-Friendly Display
Bright multicolored lights create a playful, nostalgic feel that kids and neighbors love. Mix strands on trees, bushes, and rooflines for maximum festive energy. 10 Seasonal Window Decor Tips to Transform Your Home Year-Round.
Rustic Farmhouse Charm
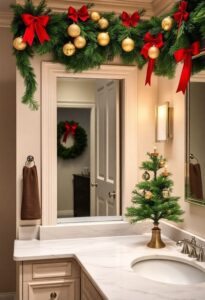
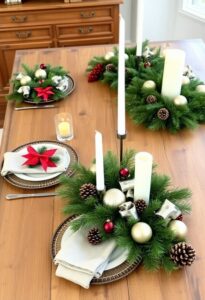
Use softer lighting, lantern-style accents, and natural greenery to create a cozy, welcoming look that feels warm and relaxed. 3 Rustic Farmhouse Porch Ideas For Christmas.
Modern Minimalist Glow
Stick to one light color with clean spacing and simple lines to highlight architectural shapes without overwhelming your home.
Once you choose your style, planning your layout and materials becomes much easier — and your final display will feel intentional rather than random.
Plan Your Outdoor Christmas Light Layout Before You Buy
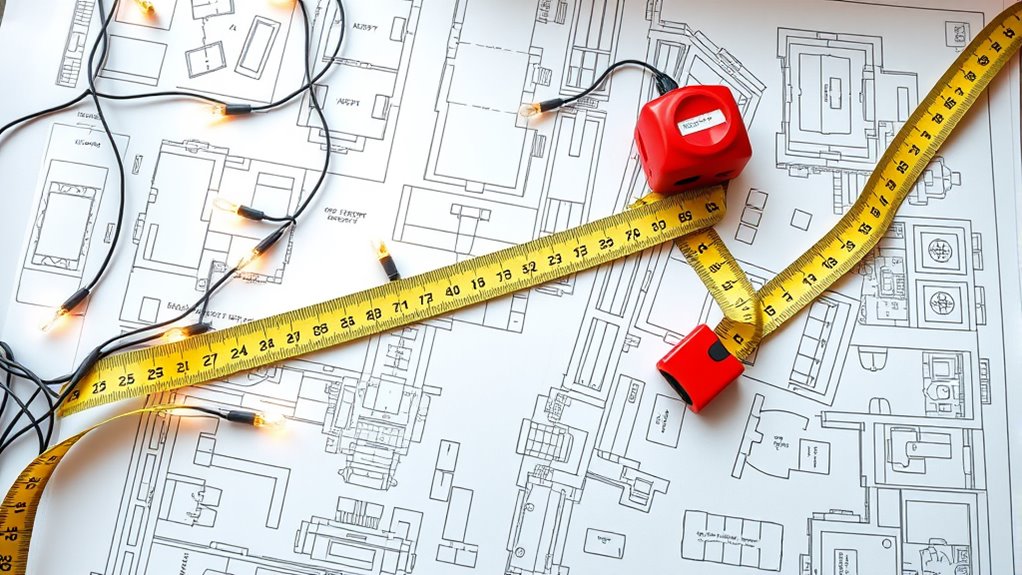
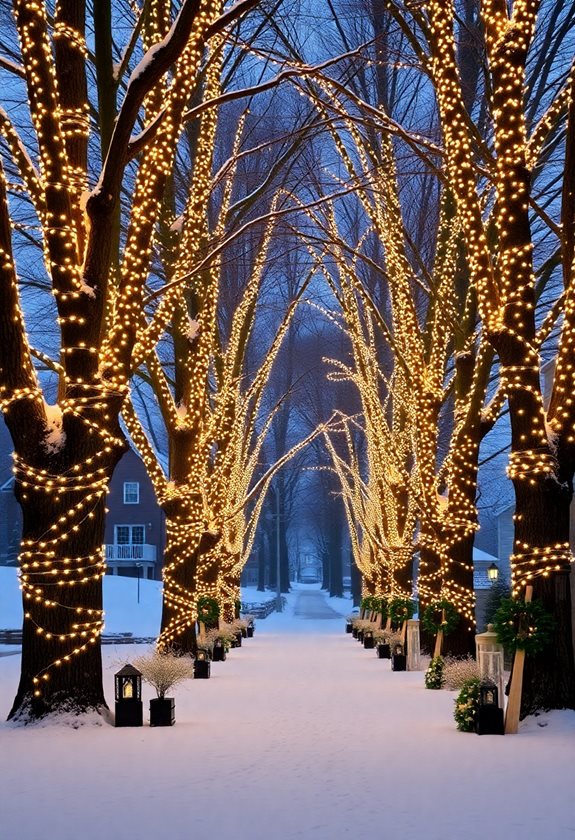
Before you rush to the store or start clicking through online deals, take a step back and map out your vision for your outdoor Christmas display. You’ll save yourself time, money, and frustration by planning ahead. Walk around your home during daylight hours, noting key features you’d like to highlight, such as rooflines, trees, windows, and walkways.
Grab a measuring tape and record the dimensions of these areas. This prevents you from buying too many or too few lights, which means you won’t waste your hard-earned cash. Sketch a simple diagram of your layout, marking where each element will go.
Consider your power source locations too. You’ll need to know where outlets are and whether you’ll require extension cords. Think about the overall style you’re going for—classic elegance, fun and colorful, or something uniquely yours. This thoughtful preparation gives you the freedom to create exactly what you envision.
Choose Outdoor Christmas Lights That Match Your Home’s Style
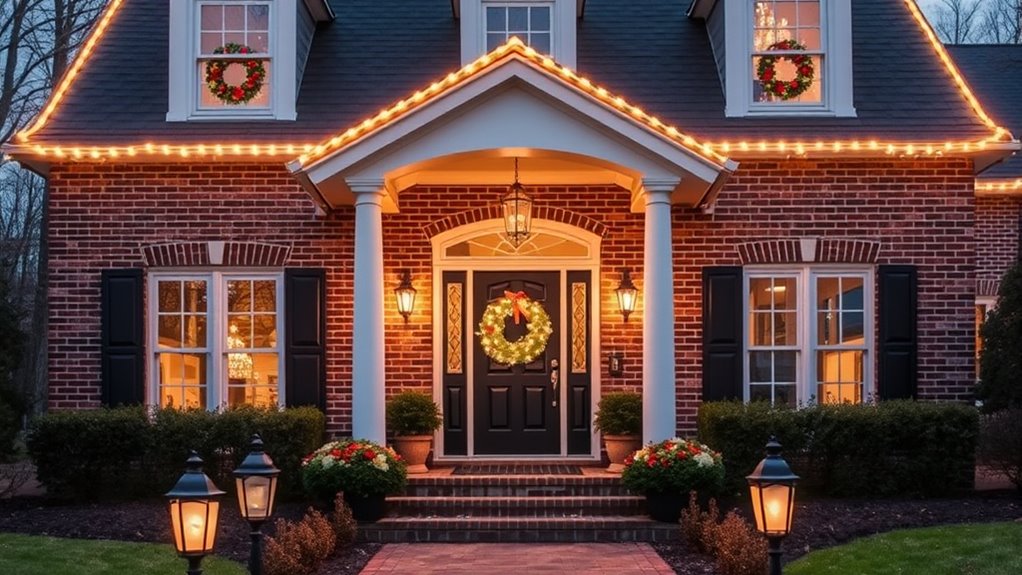
Your home’s unique architectural style deserves Christmas lights that enhance its best features rather than clash with them. Start by looking at your house’s design—whether it’s a cozy cottage, a sleek modern build, or a classic colonial—and reflect on which light colors and styles will naturally complement those lines and details. You’ll also want to take into account your home’s exterior colors, since warm white lights beautifully accent earth tones and brick, while cool white or multicolored lights can pop against lighter siding or trim.
Assess Your Home’s Architecture
When you take a close look at your home’s architectural style, you’ll discover that certain lighting approaches naturally complement its unique features. Traditional homes with classic columns and shutters shine beautifully with warm white lights and elegant wreaths, while modern houses with clean lines look stunning when you highlight their geometric shapes with minimalist LED strips. Ranch-style homes benefit from ground-level pathway lights and evenly spaced roof lines, and Victorian houses truly sparkle when you emphasize their ornate trim and gables with cascading icicle lights. You’re not locked into one style, though. Your home’s architecture simply gives you a starting point, and you can adapt these suggestions to match your personal vision and create something that feels authentically yours this holiday season.
Color Schemes That Complement
Once you’ve identified your home’s architectural strengths, the color palette you select can either enhance those features or clash with them in ways that diminish your entire display. Traditional homes shine with warm white or classic multicolor bulbs, while modern architecture pairs beautifully with cool white or single-color schemes. You’ll want to contemplate your home’s exterior colors too. Brick homes look stunning with white lights that create striking contrast, and neutral-toned houses give you the freedom to experiment boldly. Earth-toned exteriors work wonderfully with warm whites and amber hues. Don’t feel locked into one choice, though. Many homeowners successfully blend two complementary colors, like blue and white, to create depth and visual interest that truly makes their display stand out from the neighborhood.
Install Outdoor Christmas Lights Safely on Roofs and Gutters
Safety should always come first when you’re putting up lights on your roof and gutters, so you’ll need the right equipment and know-how before you climb that ladder. You’ll want to gather essential gear like a sturdy ladder, proper clips designed for gutters and shingles, and outdoor-rated extension cords that can handle winter weather. Understanding the correct attachment methods will protect both your home and yourself, making your decorating experience smooth and worry-free. 7 Festive Front Hall Decorations to Welcome Guests This Season.
Essential Safety Equipment Required
Before you climb that first ladder or string a single bulb, you’ll need to gather the right safety equipment to protect yourself from potential falls and injuries. Think of these items as your freedom pass to decorate with confidence, knowing you’re well-protected while creating your winter wonderland.
Here’s what you’ll absolutely need:
- A sturdy extension ladder with non-slip feet and a working stabilizer bar
- A reliable safety harness that fits snugly and connects to secure anchor points
- Quality work gloves with grip-enhancing palms to prevent slipping
Don’t skimp on these essentials. You’re investing in your well-being, and that matters more than any decoration. With the proper gear, you’ll work efficiently and safely, transforming your home’s exterior without unnecessary risks or worries.
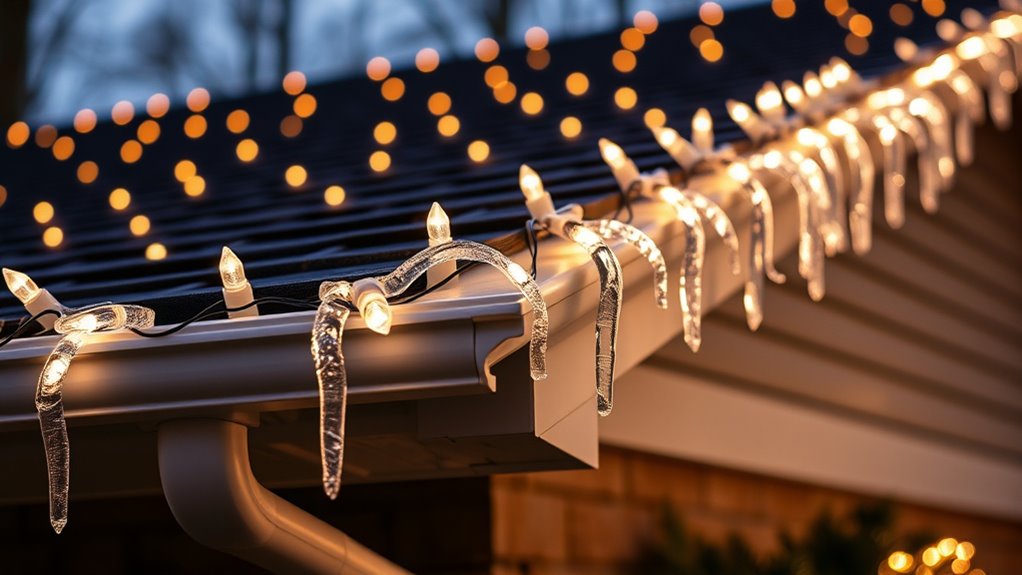
Proper Roof Attachment Methods
When you’re ready to attach lights to your roof and gutters, choosing the right clips and fasteners makes all the difference between a secure display and potential damage to your home. Plastic gutter clips slide easily onto standard gutters, holding your lights firmly without drilling holes or using nails that’ll leave marks. For shingles, you’ll want specialized clips that tuck underneath without puncturing your roof’s protective layer. Ridge clips work beautifully along your roofline, creating stunning elevated displays. Magnetic hooks offer fantastic versatility on metal surfaces, and they’re completely reusable year after year. You’ll feel confident knowing these methods protect your investment while giving you the creative freedom to design exactly the display you’ve imagined, all without causing permanent alterations to your home’s exterior.
Set Up Timers and Extension Cords for Outdoor Christmas Lights
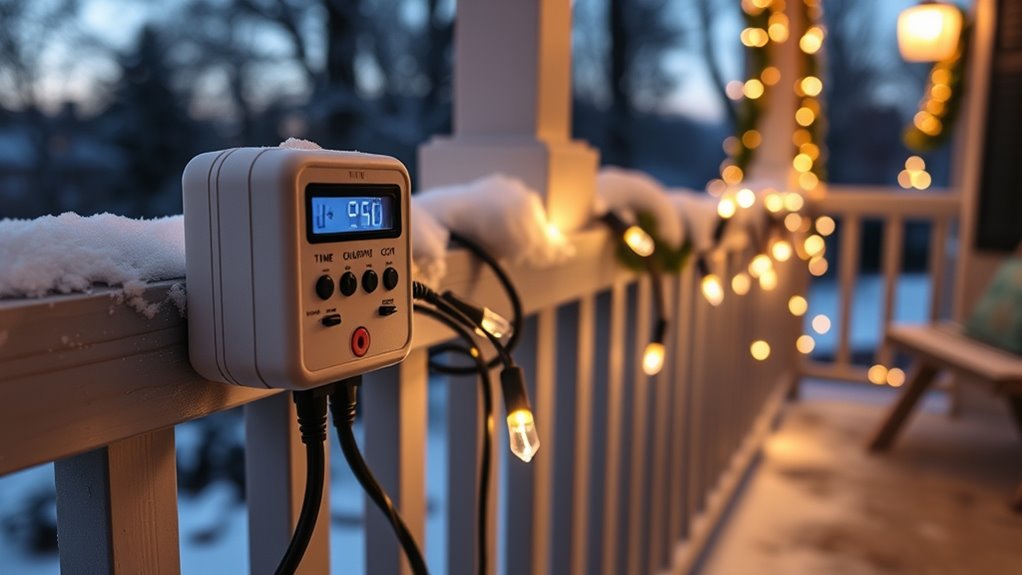
Getting your power setup right makes all the difference between lights that work reliably all season long and ones that constantly flicker or fail. You’ll want to choose outdoor-rated extension cords that can handle your light display’s electrical load, and timers let you enjoy your decorations without remembering to flip switches every evening.
Start by calculating your total wattage to prevent overloading circuits. Most outdoor outlets handle 15 amps, which gives you about 1,800 watts to work with. Connect your extension cords carefully, keeping connections elevated and dry.
When selecting equipment, focus on these essentials:
- Heavy-duty outdoor extension cords with grounded three-prong plugs rated for your climate
- Weatherproof timers with battery backup so your settings don’t reset during power outages
- GFCI protection to prevent electrical shocks in wet conditions
You’re creating something special that’ll bring joy to everyone who passes by, so take time getting this foundation right. 5 Budget-Friendly DIY Christmas Decorations You Can Make Today.
Protect Outdoor Christmas Lights From Rain, Snow, and Wind
Your beautiful light display needs protection from Mother Nature’s challenges, and taking the right precautions now will save you from frustrating repairs later. Start by using outdoor-rated lights and weatherproof extension cords designed to handle moisture and temperature changes. You’ll want to secure all electrical connections with waterproof covers or electrical tape to keep water from seeping into vulnerable spots.
When hanging your lights, make sure they’re firmly attached so wind can’t whip them around and damage the bulbs or wiring. Use clips specifically made for outdoor decorations rather than nails or staples that might pierce the wires. Consider pointing spotlights and ground stakes slightly downward to prevent water from pooling in the sockets. 3 Rustic Farmhouse Porch Ideas For Christmas.
Before major storms hit, check that everything’s still securely fastened. If heavy snow’s forecast, gently brush off accumulated snow from your displays to prevent weight damage. These simple steps keep your decorations shining bright all season long.
Fix Dead Bulbs, Blown Fuses, and Flickering Strands
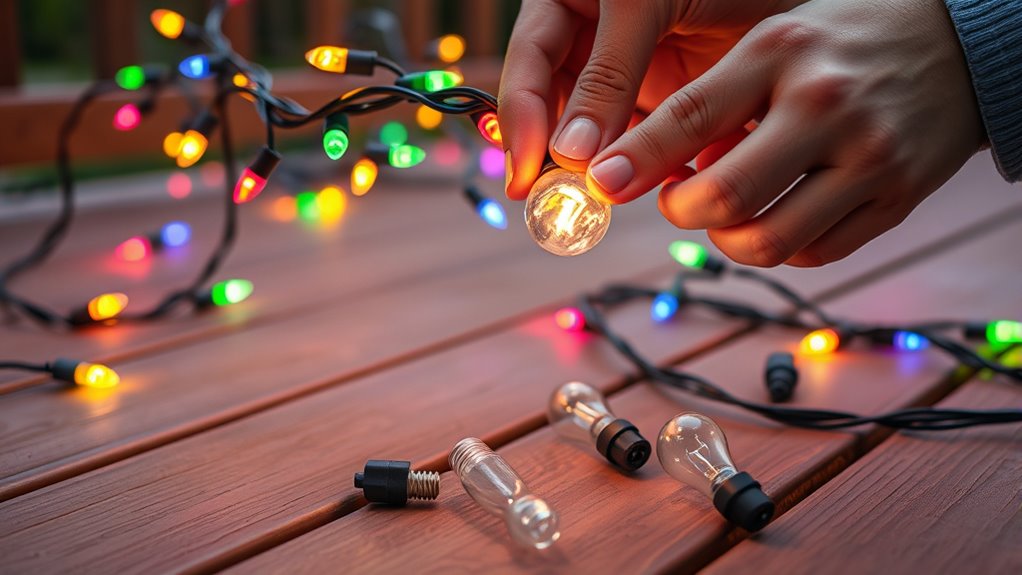
Although finding dark sections in your otherwise glowing display can feel discouraging, most Christmas light problems are surprisingly easy to fix once you know what to look for.
Start by checking your fuses, which are typically located inside the plug. If a fuse looks blackened or broken, replace it with one that matches the correct amperage. Next, test individual bulbs by gently wiggling each one in its socket, since loose connections often cause entire sections to go dark.
For persistent problems, try these proven solutions:
- Replace burnt-out bulbs immediately to prevent the entire strand from failing
- Use a light tester tool to quickly identify which bulb is causing the outage
- Check for corroded sockets and clean them with a small wire brush
You’ll feel incredibly accomplished when your lights shine brightly again. Remember, fixing your display doesn’t require special skills—just patience and a willingness to troubleshoot one section at a time.
Frequently Asked Questions
How Much Does It Cost to Hire a Professional for Christmas Light Installation?
You’ll typically pay between $250 and $600 for professional Christmas light installation, depending on your home’s size and design complexity. Most installers also offer takedown services, so you won’t handle any of the hassle yourself.
What Is the Average Electricity Cost for Running Outdoor Christmas Lights Nightly?
You’ll spend about $5-15 monthly running outdoor Christmas lights nightly. LED lights cost considerably less than traditional incandescent bulbs. Your exact cost depends on your display’s size and your local electricity rates, giving you budget flexibility.
When Should I Take Down My Outdoor Christmas Lights After the Holidays?
You should take down your outdoor Christmas lights by early January, typically within the first two weeks after New Year’s. This timing respects tradition while preventing weather damage and maintaining your neighborhood’s post-holiday aesthetic freedom.
Can I Connect Indoor Christmas Lights and Outdoor Lights on the Same Circuit?
You shouldn’t connect indoor and outdoor lights on the same circuit. Indoor lights aren’t weatherproof and can create serious safety hazards outdoors. Keep them separate—use outdoor-rated lights for exterior displays to protect your home and maintain your independence from electrical issues.
Do HOA Rules Restrict Outdoor Christmas Light Colors or Installation Dates?
HOA rules often restrict light colors, brightness levels, and display dates. You’ll need to check your specific HOA’s covenants—they typically dictate when you can install and remove decorations, plus what colors are acceptable for your display.
Conclusion
You’ve now got everything you need to create a stunning outdoor display that’ll brighten your neighborhood! Here’s something exciting: homes with outdoor Christmas lights can increase holiday cheer by up to 80% in their communities, according to recent surveys. So don’t wait—start planning your layout, choose lights that match your style, and install them safely. Your home will sparkle beautifully, and you’ll spread joy to everyone who passes by this season!