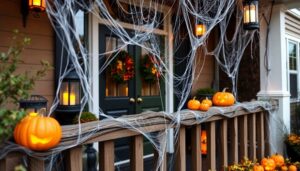
Transform your pumpkins into dazzling Halloween displays with these creative decoration techniques. You’ll love using geometric patterns for modern flair, metallic paints and glitter for elegant designs, and stenciled silhouettes for dramatic shadows. Try drilling tiny holes for magical light effects, or add mixed media elements like ribbons and natural accents. Don’t forget glow-in-the-dark paint for cosmic creations and pop culture characters for unique appeal. These inspiring ideas will spark your Halloween imagination.
Design Highlights
- Create stunning geometric patterns using hexagons and zigzag lines, sketching the design first with markers before carving.
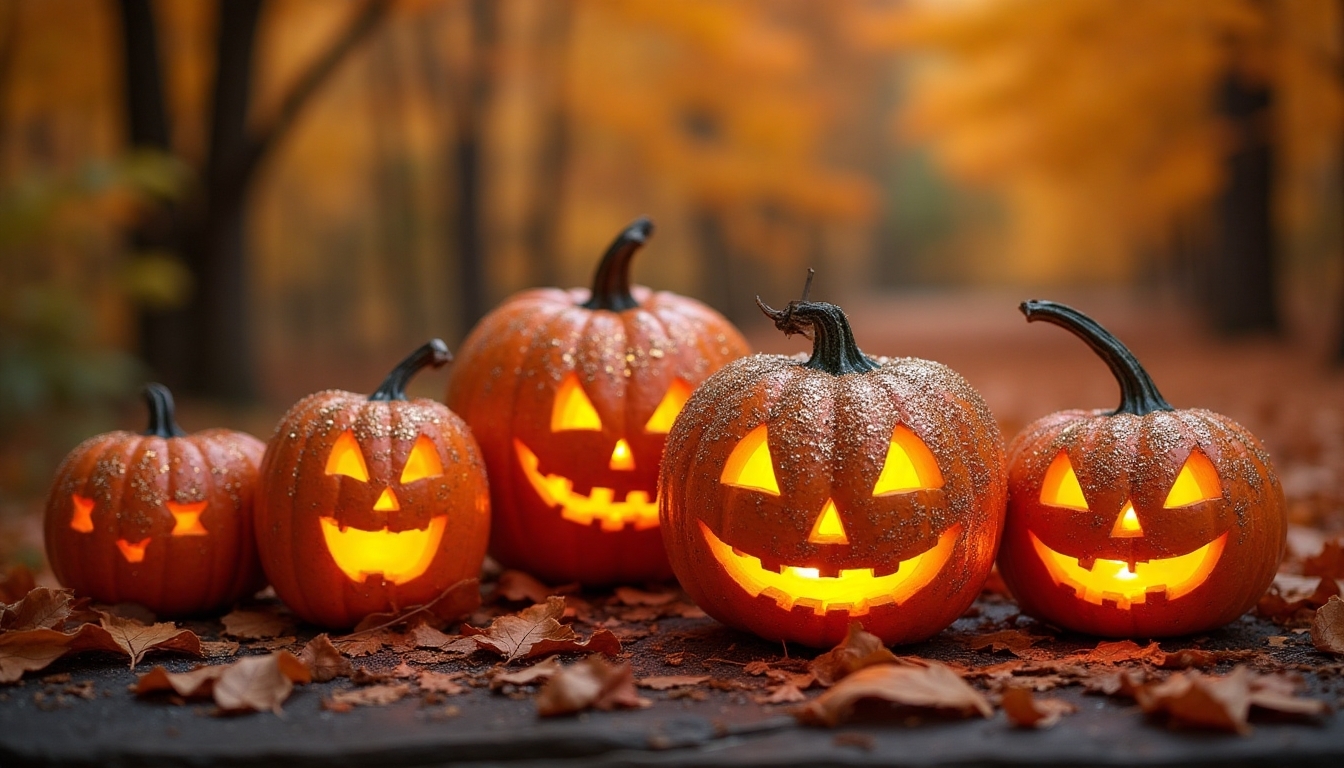
- Paint pumpkins with metallic sprays and add sparkle using rhinestones or glitter for an elegant Halloween display.
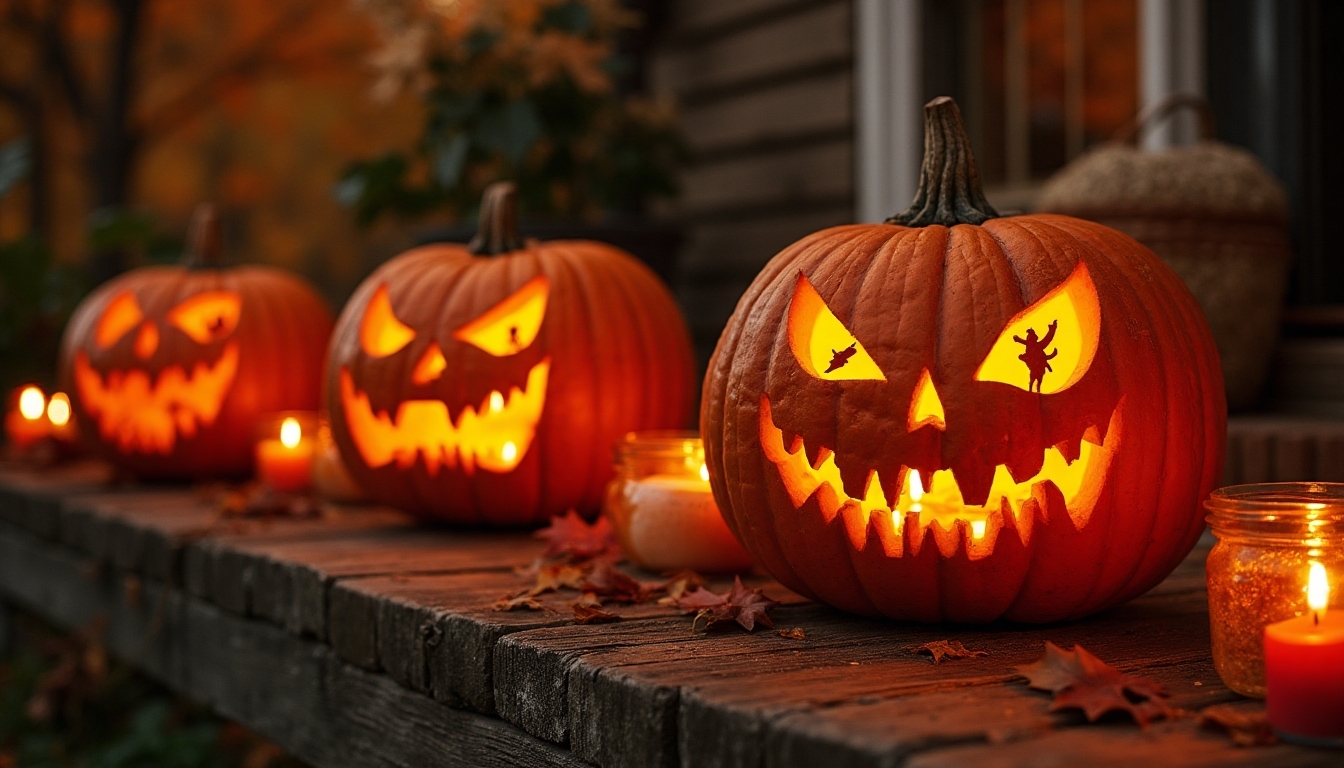
- Use stencils and black paint to create dramatic silhouettes that cast enchanting shadows when lit from within.
- Drill patterns of varying-sized holes to create mesmerizing light effects and gradient designs.
- Incorporate mixed media elements like ribbons, glow-in-the-dark paint, and natural materials for unique themed decorations.
Geometric Patterns: Modern Twist on Traditional Carving
Many modern pumpkin carvers are putting down their traditional triangle eyes and jagged-mouth patterns in favor of sleek geometric designs that’ll make your jack-o’-lantern stand out.
You’ll love how simple shapes like hexagons, diamonds, and zigzag lines create stunning visual impact when lit from within. Start by sketching your design with a marker, then use your carving tools to connect the dots. Don’t worry if you’re not an artist – even basic repeating patterns look amazing!
Try arranging circles in a spiral pattern, or create an eye-catching display with intersecting lines. You’ll be amazed at how these contemporary designs transform your porch into a modern Halloween showcase. Consider incorporating Halloween backyard decor to enhance the overall festive atmosphere.
Paint and Metallic Accents for No-Carve Elegance
While carving pumpkins is a beloved tradition, you’ll find that painting and metallic accents offer a stunning, mess-free alternative that’ll last throughout the season. You can create magical designs using metallic spray paint, acrylic craft paints, and adhesive gems to transform your pumpkin into an elegant centerpiece.
Start with a clean, dry pumpkin and apply your base color. Then, add shimmering details like gold polka dots, silver swirls, or copper leafing. Don’t forget to accent your design with rhinestones or glitter for extra sparkle. Your painted pumpkin will bring a sophisticated touch to your Halloween décor while inspiring others to try this creative approach. Additionally, consider incorporating unique designs from your kitchen decor to create a cohesive Halloween theme throughout your home.
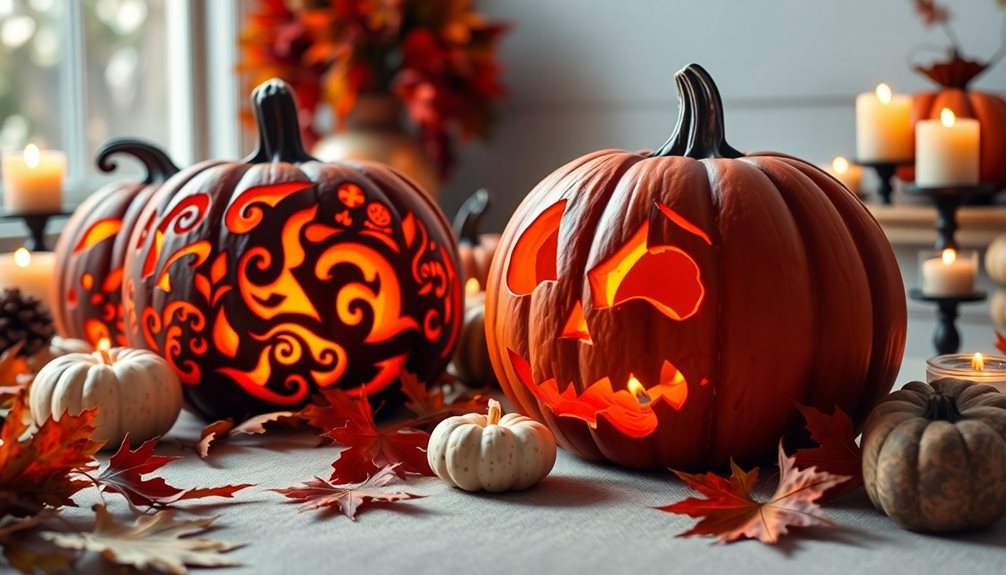
Stenciled Silhouettes and Shadow Play
Stencils open up a magical world of shadow-based designs that’ll transform your jack-o’-lantern into a stunning work of art. You’ll love how easy it is to create intricate patterns and silhouettes that cast enchanting shadows across your porch or living room.
Start by downloading your favorite Halloween stencils or creating your own using cardstock. Simply tape the stencil to your pumpkin’s surface, then trace the design with a marker. You can paint the outlined areas black for dramatic contrast, or use varying shades of orange and yellow to create depth. When lit from within, your pumpkin will project spellbinding scenes that’ll wow your neighbors and trick-or-treaters. Additionally, using stencils can enhance the visual storytelling of your Halloween decor setup.
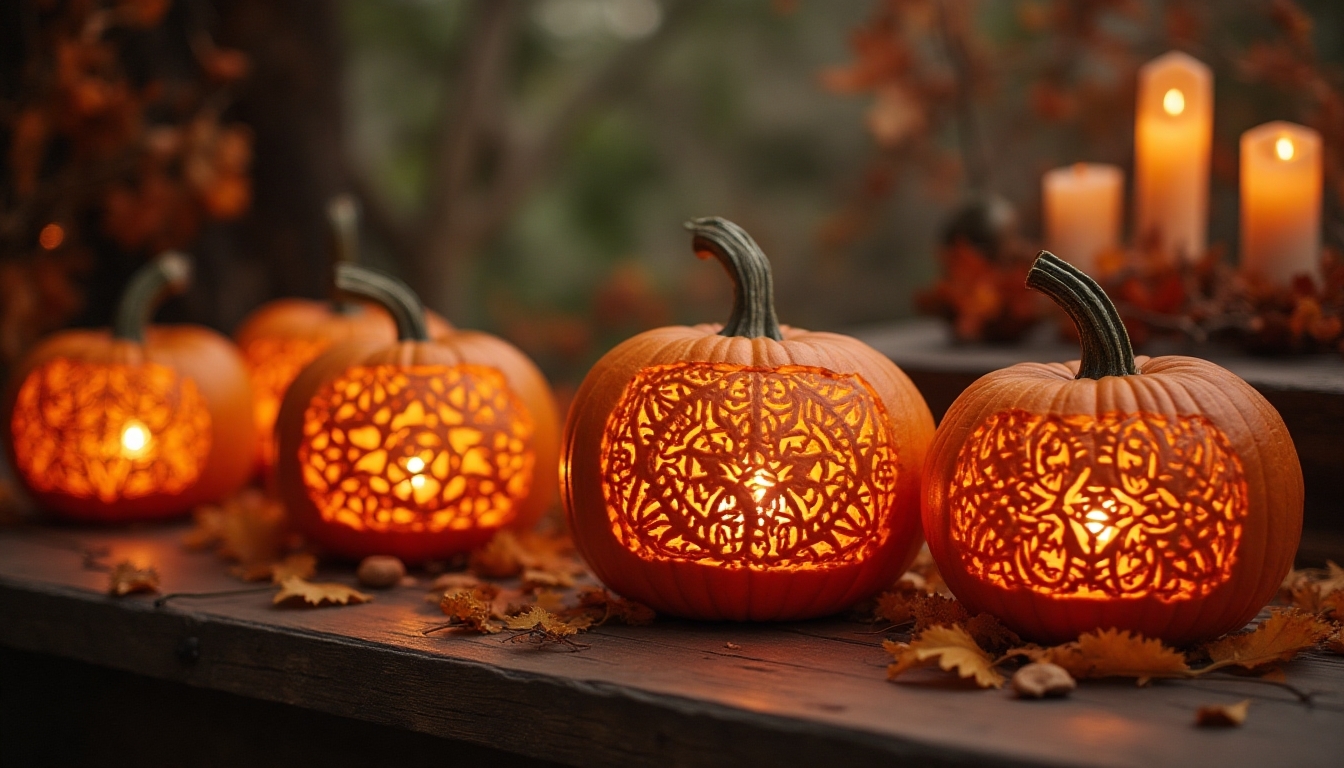
Drilled Dots and Light Effects
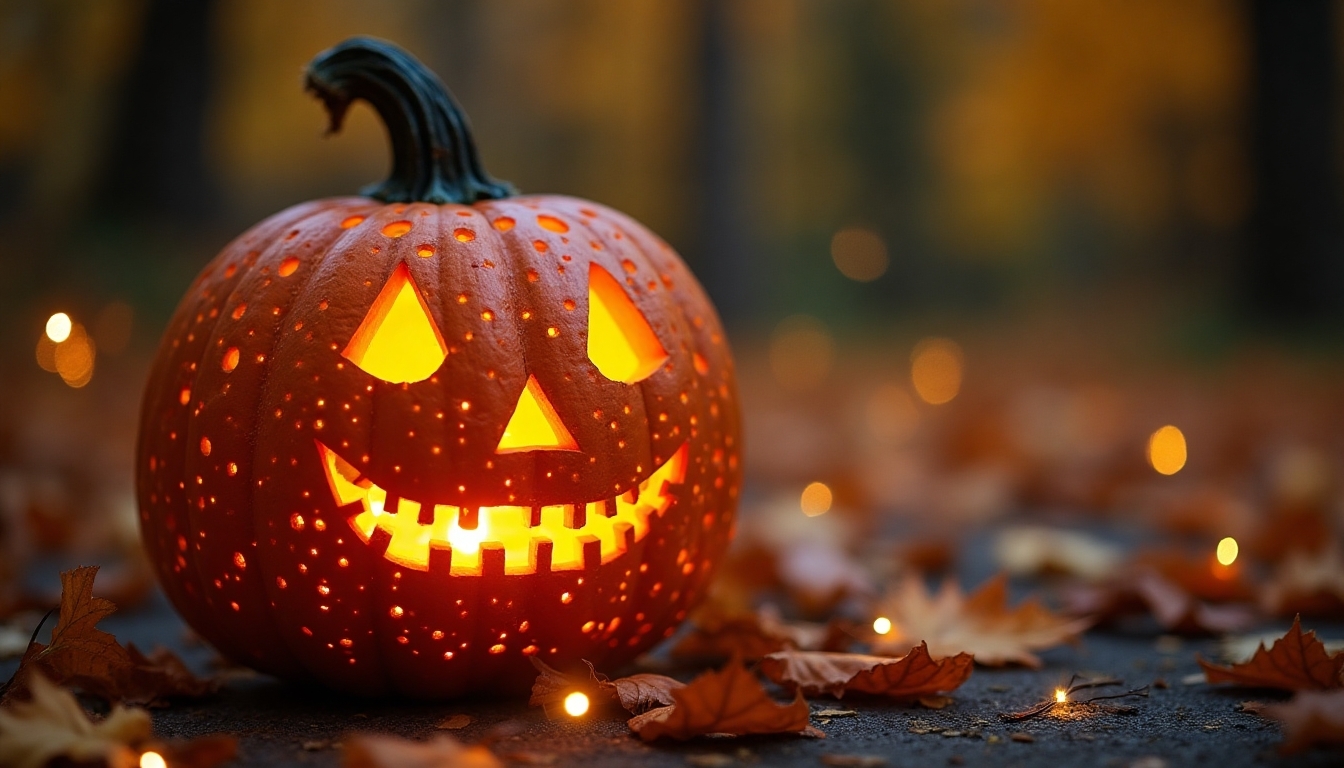
By using a power drill with different-sized bits, you’ll discover one of the most enchanting ways to decorate your jack-o’-lantern. Create dazzling patterns of tiny holes that’ll transform your pumpkin into a twinkling masterpiece when lit from within.
Start with larger holes near the center of your design, then work outward with smaller dots to create stunning gradients and textures. You can make swirling galaxies, starry nights, or delicate lace patterns that’ll captivate your neighbors. When evening falls, your pumpkin will glow with hundreds of pinpoints of light, making it truly magical and uniquely yours. This technique mirrors the layered lighting approach used in festive decor, enhancing the ambiance of your Halloween celebration.
Mixed Media: Ribbons, Glitter, and Natural Elements
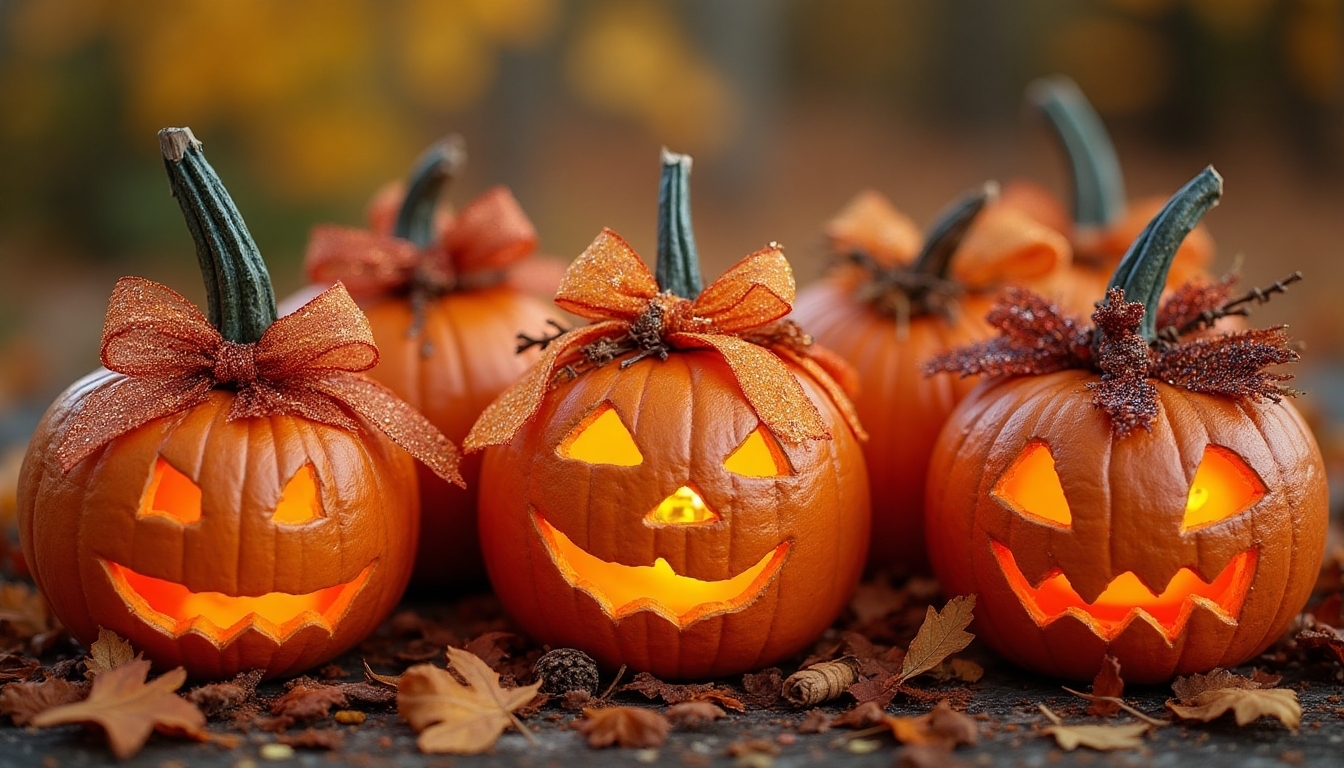
Traditional carving isn’t the only way to make your jack-o’-lantern stand out this Halloween season. You’ll love adding sparkle and flair with mixed media elements that transform your pumpkin into a dazzling masterpiece. Start by wrapping colorful ribbons around your pumpkin’s stem, then add touches of glitter to highlight carved features or create shimmering patterns.
Natural elements like autumn leaves, pinecones, and twigs can create a charming woodland theme when arranged around the base. You can even hot-glue small decorative gourds or dried flowers to your pumpkin’s surface. These personal touches will make your creation truly unique and guarantee it catches everyone’s eye. Additionally, consider using weather-resistant materials for any outdoor displays to ensure they withstand seasonal elements.
Glow-in-the-Dark Galaxy Pumpkins
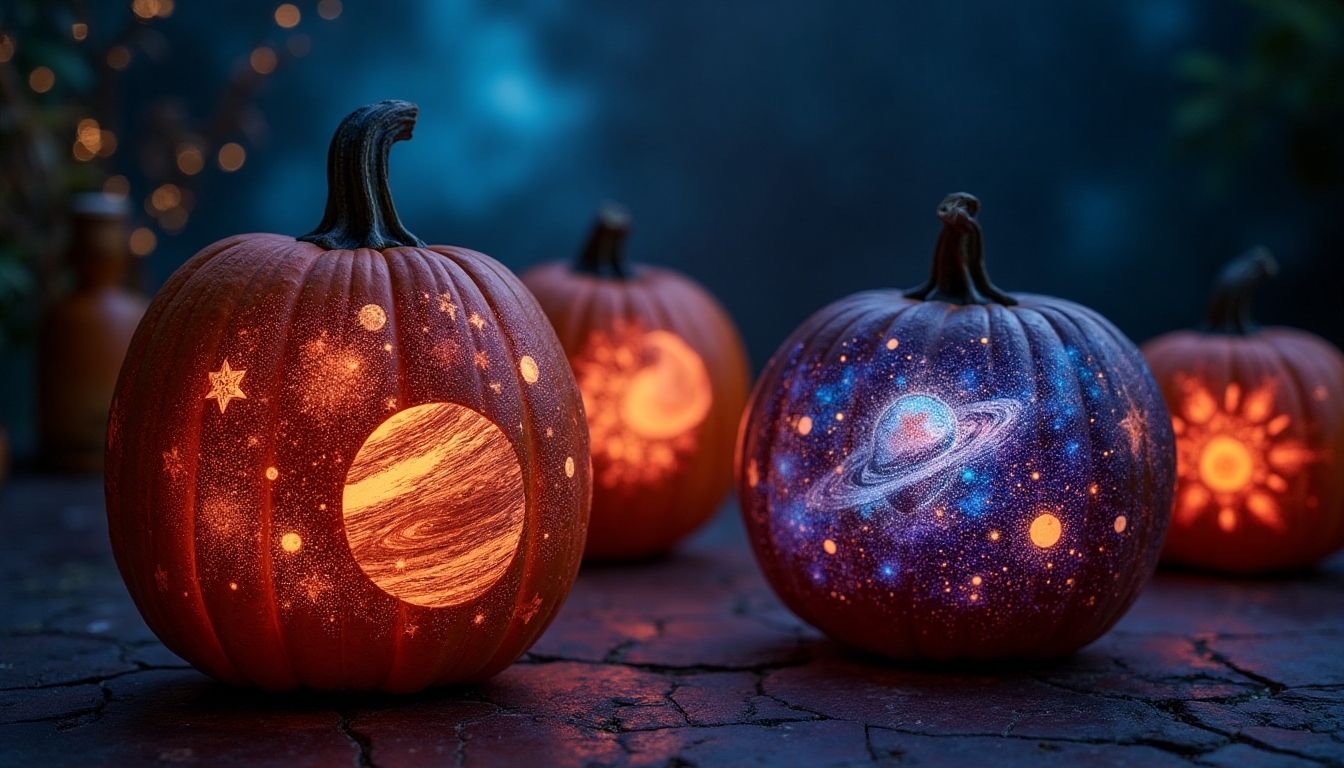
Create a mesmerizing outer space scene on your pumpkin with glow-in-the-dark paint and cosmic designs that’ll transport trick-or-treaters to another galaxy. Start by painting your pumpkin black, then add swirls of luminous blues, purples, and greens to create nebulas and star clusters.
You’ll love watching your pumpkin come alive at night as the glowing paint reveals twinkling stars, shooting comets, and spiraling constellations. Don’t forget to add white paint splatters for extra starlight! Your neighbors will be amazed by your celestial creation, and you’ll feel proud knowing you’ve brought a piece of the universe to your Halloween display.
Themed Character Faces and Pop Culture Icons
Pop culture fans will love transforming their pumpkins into beloved characters and iconic faces from movies, TV shows, and social media. You’ll find endless inspiration from superheroes, Disney characters, or trending memes that’ll make your Halloween display truly unique.
Start by selecting your favorite character and sketching their most recognizable features on your pumpkin. Whether it’s Baby Yoda’s adorable ears, Harry Potter’s lightning scar, or Spider-Man’s mask, you’ll create a conversation starter that connects with fellow fans. Don’t forget to add specific details like Batman’s signature cowl or Mickey Mouse’s classic ears to make your design instantly recognizable.
Frequently Asked Questions
How Long Can a Carved Pumpkin Last Before It Starts to Rot?
Your carved pumpkin can stay fresh for 5-10 days when you take good care of it. To help it last longer, you’ll want to keep it in a cool spot (around 50-60°F) and out of direct sunlight. Here’s a helpful tip: spray your pumpkin’s cut edges with a mixture of water and bleach (1 tablespoon bleach per quart of water) daily. You can also try placing it in the fridge overnight to extend its life.
What Tools Are Safest for Children to Use When Decorating Pumpkins?
You’ll be thrilled to know there are tons of kid-friendly tools that’ll make pumpkin decorating safe and super fun! For your little artists, stick with paint brushes, washable markers, and craft stickers – they’re perfect for creative expression without any sharp edges. If you’re ready for some hands-on carving, try kid-specific pumpkin carving kits with safety tools, or use push-in plastic pieces that create awesome designs without any cutting.
Can You Preserve Jack-O’-Lanterns to Display Them for Longer Periods?
You can definitely extend your jack-o’-lantern’s life with some simple tricks! First, spray your carved pumpkin’s cut edges with a mixture of water and bleach (1 tablespoon bleach per quart of water) to prevent mold. Keep your creation cool and moist by storing it in the refrigerator when it’s not on display. You can also rub petroleum jelly on the carved edges, and sprinkle cinnamon on the lid to keep your pumpkin fresh and fragrant.
Should Pumpkins Be Cleaned and Dried Before Applying Decorative Materials?
Yes, you’ll definitely want to clean and dry your pumpkin thoroughly before adding any decorations! Start by wiping the outer surface with a damp cloth to remove dirt and debris, then use paper towels to dry it completely. This prep work helps your paint, stickers, or other decorative materials stick better and last longer. If you’re carving first, don’t forget to clean the inside too – it’ll make your whole decorating experience so much more enjoyable!
What’s the Best Way to Remove Candle Wax From Inside a Pumpkin?
You know that feeling when you’re staring at stubborn wax inside your pumpkin? Don’t worry – it’s an easy fix! First, let your pumpkin cool completely, then pop it in the freezer for about 15 minutes. The wax will become brittle, and you’ll be able to gently scrape it off with a plastic scraper or spoon. For any remaining residue, wipe the inside with a paper towel soaked in warm, soapy water.