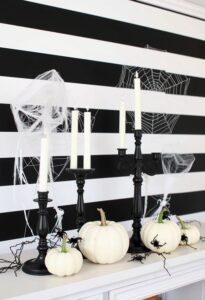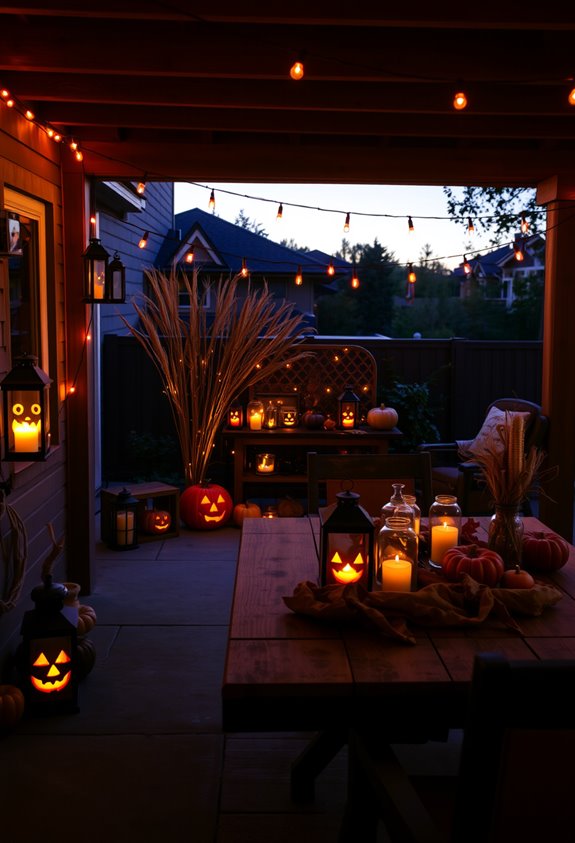
Your Halloween patio doesn’t have to be a sad cluster of dollar-store skeletons. Done right, it layers carved pumpkins, colored string lights, fog machines, and graveyard props into something genuinely atmospheric. Mix hanging bats with glowing tombstones, anchor it all with one oversized skeleton, and add luminaria bags along the path for safety and style. It’s a system, not a scatter. Stick around and you’ll see exactly how each piece fits together.
Design Highlights
- Layer string lights in orange, purple, and green along railings, criss-crossed overhead, or woven through foliage for festive ambient illumination.
- Group pumpkins in varied sizes near entry steps and stack three vertically on hay bales or crates for bold focal points.
- Scatter angled tombstones randomly, anchor an oversized skeleton, and add fog between props for an authentic graveyard atmosphere.
- Hang bat clusters, ghost groupings, and witch hats on fishing line at varied heights to create dramatic floating depth overhead.
- Use fog machines in timed bursts with directional speakers and dim lighting to build atmosphere without creating slippery walkway surfaces.
Halloween Pathway Decor That Guides and Spooks at Once
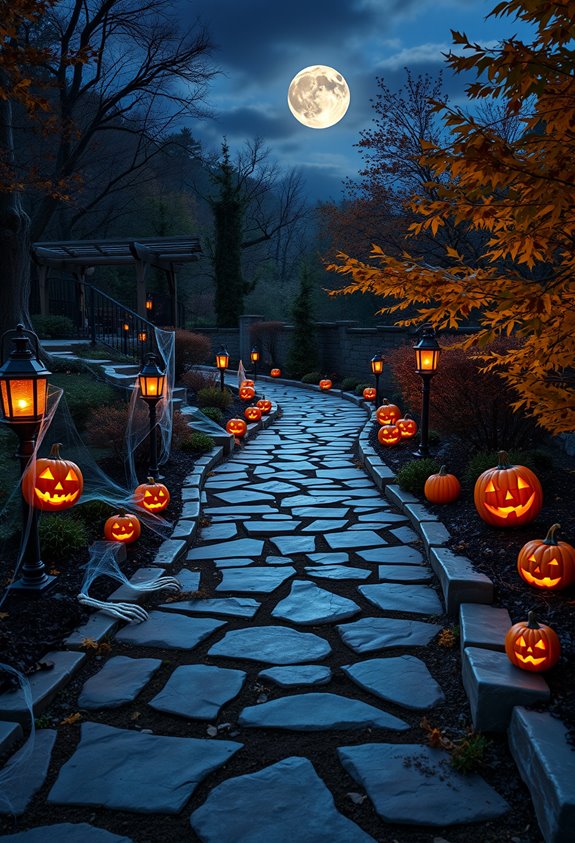
Your pathway sets the tone before anyone even knocks. No pressure, right? Start with carved pumpkins at regular intervals — mix sizes for a layered, natural look. Battery-operated tea lights keep things safe, especially when wind shows up uninvited. Group two or three pumpkins near the front steps for a fuller focal point.
Want more atmosphere? Line both sides with sand-weighted luminaria bags and LED tea lights. Soft, even glow. Low cost. It works.
Add foam tombstones every two to three feet, slightly angled for realism. Throw in skeleton hands near garden beds. Stretch synthetic spiderweb across bordering bushes. Glowing-eye stakes in shrubs make it feel alive — or something close to it. Place LED spotlights near tombstones with colored filters to cast an eerie glow across the ground.
Just make sure at least one steady light covers your steps. Safety isn’t optional.
String Lights and Outdoor Lighting for a Halloween Patio
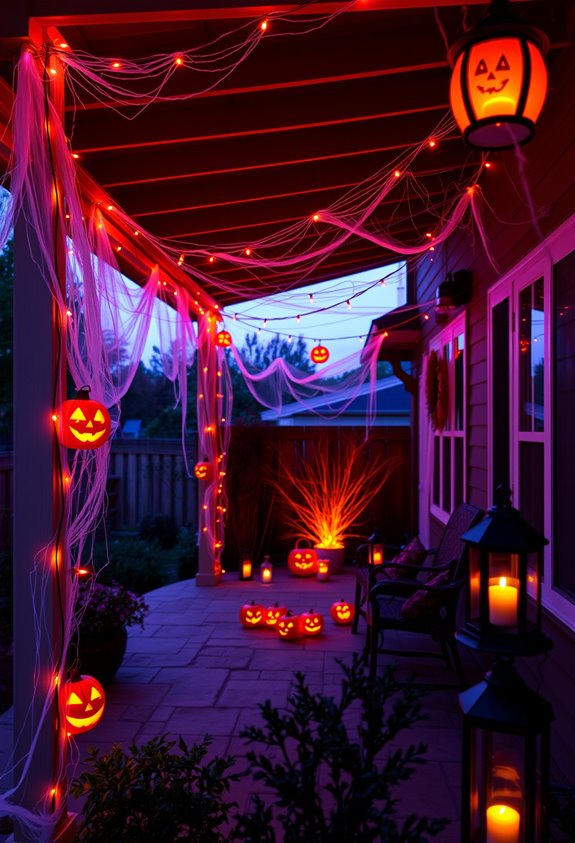
Lighting pulls the whole patio together — and string lights do most of the heavy lifting.
Orange, purple, and green are your go-to Halloween colors. Alternating orange and purple strands along railings and porches creates that eerie-but-polished look everyone wants. For a fuller effect, criss-cross a canopy overhead.
Diagonal draping works if you want something simpler.
Don’t skip the math. Measure your active patio zone, add 10–20% extra length for slack, and use multiple strands for larger spaces.
One strand won’t cut it for a full dining setup.
Go LED. They’re energy-efficient and last longer.
Aim for IP65 or higher for rain resistance. Solar lights handle dusk activation automatically — less cord chaos.
Layer in spotlights or colored floodlights to make props actually pop. For trees and fences, weaving lights through foliage or stringing them between branches creates layered canopy effects that fill out the full yard after dark.
Entryway Props That Make a Strong First Impression
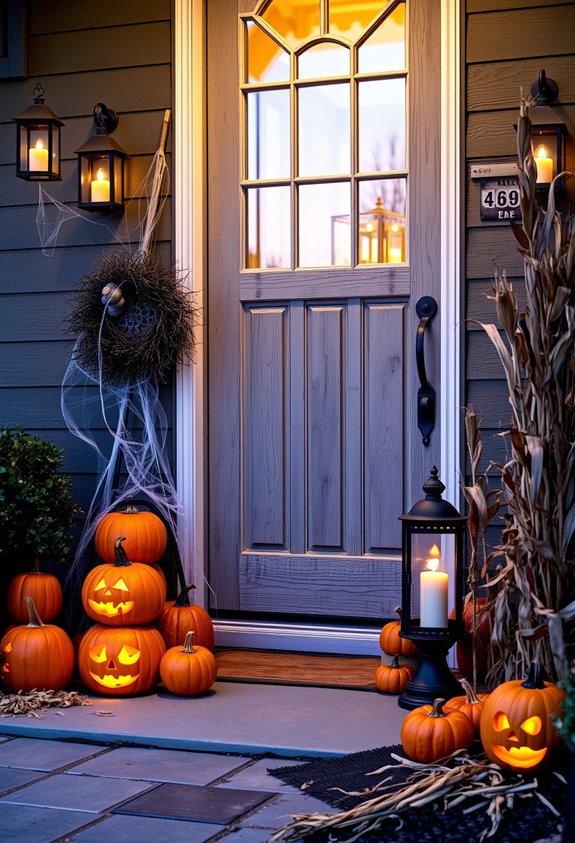
Once the string lights are up and glowing, the next thing guests actually see is your entryway — and it either lands or it doesn’t. No pressure.
Start with layered pumpkin groupings at different heights. Use hay bales, crates, or steps as risers. Flat displays read flat. Mix real and faux pumpkins for variety that actually holds up.
Add one oversized statement prop — a giant skeleton, a climbing figure, something with presence. Don’t overdo it. Too many anchor props and the whole thing becomes visual noise.
Frame your door with a wreath, a themed mat, and some doorframe bats or hanging ghosts. Eye level matters. A dried grapevine wreath sprayed entirely black makes for a striking, gothic focal point that ties the whole entryway together.
Then line your walkway. Small lights, pumpkins, zombie stakes at intervals. Guide people in. Make the approach feel intentional.
How to Build a Graveyard Scene on Your Patio
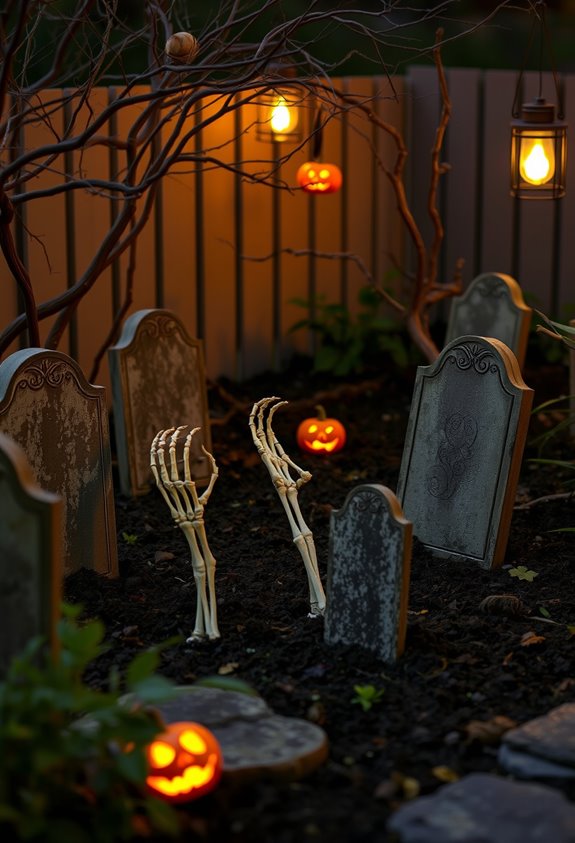
A graveyard scene lives or dies on one thing: footprint.
Define your patio space before placing a single prop. No, seriously — stop grabbing tombstones first. Lay out your base, rough up the surface with soil or thinned filler, and make it look like actual ground. Flat, clean patio gaps will betray you every time.
Then scatter your tombstones randomly. Angle some. Knock a few over. Mix sizes. Old cemeteries weren’t organized — yours shouldn’t look organized either.
Anchor everything. Wind doesn’t care about your aesthetic.
Fill gaps with skulls, fake webs, dried plant material, and small creepy details. Layer it. Add a perimeter fence to contain the scene and signal “this is intentional.”
Finish with drybrushed, muted tones. Keep it weathered, not cartoonish. For an added gothic touch, tuck in faded hydrangea blooms among the props to channel a Morticia Addams-style atmosphere.
Skeleton and Tombstone Props That Anchor the Display
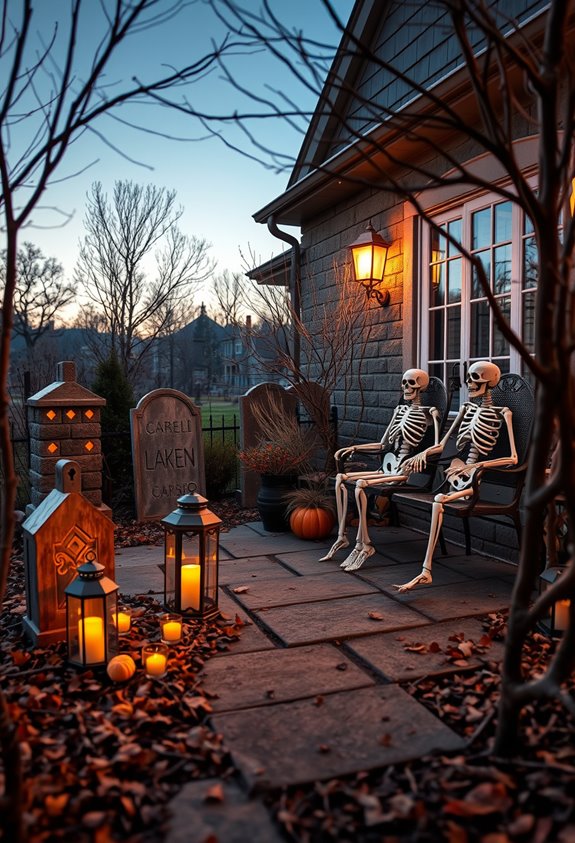
Once your graveyard footprint’s set and the ground looks lived-in — or rather, died-in — the props you drop into that space will make or break the whole scene.
Start with one oversized skeleton. That’s your anchor. Everything else plays backup. Pose it climbing the house, waving, or clutching a pumpkin — something visible from the street.
Then layer in smaller skeletons for depth. Half-buried ones reaching out of the ground? Perfect next to tombstones. That combo tells a story instantly.
Group your tombstones around the skeletons, not the other way around. Add fog between them and the whole thing connects.
Battery-powered lights inside skulls create glowing eyes after dark. Keep surrounding props secondary. The skeleton runs this scene. Let it.
Pumpkin Displays That Go Beyond the Basic Carve
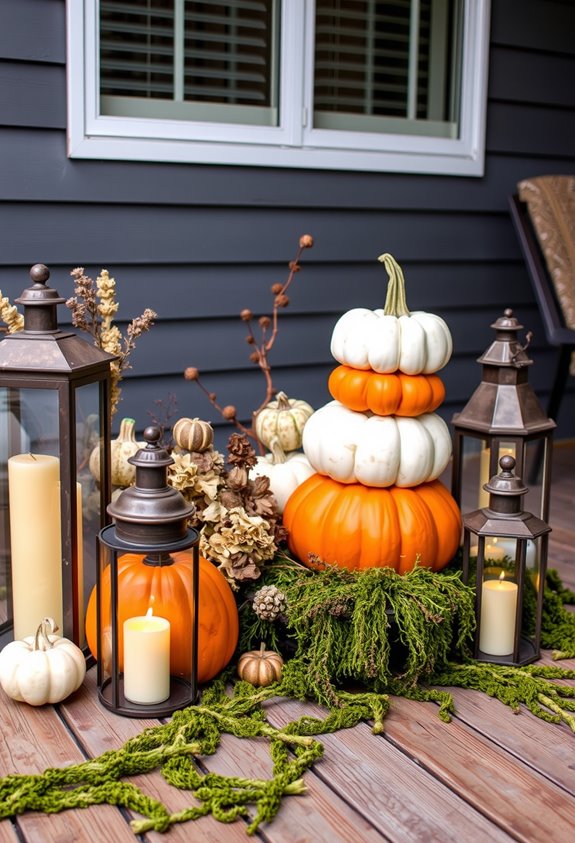
Carving a jack-o’-lantern is fine — it’s also the bare minimum. If you want a display that actually turns heads, go further.
Carving a jack-o’-lantern is the bare minimum. If you want a display that turns heads, go further.
Painted pumpkins in neutral tones like white, cream, and taupe read as intentional, not lazy. Emerald green and burgundy hit harder if you want drama. Pattern finishes — shibori, mudcloth geometry, botanical prints — make people stop and actually look.
Stacking matters too. Three pumpkins arranged vertically creates a focal point. Single pumpkin on the ground? That’s just a pumpkin on the ground.
Embellishments push things further. Dried flowers, twine, pine cones — they add texture without carving anything. Rhinestones exist. Use them or don’t.
Seal painted surfaces with matte spray. Outdoor conditions are brutal. Your finish shouldn’t disappear after one rainstorm.
Skipping the carve also means skipping the decay — exposed pumpkin tissue invites mold and bacterial growth that can turn a carved display into a collapsing, foul-smelling mess within days.
Hay Bales, Corn Husks, and Fall Branches for Patio Displays
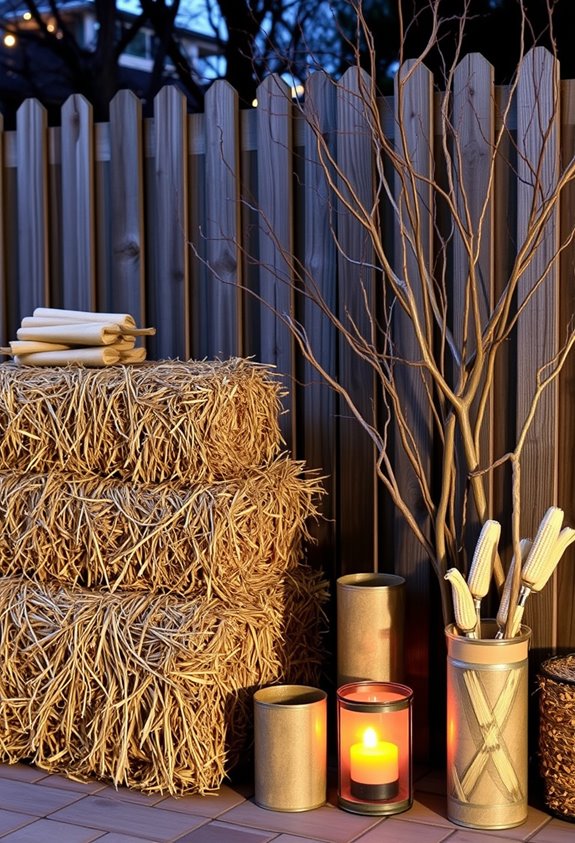
Pumpkins get all the glory, but they’re not doing the heavy lifting alone. The real backbone of a great harvest patio? Hay bales, cornstalks, and branches. These elements create depth, height, and texture that pumpkins simply can’t pull off solo.
Here’s what actually makes the display work:
- Layer hay bales first, then build pumpkins, lanterns, and mums on top
- Bundle three to six cornstalks and flank your door or columns with them
- Tuck wheat sheaves or dried husks into bale seams for extra texture
- Add branches or twigs hanging off bales for a rougher, more organic look
Elevate bales off the ground to slow decay. Tie cornstalks at three points. Use LED lanterns. Simple stuff, big payoff. Keep in mind that hay bale longevity depends heavily on moisture — bales kept dry can last one to two years or more, while repeated rain exposure will break them down fast.
Hanging Halloween Decor Ideas for Covered Patios
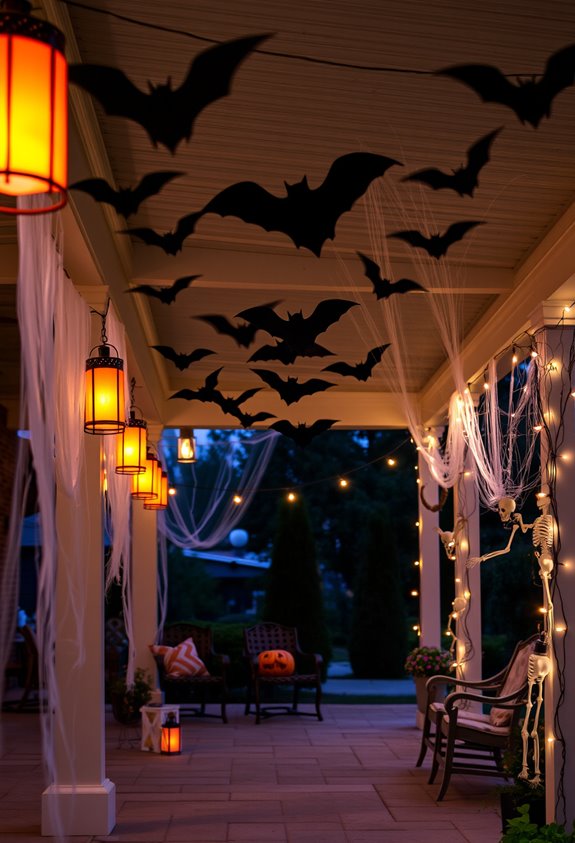
When your patio has a roof over it, you’ve got a serious advantage most decorators waste completely. Those overhead beams aren’t just structural. They’re prime real estate.
Start with black craft foam bats. Cut them from templates, hang them at different heights using fishing line or twine, and suddenly you’ve got depth. Layered, floating, dramatic. Ghost clusters work the same way — lightweight, easy to suspend, and they pop hard against darker ceilings.
Hang bats and ghost clusters at varied heights. Layered, floating, dramatic. Depth is everything.
Witch hats on transparent fishing line create that floating effect everyone loves but few people actually execute well. Add lanterns below your hanging pieces. Let the shadows do the work.
Stick to black, white, and orange. A focused color palette ties everything together. Covered patios reward intention. Don’t waste yours. For bat clusters, waterproof craft foam holds up against outdoor conditions, making it the smarter material choice for porch and patio displays.
Fog Machines and Sound Effects for Outdoor Halloween Patios
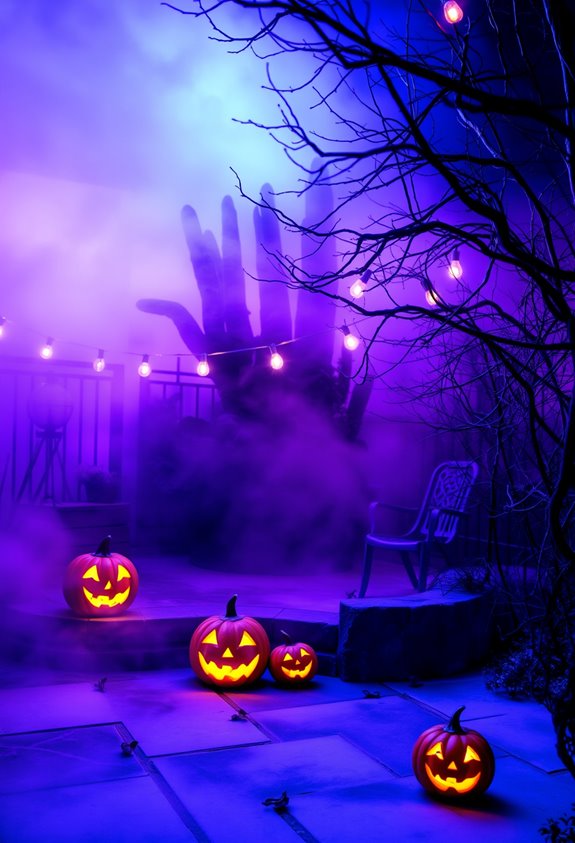
Hanging decor sets the scene overhead, but fog machines and sound effects are what push your patio from “cute” to actually unsettling.
Done right, they work together to create something your guests actually remember.
A few things worth knowing before you plug anything in:
- Wind direction controls everything — sheltered corners retain fog longer
- Timed bursts outperform continuous output in open-air settings, every time
- Synchronized cues hit harder — think thunder sounds dropping exactly with a fog burst
- Moisture residue makes tile and stone slippery, so don’t overdo output near walkways
Sound-wise, short audio loops get noticed fast.
Nobody wants to hear the same creaking door every 45 seconds.
Use directional speakers, keep volume conversational, and layer fog with dim lighting for real atmosphere.
Kid-Friendly Halloween Patio Decor That Still Looks Spooky
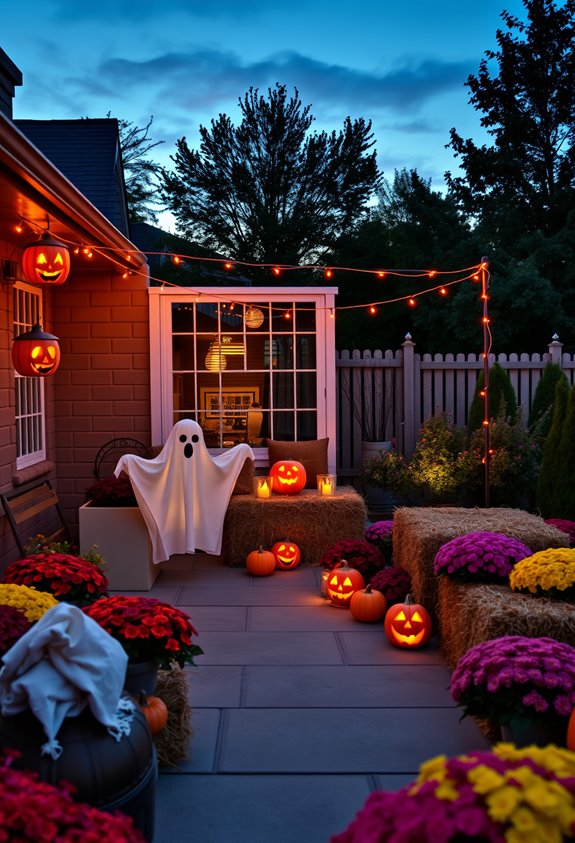
Scaring a 5-year-old into tears isn’t exactly the vibe most parents are going for. Friendly ghosts on wreaths, smiley-face mini pumpkins, and spiderweb tablecloths hit that sweet spot — spooky enough to feel festive, chill enough for the little ones. No haunted-house chaos required.
Bright or pastel pumpkins keep things seasonal without the intensity. Black-painted branches add eeriness. Hanging witch hats at different heights create movement and that classic Halloween silhouette. It’s atmosphere without the nightmare fuel. Warty pumpkins from specialty growers make for curious, tactile accents that kids actually want to touch and inspect.
Kids can even get involved. Paper pumpkin crafts made from scrapbook paper, twigs, and glue double as actual patio decor. That’s a win. Painted pumpkins in mixed colors pull the whole look together — playful, coordinated, approachable. Your patio can look good without traumatizing anyone. Promise.
Frequently Asked Questions
How Early Should I Start Setting up My Halloween Patio Decorations?
You can start setting up your Halloween patio decorations in mid-to-late September! That gives you plenty of time to enjoy the season, troubleshoot lighting, and layer in festive touches before your gatherings really kick off.
Can Halloween Patio Decor Withstand Rain or Strong Wind Conditions?
Can your decorations survive the elements? They can! Choose weather-resistant materials like metal or polyresin, anchor pieces with stakes, and use outdoor-rated lights with GFCI protection so your Halloween gathering stays spooktacular together.
What Is the Average Budget for Decorating a Halloween Patio?
You’ll typically spend $50–$150 for a modest Halloween patio setup, covering string lights, a small inflatable, and themed props. If you’re keeping it simple, you can create a festive look for as little as $20–$50.
How Do I Safely Store Halloween Patio Decorations After the Season Ends?
Clean and dry your outdoor pieces before packing them into sturdy, labeled bins. You’ll want to wrap fragile items, remove batteries, and store everything in a cool, dry space to keep your decorations ready for next season!
Are There HOA Rules That Could Restrict Outdoor Halloween Patio Decorations?
Your HOA’s rulebook is a fence around your community’s shared identity—yes, it can restrict your Halloween patio décor. You’ll typically face limits on timing, placement, size, noise, and lighting, so check your CC&Rs first.
Conclusion
Your patio can be the neighborhood’s crown jewel this Halloween — or just another sad doorstep with a plastic pumpkin. The choice is yours. Mix lighting, props, fog, and fall textures like a DJ layering tracks, and you’ve got something genuinely memorable. Kids love it. Adults photograph it. Everyone talks about it. You don’t need a massive budget. You need intention. Start small, build outward, and own it.