Your window box can do a lot more than hold mums and call it fall. Tuck a carved pumpkin front and center, pair black pansies with orange marigolds, and add a faux crow perched slightly higher for depth. Wrap orange fairy lights around the frame so the display actually works after dark. Small moves, big payoff. Each idea here builds on the last—and the combinations get more interesting from here.
Design Highlights
- Small carved or faux jack-o’-lanterns centered in window boxes create instant focal points that strengthen Halloween curb appeal.
- Black pansies alternated with orange marigolds deliver sharp, intentional color contrast that reads boldly from the street.
- Orange fairy lights wrapped around window frames make displays visible and striking after dark without constant supervision.
- Skeleton figurines placed low and faux crows positioned higher add depth, scale, and movement to compact arrangements.
- Swapping Halloween props for gourds, mums, and pine cones on November 1st extends the display seamlessly into fall.
Jack-O’-Lanterns That Make Your Halloween Window Box Unmissable
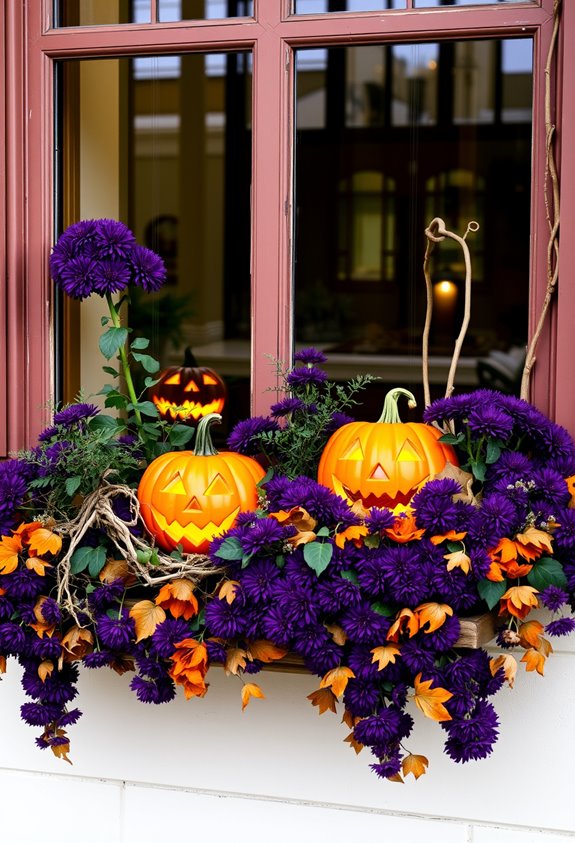
Carve a pumpkin, stick it in a window box, and suddenly your whole front exterior has a personality. It’s that simple.
Small jack-o’-lanterns fit perfectly in narrow window boxes without crowding the space. Line them along the sill and you’ve got something that reads well from the street *and* from your living room couch. Cluster them instead of spacing them evenly, and the display hits harder.
One carved pumpkin centered as a focal point anchors everything around it.
Want to skip the carving entirely? Faux jack-o’-lanterns exist. Reusable, zero mess.
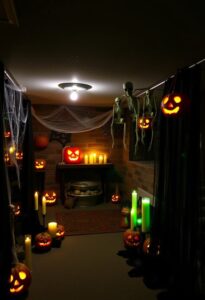
At night, internal lighting transforms the whole thing. The glow sells it. Illuminated carved faces after dark aren’t just decorative — they’re a statement. Your neighbors will notice. That’s the point.
Pair your jack-o’-lanterns with black pansies and orange marigolds to reinforce the Halloween color scheme without relying solely on decorative props.
Black Pansies and Orange Marigolds for Bold Color Contrast
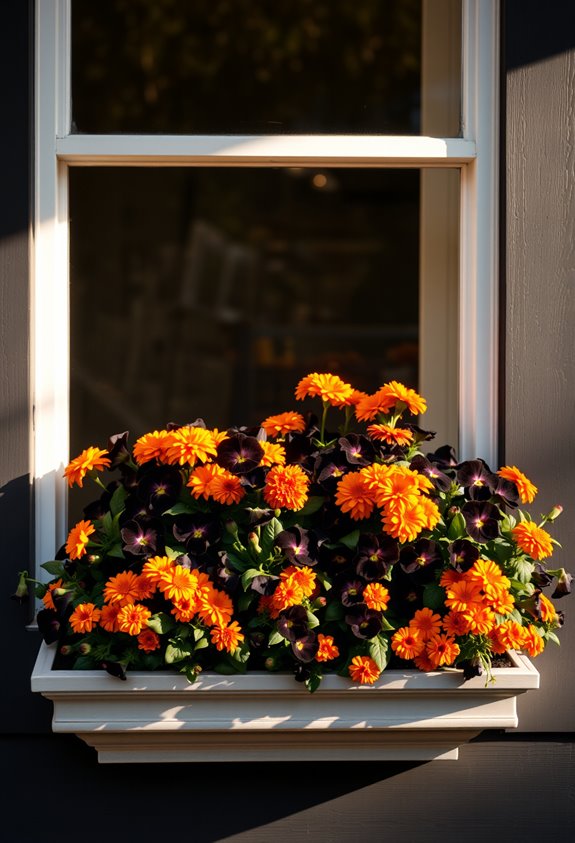
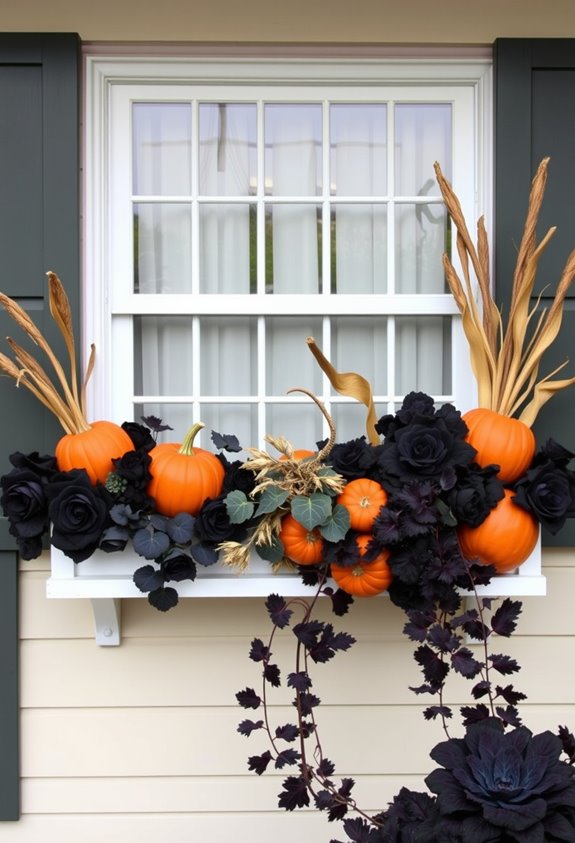
Pumpkins aren’t the only way to make a window box land hard. Black pansies and orange marigolds do the heavy lifting here. The contrast is sharp, intentional, and honestly kind of perfect. Orange reads warm and bright. Black adds depth. Together, they scream Halloween without a single plastic skeleton in sight.
You’ll want to plant pansies early in fall so they settle in before temperatures drop. Marigolds need full sun to stay vibrant, so placement matters. Alternate them across the box for a repeated color rhythm that actually looks cohesive. Deadhead the pansies regularly. Morning watering keeps the marigolds healthier longer.
This combo works because everyone recognizes it. It’s a visual shorthand your whole neighborhood already speaks fluently. Apply 2–3 inches of mulch around your pansies to retain moisture and keep the soil cool as fall temperatures shift.
Orange Fairy Lights That Transform Your Display After Dark
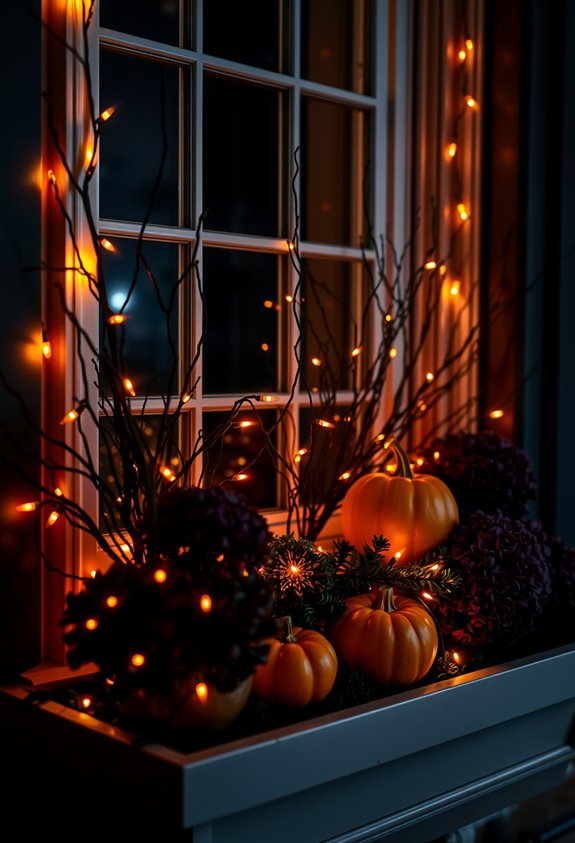
Daytime window boxes get all the attention, but orange fairy lights change the math after sunset. Once ambient light drops, your display either reads from the street or it disappears. Lights solve that.
Wrap them around your window frame using removable adhesive clips, and you’ve got a clean orange outline that holds up from the sidewalk. No giant props needed. The glow handles the heavy lifting.
Layer them behind silhouettes or cutouts and the contrast gets sharp fast. Backlighting makes shapes pop in a way unlit decor simply can’t match. The warm tone complements classic Halloween palettes without feeling harsh or clinical. Smaller bulbs keep it soft.
Best part? They’re reusable, easy to reposition, and run all evening without babysitting. Pair them with a wreath or bare branches on the sill to anchor the display and give the overall composition more weight. That’s a win.
Skeleton Figurines and Faux Crows That Stop People Cold
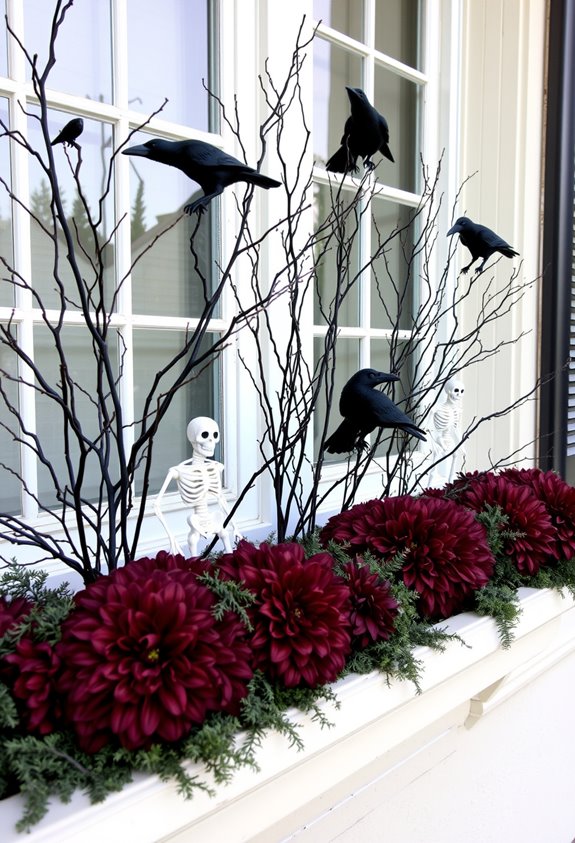
Lights handle the after-dark problem well, but once the sun’s up, you need props that earn their spot. Skeleton figurines do exactly that. They’re instantly readable, they scale to your box, and articulated ones let you pose limbs for movement without adding more stuff. That matters in small containers where overcrowding kills the whole effect.
Faux crows are your second weapon. Dark silhouettes pop against pale foliage or light-colored containers. Hard to argue with that contrast. Use clip-on or stake-mounted versions so wind doesn’t send them into your neighbor’s yard.
The real move is pairing them correctly. One anchors, one accents. Off-center placement beats symmetry every time. Position crows higher, skeletons lower. Depth. Visibility. Done. People walking by won’t miss it.
Rustic Layers With Branches, Corn Stalks, and Gourds
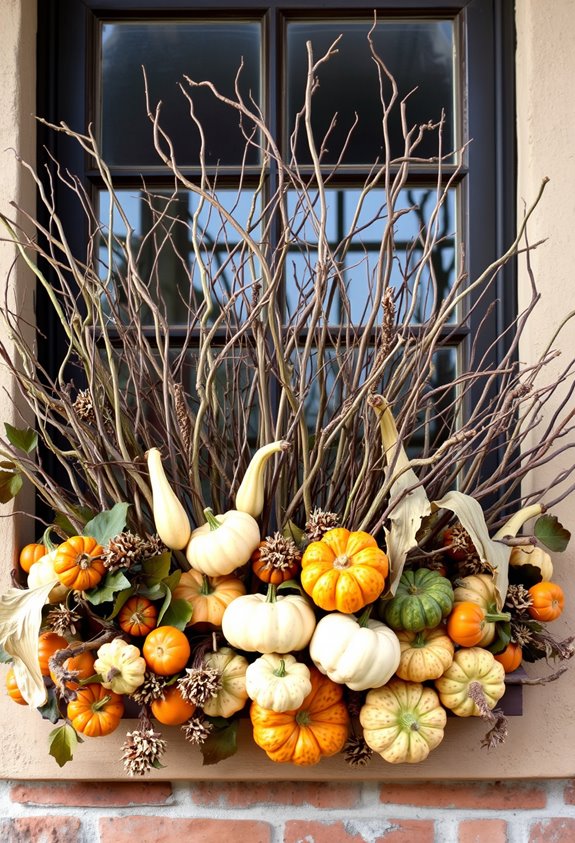
When skeletons and crows handle the spooky angle, natural materials handle everything else. Corn stalks bring height. Real, dramatic, farm-style height that makes your facade look intentional instead of rushed. Stack hay bales beneath them and you’ve got layered visual weight that actually earns attention.
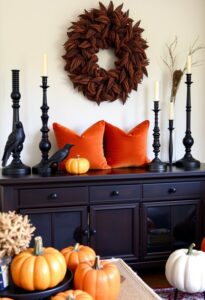
Gourds and small pumpkins anchor the whole thing. Mix sizes, colors, and shapes — because one lonely pumpkin isn’t fooling anyone. Tuck in dried branches, pinecones, and twigs to fill the gaps. Sparse arrangements look lazy. Full ones look curated.
Indian corn and dried cornhusks reinforce that harvest-forward feeling. Burlap ribbon or twine ties it together without killing the rustic vibe. Golden stalks, orange pumpkins, red berries — that warm palette does the seasonal heavy lifting effortlessly. Plant mums and asters in your window boxes to keep bold, fall-blooming color alive throughout the entire display.
Build Your Halloween Window Box Around One Hero Element
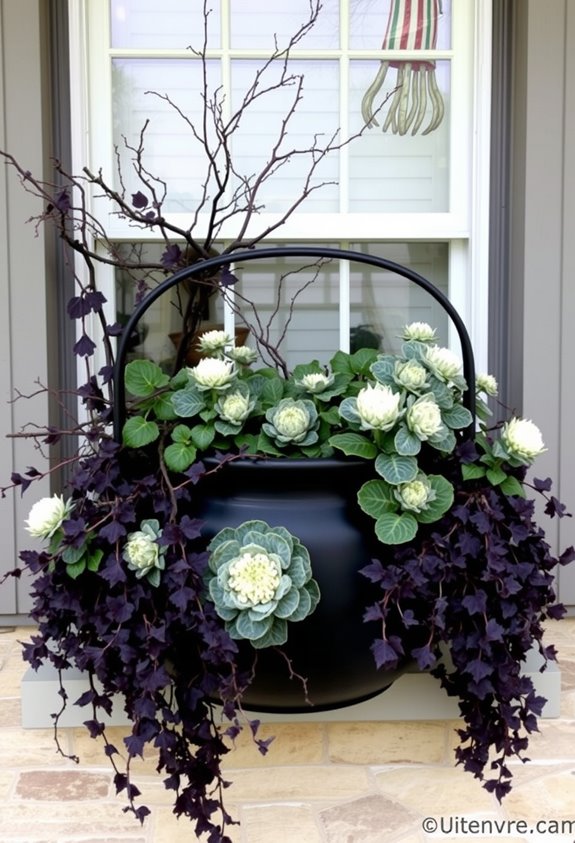
Every strong Halloween window box starts with one thing that earns the attention — not twelve things fighting for it. Pick your hero. A grinning jack-o’-lantern. A bold witch silhouette. A mound of saturated mums. One. That’s the whole strategy.
Here’s why it works: a single focal element makes your display readable from the street. People get it instantly. No squinting, no confusion. Just impact.
Everything else — trailing ivy, hay, ornamental grasses — exists to frame that hero, not compete with it. The moment your accents start demanding equal attention, you’ve lost the plot.
Different pumpkin sizes, a dramatic silhouette against the glass, or a full bloom of ornamental kale can all anchor a window box beautifully. You just have to commit to one. For maximum visibility and effect, position your hero element beneath wide, open windows where it can be seen clearly by both guests and passersby.
How to Keep Your Halloween Window Box Up Through November
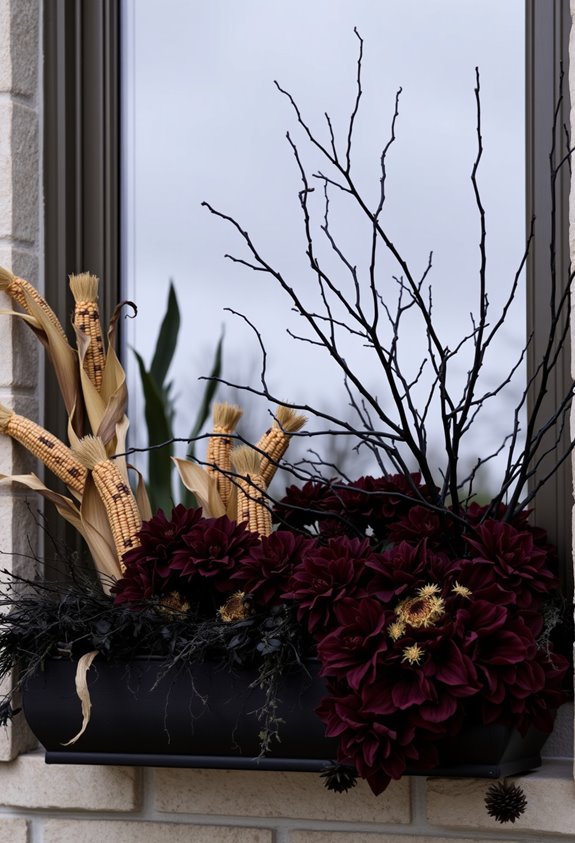
Keeping a Halloween window box alive through November isn’t laziness — it’s strategy.
Pull the jack-o’-lanterns, bats, and ghosts on November 1st. Done. Now you’ve got a solid base to work with.
Swap in gourds, mums, ornamental kale, and pine cones. Keep the structure exactly where it is. You’re not rebuilding — you’re editing. That’s the move.
Artificial pumpkins paired with autumn leaves read as harvest, not haunted. Violas and pansies handle cooler temps without drama. Add some evergreen branches for texture and you’ve got something that actually looks intentional.
The secret? Removable layers. Double-sided tape, suction cups, faux foliage — stuff that comes out clean. Build it right the first time and November practically decorates itself. Deadhead your mums regularly to keep blooms going strong well into the month.
Frequently Asked Questions
What Materials Help Protect Window Boxes From Autumn Rain and Frost?
You’ll want to use silicone sealant, PVC sealing tape, and self-adhesive weatherstripping to shield your window boxes from autumn rain and frost. Adding thermal curtains and keeping persianas closed helps you maintain warmth and protection.
Can Window Box Decor Be Adapted for Apartment Balconies or Railings?
You’ll absolutely transform your balcony into the neighborhood’s most stunning display! Simply mount railing-rated planters, use the thriller-filler-spiller formula, and choose neutral containers so your plants steal the show while connecting you with fellow balcony gardeners.
How Do You Secure Lightweight Decorations Against Strong Autumn Winds?
Secure your lightweight decorations by driving metal stakes at a 45-degree angle, using multiple tie-down points, and filling hollow pieces with water jugs. You’ll also want to tuck decor near fences or walls to shield them from gusts.
Are There Child-Safe or Pet-Friendly Alternatives to Common Halloween Decor Materials?
Like a warm hug for your home, you’ll find safer swaps everywhere! Swap glass for foam, use LED tea lights instead of candles, and choose felt or paper cutouts—they’re non-toxic, shatter-proof, and perfect for kids and pets.
How Early in October Should Halloween Window Box Decorating Begin?
Start your Halloween window box decorating during the first week of October—you’ll join the majority of decorators who kick things off between October 1–15, giving you the most seasonal display time while keeping everything feeling timely.
Conclusion
There’s a theory that curb appeal is only about real estate value. Wrong. It’s about *feeling* something when you pull into your neighborhood. Your Halloween window box does that. It makes people slow down, smile, maybe even stop. That matters. You’re not just decorating — you’re creating a moment for strangers. And honestly? That’s kind of everything. Don’t overthink it. Pick your elements, build your display, and own it.