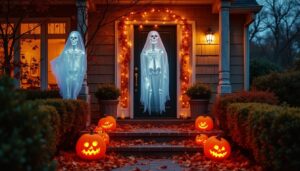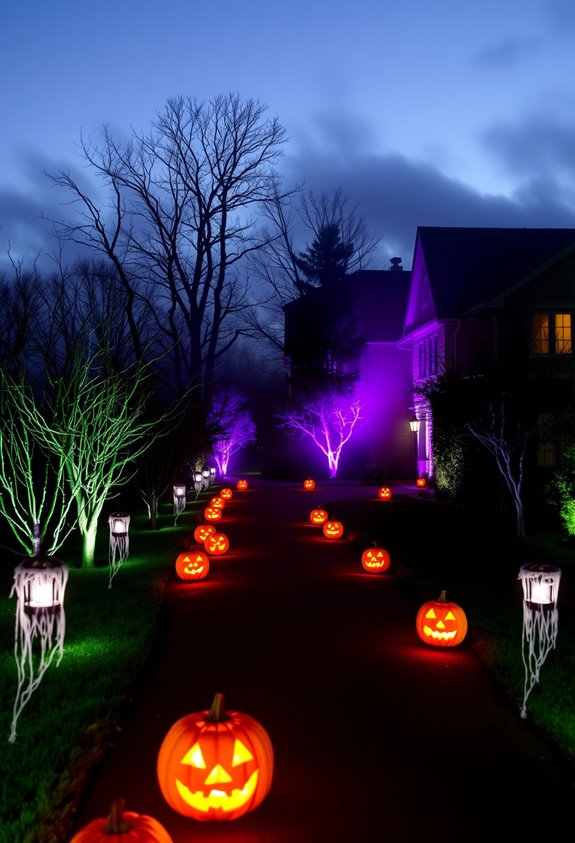
Your driveway is the first thing neighbors see, and right now it’s doing nothing. Fix that with layered lighting, mirrored props, and motion-activated scares that hit hard from the street. Stagger low pumpkins near the curb, push taller skeletons deeper in, and anchor everything symmetrically so it reads clean at night. Add a giant spider or graveyard scene as your centerpiece. One strong focal point beats a cluttered mess every time. Keep scrolling — it gets better.
Design Highlights
- Mirror props symmetrically on both sides of your driveway entrance to create intentional, polished curb appeal that looks professionally designed.
- Layer props at varying heights and depths—low near the curb, taller pieces deeper—to build dramatic visual perspective and dimension.
- Use three lighting layers: ground path lights, mid-level uplights, and high projectors or hanging silhouettes for maximum nighttime impact.
- Combine motion, sound, and light in hidden scare triggers; wireless sensors placed where foot traffic flows maximize surprise reactions.
- Budget-friendly DIY elements like cardstock pumpkin borders, trash bag ghosts, and PVC spiders store flat and reassemble each season.
Halloween Driveway Symmetry and Depth Tricks That Read From the Street
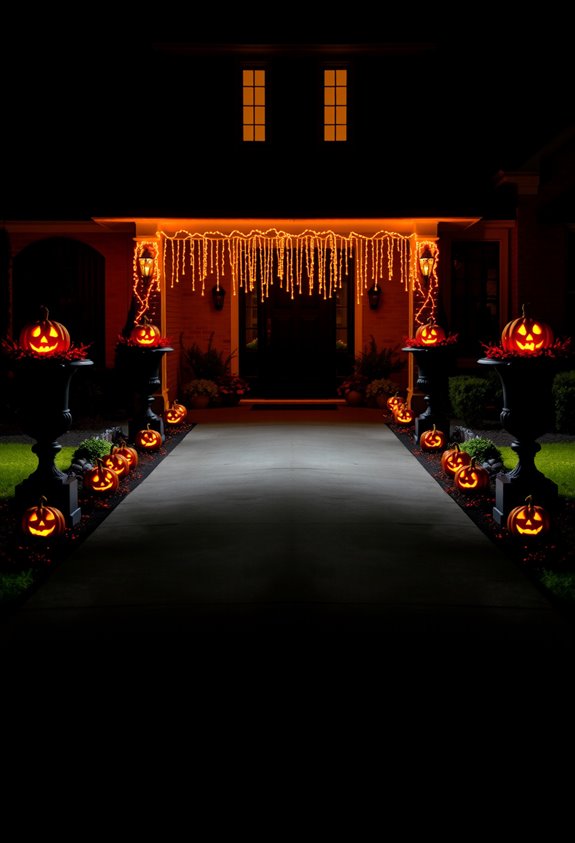
When it comes to Halloween driveway displays, symmetry is your single most powerful street-facing tool. Mirror your props on both sides of the driveway entrance — matching pumpkin stacks, lantern pairs, skull groupings — and suddenly your display looks intentional. Not chaotic. Not like you just threw things in the yard and hoped for the best.
Gateposts and driveway edges are your natural anchor points. Use them. Place real or fake pumpkins atop gate pillars or columns, illuminated with electric candles, to anchor both sides with warm, flickering light that reads clearly from the street.
Depth is what separates a flat, forgettable border from a scene that actually stops people. Stagger your props. Low pieces near the curb, taller ones deeper in the drive. Overlapping silhouettes — a skeleton in front of a tombstone, pumpkins in front of lanterns — create a receding visual field that reads beautifully from the street. Distance reveals everything. When mounting lightweight props like raven or cat silhouettes along your gate’s top rail, painted black, the horizontal line they create adds a dramatic upper boundary that reinforces your depth layering from the curb.
Halloween Lantern Driveways That Stop Traffic
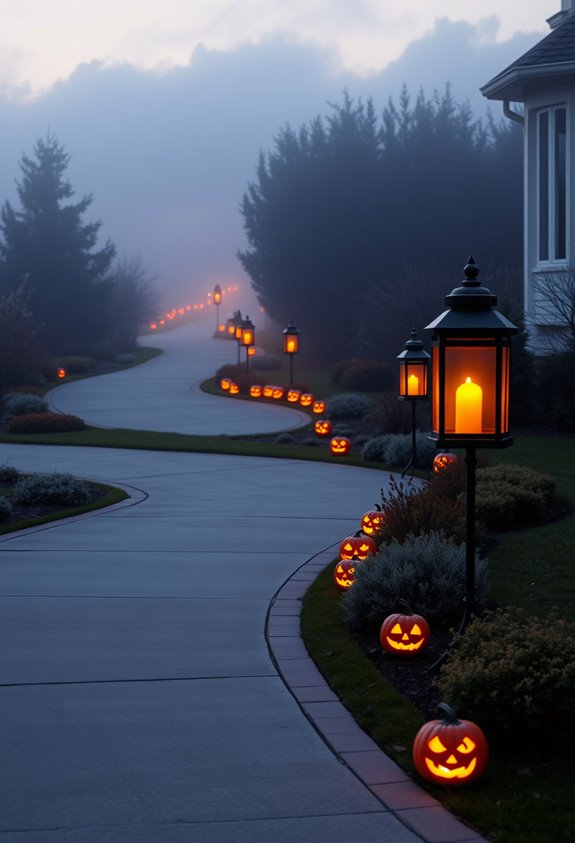
Lanterns transform a plain driveway into something people actually slow down to look at. No elaborate setup required. Just the right lanterns, placed with intention, and your driveway becomes the one everyone remembers.
The right lanterns, placed with intention, turn any driveway into the one everyone remembers.
Here’s what makes lantern driveways work:
- Gothic lanterns create that haunted, old-world flicker people can’t ignore
- Pumpkin lanterns keep it simple—pumpkins already do the Halloween heavy lifting
- Skull lanterns deliver a chilling welcome along stone paths
- Orange string lights paired with lanterns sharpen the color palette after dark
- Battery candles inside lanterns preserve the flicker without the fire risk
Line both edges. Repeat the pattern. Mix sizes for visual rhythm. Odd-numbered groupings feel natural, not staged. Draping faux cobwebs around lantern bases and scattering small faux pumpkins nearby pulls the entire display into a cohesive, atmospheric look. Your neighbors will absolutely notice—and honestly, that’s the whole point.
The Skeleton Army Driveway Setup Neighbors Can’t Ignore
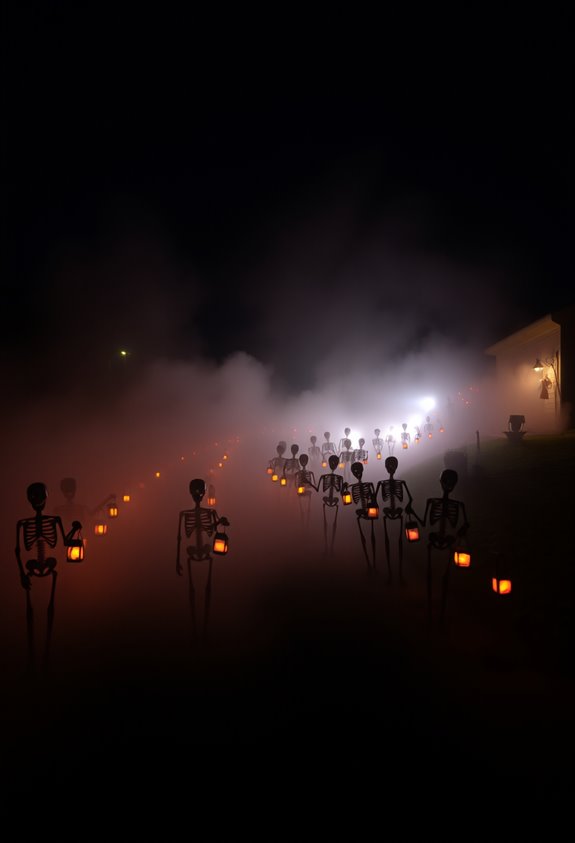
Stick lanterns in their hands. Now they’re sentries. Creepy, unmistakable sentries.
Hit the whole setup with purple and green spotlights. The shadows do the heavy lifting at night. Weave string lights through branches above, drape faux cobwebs on nearby bushes, and the driveway becomes something people actually slow down for.
Stake everything securely. Giant skeletons need stabilizers and a two-person crew to raise safely. Don’t skip that part. For a humorous twist, set up a scene with skeletons washing a car, complete with sponges, buckets, and a skeleton on roller skates holding a hose.
DIY Graveyard Scenes That Look Professionally Haunted
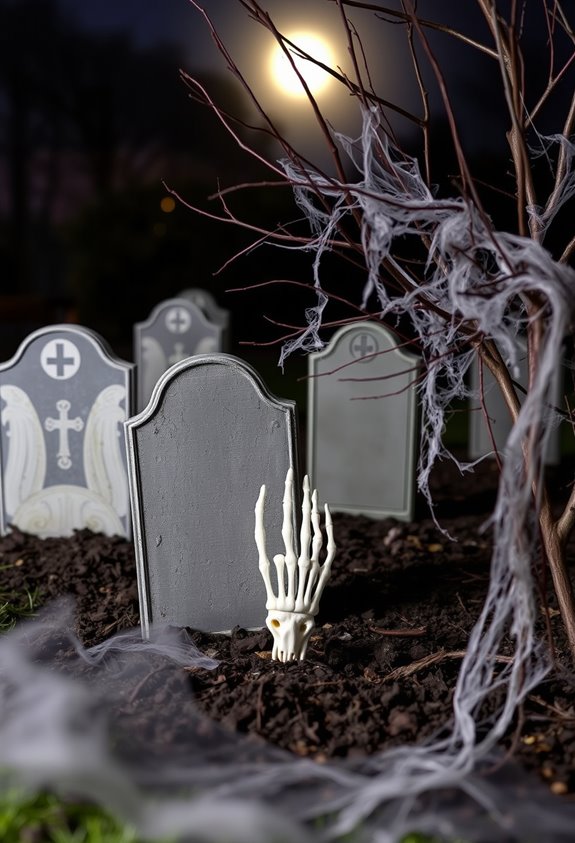
A graveyard scene that looks genuinely haunted isn’t about spending money — it’s about variety and density. Mix tombstone shapes. Angle them oddly. Layer everything together, and suddenly your yard stops looking like a Halloween store exploded in it.
A haunted graveyard isn’t about money. It’s about variety, density, and making your yard look genuinely unsettling.
Here’s what actually makes the difference:
- Mix rectangles, crosses, and arched tombstones for realistic variety
- Place tombstones at odd angles to suggest age and neglect
- Group 5 to 6 bones near each tombstone for visible impact
- Add skeleton hands partially buried, as if something’s escaping
- Use spider webs to connect tombstones, fences, and bushes into one unified scene
Random placement beats perfect rows every time. Blunt truth: evenly spaced tombstones scream “first Halloween.” Scattered, layered, and dense? That screams graveyard. To keep tombstones from leaning too far or falling over, adhere PVC pipe to the back of each one, hammer rebar into the ground, and slide the pipe over the rebar to lock it in place.
Low, Mid, and High Lighting Layers That Create Real Depth
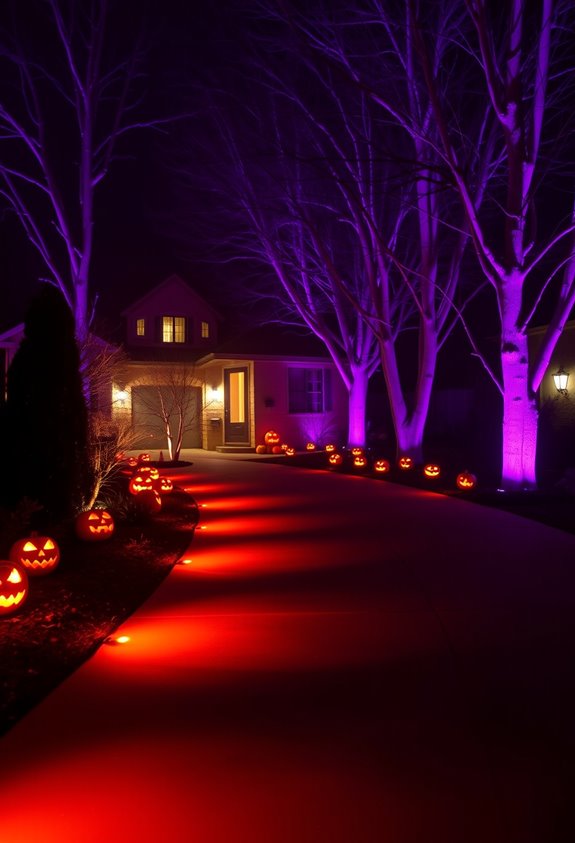
Lighting a Halloween driveway with one type of fixture is like decorating a graveyard with a single tombstone — technically there, but unconvincing.
Real depth comes from three layers working together. Ground level first: path lights at 100–200 lumens, flickering tea lights, fog paired with LED strips. That glowing mist effect? Genuinely unsettling. Space your pathway lights 5–8 feet apart, pumpkins every 3–4 feet.
Middle layer next — uplight your trees, wrap trunks in purple string lights, add motion-activated spotlights for surprise. Stick to a tight palette: deep red, blood orange, sick green, scary purple.
Finally, go high. Projectors, hanging silhouettes, branch-mounted lights. Each layer gives the eye somewhere new to land. One layer alone looks flat. Three layers looks intentional. For the roofline, permanent LED systems let you run deep purple fades and flickering orange along a clean eave line — no ladders, no temporary strands, just one tap in the app.
Sheets, Cardboard, and Trash Bags That Become Real Props
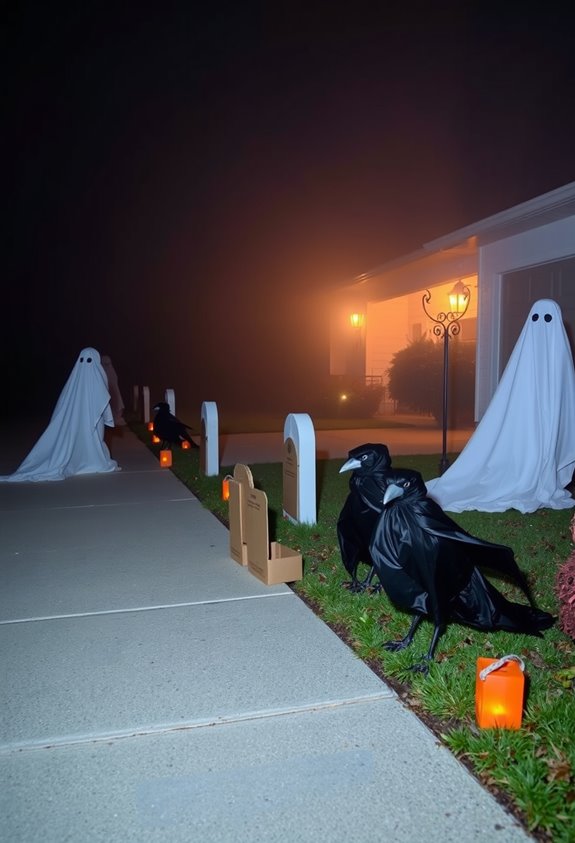
You don’t need a budget to build something genuinely creepy. Sheets, cardboard, and trash bags work. Seriously, that’s it.
Here’s what your neighbors don’t realize they could do:
- Cut old sheets into ghost silhouettes, add eyeholes, and stake them with broom handles
- Stuff white garbage bags, draw faces on them, and tie them to posts for floating apparitions
- Shape thick cardboard into tombstones, spray paint them gray, and skewer them into the ground
- Shred black trash bags into doorway curtains for instant haunted-house vibes
- Add random ripped edges and uneven cuts to make everything look less store-bought
Random cuts make props look real. Newspaper stuffing gives shape. Hot glue holds better outdoors than craft glue. Build the structure first, then finish the details. For window silhouettes, cut cats, owls, or bats from black Bristol board and attach them with painter’s tape since they’re striking both during the day and when backlit at night.
Oversized Halloween Spiders, Webs, and High-Impact Horror Props
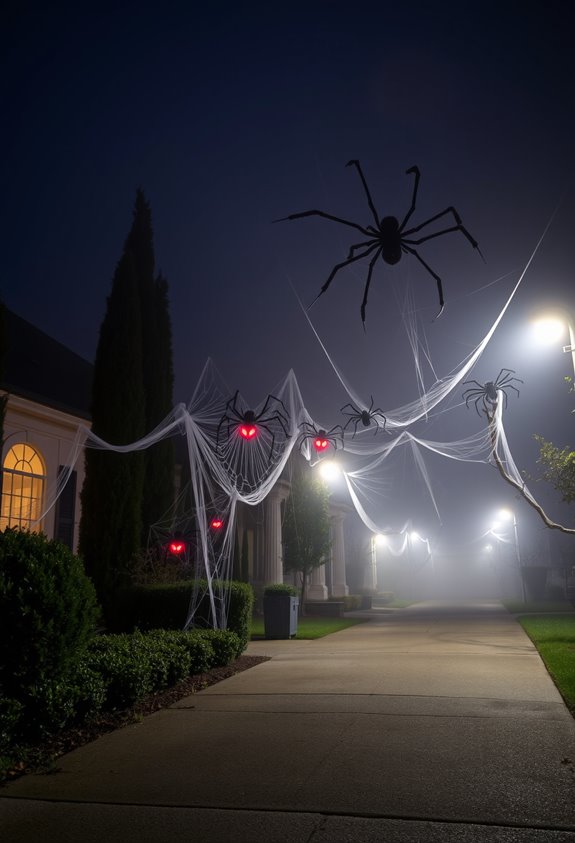
One oversized spider does more work than a dozen plastic pumpkins. Mount it at a roofline, porch corner, or entry post — somewhere it looks like it’s climbing, not just sitting there looking sad. That silhouette reads instantly from the driveway. That’s the whole point.
Add webbing and you’ve got a real display. Use clothesline rope or white tinsel garland stretched across your porch opening. Dark siding makes the pale strands pop. The web frames everything else without requiring a single extra prop.
Suspend the spider with fishing line so it appears mid-drop. Lightweight hardware keeps the floating effect clean. Combine webbed sections with a free-hanging spider and you’ve built something that looks legitimately haunted. One strong centerpiece. That’s all your neighbors actually notice. For a budget-friendly build, a PVC pipe spider with googly eyes and a leaf-stuffed trash bag body stores flat and reassembles every season without hassle.
Halloween Pumpkin Borders Done Right
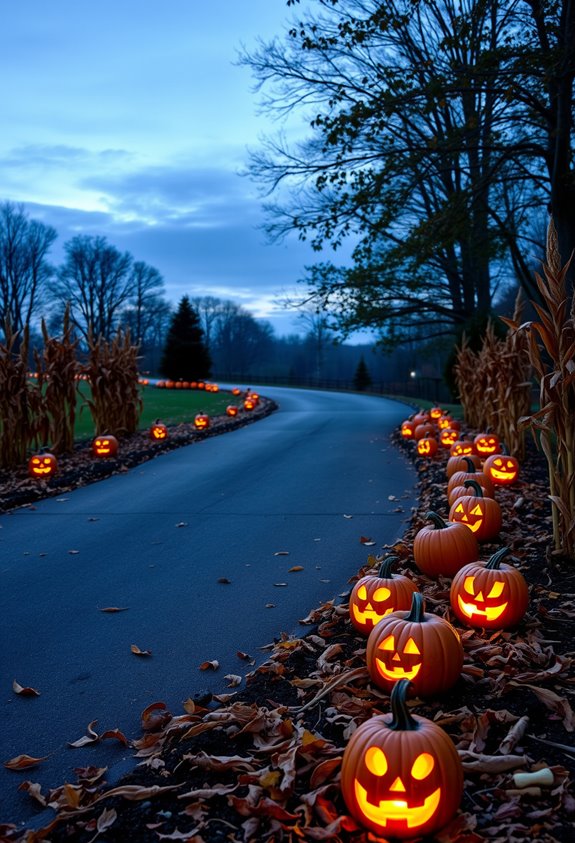
Big props handled, now let’s scale down without losing impact.
A handmade pumpkin border built from cardstock punches harder than you’d think. Cut it right, layer it smart, and your driveway edge becomes a full seasonal scene.
Here’s what makes this method work:
- Base size: 3 by 12 inches keeps things narrow but bold
- Pumpkin body: Three layered orange ovals beat a flat cutout every time
- Stem and leaf: Green cardstock, cut separately, adds that finishing touch
- Pattern options: Plaid or polka-dot pumpkins keep it fresh
- Dark accents: Black cardstock for birds and contrast elements
It’s modular.
You repeat it.
The whole driveway edge stays cohesive without losing that handmade charm your neighbors can’t quite replicate.
Motion-Activated Props That Actually Make People Jump
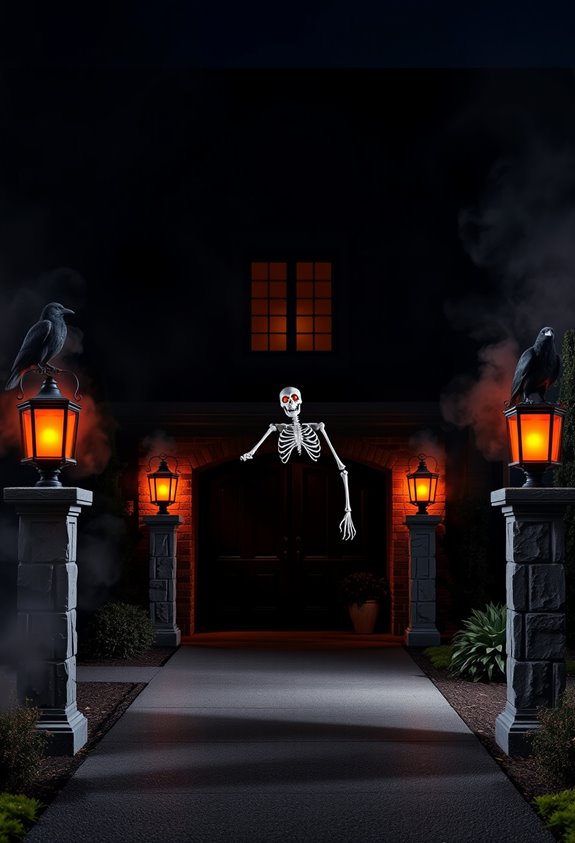
Multi-prop setups hit hardest. Light, sound, and movement triggering simultaneously creates a reaction a single skull on a stake never will.
Hidden mechanisms behind bushes or boxes maximize surprise. Keep the trigger point invisible.
Wireless sensors let you move the scare point anywhere foot traffic flows. Weather-protect your relay boards. Wet electronics end Halloween early.
Ghost Controls Wireless Vehicle Sensor detects approaching vehicles and can trigger your gate system for a dramatic, fully automated driveway entrance the moment someone pulls in.
Frequently Asked Questions
How Early Should I Start Setting up My Halloween Driveway Display?
You can start your Halloween driveway display in late September! Begin with weather-resistant pieces like lights and wreaths, then layer in bigger props by October 1st to keep everything looking fresh and festive.
What Weather-Proofing Methods Work Best for Outdoor Halloween Decorations?
Want your display to last all season? Seal foam and fabric with waterproof spray, cover connections with electrical tape, choose plastic or metal materials, and shelter electronics under a canopy so you’re always the neighborhood’s Halloween champion.
Are There HOA Rules That Restrict Halloween Driveway Decorations?
Yes, your HOA can restrict Halloween driveway decorations! They’ll often limit sizing, lighting, noise, and placement. Check your governing documents before decorating so you’re decorating confidently alongside your neighbors without any unwanted surprises.
How Do I Safely Secure Decorations Without Damaging My Driveway?
You don’t need to damage what you’re proud of—use sandbags, stakes, and rope tie-downs to secure decorations without harming your driveway, keeping your display both safe and stunning for the whole neighborhood to admire.
Which Halloween Driveway Decorations Are Safest for Young Trick-Or-Treaters?
Choose flameless lights, LED path markers, and untallied painted pumpkins—they’ll keep little trick-or-treaters safe while making your driveway the neighborhood’s favorite stop. You’ll create a welcoming, hazard-free space everyone loves visiting together!
Conclusion
Halloween decorating isn’t just fun — it’s practically competitive. According to the National Retail Federation, Americans spend over $3.6 billion on Halloween decorations annually. That’s not a typo. Your neighbors are spending real money to outdo you. But you’ve got something better now: strategy. A skeleton army here, layered lighting there, motion-activated chaos everywhere. You don’t need the biggest budget. You just need the right moves.