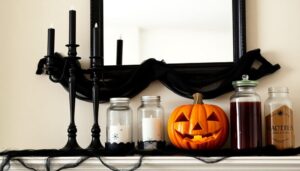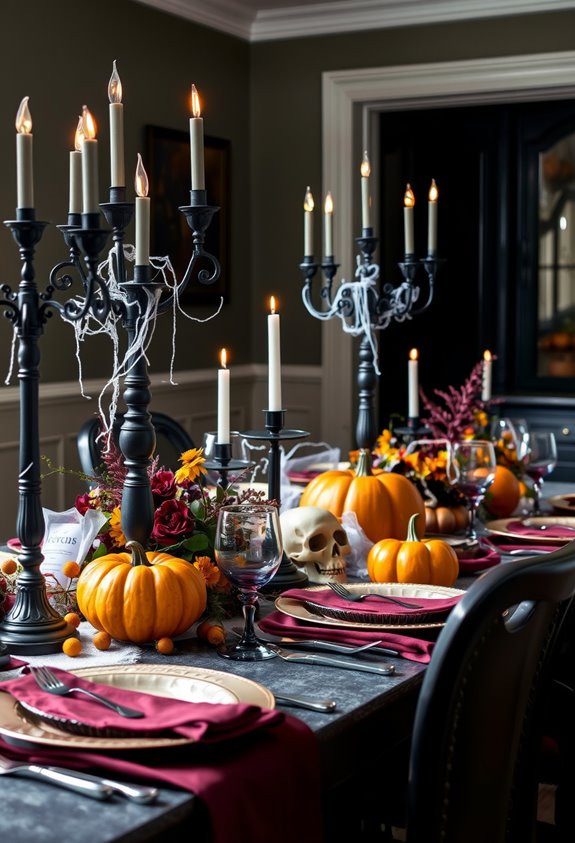
A Halloween dinner party tablescape lives or dies by three things: color, cohesion, and layering. Start with two main tones plus one accent — think oxblood and charcoal with antique gold. Layer your textiles, build a strong centerpiece anchor, and use candlelight in the 1800–2400K range for genuine atmosphere. Skip the dollar store chaos. Your crowd’s age matters too — adults and kids need completely different setups. Everything you need to nail it is ahead.
Design Highlights
- Anchor your tablescape with two main tones plus one metallic accent, such as burgundy, black, and antique gold, for a cohesive, upscale look.
- Layer textures by pairing a linen tablecloth with a narrow velvet runner offset slightly for dramatic visual depth.
- Build centerpieces around a strong focal piece like a candelabra, then surround it with mini pumpkins, faux ravens, and taper candles.
- Use black or blood-red taper candles at varying heights to create shadows and an eerie, atmospheric glow across the table.
- Make place settings double as favors using small pumpkins, candles, or mini potted herbs tied with personalized name tags.
Start With the Right Halloween Tablescape Color Palette
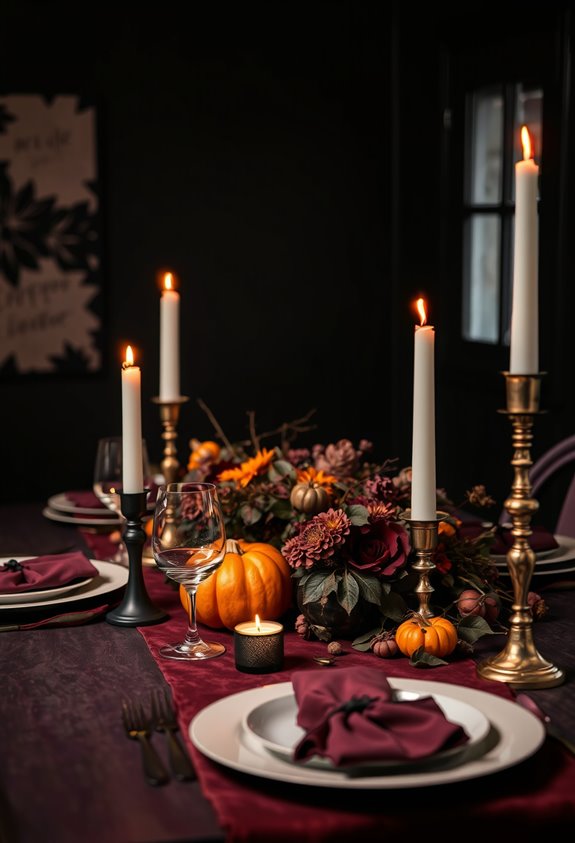
Color sets the mood before a single candle gets lit. Get this part wrong, and nothing else matters.
Color sets the mood before anything else. Get this wrong, and nothing else can save you.
Start with a neutral anchor — ecru, taupe, charcoal, soft stone, or cream. These keep your table calm and let richer Halloween colors actually show up instead of fighting each other. Black and white still works. Classic for a reason.
From there, pick two main tones plus one accent. That’s it. Plum, oxblood, mossy green, burnt ochre, burgundy — these are your friends. Want metallic warmth? Antique gold or weathered copper. Want something cooler? Silver or pewter.
Bright orange is fine if you want traditional. But if you’re going for moody or upscale? Skip it. Some colors just don’t belong at a sophisticated table. Orange is usually one of them. Once your palette is set, carry it across every layer of the table — plates, glassware, florals, and even the food — so the whole composition feels deliberate and unified.
Layer Your Tablecloth and Runner Like a Pro
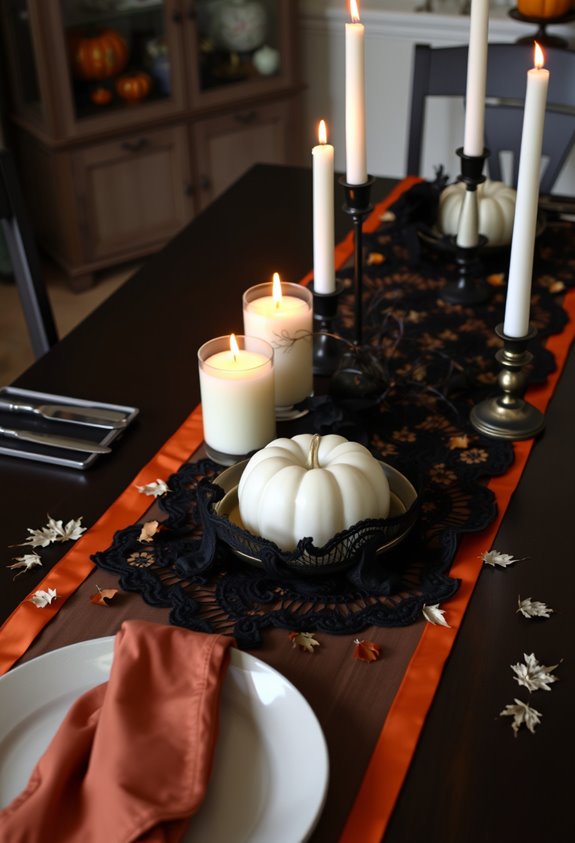
Once you’ve nailed your color palette, the tablecloth and runner are where things either come together or fall apart. Start with the base cloth. For a casual Halloween vibe, linen or burlap sets a relaxed, rustic tone immediately. Get the drop right — 6 to 12 inches over each side looks intentional. Less than that? It looks like you forgot to measure.
Then add your runner, centered lengthwise, with a 6 to 10 inch overhang at each end. Keep it narrower than the tablecloth. That contrast is the whole point.
Mix textures. Pair a patterned runner with a solid cloth, or flip it. Layering two runners slightly offset creates a modern, dimensional effect your guests will actually notice. For a dramatic Halloween look, try a narrow velvet runner over a linen base cloth. Don’t skip this step.
Build a Halloween Tablescape Centerpiece That Steals the Show
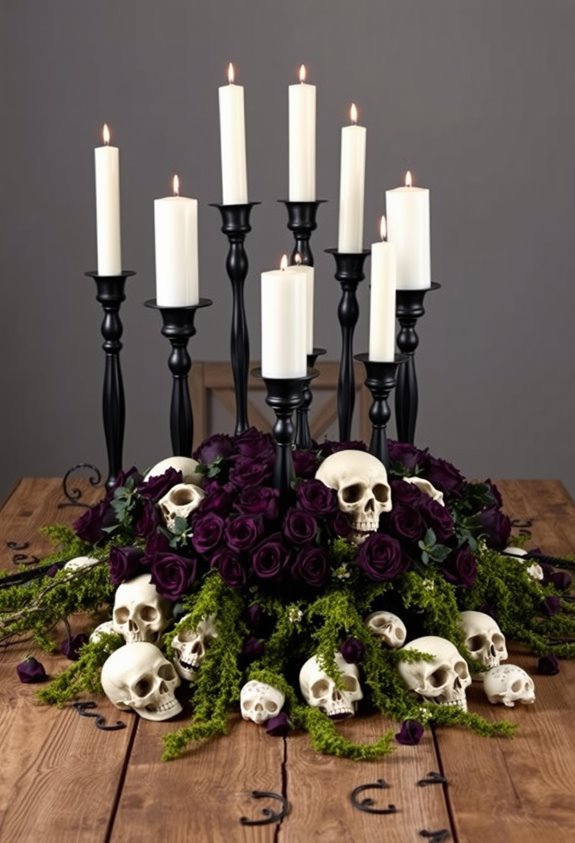
Everything else on your table plays a supporting role. Your centerpiece is the star. Full stop.
Start with a strong anchor — a candelabra, a haunted house display, a dramatic skull. Something with presence. Then build around it using smaller pieces to fill gaps and add depth. Mini pumpkins, gourds, faux ravens, taper candles. It all works together when you’ve got a clear theme holding it together.
Elevation matters. A wood slab, a cake stand, an overturned bowl — suddenly your centerpiece has dimension instead of just sitting flat and sad on the table.
Stick to a cohesive color palette. Deep orange, black, purple, with gold or silver accents. It looks intentional. Polished. Like you actually planned this, even if you didn’t. For an unexpected finishing touch, try pairing your centerpiece with a glittered skull focal piece surrounded by faux ravens and miniature pumpkins for a look that’s equal parts glam and spooky.
Lighting Tricks That Make Your Table Feel Haunted
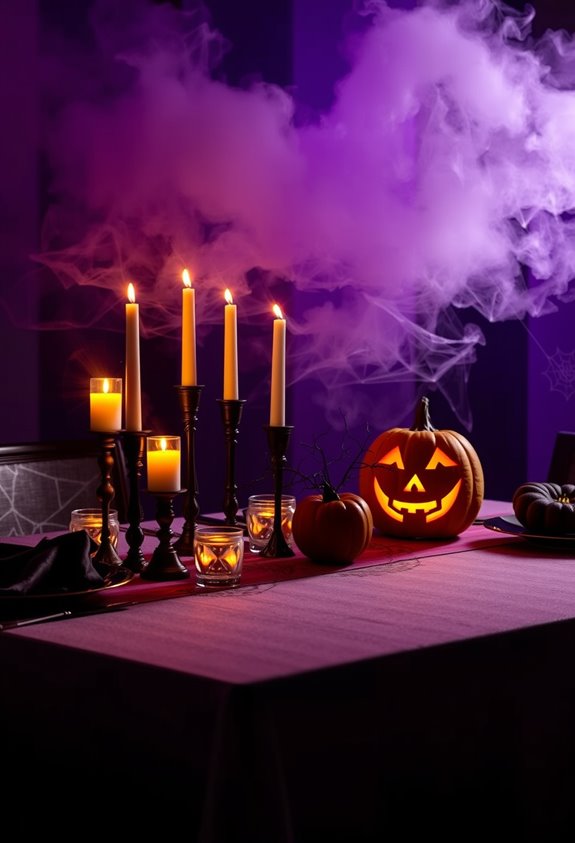
Lighting can make or break your Halloween tablescape — and most people completely ignore it. Don’t be that person.
Swap regular bulbs for orange or purple LEDs, or drape string lights around the table for an instant haunted effect. Want something moodier? Candle-style lighting in the 1800–2400K range nails that eerie, old-world ambiance.
Black or blood-red taper candles in a gothic candelabra? Chef’s kiss. Cluster them at varying heights for stronger visual rhythm.
Now here’s a trick most skip entirely — angle a clamp light at 30–45 degrees across textured surfaces. Shadows deepen. Drama spikes.
Blacklights also make fluorescent decor pop in darkness, which is honestly just fun. Keep brightness between 10–50 lux. Anything brighter flattens the whole haunted look you’ve worked hard to build. For an extra layer of atmosphere, tuck battery-operated skull lanterns beneath draped cheesecloth or around centerpieces to cast an eerie glow without the fire hazard.
Themed Plates and Glassware Worth Showing Off
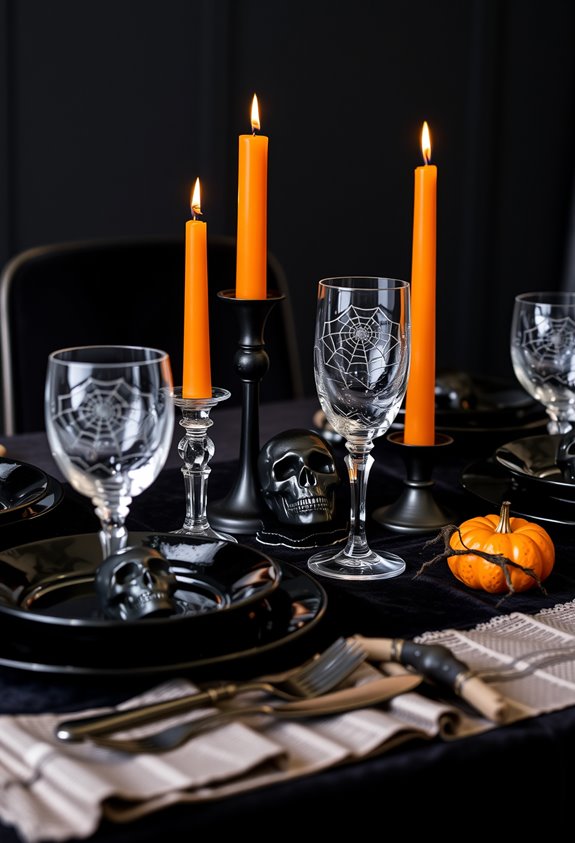
Most people nail the centerpiece and completely phone in the plates. Don’t be that host. Your tableware is doing real work here, and it needs to pull its weight.
Black-and-white plates create the strongest contrast against Halloween food. Fact. Add charger plates in black or gunmetal, and suddenly your table looks intentional instead of desperate. Motifs like bats, skeletons, and moons signal the theme instantly. No explanation needed.
For glassware, go goblets. Stemmed glasses bring a haunted-manor energy that tumblers simply can’t touch. Amber, smoke, or plum-tinted glass supports the moody palette without screaming “party store.” Cut-glass styles catch candlelight beautifully.
Mix patterns confidently. Keep one element consistent, like all-black plates, and layer from there. You belong at this table. Make it look like it.
Place Settings That Double as Party Favors
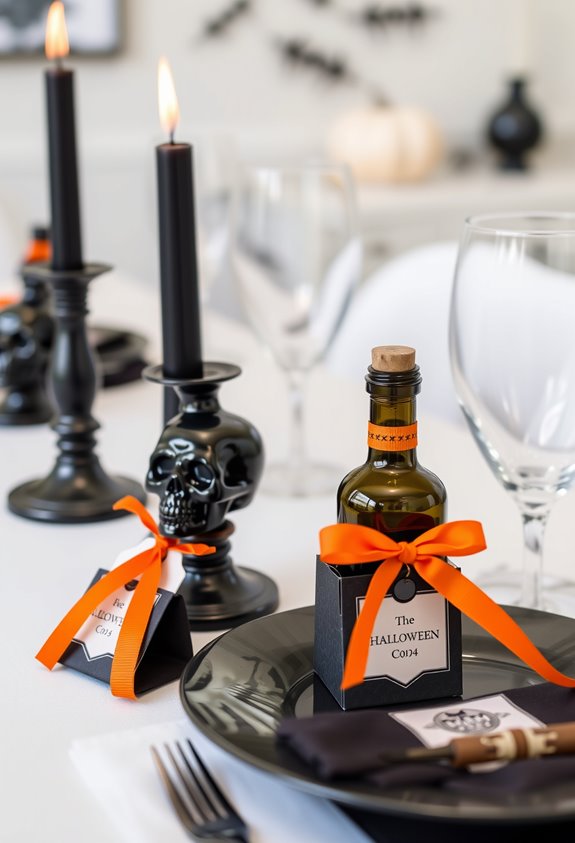
Your plates and glassware set the tone, but here’s where you actually get clever: make every place setting something guests walk out the door with. Mini potted herbs, small pumpkins, candles tied with a name tag — these aren’t just cute. They’re useful. Guests love feeling like they belong at a table that was clearly designed *for* them, not just assembled fast.
Write names directly on mini gourds with a marker. Tuck a name card into a terra cotta pot. Tie a label around a candle with twine. Done. Baby conifers wrapped in burlap work beautifully for that moody autumn vibe. Ornaments make elegant keepsakes. The point is simple: when the favor *is* the place card, everything earns its spot on the table.
Succulents in hand-painted pots with each guest’s name are a natural fit for this approach, giving you a living favor that doubles as décor without any extra effort.
Cobwebs, Moss, and Mini Pumpkins That Fill Dead Space
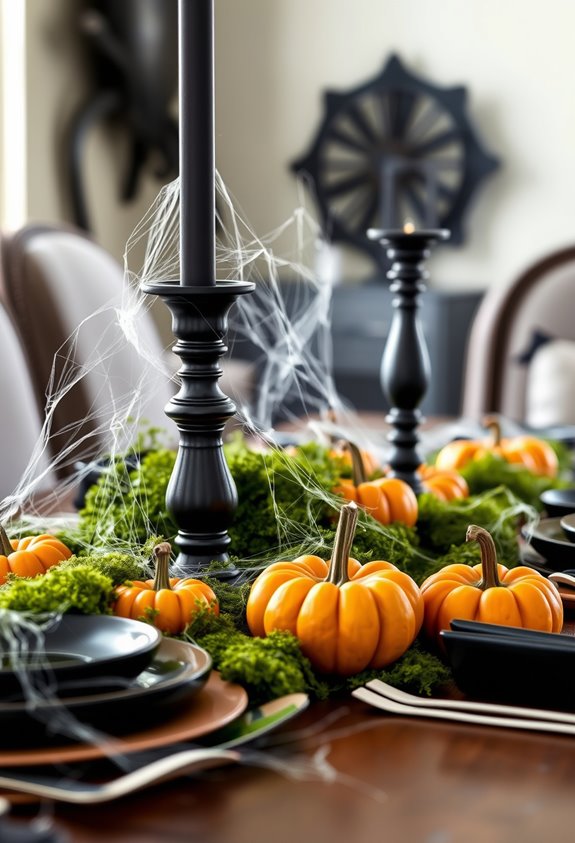
Dead space is the enemy of a good tablescape. Don’t let it win. Cobwebs, moss, and mini pumpkins are your fix—and they work harder than you’d think.
Stretch faux cobwebs thin. Wispy beats clumped every time. Anchor them with double-sided tape, then drape them around centerpieces and along table edges. Toss in a few spiders in different sizes. Instant realism.
Stretch faux cobwebs thin—wispy always wins over clumped. Add spiders in different sizes for instant realism.
Moss fills the ugly gaps. Tuck it between pumpkins and mums to soften everything and hide the mechanics nobody’s supposed to see. It works.
Mini pumpkins handle the rest. Cluster them in odd numbers near focal points. Put some on a pedestal. Scatter a few with LED lights for glow. For a spookier look, try Knucklehead or Mini Midnight pumpkins—their textures and dark tones add serious Halloween atmosphere without any extra effort. Suddenly, nothing looks empty. Everything looks intentional.
Choose the Right Halloween Tablescape Theme for Your Crowd
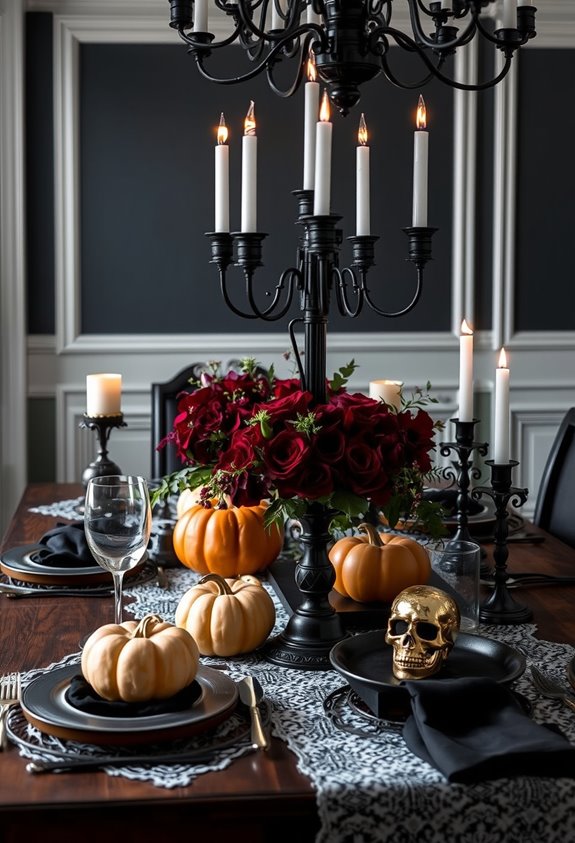
Before you buy a single plastic skull or yard of lace ribbon, you need to know who’s sitting at that table. Because a Pinterest-perfect gothic candelabra means nothing if your guests are six years old with googly eyes glued to their fingers.
Adults tend to respond well to refined setups — burnt orange, deep navy, dark accents. Kids? Pipe cleaners and chaos. Mixed crowd? You’ll need both, and that’s actually doable.
The real question is your balance of spooky, cute, and stylish. Pick one as your anchor. Everything else follows.
A formal dinner party needs fewer, more cohesive pieces. A kids’ party can go wild with candy-filled place settings and bright contrast. Know your crowd first. Then shop. For mixed groups, include both adult and child-friendly elements — think elegant candelabras and gothic serveware alongside themed candy bowls and simple treat cones at the kids’ end of the table.
Gothic or Kid-Friendly: How to Execute Either Look
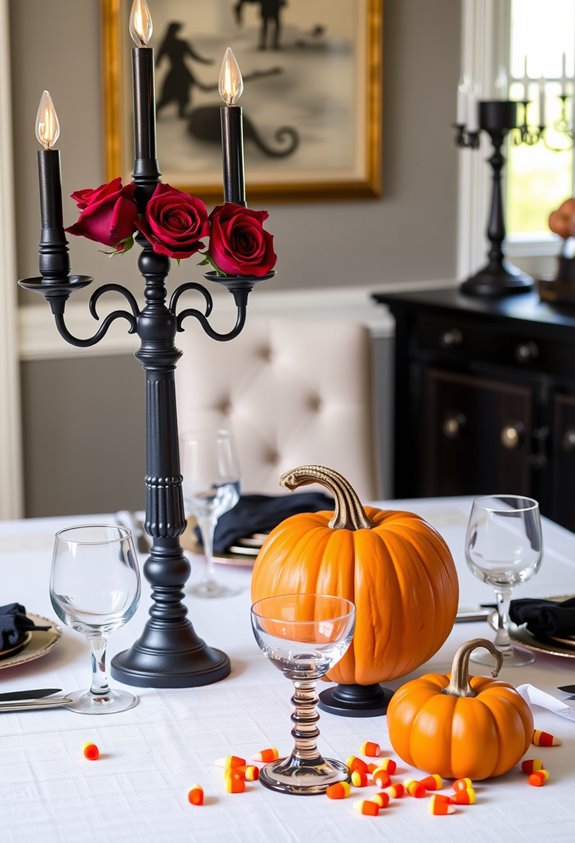
Once you’ve nailed down your crowd, execution is everything. Gothic or kid-friendly, both looks have rules. Don’t wing it.
For a gothic table, lock in these five elements:
- Black or monochrome tablecloth — velvet, lace, or toile adds instant drama
- Black dinnerware with gold accents so nothing reads flat
- Candlesticks in mixed heights for shadows and depth
- Twisted branches, dried florals, and dark foliage in burgundy or deep purple
- Small skull motifs or cobwebs for that refined haunted-house finish
Kid-friendly means bright colors, flameless candles, and zero breakable props. Seriously.
Mini pumpkins, ghost-printed plates, glow-in-the-dark cups — that’s your toolkit. Keep centerpieces low so kids can actually see each other. Simple icons beat subtle gothic symbolism every time. Know your room. For a budget-conscious setup, thrift stores and DIY projects like hand-painted pumpkins or homemade table runners can still deliver a visually striking result without overspending.
Style Your Dessert Table and Drink Station to Match
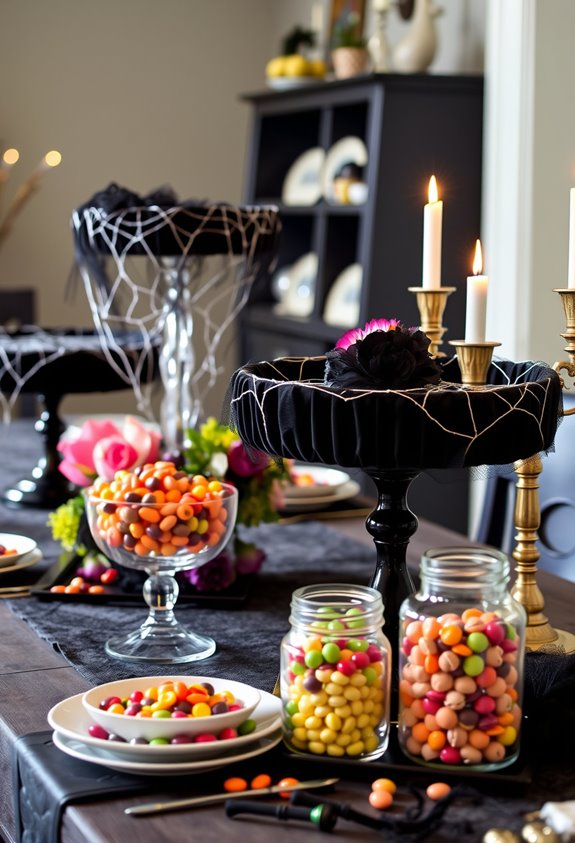
Your dessert table isn’t an afterthought — it’s a second act. Treat it like one. Stick to your same two or three Halloween colors so everything ties together. Orange and black. Purple and green. Pick a lane and stay in it.
Use cake stands and tiered trays to vary the heights. Flat tables look sad. Don’t do that. Label everything so guests aren’t guessing what they’re eating. Add allergen notes if you’ve got mixed-ingredient items — it’s just considerate.
Keep drinks separate. Congestion kills the vibe fast. Set up your stands and decorations the day before, then add anything perishable day-of. Plan for roughly two to three small servings per guest. Focused, cohesive, and actually functional. That’s the goal. Place a garbage can nearby so guests aren’t hunting for somewhere to toss their plates and napkins.
Frequently Asked Questions
How Far in Advance Can I Set up My Halloween Tablescape?
You can set up your Halloween tablescape 1–7 days early! Start with base layers like tablecloths and chargers, then build up. Save fresh flowers and food for closer to your party so everything stays fresh.
What Is the Best Way to Protect My Tablecloth From Spills?
Place a waterproof table pad beneath your tablecloth before decorating — it’s your best defense! You’ll also want to blot spills immediately, keep beverages grouped together, and pre-treat stains quickly so your tablescape stays stunning all night long.
Can I Reuse My Halloween Tablescape Decorations for Future Years?
Like a timeless tradition passed down through generations, you can absolutely reuse your Halloween decorations! Brass candleholders, mini pumpkins, fabric tablecloths, and LED lights all shift beautifully across seasons, keeping your tablescape feeling familiar and cherished yearly.
How Do I Keep Live Pumpkins Fresh Throughout a Dinner Party?
Keep your pumpkins fresh by displaying them away from direct sunlight, placing them on cardboard or wood, and keeping them dry. You’ll also want to store them somewhere cool when they’re not on display!
What Budget Should I Set for a Complete Halloween Tablescape?
You’ll want to set $35–$50 for a polished DIY Halloween tablescape. If you reuse dishes and linens you already own, you can pull off a stunning setup for under $25 with dollar-store accents!
Conclusion
Because nothing says “effortless hosting” like spending three weeks hot-gluing fake cobwebs to candlesticks. But here’s the thing — your guests won’t see the chaos. They’ll see the moody lighting, the layered textures, the perfectly placed mini pumpkins. That’s the magic. You’ve got the palette, the centerpiece, the themed glassware. Now use them. Your table won’t just look Halloween-ready. It’ll look like you actually knew what you were doing all along.