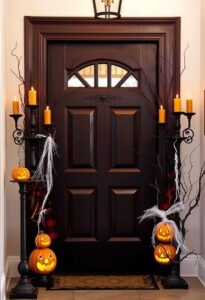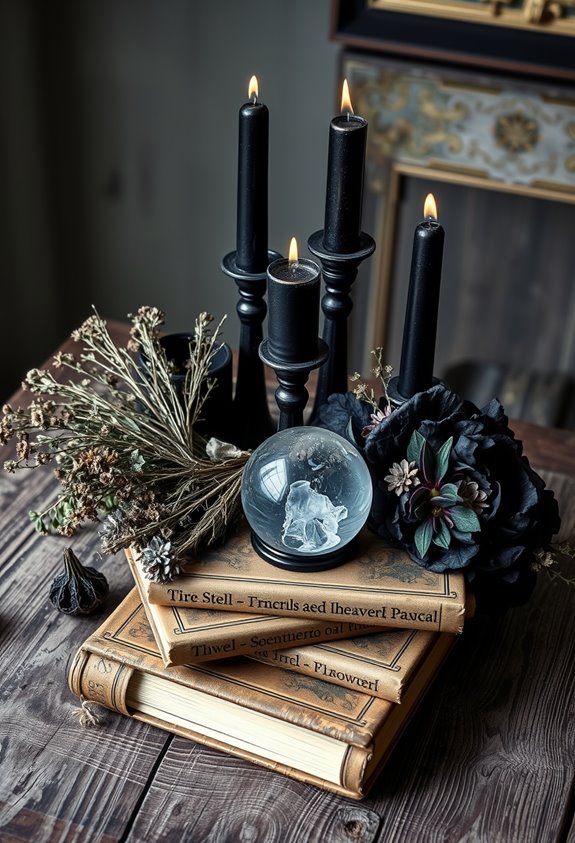
Pulling off a real witch aesthetic means building a layered world, not just tossing plastic spiders around and calling it done. Anchor your palette in deep purples, mossy greens, and warm amber. Add matte finishes, black accents, and soft moody lighting. Stack apothecary jars, vintage books, and botanical textures on natural wood shelves. Every element should feel lived-in, like a witch actually stops there. The details below show you exactly how to make it happen.
Design Highlights
- Anchor your witch aesthetic with a moody palette of deep purple, moss green, and warm amber accented by black and gold.
- Build atmospheric lighting using purple LED bulbs, green-lit cauldrons, fairy lights, salt lamps, and amber flicker-flame path stakes.
- Curate shelves with apothecary jars, vintage books, dried botanicals, crystals, and occult imagery for a lived-in witch cottage feel.
- Create a suspended mid-air scene with staggered floating hats, broomsticks, cloaks, and dangling spiders using clear fishing line.
- Style a bubbling cauldron centerpiece with colored foam reactions, Spanish moss, spell books, potion bottles, and a life-sized witch prop.
Build Your Witch Aesthetic From the Right Colors and Materials
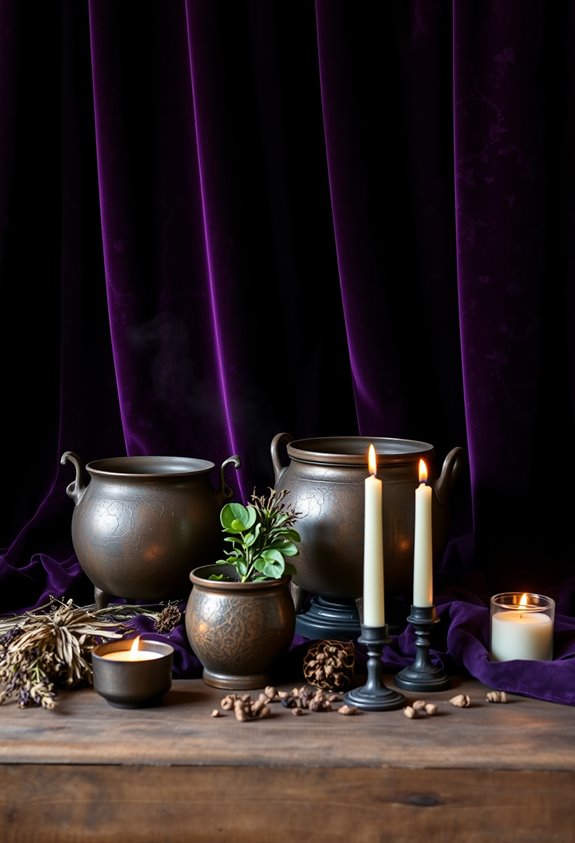
Most witch aesthetics live or die by the color choices you make upfront. Purple and green are your foundation. Full stop. Orange steps in as the contrast that keeps everything from looking like a bruise. Think violets, amethysts, earthy ochres — not neon candy tones. Nobody wants a witch aesthetic that looks like a convenience store Halloween display.
Texture matters just as much as color. Matte finishes build that deep, velvety mystery you’re going for. Add light-catching accents sparingly — a pale touch here, a luminous detail there. Layering works better than single-pass coverage because it creates actual dimension.
Black anchors everything. It separates colors, sharpens edges, and keeps your palette from bleeding into chaos. Start with one dominant hue and build outward. Simple strategy. Serious results.
Stock Your Witch Shelf Like a Spell-Casting Pro
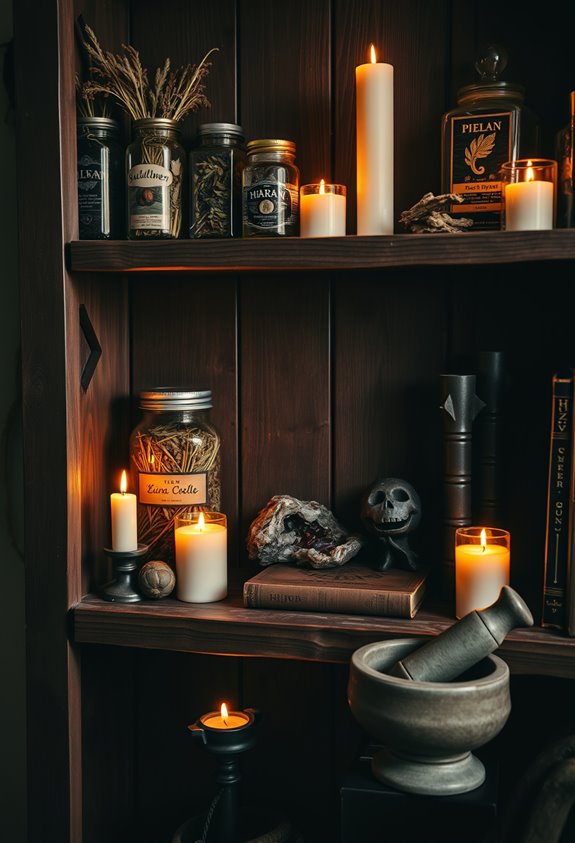
A witch shelf doesn’t build itself — and if you just throw a candle and a rock on a wooden plank and call it done, it’ll show. Start with natural wood shelving. Open, organic, a little rough around the edges. That’s the foundation.
From there, layer in herb jars and apothecary-style containers. Label them. Stack vintage books horizontally and vertically for rhythm. Mix in old paper goods, scrolls, or framed prints to reinforce that timeworn vibe.
Plants matter. Vining ones especially — they make the shelf feel alive, like nature’s taking over. Add moss, dried seed pods, and botanical textures to soften the hard lines.
Fill the gaps with trinkets, crow motifs, miniature cloches, and symbolic pieces. Every small object tells part of the story. Lean into antique tea sets and odd little containers to bring that eclectic cottage feel home. Make it yours.
Float Witch Hats From the Ceiling With Clear String
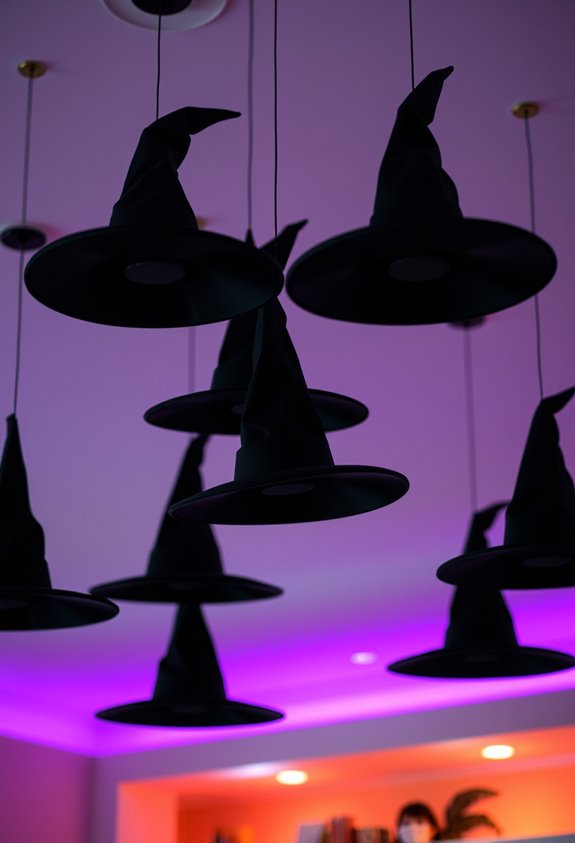
Once your shelf is pulling its weight, look up. Floating witch hats are exactly as cool as they sound—and way easier than you’d think.
Floating witch hats look impossible. They aren’t. Look up and make your ceiling the best part of the room.
Here’s what to do:
- Thread clear fishing line through the hat’s crown and knot it around a safety pin or bead so it stays put.
- Plan your layout first. Lay hats on the floor, stagger the heights, and avoid crowding them.
- Attach battery tea lights or glow sticks to the line’s lower end so they sit inside the hat opening.
- Hang using Command hooks, tacks, or clear tape—match your ceiling type or things fall. Simple.
Textured ceilings hate adhesive. Grab tacks instead. Lightweight materials aren’t optional here—they’re the whole point. For a fuller display, consider using six witch hats as your starting count to create a balanced, eye-catching arrangement.
Hang Broomsticks, Cloaks, and Shoes Mid-Air
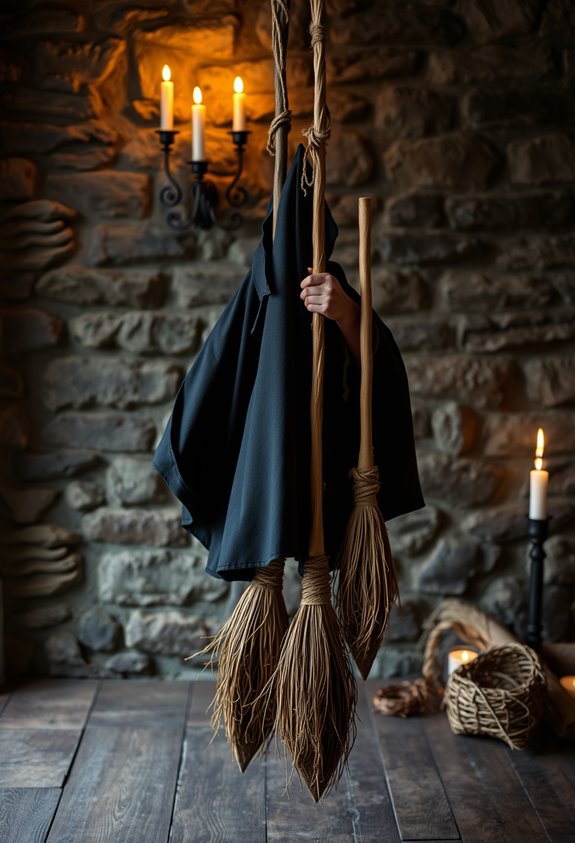
Floating witch hats are just the beginning. Broomsticks, cloaks, and shoes can all join the mid-air display. Yes, really. Use fishing line or monofilament to keep everything looking clean and intentional. Visible hardware ruins the magic. Don’t do it.
For broomsticks, attach the line near the bristle end so it hovers naturally. Stagger the heights. Uniform spacing looks lazy. Command hooks or push pins work fine as ceiling anchors for lightweight pieces.
Cloaks need to be lightweight. Heavy, layered fabric won’t cooperate with this setup. Stick to thin costume pieces with small attachment holes.
Shoes get shaped with paper mache, painted black, and hung alongside the brooms for a coordinated scene. Layer everything together. That’s when the display actually earns its impact. For an even more immersive scene, add dangling spiders and cobwebs to fill in the negative space between hanging pieces.
Set Up a Potion Station That Actually Bubbles
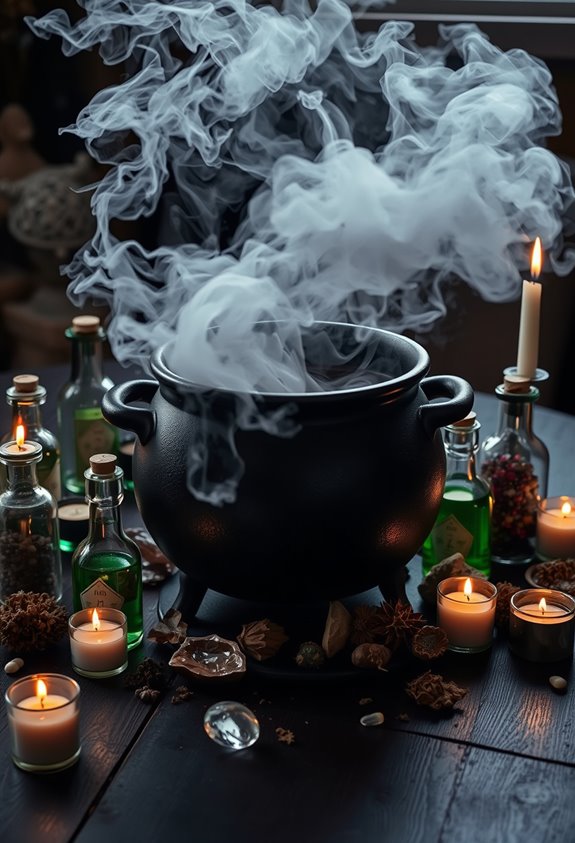
Baking soda and vinegar is the classic move, and yes, it works. But you’ve got options. Here’s what’ll actually make your potion station bubble with witch-worthy drama:
Baking soda and vinegar works — but why stop there when witch-worthy drama is just a few upgrades away?
- Add dish soap to your mix for thicker, foamier bubbles that linger
- Use powdered dyes for intense color without watering down the reaction
- Drop in dried herbs like lavender or rosemary for scent and texture
- Set up a black light with neon paint mixed into water for an eerie glow
Sensitive skin? Swap vinegar for Alka-Seltzer. Same effect, less irritation. Use jars, old bottles, and droppers in different sizes — volume differences matter. Multiple containers encourage real experimentation. Kids naturally take on different roles around a setup like this, from careful pourers to ingredient collectors, making it a shared social experience. This isn’t just decor. It’s an experience your coven will remember.
Style a Witch Cauldron Centerpiece for Any Room
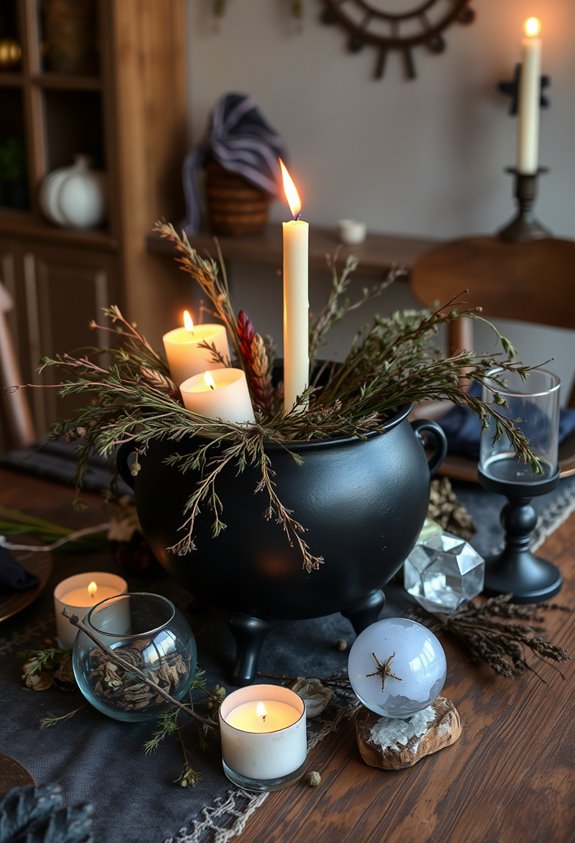
Your potion station bubbles. Now you need a centerpiece that pulls the whole room together. Start with one large black cauldron. That’s your anchor. Everything else builds around it.
Set it on a crate, table, or elevated base so it reads as intentional. Trim foam underneath so it looks rooted, not dropped. Add Spanish moss, black mesh, or expanding foam around the base for texture. Shape foam near the rim to mimic overflow. Neon green paint and LED lights inside make it glow without any fire hazard drama.
Stack smaller cauldrons nearby for depth. Add spell books, potion bottles, skulls, or crystal balls. Keep props consistent so it feels curated, not chaotic. Layer items at different heights. Check for gaps. Fill them.
Done right, it looks like a real witch lives there. For a showstopping finish, position a life-sized witch prop behind the cauldron as if actively stirring the brew.
Light Your Witch Space With Green and Purple Glow
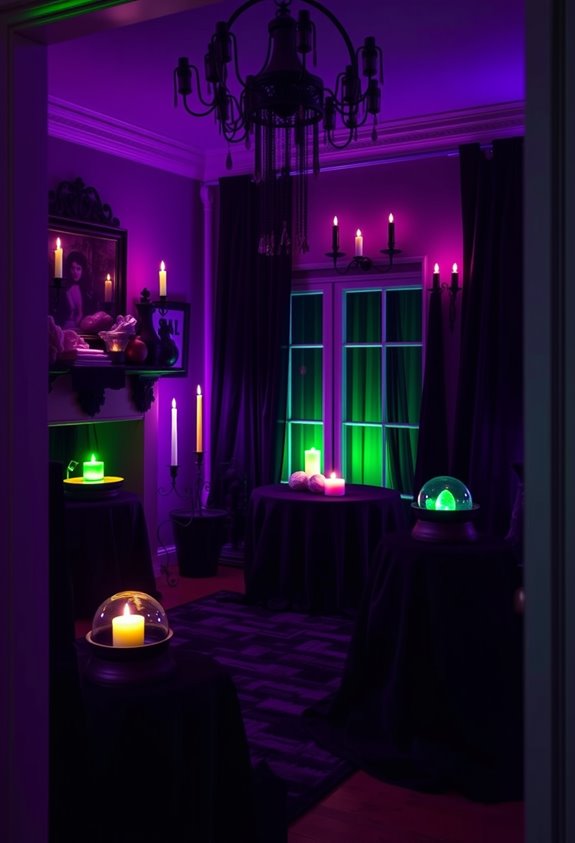
Lighting can make or break a witch space. Get this wrong, and your setup looks sad. Get it right, and it’s genuinely unsettling. Green and purple are your power duo here.
Here’s how to use them effectively:
- Place purple LED bulbs on your porch with spider webs for instant spooky impact.
- Run green LED strips inside a cauldron to simulate bubbling potion magic.
- Pair colored spotlights with a fog machine for a layered, eerie glow.
- Wrap green and purple lights around bats, cats, and fences to pull the whole scene together.
Color-changing LEDs shift any space into supernatural territory fast. Dark corners? Light them. That’s where glow effects hit hardest. For pathways leading to your witch space, stake amber flicker-flame bulbs along the walkway to guide Trick-or-Treaters with an eerie, enchanting glow.
Turn Your Entryway Into a Full Witch Welcome
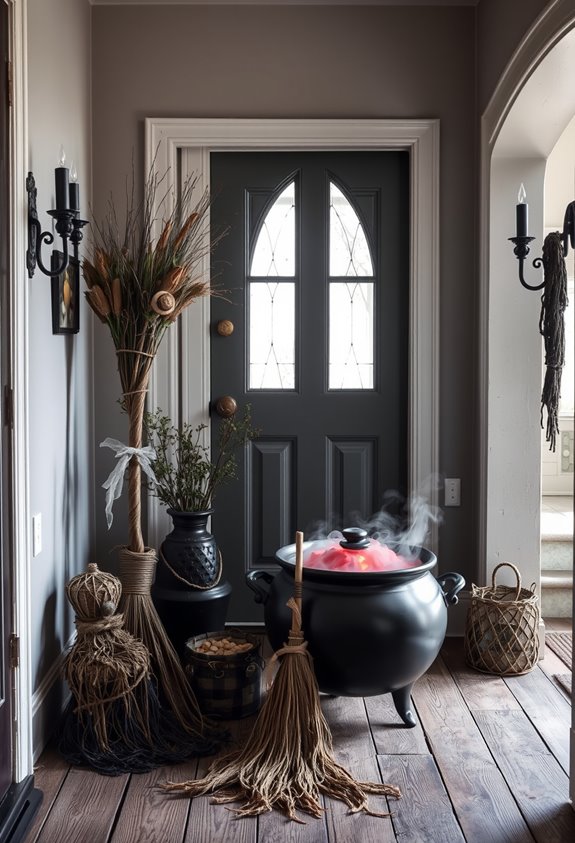
Once guests hit your entryway, the theme either lands or it doesn’t. No pressure. Start with bold banner signage — “Welcome Witches” on both sides of the entrance makes the intention crystal clear before anyone steps fully inside. Add a “Witches Inn” sign and you’ve basically built a whole narrative from scratch.
Hang a black feather wreath. Mount flying bats along the doorframe for vertical drama. Then work the ground level — black lanterns, a black cat prop standing sentinel, maybe a skeleton dressed in full witch gear.
Stage a wardrobe vignette with hanging cloaks, hats, and brooms nearby. It feels lived-in. Interactive. Like witches actually stop here. Because that’s exactly the story you’re telling. Own it completely. A stone cat figure placed silently beside the display adds an extra layer of guardianship to the whole scene.
Decorate Like a Witch on a Budget Without Cutting Corners
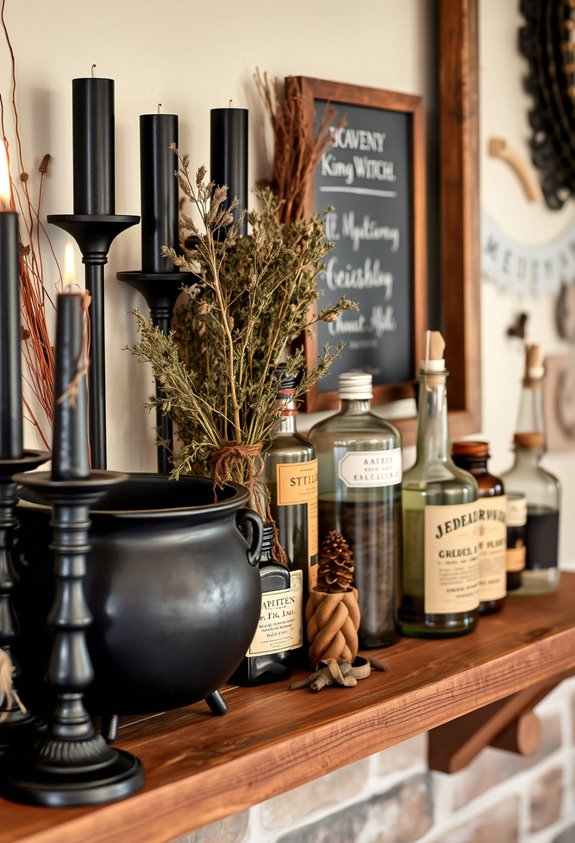
Not every witch lair needs to drain your bank account. Dollar Tree, CVS clearance, and Target Dollar Spot exist for a reason. Use them. A polished witch aesthetic isn’t about spending big—it’s about spending smart.
A polished witch aesthetic isn’t about spending big—it’s about spending smart.
Here’s how to stretch every dollar:
- Layer small accents like books, plush pumpkins, and ribbon instead of buying one pricey statement piece.
- Mix black, purple, and gold throughout your display to create a cohesive palette on the cheap.
- Repeat key motifs—candles, hats, bottles, pumpkins—so your setup looks intentional, not scattered.
- Fill visual gaps with moss, cobwebs, and dark fabric rather than buying more decor.
Fairy lights and LED candles seal the mood. You belong in this aesthetic. Budget or not. For an almost zero-cost touch, gather twigs and sticks from your yard to assemble witch brooms for a charming porch display.
Bring Your Witch Theme Together Room by Room
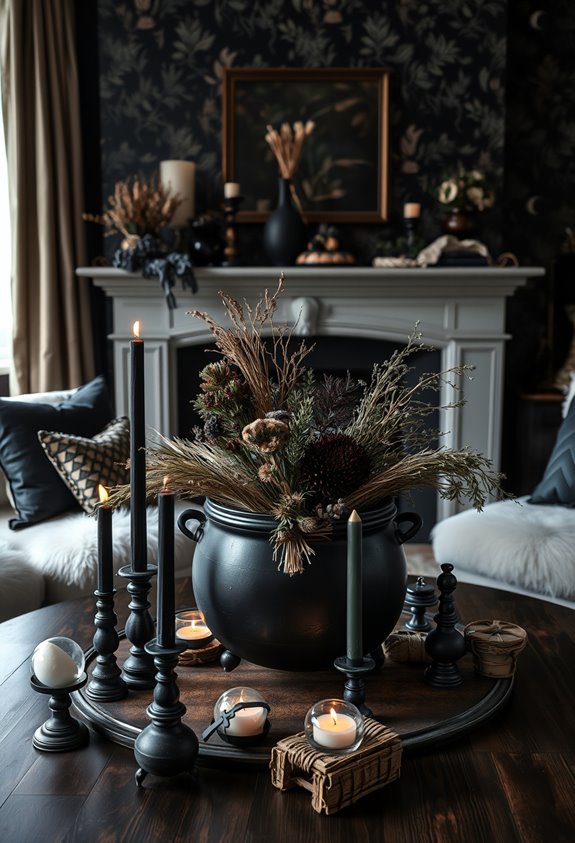
From the living room to the bedroom, every space deserves its own piece of the craft. Start in your common area. Layer candles, crystals, and apothecary bottles across surfaces. Add soft, dim lighting — lanterns, salt lamps, fairy lights. Don’t overthink it. Moody tones like deep plum, moss green, and warm amber do the heavy lifting.
Move into the bedroom. Dark bedding, velvet curtains, chunky knit throws. A wrought-iron bed frame if you can swing it. Crystals, dried flowers, moon phase decor on every surface that’ll hold them.
Then hit your walls and shelves. Vintage botanical prints, occult imagery, glass jars stuffed with herbs. Wood, rattan, ceramic — mix the textures.
Every room tells part of the story. Make sure yours is worth reading. Consider anchoring a dedicated corner with a Wiccan altar setup, complete with a sacred cloth and items representing each element, to give your space an intentional ritual presence.
Frequently Asked Questions
Can Witch Decor Work for Year-Round Home Styling Beyond Halloween?
Yes, you can absolutely rock witch decor year-round! Lean into candles, crystals, dried botanicals, and moon imagery to create a timeless, mystical home that feels enchanting every season, not just Halloween.
Are Witch Decorations Safe to Use Around Young Children and Pets?
Most witch decorations can be your little coven’s delight, but you’ll want to swap real candles for LED alternatives, keep small mystical trinkets out of tiny hands, and protect curious pets from chewable cables.
How Do I Store Fragile Witch Decor Items After the Season Ends?
Wrap your fragile witch décor individually in bubble wrap, then pack pieces upright in sturdy, labeled bins. Fill any gaps with fabric scraps, keep breakables on top of stacks, and store everything somewhere cool and dry.
Can Outdoor Witch Decorations Withstand Rain and Cold Weather Conditions?
Some can, but you’ll want to choose polyester, metal, or UV-resistant plastic pieces. Avoid paper or untreated fabric, and you’ll keep your witch aesthetic thriving through rain, cold snaps, and whatever the season throws your way!
What Are the Best Witch Decor Themes for Small Apartment Spaces?
Don’t let limited space dim your magic! You’ll thrive with a single witchy corner featuring dark tones, candlelight, and grouped crystals on a tray — creating an intimate, cozy atmosphere that truly feels like home.
Conclusion
Some say the witch aesthetic is just a trend. It’s not. It’s been around for centuries, showing up in art, folklore, and culture long before Halloween became a shopping holiday. You’re not following a fad—you’re tapping into something genuinely timeless. So commit to it. Mix your colors, stack your shelves, bubble your potions. Make it yours. The best witch spaces don’t look decorated. They look *lived in*.