You’ll absolutely love creating these charming DIY holiday centerpieces that’ll make your gatherings unforgettable! Try arranging pinecones around pillar candles with evergreen sprigs, or craft elegant mason jar snow globes using glycerin and mini figurines. Fresh greenery displays with winterberries bring natural beauty, while luminaries filled with cranberries create gentle ambiance. Don’t overlook vintage ornament runners on burlap fabric—they’re simply magical with fairy lights woven throughout. These festive ideas will transform your table into something truly special.
Design Highlights
- Create rustic pinecone arrangements around pillar candles, adding evergreen sprigs and cinnamon sticks for natural warmth.
- Make elegant mason jar snow globes using glycerin, distilled water, miniature figures, and artificial snow or glitter.
- Design natural displays with fresh evergreen branches, red winterberries, and pinecones in shallow bowls or wooden trays.
- Craft festive luminaries by filling mason jars with cranberries or ornaments and adding battery-operated tea lights.
- Arrange vintage ornaments as table runners on burlap fabric, incorporating pine sprigs and fairy lights for magic.
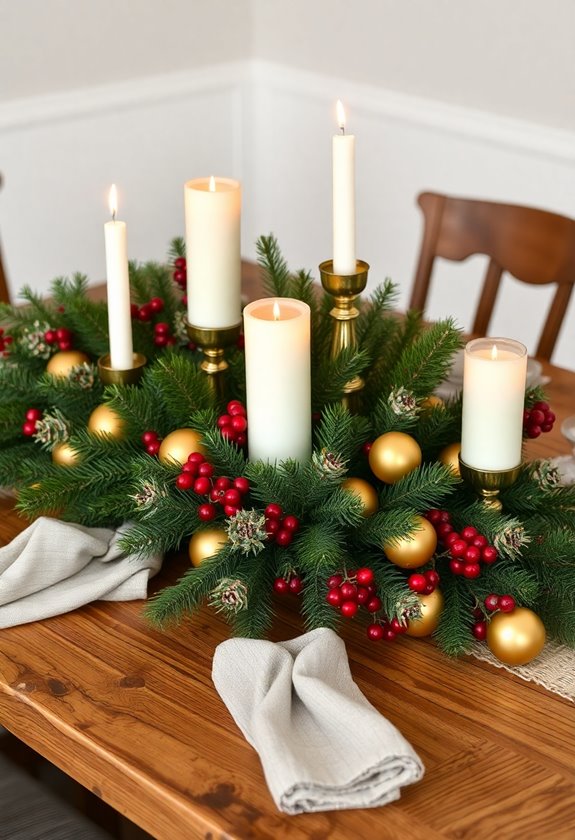
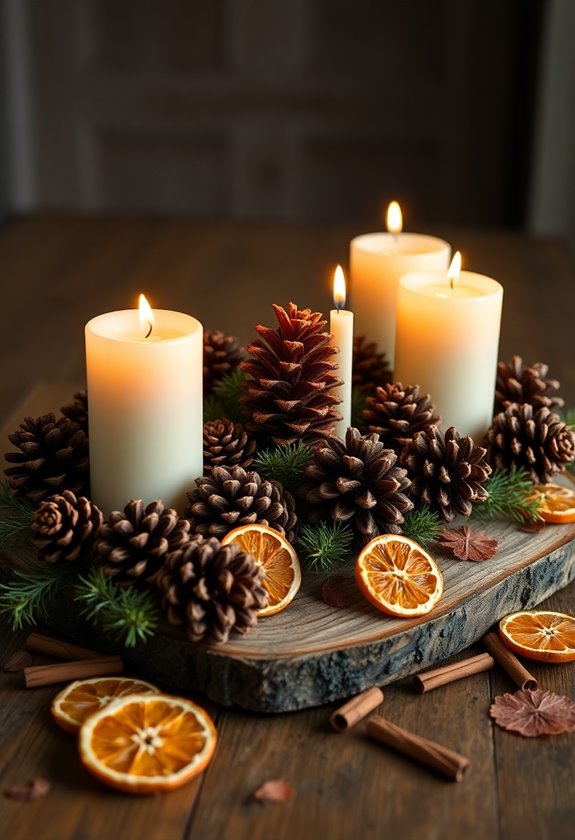
Rustic Pinecone and Candle Arrangements
When I first discovered how pinecones could transform my dining room table, I was struggling with expensive store-bought decorations that never felt quite right for our cozy home. You’ll love how simple these rustic arrangements are to create, and honestly, they’re practically free if you’ve got pinecones in your yard.
Start by gathering various sizes of pinecones – I always grab extras because they disappear faster than cookies at a bake sale. You’ll arrange them around pillar candles of different heights, creating natural clusters that feel organic and welcoming. The trick I’ve learned is to leave some pinecones natural while lightly dusting others with artificial snow or gold spray paint for contrast.
Add sprigs of evergreen, cinnamon sticks, or dried orange slices between the pinecones. Your guests will immediately feel that warm, cabin-in-the-woods vibe that makes everyone want to linger longer around your table. Plus, incorporating festive Christmas decor can truly enhance the holiday spirit in your gatherings.
Elegant Glass Jar Snow Globes
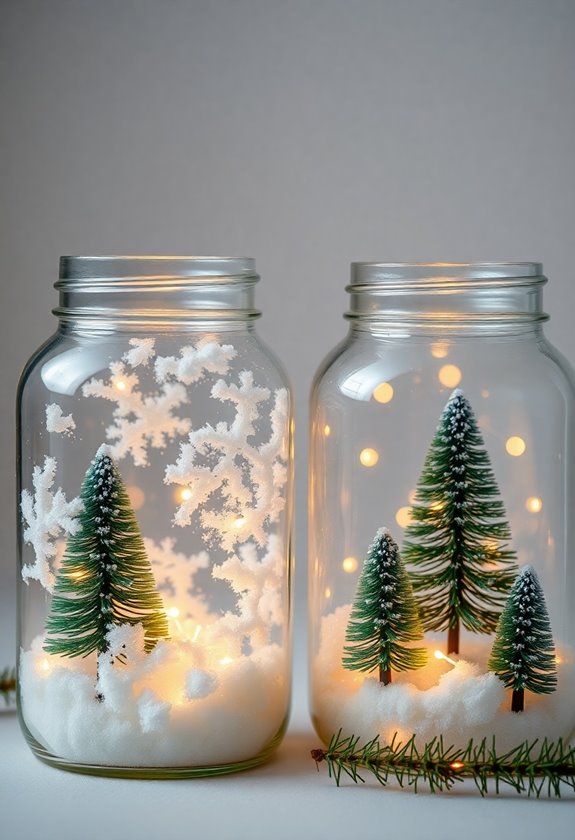
Three mason jars sitting on my kitchen counter completely changed how I think about holiday decorating, and I’m betting they’ll do the same for you. Last December, I accidentally knocked over my expensive snow globe, and instead of crying (okay, I cried a little), I decided to make my own using those trusty jars.
You’ll need mason jars, glycerin, distilled water, waterproof figurines, and fake snow or glitter. First, glue your mini Christmas trees, reindeer, or Santa figures to the jar lid’s inside. Let it dry completely—trust me on this one. Mix one part glycerin with three parts water, add your “snow,” then carefully fill the jar. Screw on the lid tightly, flip it over, and voilà! You’ve created magic. These snow globes cost about three dollars each compared to twenty-dollar store versions. Plus, your guests will shake them all evening long. To enhance your romantic atmosphere, consider adding charming patio decor ideas that will elevate your Valentine’s Day gatherings.
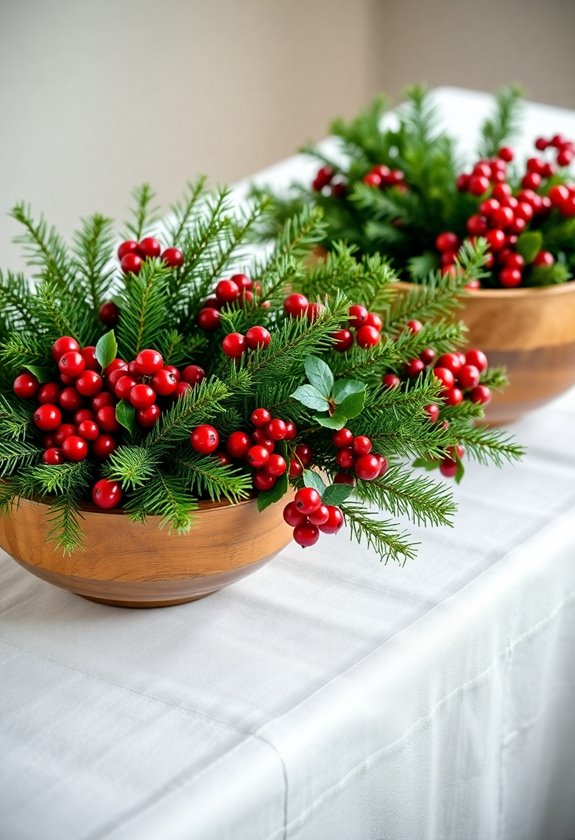
Natural Greenery and Berry Displays
After spending thirty dollars on a fancy floral arrangement that wilted before New Year’s Eve, I discovered that nature’s own decorations work better and cost practically nothing.
You’ll want to gather fresh evergreen branches from your yard or ask a local tree farm for trimmings. Pine, fir, and cedar work beautifully, each bringing unique textures and scents. I learned this trick while filming a holiday documentary – real greenery photographs better than fake stuff, and it smells amazing too.
Create your base by arranging branches in a shallow bowl or wooden tray. Tuck in clusters of red winterberries, holly, or even cranberries for pops of color. Pinecones add rustic charm, while cinnamon sticks bring warmth. You can also enhance your decor with charming Christmas attic decor ideas that complement your natural displays.
The best part? Your centerpiece evolves naturally. As needles drop and berries dry, it develops character. Unlike my expensive mistake, these displays actually improve with age, becoming more enchanting each day.
Festive Mason Jar Luminaries
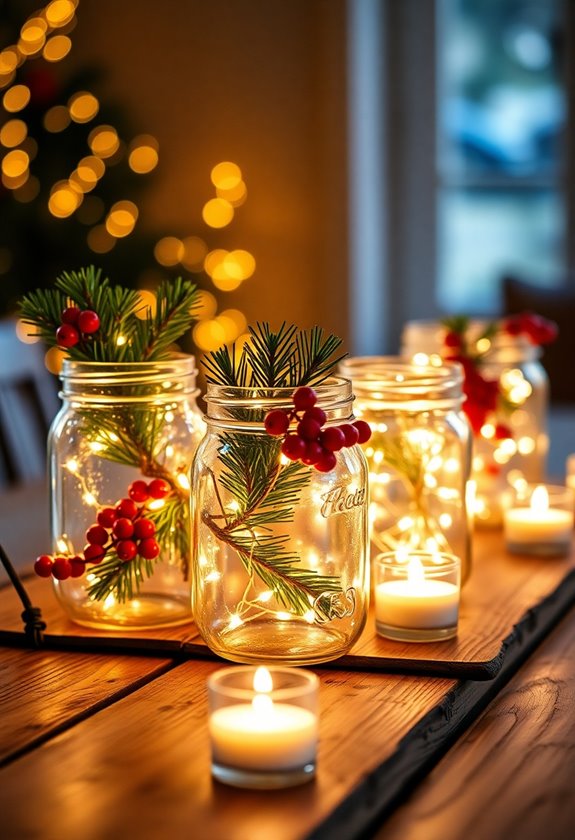
Mason jars transformed my holiday lighting game during a particularly challenging film shoot where our budget couldn’t cover fancy candles. You’ll love how simple these luminaries are to create, and they’ll add magical warmth to your table.
Start with clean mason jars and battery-operated tea lights – they’re safer than real flames and won’t drip wax everywhere. Fill your jars with cranberries, pinecones, or even colorful ornament balls for texture. I’ve discovered that layering different materials creates stunning depth, especially when light filters through.
For extra sparkle, brush Mod Podge around the jar’s exterior and roll it in coarse salt or glitter. The effect mimics fresh snow and catches candlelight beautifully. You can also wrap twine or ribbon around the rim for rustic charm.
These luminaries work perfectly scattered down your table’s center, creating pools of gentle light that make everyone look fantastic in photos. To enhance your festive decor, consider incorporating thanksgiving kitchen island decor that complements the cozy ambiance of your luminaries.
Vintage Ornament Table Runners
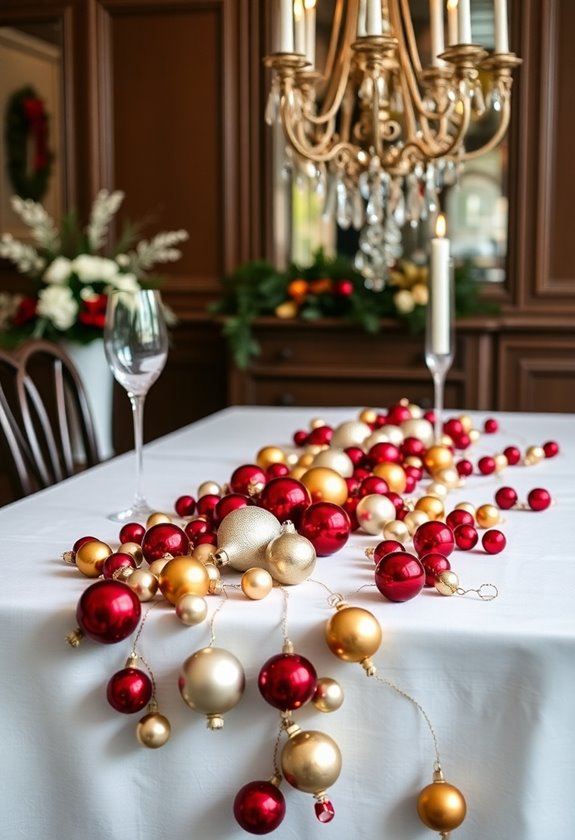
While those glowing mason jars create beautiful ambiance, you’ll want something spectacular running down the center of your table to tie everything together. Creating a vintage ornament table runner became my favorite holiday tradition after I discovered my grandmother’s dusty box of mercury glass baubles in her attic. You’ll gather ornaments in coordinating colors—I love deep burgundy, gold, and cream—then arrange them directly on your table in a flowing line. Start with larger ornaments as anchors, then fill gaps with smaller ones. The trick I learned after my first disastrous attempt? Place them on a long piece of burlap or lace fabric first. This prevents rolling disasters when Uncle Bob inevitably bumps the table! Add some pine sprigs and tiny battery-operated fairy lights woven throughout. The result creates depth and catches candlelight beautifully, making your entire tablescape feel cohesive and magical. To elevate your Thanksgiving table even further, consider incorporating stunning decor ideas that can enhance the overall aesthetic and atmosphere of your gathering.
Winter Wonderland Twig Trees
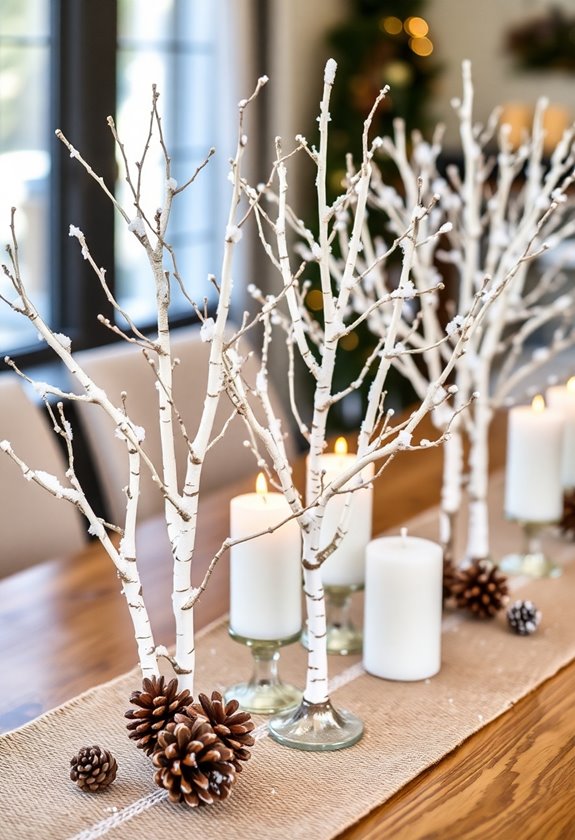
Three simple branches from your backyard can transform into the most enchanting winter centerpiece you’ll ever create. I discovered this magic during a particularly stressful December when my camera equipment froze during an outdoor shoot – sometimes the best inspiration comes from unexpected moments of frustration.
You’ll need sturdy twigs, white spray paint, and tiny battery-operated LED lights. First, arrange your branches in a tall vase, creating height variations like a miniature forest. Here’s where patience becomes essential – spray each branch evenly, letting layers dry completely. I learned this lesson when rushing between filming sessions and ended up with droopy, paint-streaked disasters.
Once dry, weave those delicate lights through the branches, creating a soft glow that’ll make your guests gasp. Add artificial snow or white glitter for extra sparkle. The best part? These trees work beautifully as both centerpieces and backdrop elements for holiday photos.
Frequently Asked Questions
How Far in Advance Can I Make These Centerpieces Before My Party?
You can make these centerpieces 2-3 days ahead, which I’ve learned saves major party-day stress! Fresh flowers should wait until the day before, but wooden elements, candles, and fabric touches can be prepped earlier. I once made mine a week early and regretted it—everything looked tired. Store completed pieces in a cool, dry spot, and you’ll thank yourself when guests arrive and you’re actually relaxed instead of frantically arranging decorations.
What’s the Average Cost to Create Each Type of DIY Centerpiece?
you’ll spend just $8-15 per centerpiece on average! I’ve discovered that simple candle arrangements cost around $5-8, while elaborate floral displays can reach $15-20. You can slash costs by using items you already own—mason jars, pinecones from your yard, or leftover ribbon. I once created stunning centerpieces for under $6 each by combining dollar store candles with branches I collected during my morning walk.
How Do I Safely Dispose of Candles and Batteries After the Holidays?
You’ll want to handle leftover candles and batteries responsibly after your celebrations end. For candles, let the wax harden completely, then scrape it into your regular trash—never pour liquid wax down drains. Take used batteries to local electronics stores, hardware shops, or community recycling centers since they contain harmful chemicals. I’ve learned that many grocery stores also accept batteries for recycling, making disposal surprisingly convenient during your regular shopping trips.
Can These Centerpieces Work for Non-Holiday Winter Gatherings and Events?
You can absolutely repurpose these centerpieces for winter gatherings! I’ve transformed my holiday designs by swapping red ribbons for silver ones, replacing ornaments with pinecones, and using white candles instead of festive colors. For my daughter’s January birthday party, I removed the holly and added winter berries. The key’s switching out holiday-specific elements while keeping the cozy winter foundation—it’s surprisingly easy and saves money too!
What Tools and Basic Supplies Do I Need Before Starting Any Project?
You’ll need basic crafting essentials before diving in: sharp scissors, hot glue gun with extra sticks, floral wire, and wire cutters. Grab measuring tape, a cutting mat, and various containers like glass vases or wooden boxes. Don’t forget candles, fresh or artificial greenery, and decorative elements like ribbons, pinecones, or ornaments. I always keep these supplies handy because there’s nothing worse than getting inspired mid-project only to realize you’re missing something vital!