Transform your home into an Easter wonderland with these delightful kid-friendly crafts. You’ll love creating egg carton flower wreaths, paper plate bunny masks, fluffy pom-pom garlands, cotton ball sheep, and handprint chick cards together. Add colorful tissue paper Easter egg window art and festive paper chain decorations to complete your holiday display. These seven simple projects use common household materials and will spark your child’s creativity while making cherished family memories.
Design Highlights
- Transform ordinary egg cartons into vibrant spring flowers by cutting, painting, and arranging them into a festive wreath display.
- Create playful paper plate bunny masks with eye holes, long ears, and pink noses for interactive Easter fun.
- String colorful pom-poms into decorative garlands using child-safe beading needles and sturdy twine for festive room decoration.
- Craft fluffy sheep decorations using cotton balls on paper plates, complete with googly eyes and construction paper features.
- Make personalized Easter chick cards using children’s yellow handprints, decorated with simple crafting materials.
Egg Carton Flower Wreath
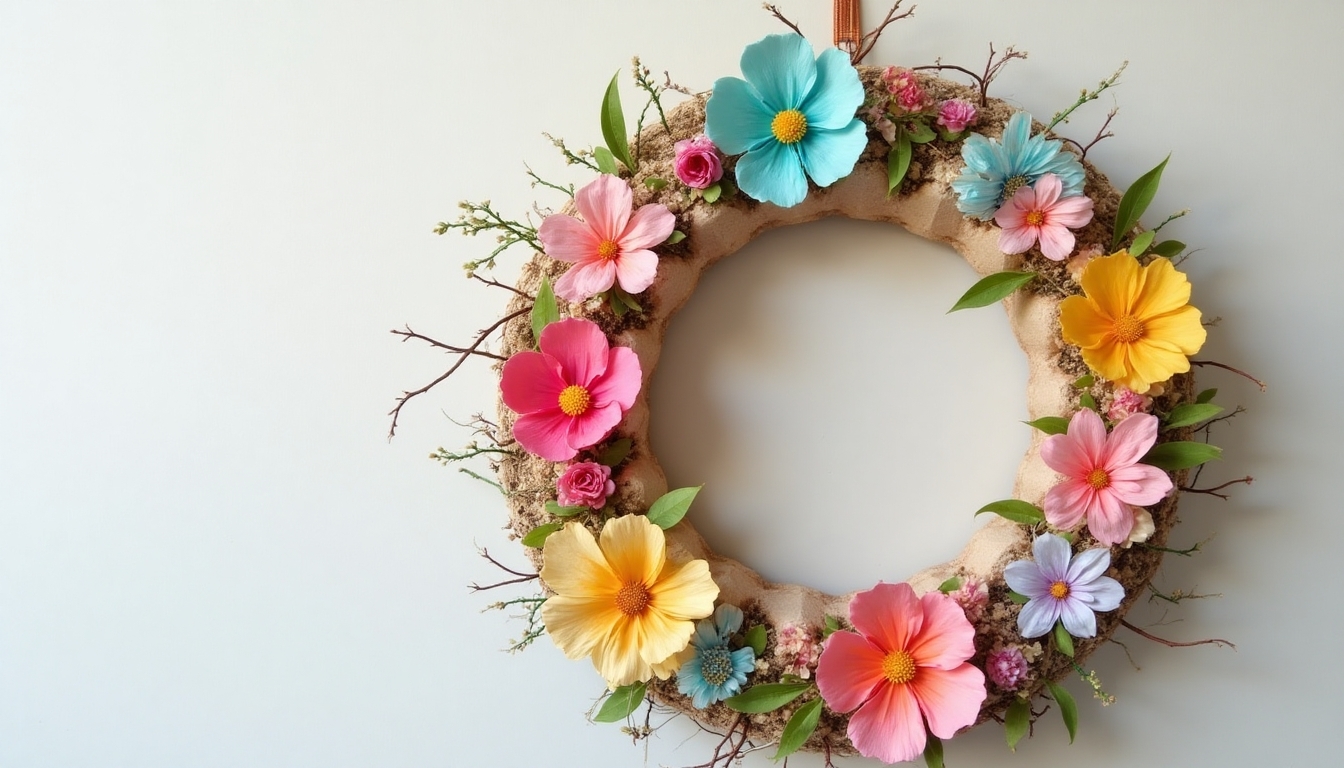
Spring’s arrival brings the perfect opportunity to create a charming Easter wreath that’ll brighten any door or wall in your home. With just a few empty egg cartons, paint, and creativity, you’ll transform ordinary materials into delightful spring flowers.
Cut the egg carton cups into petal shapes, then paint them in cheerful Easter colors like pink, yellow, and lavender. Once they’re dry, arrange your flowers in a circle on a paper plate base, overlapping them slightly. Add green leaves cut from construction paper between the blooms, and don’t forget to create a hanging loop with ribbon. You’ll love displaying this special creation with your family. Additionally, you can find various Easter front yard decor ideas to complement your handmade wreath and create a festive atmosphere.
Paper Plate Easter Bunny Masks
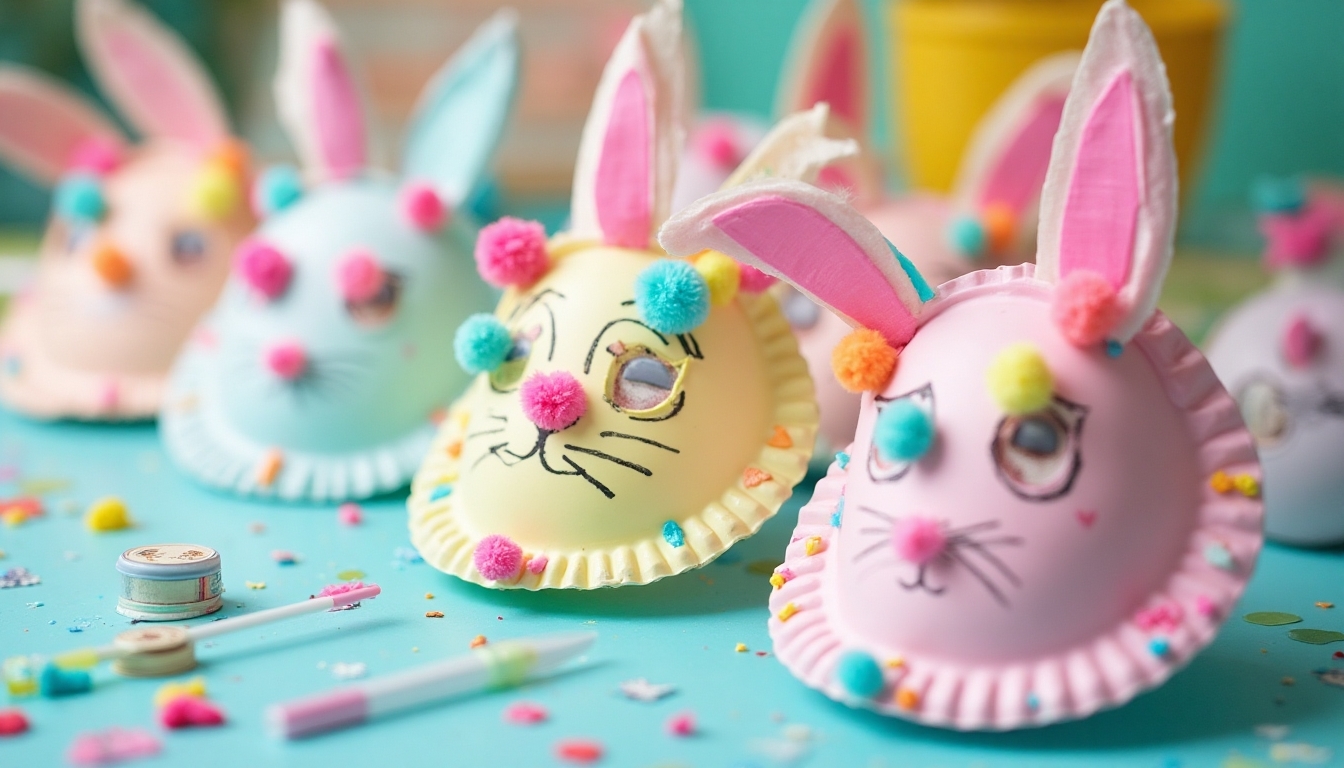
These adorable bunny masks will transform your little ones into hoppy Easter characters with just a few simple materials. You’ll need paper plates, scissors, pink construction paper, elastic string, and markers or paint to create these festive masks.
Start by cutting eye holes in the plate, then add long bunny ears at the top by cutting and shaping them from the plate’s edges. Let your children decorate their masks with pink noses, whiskers, and any creative touches they’d like. When they’re done, attach elastic string to both sides, and watch as your kids bounce around in their handmade bunny disguises. Additionally, consider incorporating bright colors into their designs to evoke the joyful spirit of Easter.
Pom-Pom Easter Egg Garland
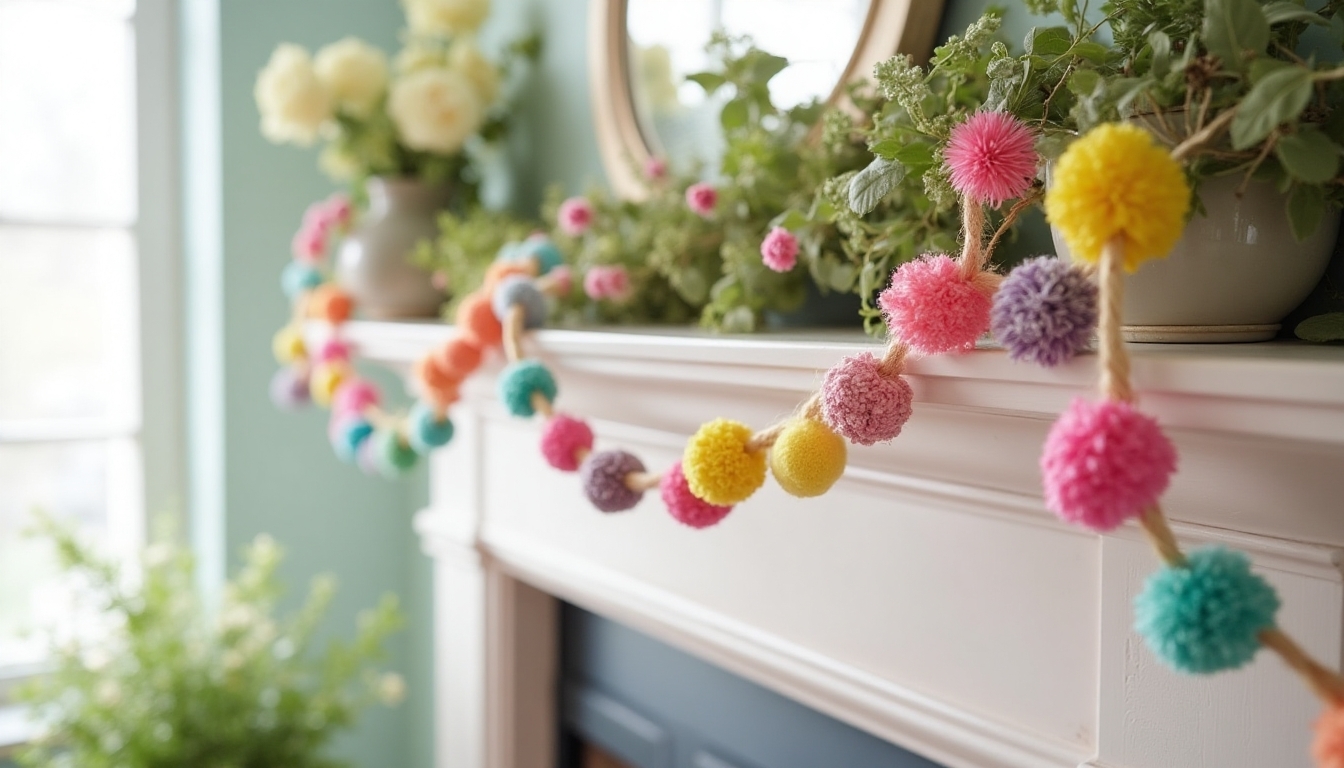
Colorful pom-pom garlands will bring instant cheer to your Easter celebrations while giving little hands a fun, creative project to enjoy. You’ll love watching your children’s eyes light up as they create this festive decoration that’s perfect for mantels, doorways, or windows. To enhance the charm of your kitchen window, consider pairing your garland with other delightful Easter decor ideas that can brighten up the space.
Transform your home into a springtime wonderland with these three simple materials:
- Soft, fluffy pom-poms in pastel Easter colors
- Strong string or twine to hold your creation
- Large plastic beading needles for safe stringing
Let your little ones arrange the pom-poms in patterns they love, threading them carefully onto the string. Soon you’ll have a beautiful garland that’s uniquely theirs.
Cotton Ball Sheep Decorations
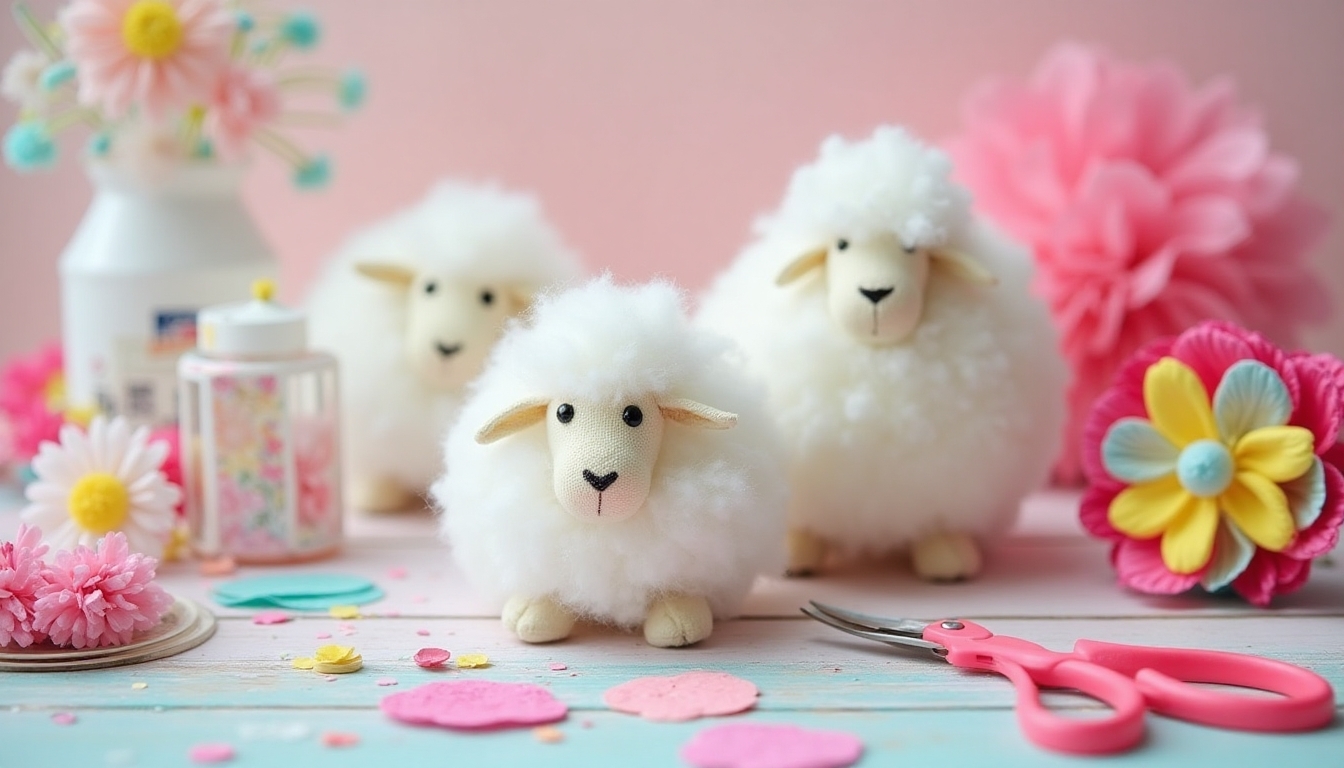
Soft and fluffy sheep crafts make wonderful Easter decorations that’ll bring a touch of pastoral charm to your spring celebrations. You’ll love creating these adorable cotton ball sheep with your children, using simple materials you probably already have at home.
Start with a paper plate for the body, and cover it completely with cotton balls. Cut out a sweet black face from construction paper, adding googly eyes for extra personality. Don’t forget tiny ears and legs! You can glue a ribbon loop on the back to hang your sheep, or create a whole flock to display on your mantel or Easter table. Additionally, consider incorporating Easter decor ideas to enhance your utility room makeover while celebrating the holiday in style.
Handprint Easter Chick Cards
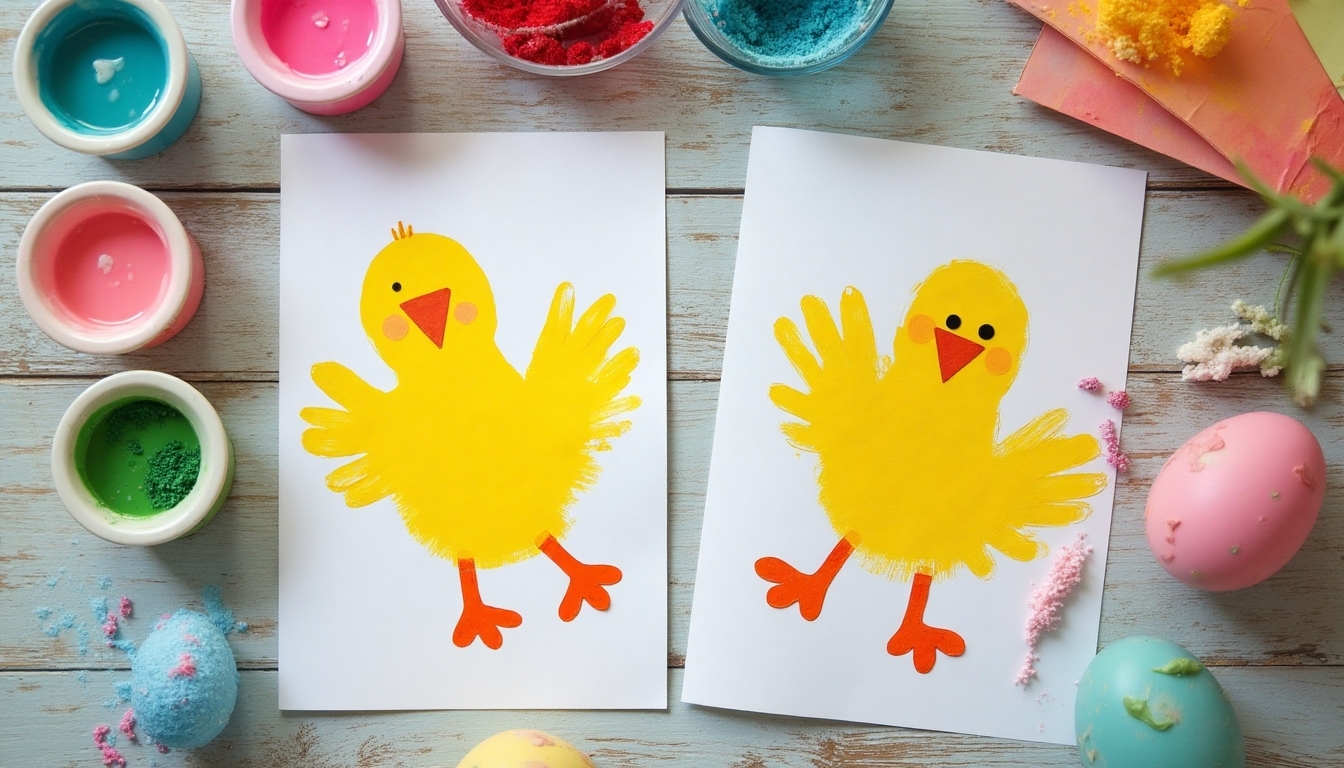
Little hands make the sweetest Easter greetings when transformed into adorable baby chicks on handmade cards. You’ll love creating these heartwarming keepsakes with your children, and family members will treasure receiving such personal, meaningful cards. Adding a touch of creative Easter garden decor can also enhance the festive atmosphere of your home during this joyful season.
To create your chick cards, you’ll need:
- Yellow paint for the handprint that forms the chick’s body
- Orange construction paper to cut out tiny feet and a beak
- Googly eyes or black markers to bring your chick to life
Press your child’s hand onto folded cardstock, add the details, and watch as each unique handprint becomes a fluffy spring chick that’s sure to bring smiles.
Tissue Paper Easter Egg Window Art
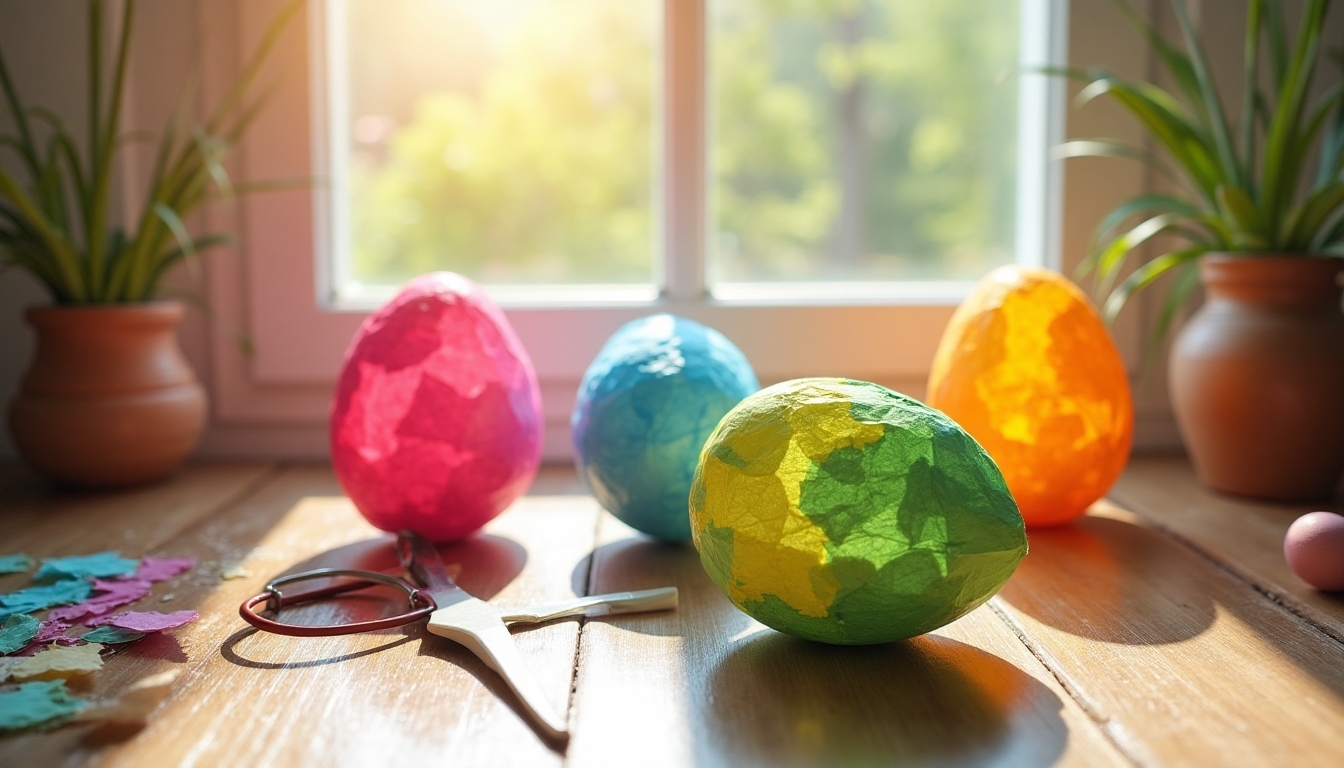
Transform your windows into a dazzling Easter display with tissue paper egg art that catches sunlight beautifully. You’ll love how these colorful creations bring spring’s cheerful spirit into your home, while creating lasting memories with your little ones.
Start by cutting egg shapes from contact paper and let your children layer pieces of bright tissue paper across the sticky surface. They can mix colors and patterns to their heart’s content. When they’re finished, seal their masterpiece with another piece of contact paper, trim the edges, and watch as sunlight streams through their unique window decorations, casting rainbow-colored shadows throughout your room.
Easter Basket Paper Chain Decorations
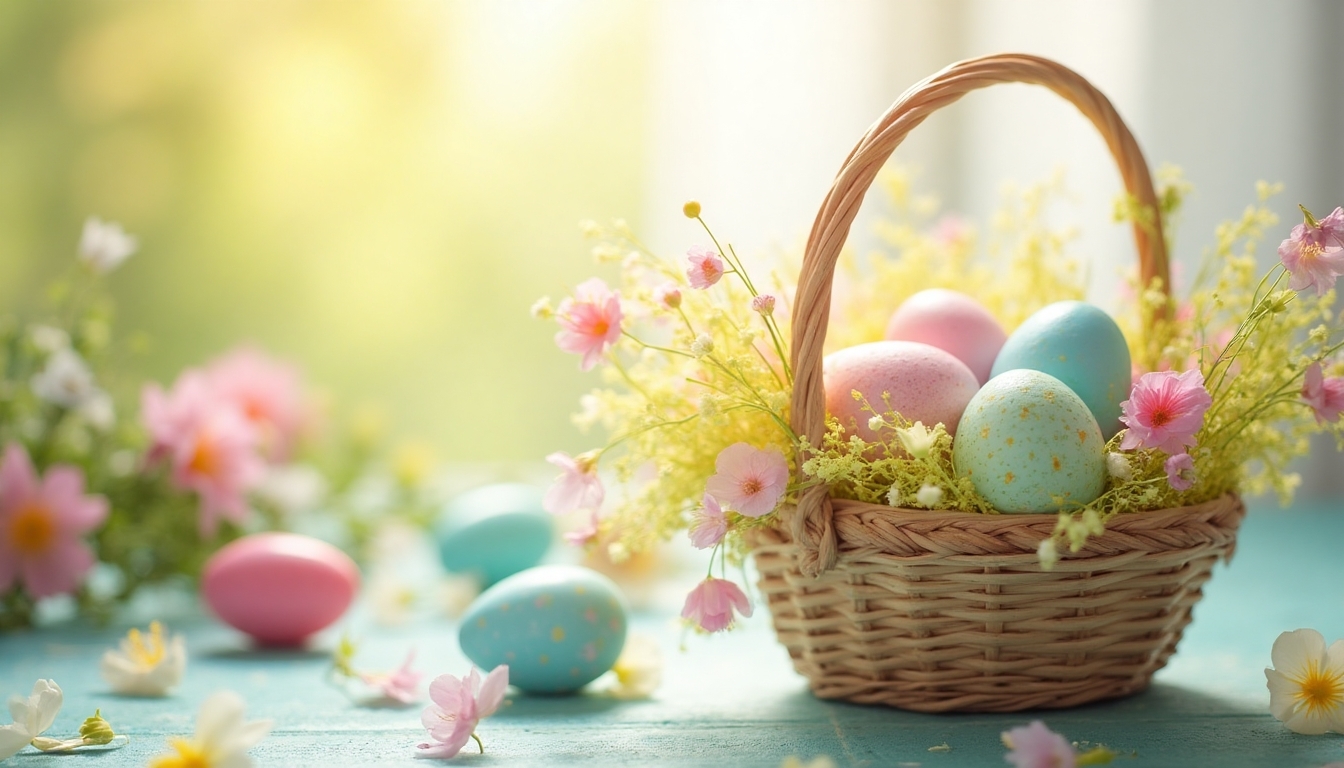
While Easter baskets shine as the centerpiece of holiday celebrations, you can make them even more special with vibrant paper chains that add a playful, personal touch. These delightful decorations will transform your basket into a one-of-a-kind creation that you’ll cherish making together.
Get ready to create magical memories with these simple steps:
- Cut colorful paper strips in spring shades like pink, yellow, and lavender
- Loop and glue each strip to form interlocking rings, creating a festive chain
- Weave your paper chains around the basket’s handle or rim for a cheerful display
Your little ones will beam with pride seeing their handmade decorations brightening up the Easter morning celebration.
Frequently Asked Questions
How Long Do Homemade Easter Decorations Typically Last When Stored Properly?
When you store your homemade Easter decorations properly, they’ll typically last for several years! Your crafts will stay in great shape if you keep them in airtight containers, away from direct sunlight and moisture. Paper crafts can last 2-3 years, while painted items often maintain their charm for 4-5 years. You’ll want to wrap delicate pieces in tissue paper, and don’t forget to label your containers so you can easily find them next Easter!
What Age Group Are These Easter Craft Activities Most Suitable For?
Quick as a bunny, you’ll find that Easter crafts can bring joy to children of all ages! Most activities are perfectly suited for kids between 4-12 years old, though you’ll want to adjust the complexity based on their skill level. Your younger crafters (4-6) will love simple projects like egg painting and paper crafts, while older kids (7-12) can tackle more detailed activities. Remember, you’re there to guide them, so they’ll feel confident and creative!
Can These Decorations Be Made Using Recycled Materials From Around the House?
You’ll be amazed at how many Easter decorations you can create using items from around your home! Empty egg cartons make perfect bases for spring flowers, while paper towel rolls transform into adorable bunnies. You can turn old newspapers into paper-mache eggs, and those spare buttons and ribbons will add beautiful details to your crafts. Don’t toss those cereal boxes either – they’re perfect for creating Easter cards and decorative frames!
Are There Alternatives for Children With Allergies to Common Craft Materials?
You’ll find plenty of allergy-friendly alternatives for your craft projects! If your child has sensitivities, you can swap out common materials with safer options. Instead of regular paint, try natural food coloring or vegetable dyes. Replace glue with tape or natural adhesives like cornstarch paste. For textural elements, use cotton yarn instead of wool, and opt for wooden or plastic materials over potentially problematic craft supplies.
What Is the Best Way to Display Completed Easter Decorations?
You’ll love showcasing your Easter creations throughout your home! Create a festive display on your mantel or windowsill by arranging decorations at different heights, and don’t forget to mix bright colors with softer pastels. A pretty Easter tree centerpiece lets you hang smaller ornaments, while wreaths look wonderful on doors or walls. You can also fill decorative baskets with your handmade items and place them on tables or shelves for everyone to admire.