You can transform your home into a cozy Christmas haven with simple DIY projects using materials you already have. Create mason jar snow globe luminaries with fairy lights and fake snow, craft felt garlands in festive shapes, or wrap candles in plaid fabric scraps. Mini pinecone trees, paper snowflake window clings, and cinnamon stick ornaments add natural charm while string light photo displays bring warmth. These handmade touches create the perfect intimate holiday atmosphere, and there’s so much more magic waiting to unfold.
Design Highlights
- Transform mason jars into snow globe luminaries with fairy lights, fake snow, and figurines for magical ambient lighting.
- Create handmade felt garlands using Christmas shapes like stars and trees, threading them on twine for rustic charm.
- Wrap pillar candles in festive plaid fabric secured with ribbon to add cozy warmth to any space.
- Make mini pinecone Christmas trees with green paint and wooden bases for natural woodland decorative accents.
- Design cinnamon stick ornaments bundled with twine and star anise for fragrant, rustic holiday decorations.
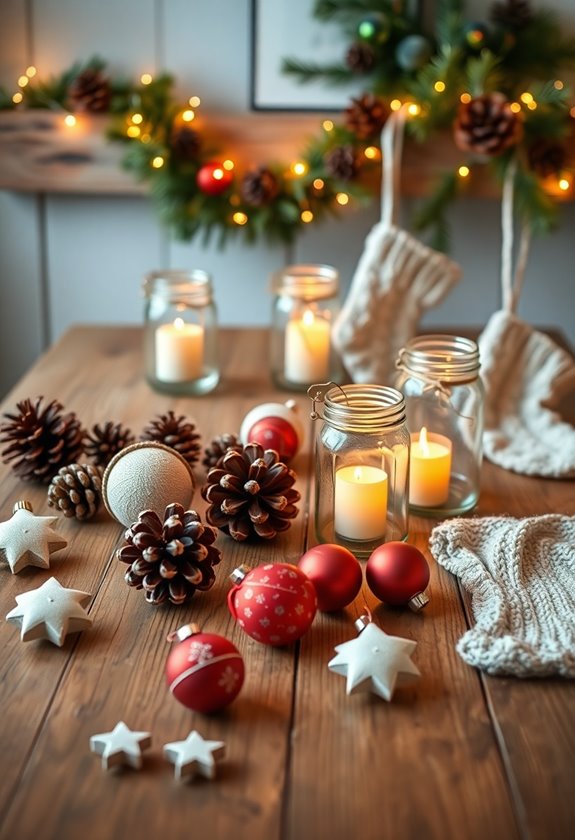
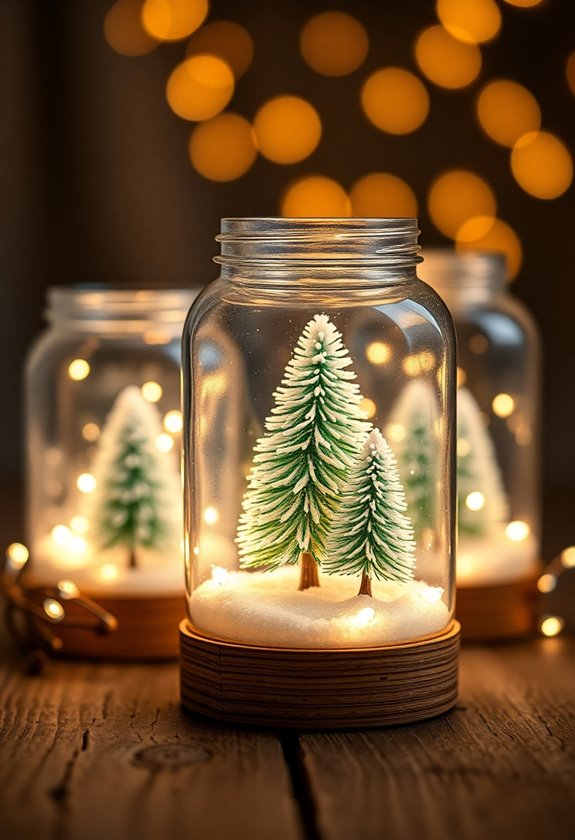
Mason Jar Snow Globe Luminaries
When I first discovered mason jar snow globe luminaries three winters ago, I was desperately searching for budget-friendly decorations that wouldn’t break the bank—or my patience. These magical little creations became my holiday lifesaver, and honestly, they’re easier to make than a peanut butter sandwich.
You’ll need mason jars, battery-operated fairy lights, fake snow or Epsom salt, and small figurines like tiny trees or reindeer. Here’s the trick I learned after my first disaster: flip the jar upside down. Place your figurine on the lid, add a handful of “snow,” then carefully insert the light string. When you screw everything together, you’ve got instant winter wonderland magic.
The soft glow creates the coziest atmosphere, especially when you dim the main lights. I cluster mine on my mantel, but they’re perfect for windowsills too. Trust me, guests always ask how you made them—it’s your little secret! For an extra festive touch, consider adding Christmas kitchen island decor to complement your cozy creations.
Hand-Stitched Felt Christmas Garland
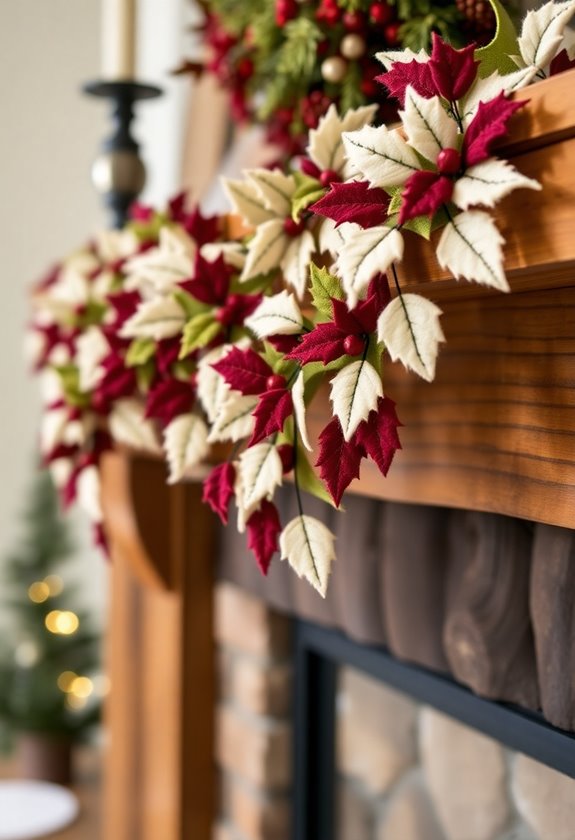
After years of experimenting with luminaries and other glowing decorations, I discovered that nothing quite captures the cozy, homespun charm of handmade felt garland draped across doorways and mantels. You’ll find this project surprisingly therapeutic, especially when you’re stressed about holiday preparations. Start with felt sheets in classic Christmas colors—deep reds, forest greens, and creamy whites work beautifully. Cut simple shapes like stars, trees, and mittens using cookie cutters as templates. Here’s where I learned patience the hard way: don’t rush the stitching process. Use embroidery floss in contrasting colors, creating blanket stitches around each shape’s edges. Thread your finished pieces onto sturdy twine, spacing them about three inches apart. I’ve discovered that mixing larger shapes with smaller ones creates visual interest without overwhelming your space. The best part? This garland becomes more beautiful with age, developing that perfectly imperfect handmade character that store-bought decorations simply can’t match. Additionally, consider incorporating decorative items for Christmas to elevate your overall festive decor.
Mini Pinecone Christmas Trees
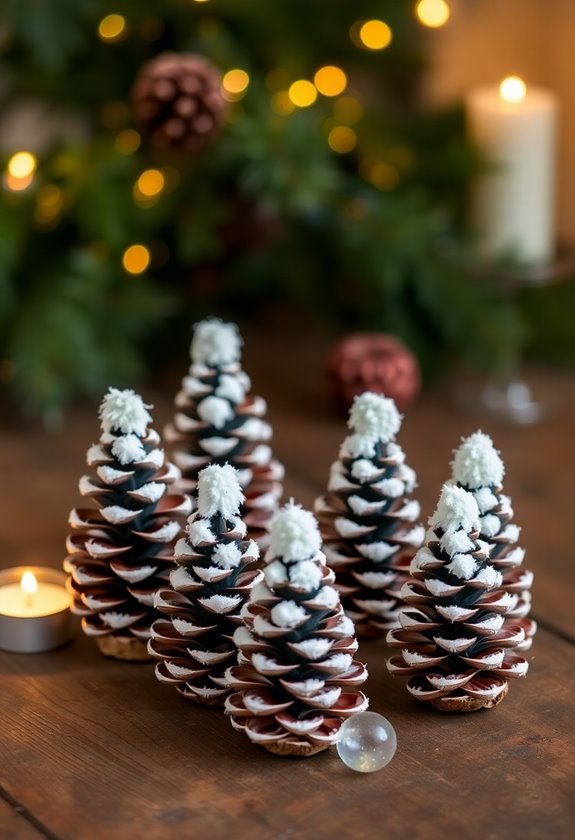
Several dozen pinecones scattered across my kitchen table might look like chaos to most people, but I see them as tiny Christmas trees waiting for their moment to shine. You’ll love how simple these miniature masterpieces are to create, and trust me, they’ll become your new favorite decoration.
Start by collecting pinecones during autumn walks – it’s like a treasure hunt that costs nothing. Once you’ve gathered your collection, you’ll need small wooden bases, green paint, and tiny star toppers from the craft store. I learned the hard way that spray paint works better than brushes for even coverage.
Paint each pinecone with light, feathery strokes, letting the natural texture show through. While they’re drying, glue them to wooden discs for stability. Add miniature stars on top, and you’ve created an enchanting forest of tiny trees that’ll make your mantle absolutely magical. For an extra touch of charm, consider adding festive Christmas decor like twinkling lights around your pinecone trees to enhance the holiday spirit.
Cozy Plaid Fabric Wrapped Candles
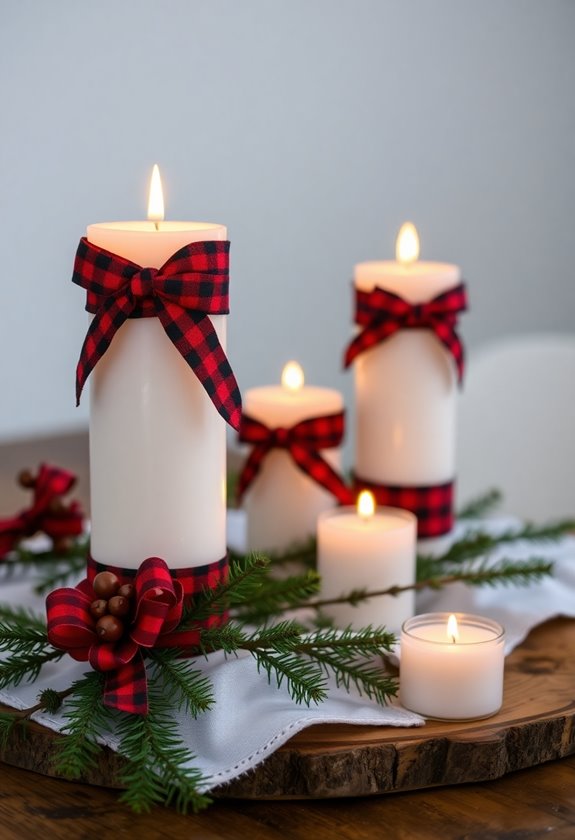
The warm glow of candlelight gets even cozier when you wrap those plain pillar candles in festive plaid fabric – it’s like giving them a cozy winter sweater. I discovered this trick during my first apartment Christmas, when I had more creativity than cash. You’ll need fabric scraps, double-sided tape, and ribbon or twine.
Cut your plaid fabric wide enough to wrap around the candle with slight overlap. Here’s where I learned the hard way: measure twice, cut once! Secure the fabric with double-sided tape, keeping it smooth and wrinkle-free. Tie coordinating ribbon around the middle for that finished look.
The best part? You can mix different plaid patterns for visual interest. I love pairing traditional red-and-green with unexpected navy-and-cream combinations. These wrapped beauties transform any mantel or dining table into a rustic winter wonderland, and they’re practically foolproof to make. To elevate your festive decor, consider adding Christmas pantry decor ideas that enhance your holiday spirit throughout your home.
Paper Snowflake Window Clings
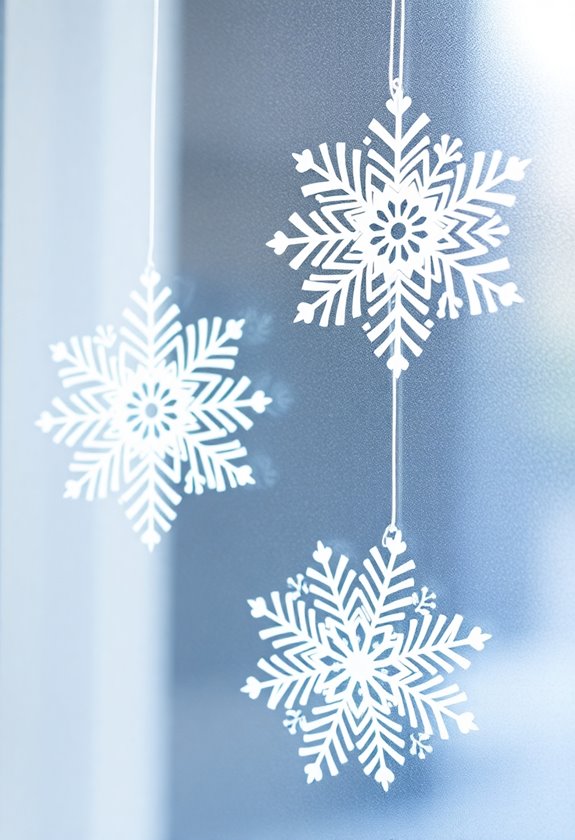
Nothing beats the magic of delicate snowflakes dancing across your windows, and creating paper snowflake clings brings that winter wonder indoors without the freezing temperatures. I’ve spent countless afternoons folding white coffee filters into triangles, carefully snipping intricate patterns while my fingers cramped from precision cuts. The real magic happens when you unfold each snowflake—it’s like unwrapping a surprise gift every single time.
You’ll need basic white paper or coffee filters, sharp scissors, and spray adhesive or static cling solution. Start by folding your paper into eighths, then cut small triangles, diamonds, and curved shapes along the edges. Remember, the more detailed your cuts, the more stunning your final snowflake becomes.
Once unfolded, lightly spray the back with adhesive and press against clean windows. They’ll catch sunlight beautifully, casting delicate shadows that transform your room into a winter wonderland that even beats Hollywood’s best set designs. Adding festive kitchen decor can enhance the overall ambiance of your holiday celebration!
Rustic Twig and Berry Centerpieces
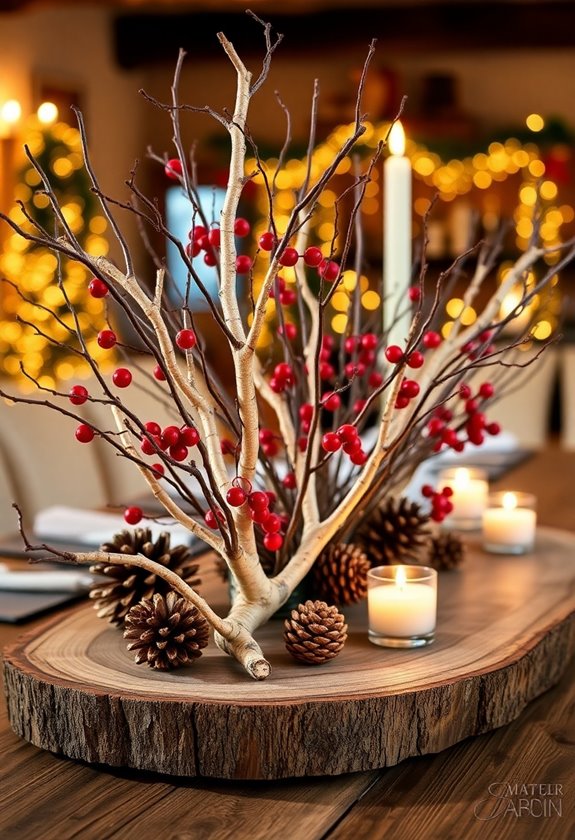
When you’re craving that cozy cabin aesthetic but your budget screams “college dorm,” rustic twig and berry centerpieces become your secret weapon for transforming any dining table into something straight out of a Hallmark movie.
Budget-friendly rustic centerpieces deliver expensive cabin vibes without the hefty price tag—your wallet and aesthetic both win.
I discovered this trick during my broke college years when filming a winter short required authentic-looking holiday decor. You’ll need birch branches, red winterberries, and maybe some pinecones from your yard. Start by arranging different-height twigs in a shallow wooden bowl or galvanized tray—the imperfection makes it charming.
Weave battery-operated fairy lights between the branches for that magical glow that’ll make your dinner guests feel like they’re dining in a snow-covered forest. The berries add pops of festive color without screaming “I bought this at a big box store.”
Trust me, this centerpiece photographs beautifully and costs practically nothing. Your Instagram followers will never guess you assembled it from backyard findings.
Knitted Christmas Stocking Wall Display
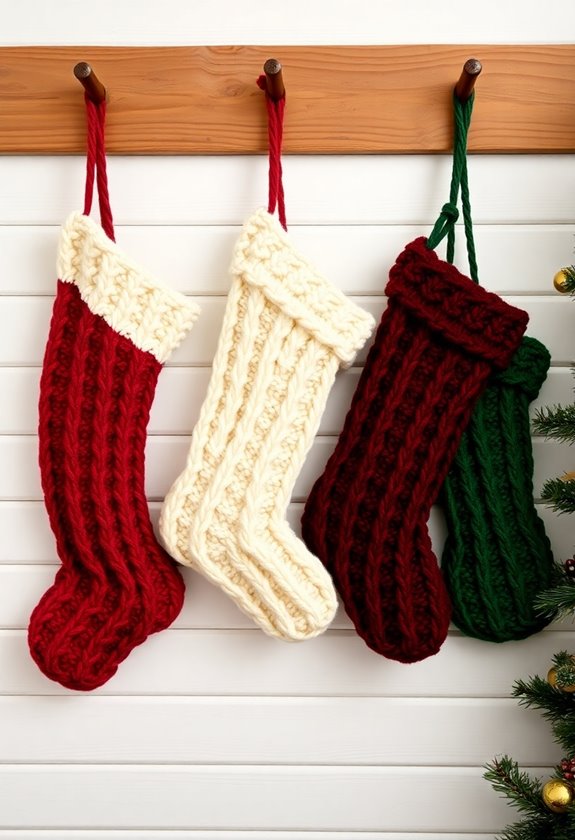
Grandma’s forgotten knitting basket in your attic might just hold the key to creating the most heartwarming Christmas display your living room has ever seen. Those mismatched yarn scraps and half-finished projects? They’re perfect for crafting a cozy stocking wall that’ll make your guests feel like they’ve stepped into a holiday movie.
Start by gathering different colored yarns—don’t worry if they’re not matching. The charm lies in their imperfection. Knit simple rectangular stockings using basic stitches, even if you’re a beginner. I learned this lesson after my first attempt looked more like a wonky sock than a stocking, but guests loved its quirky character.
Mount a rustic wooden branch horizontally on your wall, then hang your handmade stockings at varying heights using twine. Add small battery-operated fairy lights woven between them for that magical glow that transforms any ordinary wall into Christmas magic.
Miniature Christmas Village From Recyclables
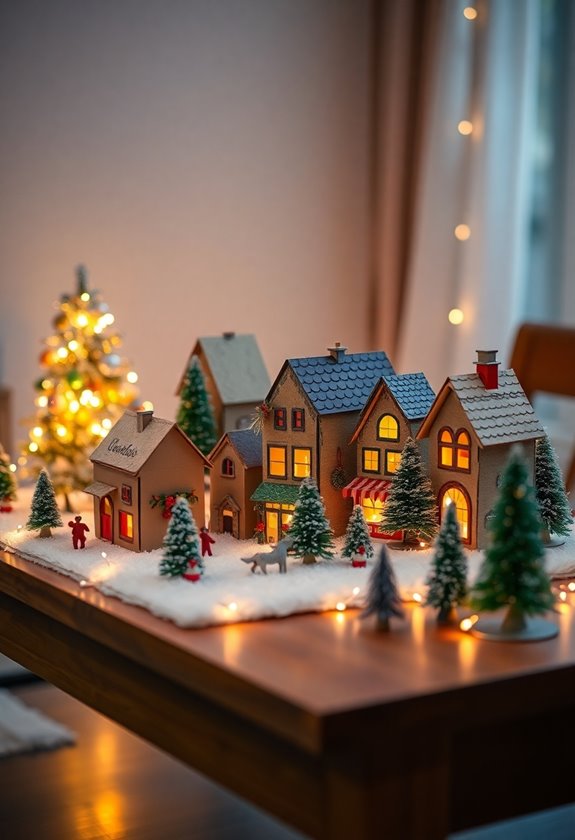
After creating that magical wall display, you’ll probably find yourself eyeing those empty cardboard boxes from online shopping with fresh inspiration. Trust me, I’ve been there – suddenly every cereal box becomes potential architecture for your miniature Christmas village.
Start by cutting different-sized houses from various boxes. I learned the hard way that measuring twice saves you from wonky rooftops that look like they survived a tornado. Paint them with whites, creams, and soft pastels, then add details with markers or colored paper. Windows become tiny yellow squares that glow when you place battery-operated tea lights inside.
Don’t forget the landscape! Cotton batting creates perfect snow drifts around your village base. I use a large tray or cardboard sheet as foundation. Add small mirrors for frozen ponds and twist bare tree branches from your yard into winter trees. Position everything before gluing – you’ll thank yourself later when rearranging becomes necessary.
Warm White String Light Photo Displays
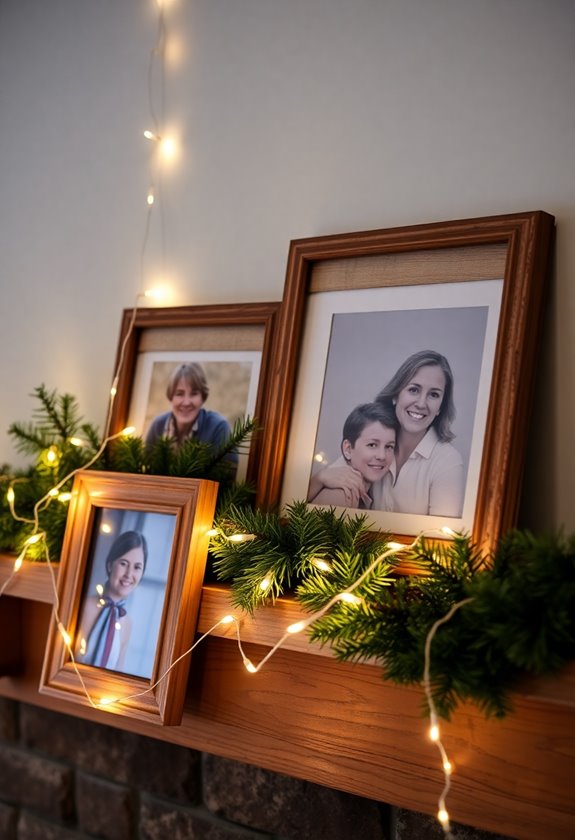
Three years ago, I discovered that warm white string lights transform ordinary photo displays into something that looks professionally designed – and it happened completely by accident when I knocked over a strand while organizing my craft room.
You’ll love how these lights create instant magic around your favorite memories. Simply clip photos to the wire using tiny wooden clothespins, spacing them about six inches apart. The warm glow softens harsh edges and adds a dreamy quality that makes even blurry snapshots look intentional.
Try wrapping lights around a wooden frame, then attach photos with clear tape on the back. For vertical displays, string lights down doorways or along walls, creating cascading photo galleries that guests can’t resist examining.
The best part? You’re recycling those family photos gathering dust in drawers while creating cozy ambiance. Battery-operated strands work perfectly, so you won’t need outlets nearby.
Handmade Cinnamon Stick Ornaments
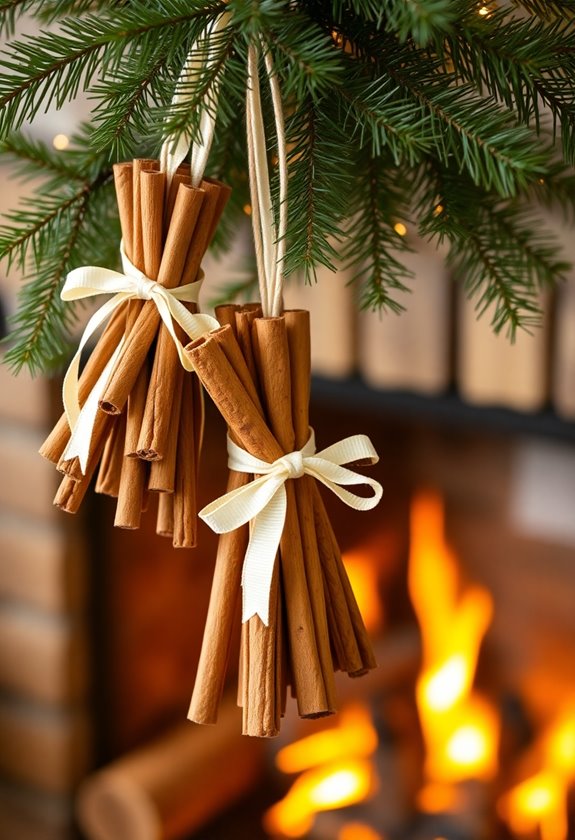
The scent of cinnamon instantly transports me back to childhood Christmas mornings, which is exactly why I started making these rustic ornaments five years ago when store-bought decorations felt too sterile for my taste. You’ll love how simple these are to create, and your guests will think you’re some kind of crafting wizard.
Start by gathering whole cinnamon sticks, twine, and small star anise pods. Bundle three to five sticks together with twine, wrapping tightly near both ends. Here’s where I learned the hard way – don’t skip the hot glue gun to secure everything, or you’ll find cinnamon scattered under your tree like aromatic confetti.
Add star anise by tucking them between the sticks before your final wrap. The natural oils release incredible fragrance that lasts weeks. I hang mine on lower branches where the warmth from tree lights intensifies their scent, creating that cozy atmosphere you’re craving.
Frequently Asked Questions
How Much Should I Budget for DIY Christmas Decorations in a Small Space?
A penny saved is a penny earned, and you’ll love how little you need! I’d budget $15-30 for your small space, honestly. You can create magic with dollar store supplies, old mason jars, and free pinecones from outside. I’ve transformed my tiny apartment for under twenty bucks using string lights, construction paper, and leftover ribbon. Focus on one stunning focal point rather than filling every corner – less really becomes more here.
What Basic Crafting Tools Do I Need to Get Started With These Projects?
You’ll need scissors, glue sticks, and a hot glue gun for most projects. I always keep construction paper, markers, and ribbon handy—they’re lifesavers! A ruler helps with straight cuts, and don’t forget double-sided tape for clean finishes. When I started crafting, I thought I needed everything, but honestly, these basics cover 90% of projects. Add some twine and felt sheets, and you’re golden for creating beautiful decorations!
How Far in Advance Should I Begin Making These Christmas Decorations?
You’ll want to start crafting your decorations about three to four weeks before Christmas. I learned this the hard way when I rushed through paper snowflakes last December, ending up with wonky cuts and frayed edges. Give yourself time to enjoy the process—that’s half the magic! Start with simpler projects like garlands first, then tackle more complex items. Trust me, you’ll appreciate having breathing room instead of frantically gluing ornaments on Christmas Eve.
Are These DIY Decorations Safe to Use Around Pets and Small Children?
You’ll want to carefully consider each decoration’s materials before crafting. Avoid small buttons, beads, or loose glitter that curious toddlers might swallow. Skip toxic paints and opt for child-safe alternatives instead. I learned this lesson when my nephew tried eating paper snowflakes! Secure all hanging items well above reach, and choose flameless LED candles over real ones. Natural materials like pinecones and dried oranges work beautifully and they’re generally pet-friendly too.
How Do I Store Handmade Christmas Decorations to Reuse Next Year?
You’ll want to wrap delicate ornaments in tissue paper, just like I learned after my favorite paper snowflake got crushed one year. Store everything in labeled plastic bins with dividers—trust me, you’ll thank yourself next December! Keep fabric decorations in breathable cotton bags to prevent mustiness. I always snap photos before packing so I remember how things looked. Store bins in a cool, dry spot away from temperature swings that’ll warp your beautiful handmade pieces.