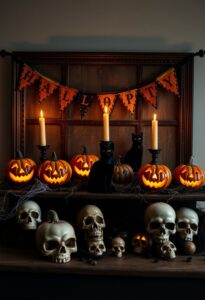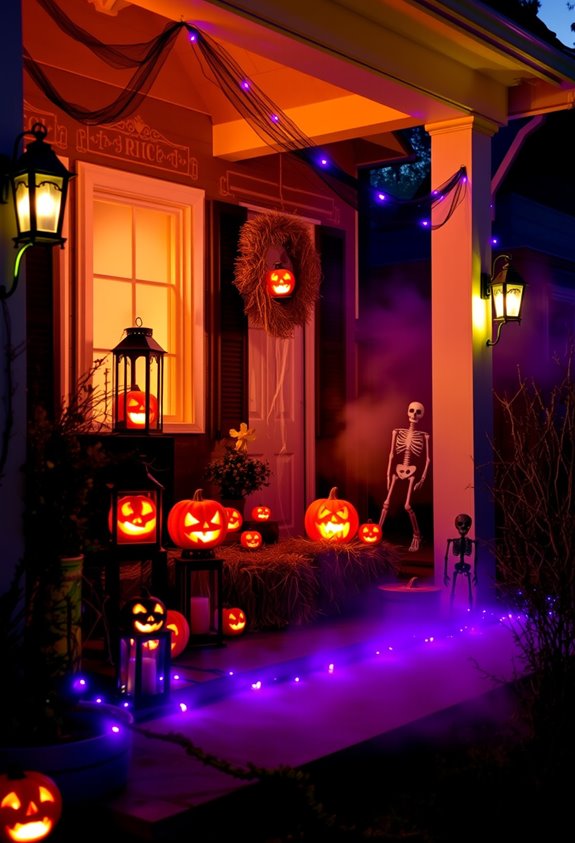
Your Halloween yard doesn’t have to stop at a sad, stuffed scarecrow. Etch pumpkins instead of carving them for finer detail and a softer glow. Build a DIY graveyard with tilted tombstones, fog, and uplighting for real atmosphere. Layer string lights, spotlights, and lanterns—single spotlights are lazy. Add motion-activated props near your walkway for maximum chaos. Nail a cohesive color palette, and suddenly everything connects. Stick around to see exactly how it’s done.
Design Highlights
- Etch pumpkins instead of carving them for softer glows and finer detail, then line them along walkways for a cohesive display.
- Build a DIY graveyard using foam or cardboard tombstones, scattered bones, and fog lighting for dramatic, budget-friendly staging.
- Prioritize one large prop, like a twine-and-hula-hoop spider web, over many small plastic decorations for greater visual impact.
- Layer colored uplighting, flickering LEDs, and motion-activated effects to create depth and startle visitors approaching the entryway.
- Unify mismatched yard elements with a repeated color palette of black, burgundy, and plum plus monochromatic lighting throughout.
Pumpkin Displays That Go Beyond the Basic Jack-o’-Lantern
Sure, a jack-o’-lantern with a triangle nose gets the job done—but it’s basically the Halloween equivalent of a participation trophy. Your neighbors deserve better. You deserve better.
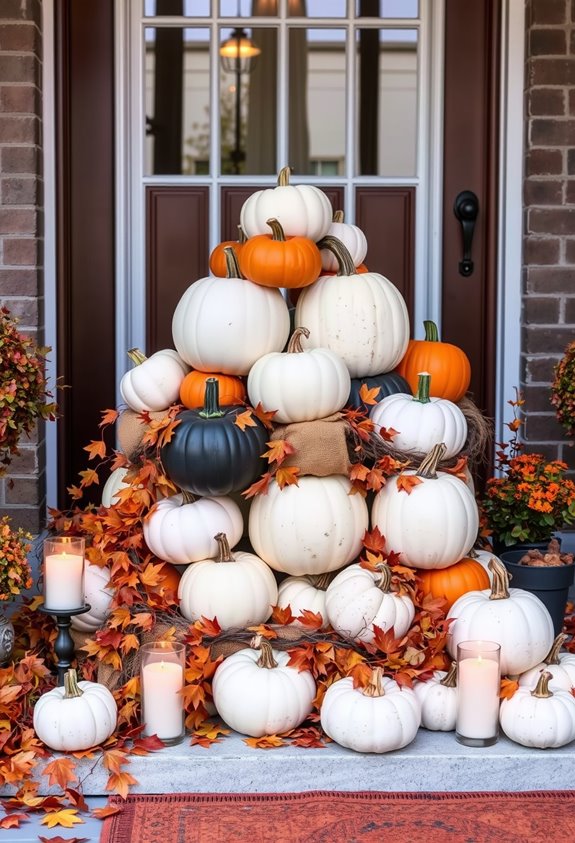
Start with etching instead of carving. It removes only the outer skin, creates softer glow, and lets you achieve finer detail. Drill small holes for delicate light patterns. Carve words—house numbers, initials, short phrases. Letterforms become a focal point, not an afterthought.
Etching removes only the outer skin—softer glow, finer detail, more impact than a simple carved triangle.
Want real impact? Try theme carving. Each pumpkin carries a different motif but follows one coordinated concept. The whole display feels intentional. Deliberate.
Line etched pumpkins along your walkway in rows or clusters. That’s a continuous display effect, not just decoration scattered around hoping for the best. There’s a difference. For a completely knife-free option, string and nail art lets you build geometric or illustrative designs using only a hammer, nails, and embroidery floss.
Halloween Yard Decor You Can Pull Off on a Tight Budget
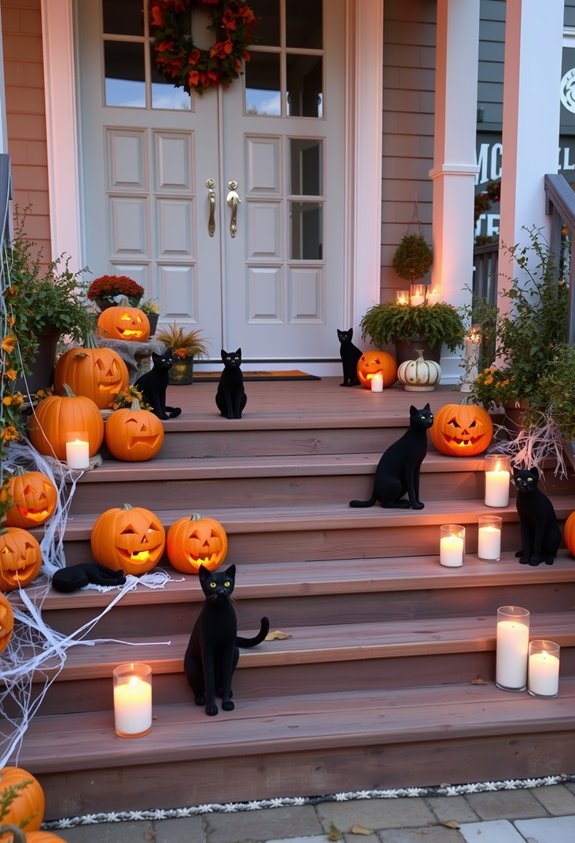
Pumpkin etching is great and all, but it won’t mean much if you’ve already burned through your Halloween budget before the yard’s even touched.
Start with what you’ve got. PVC pipe, pool noodles, old fabric, cardboard — these aren’t trash. They’re the bones of a solid display. Giant spiders, oversized witches, floating ghosts — all buildable with cheap or free materials. Check Facebook giveaways. Hit clearance aisles. Raid your garage.
Here’s the thing most people miss: size matters more than price. One large spider web made from twine and a hula hoop beats twelve tiny plastic skulls scattered around.
Layer your display. Vary the heights. Concentrate everything near your porch and walkway. That’s where people actually look. Work smarter, not expensive.
Build a DIY Graveyard Your Neighbors Will Actually Fear
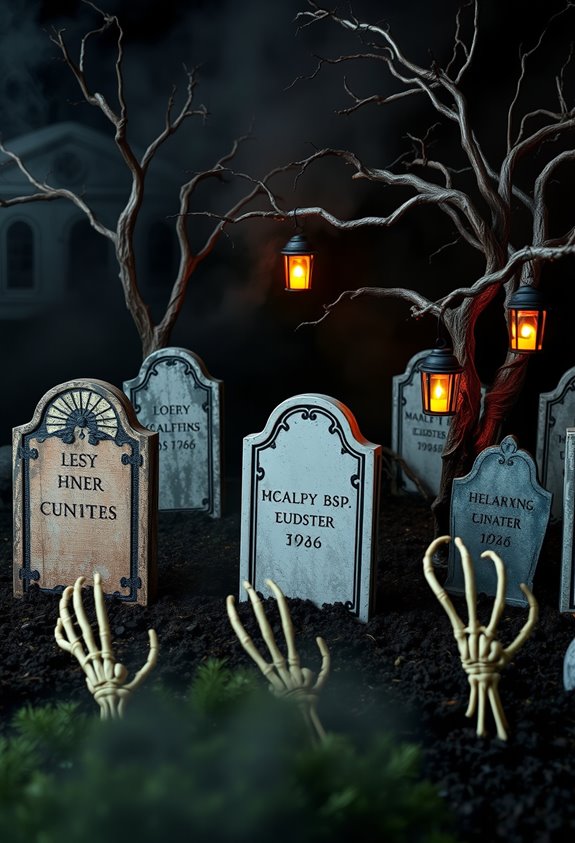
A graveyard display lives or dies by how believable it looks — and believable means messy. Vary your tombstone sizes and shapes. Space them unevenly. Tilt a few. Knock one over. That’s it — that’s the whole secret nobody talks about.
Build your markers from cardboard, foam, or reclaimed wood, then weather them with dirt and dark paint. Don’t skip that step. Clean tombstones scream “bought yesterday.”
Add a broken picket fence from pallets to frame the scene. Pose skeletons in escaping-grave positions — hands reaching up, one leaning on a marker. Scatter five or six bones nearby.
Finish with creepy cloth, spider webs, and purple or blue lighting aimed low. Pair that with fog. To keep unstable tombstones upright, adhere PVC pipe to the back and slide it over rebar hammered into the ground. Your neighbors won’t just notice it — they’ll cross the street.
Lighting Tricks That Make Your Halloween Yard Terrifying After Dark
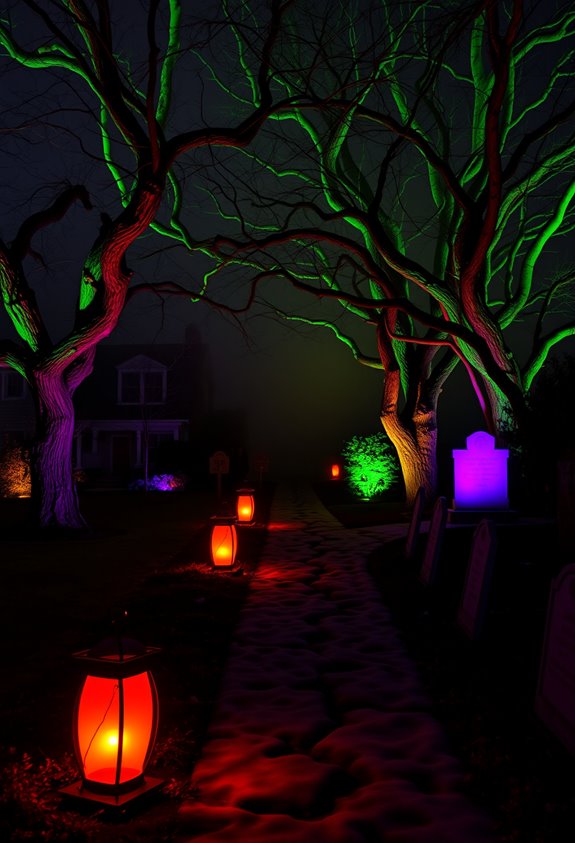
Your decorations can look incredible at 3 PM and completely forgettable by 8. Lighting is what separates a real Halloween yard from a sad pile of plastic in the dark.
Start with colored uplighting. Place blue, green, or purple floodlights at the base of trees, tombstones, and large props. Lighting from below makes everything look bigger and more menacing. It’s not subtle. That’s the point.
Layer in shadow casting by backlighting cutouts against fences or walls. Add flickering LEDs, motion-activated bursts near entry zones, and orange or green pathway lights to guide guests deeper into the scene.
Don’t rely on one technique. String lights, spotlights, lanterns, and glowing props together create depth. One lonely spotlight doesn’t build atmosphere. Layered lighting does. When choosing bulbs, keep in mind that LED lights last between 25,000 to 50,000 hours, making them far more practical than incandescents for a display you’ll want to reuse year after year.
Porch Accents That Spook Visitors Before the Door Opens
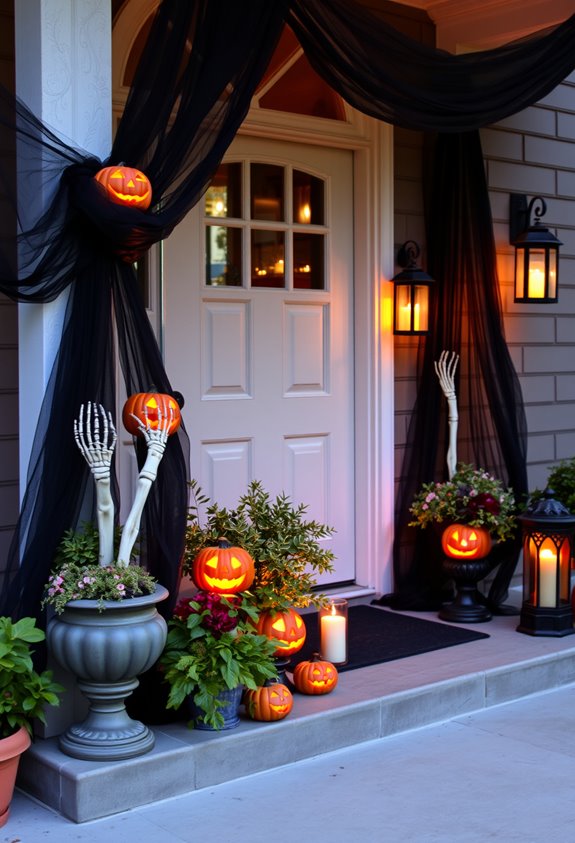
The porch is doing the work before you even open the door. Signs, props, and hanging accents set the entire mood before anyone knocks. A wood or chalkboard sign reading “Enter If You Dare” signals what’s coming. Pair it with black lace draped over the railing and hanging bats clipped to branches overhead. Suddenly your porch feels occupied.
Groupings matter. Mix carved, painted, and plain pumpkins around lanterns or crates for layered visual depth. Add a cauldron, a broom, maybe a spellbook near the steps. Classic? Sure. Effective? Absolutely.
Spiderwebs across the doorway are a blunt, no-fail haunted-house cue. Skeletal hands and skull planters read clearly from the walkway. Stick to a palette of black, burgundy, and plum. Orange alone isn’t doing enough. For a floor-level detail that catches eyes on the approach, apply a large spider web decal to the porch floor and scatter a few plastic spiders around the edges.
Motion and Sound Props That Catch Trick-or-Treaters Off Guard
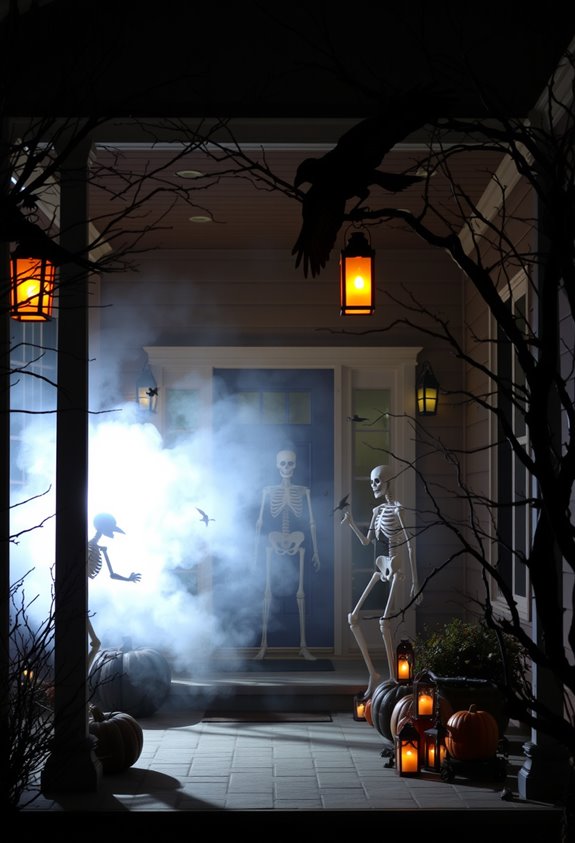
Motion-triggered props separate the serious haunted yards from the sad, static ones. If yours just sits there, congratulations—you’ve built a display that impresses nobody. Motion sensors, pressure mats, and infrared triggers activate props only when visitors actually approach. That’s the difference between a scare and a shrug.
Life-size animated figures with head turns, arm raises, or full-body lunges hit hardest when paired with sound. Screams, growls, and stingers land best when timed to that first visible movement. Directional speakers focus the audio toward the walkway. Smart setup.
Multiple trigger zones let you layer the intensity across your yard. Run test passes at child walking speed—timing matters. And manage your cords. Nobody wants a trip hazard ruining the moment before the scare even lands.
Themed Halloween Yard Setups That Tie Every Element Together
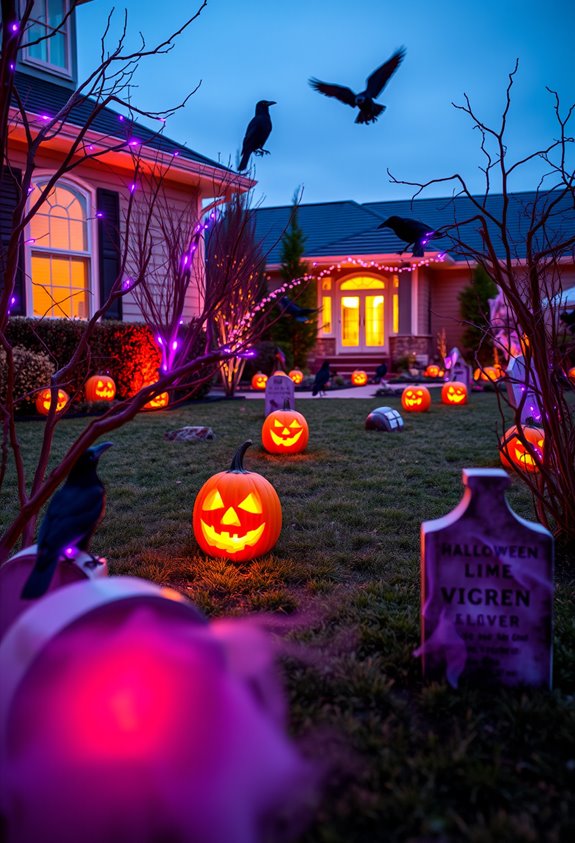
A graveyard without a story is just a pile of plastic. You want your yard to feel like a scene, not a yard sale. Pick one theme and commit. Graveyard, haunted mansion, pumpkin patch — it doesn’t matter which. What matters is that everything speaks the same language.
Here’s what actually ties it together:
- Repeated color palette across props, lighting, and porch elements
- Layered lighting that highlights focal points and creates depth
- Ground-level repetition like tombstones, cobwebs, or pumpkin groupings
- A unified entryway where the porch extends the yard’s story
Your porch is the anchor. Your pathway is the connector. Your props are the cast. When they all show up in the same scene? That’s when neighbors stop and stare.
Monochromatic lighting is one of the simplest ways to unify mismatched decorations and bring a cohesive aesthetic to your entire outdoor display.
Frequently Asked Questions
How Early in October Should Halloween Yard Decorations Be Put Up?
You should put up your Halloween yard decorations during the first week of October. Starting October 1st lets you join your neighbors in the fun, giving you a full month of festive displays everyone will enjoy!
Are Halloween Yard Decorations Safe for Pets and Small Children?
Safety’s a maze, but you can navigate it! Choose non-toxic, large, flame-free decorations, hide electrical cords, and secure loose pieces. You’ll protect your pets and little ones while keeping your display festive and welcoming.
How Do You Store Large Halloween Yard Props After the Season Ends?
Clean and dry your large props thoroughly, then disassemble them into smaller parts. Store everything in labeled, clear bins with tight lids, and keep them in a cool, dry space to protect your decorations for next Halloween!
Can Halloween Yard Displays Cause Issues With HOA or Neighborhood Rules?
Your spooky setup can ruffle feathers with HOA rules! You’ll want to check your governing documents for restrictions on lighting, noise, timing, and placement before transforming your yard into a haunted haven your neighbors will love.
What Weather Conditions Can Damage Outdoor Halloween Decorations the Most?
High winds, rain, and electrical hazards from wet conditions can damage your outdoor Halloween decorations the most. You’ll want to secure, waterproof, and shelter your displays so your neighborhood setup stays safe and festive all season!
Conclusion
You’ve got everything you need to transform your yard into something that makes the whole neighborhood stop and stare. Like Frankenstein’s monster coming to life, it’s really just about assembling the right pieces. Don’t overthink it. Start with one strong focal point, layer in your lighting, and let the details do the work. Halloween’s your canvas. Make it count — because a single sad scarecrow just isn’t cutting it anymore.