Creating a spooky Halloween wreath is easier than you think! Start with a wreath base of grapevine, wire, or foam, then gather essential supplies like a hot glue gun, wire cutters, and Halloween decorations. Choose your theme – from classic autumn to haunted elegance – and arrange larger items first as focal points. Add smaller decorations, ribbons, and LED lights to fill gaps. Don’t worry about perfect symmetry – embrace the playful chaos for a unique door decoration that’ll spark your creativity.
Design Highlights
- Choose a wreath base (grapevine, foam, or wire) and gather essential tools like wire cutters, glue gun, and Halloween decorations.
- Start by wrapping your base material and position larger decorations as focal points before filling gaps with smaller items.
- Incorporate classic Halloween colors like orange and black, with accent colors of purple and lime green for visual interest.
- Secure decorative elements with hot glue or floral wire, ensuring all pieces are firmly attached for outdoor display.
- Add finishing touches like battery-operated lights, glow-in-the-dark elements, and dangling spiders for extra spooky appeal.
Essential Materials and Supplies for Your Halloween Wreath

A well-stocked crafting station is your first step to creating a spooktacular Halloween wreath. You’ll need a wreath base, which can be grapevine, foam, or wire, along with your choice of Halloween-themed decorations like artificial spiders, mini pumpkins, and black flowers.
Don’t forget essential tools that’ll make your crafting journey easier: wire cutters, hot glue gun and glue sticks, floral wire, and scissors. You’ll also want a variety of ribbons in Halloween colors, plus any special items that reflect your style, like battery-operated lights or glittery accents. Remember, your creativity will shine through with these basic supplies! Additionally, consider incorporating Halloween decor ideas to elevate the overall theme of your wreath.
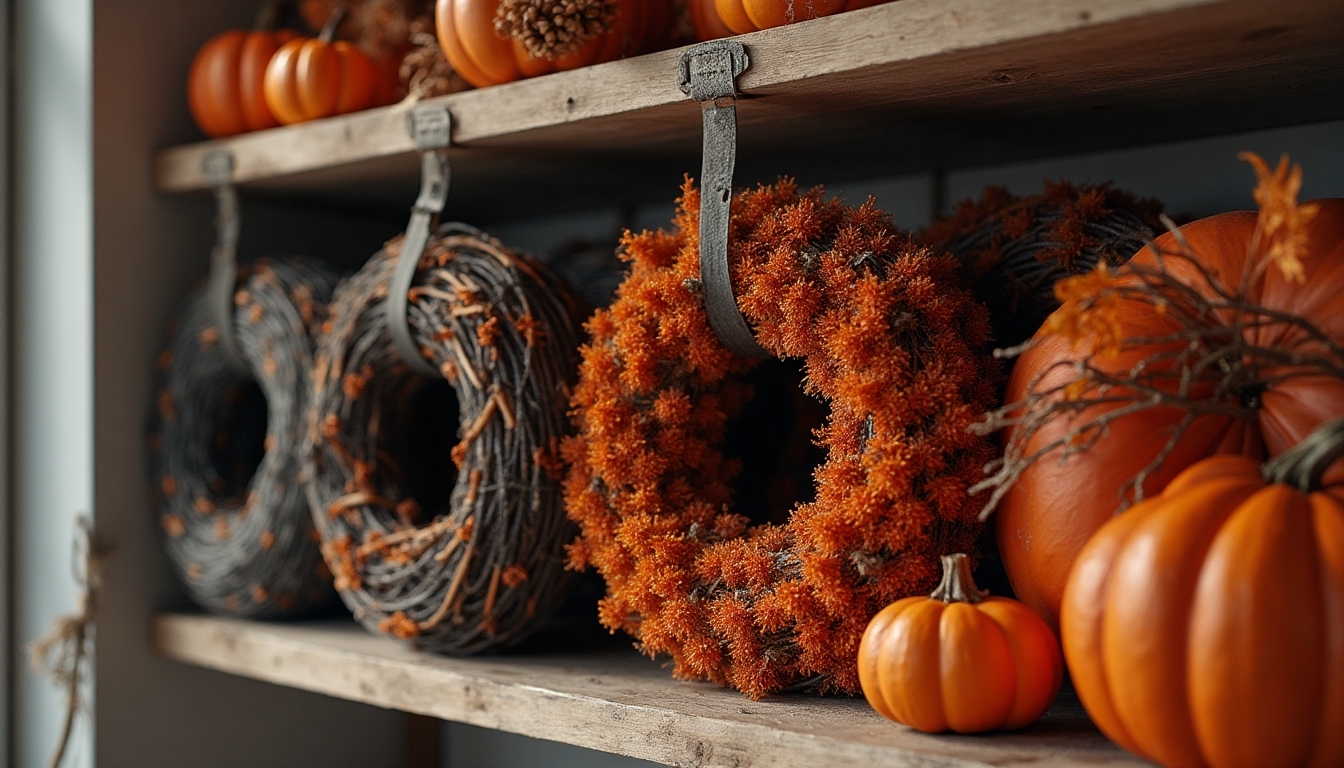
Choosing Your Wreath Base and Theme
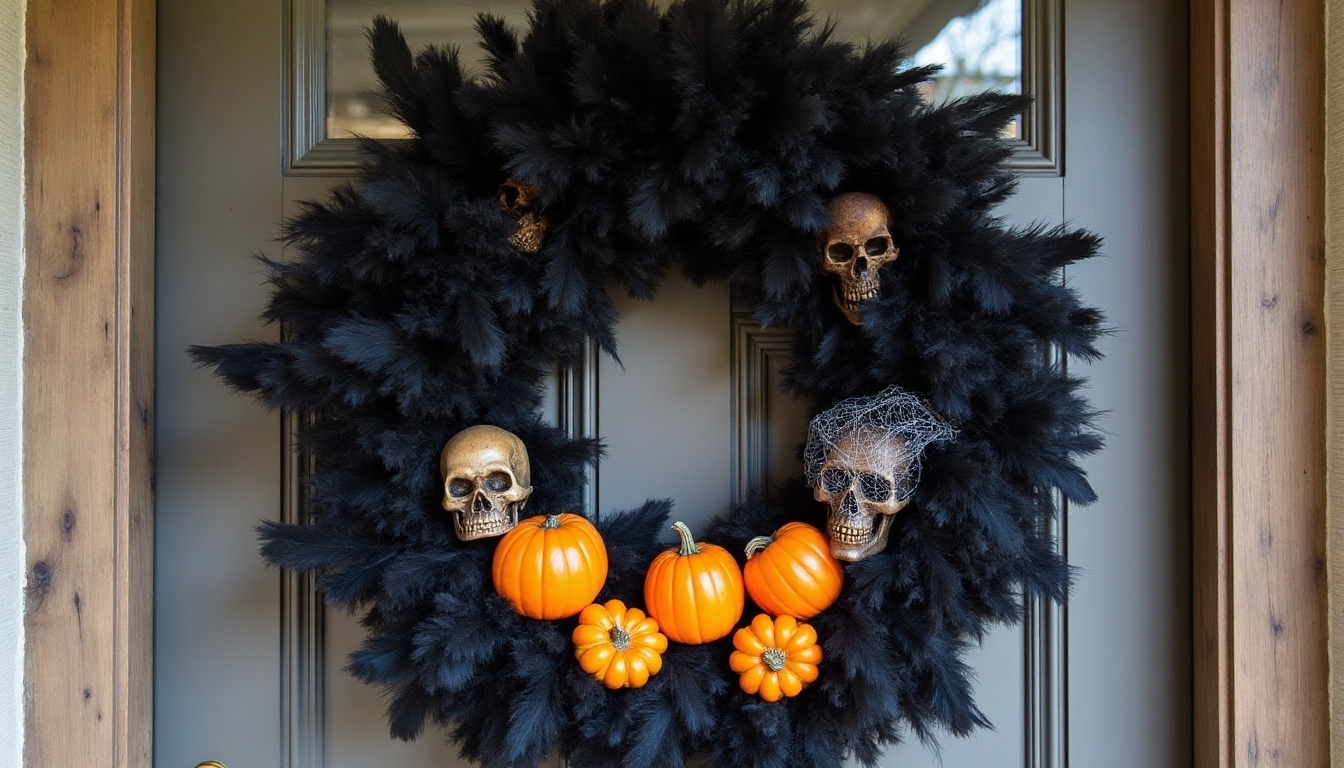
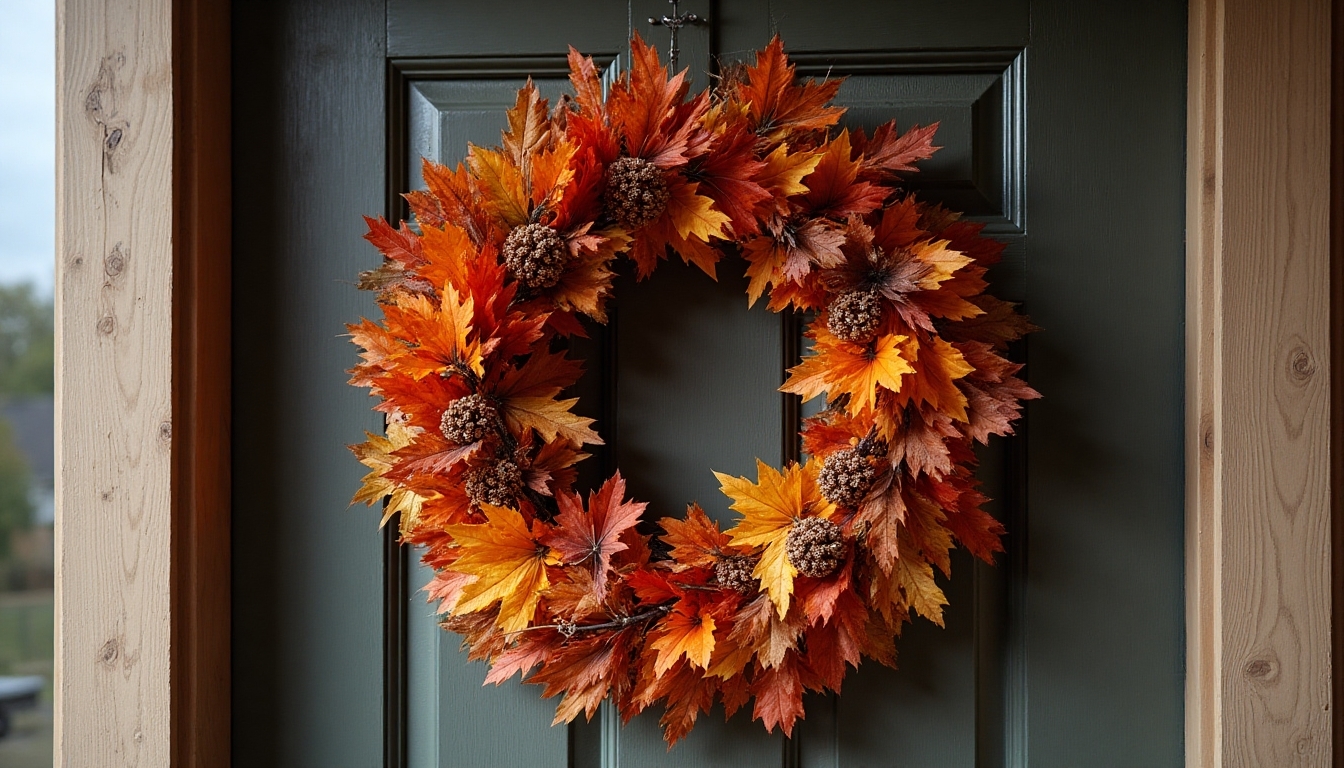
Before diving into your Halloween wreath creation, selecting the perfect base and theme will set the foundation for your entire project. You’ll want to choose between a grapevine, wire, or foam wreath base – each offering unique possibilities for your spooky design. Consider what style speaks to you: classic autumn with pumpkins and leaves, haunted elegance with black roses and spiderwebs, or playful fun with candy corn and friendly ghosts. Your chosen theme will guide all your decorating decisions. Don’t be afraid to mix elements that make your heart happy – this is your chance to create something that truly reflects your Halloween spirit! Additionally, incorporating Spooktacular Halloween decor can elevate your wreath and enhance the overall festive atmosphere.
Popular Halloween Design Elements and Color Schemes

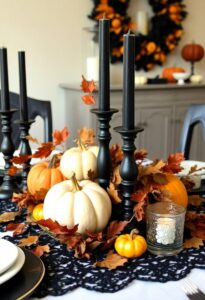
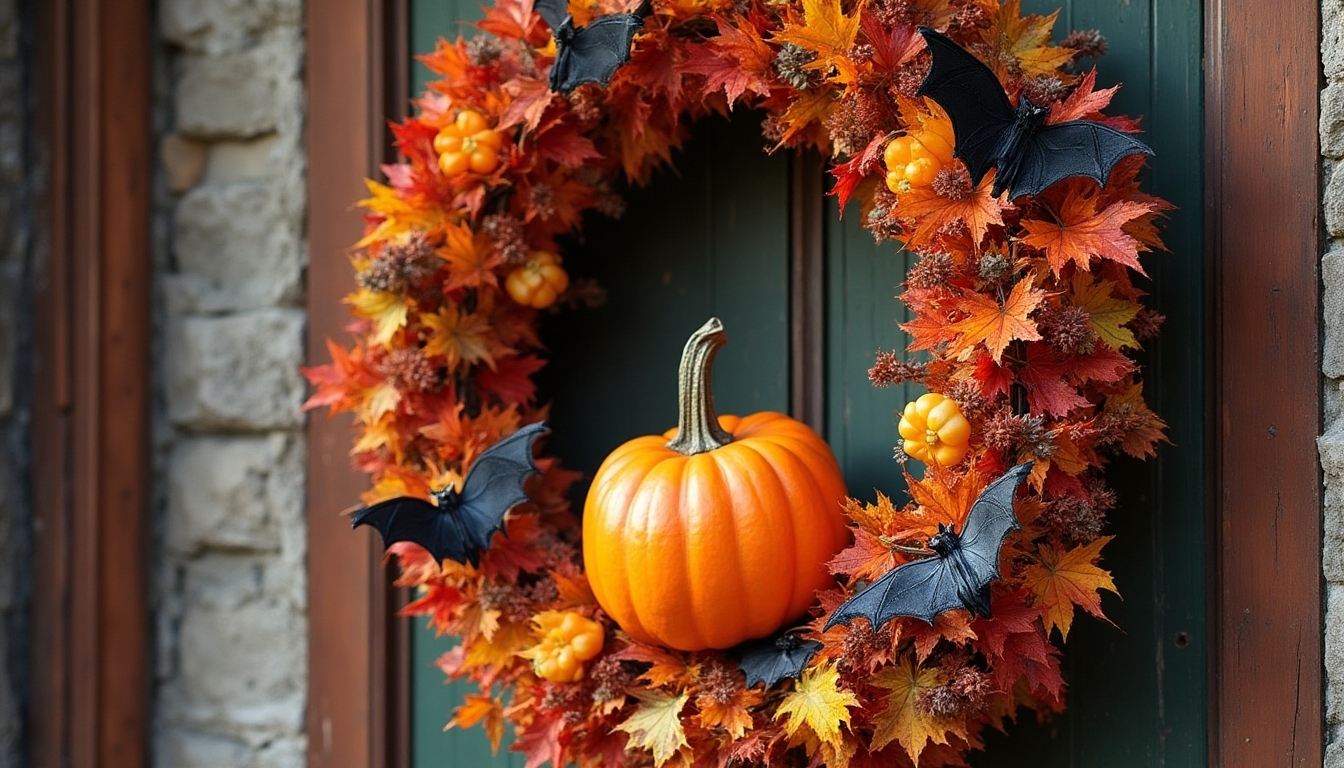
Traditional Halloween colors and design elements come together to create wreaths that’ll make your door the spookiest one on the block. Start with classic orange and black as your base colors, then add pops of purple, lime green, or silver for extra flair. You’ll love how these colors perfectly capture the Halloween spirit!
Incorporate beloved Halloween symbols like spiders, bats, and friendly ghosts into your design. Don’t forget to add twinkling LED lights, sparkly ribbons, or glittery accents that’ll catch everyone’s eye. Mix textures with fuzzy yarn, smooth plastics, and natural elements like twigs to create depth and interest that’ll make your wreath stand out. Consider using durable materials that ensure your decorations last throughout the season.
Step-by-Step Assembly Instructions

Now that you’ve gathered your favorite Halloween elements and colors, let’s put your spooky masterpiece together! Start by wrapping your wreath form with your chosen base material, securing it with floral wire or hot glue as you go.
Next, create focal points by arranging your larger decorations, like artificial pumpkins or spooky signs, at key positions around the wreath. Fill in the gaps with smaller items, such as faux spiderwebs, plastic bats, or mini skulls. Don’t worry about perfect symmetry – Halloween wreaths look best with a touch of playful chaos!
Finally, add your ribbons and finishing touches, making sure everything’s securely fastened. You’ll love showing off your creation! For more inspiration, consider checking out Halloween mailbox area decor ideas that can complement your wreath beautifully.
Adding Spooky Finishing Touches
Once you’ve assembled the main elements of your wreath, it’s time to add those spine-tingling details that’ll make your creation truly unforgettable!
Your Halloween wreath will come alive with these haunting touches that’ll make your neighbors stop and stare. Let’s transform your wreath into a spooky masterpiece that reflects your creative spirit:
- Weave battery-operated purple or orange LED lights throughout the wreath’s base, creating an eerie glow
- Attach small plastic spiders, dangling them from invisible fishing line to create movement
- Spritz the entire wreath with glow-in-the-dark spray paint, focusing on key elements for a ghostly effect. Consider incorporating Halloween fireplace decor ideas to inspire additional spooky elements for your wreath!
Weather-Proofing Your Outdoor Wreath
Since your beautiful Halloween wreath will face the elements outdoors, protecting it from rain, wind, and harsh weather is essential for keeping it looking spooky-spectacular all season long. You’ll want to spray your wreath thoroughly with a clear, waterproof sealant, making sure to coat all decorative elements evenly. Don’t forget to weather-proof any ribbons or fabric pieces with fabric protector spray.
For extra protection, consider hanging your wreath under a covered porch area, or add a small overhang above your door. If severe weather‘s predicted, you can easily bring your masterpiece inside until the storm passes.
Storage and Maintenance Tips for Future Use
After protecting your wreath from outdoor elements, you’ll want to give equal attention to storing it properly when the spooky season ends. Your cherished Halloween creation deserves care that’ll help it last for many festive seasons to come.
- Clean your wreath thoroughly with a soft brush, removing any cobwebs, dust, or outdoor debris that might have settled on it
- Wrap your wreath carefully in acid-free tissue paper, then place it in a sturdy storage container that’ll protect it from being crushed
- Store in a cool, dry place away from direct sunlight and extreme temperatures to prevent fading and damage to delicate materials
Creative Variations and Design Inspirations
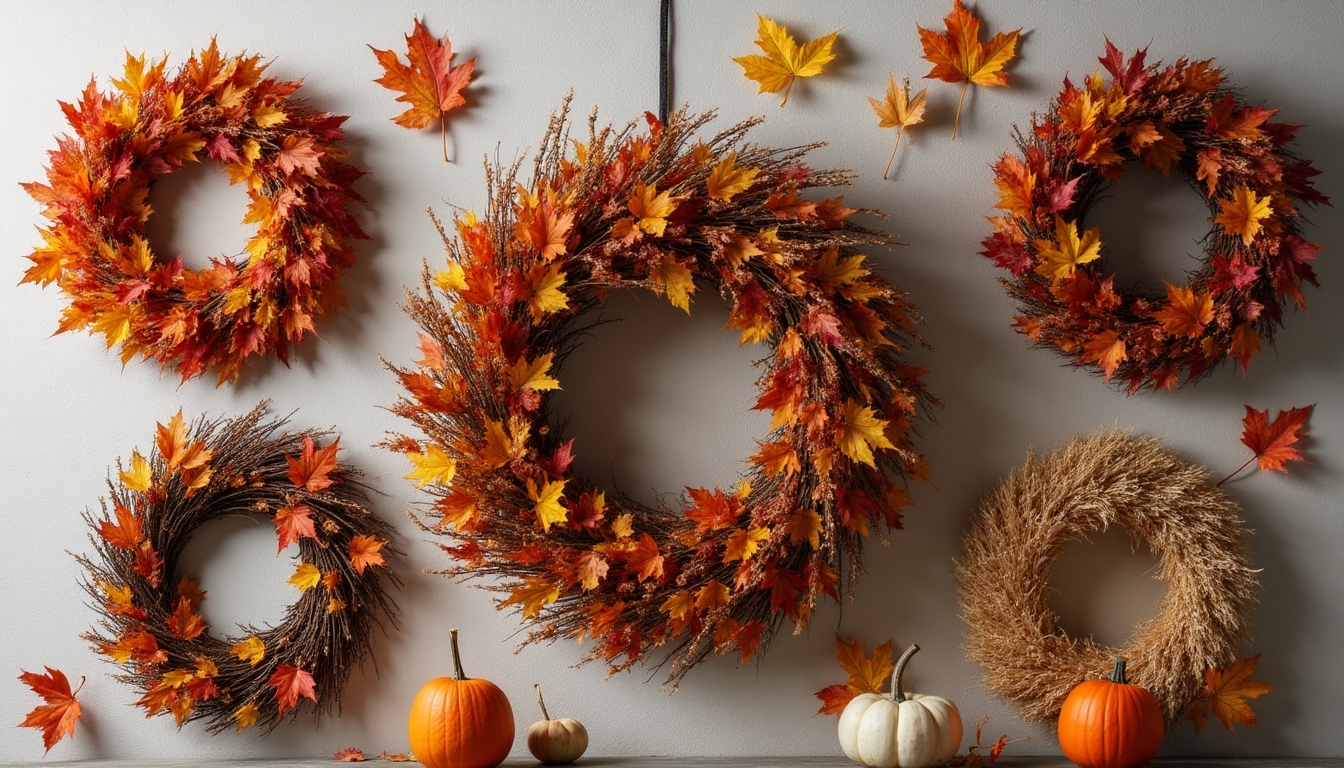
While classic Halloween wreaths feature traditional orange and black colors, you’ll find endless possibilities to create unique and personalized designs that reflect your style. Consider using unexpected color schemes like purple and lime green, or create an elegant wreath with metallic silvers and whites. Let your imagination run wild with themed wreaths – try a spooky cemetery scene, a witch’s workshop, or a haunted carnival design.
You can also draw inspiration from your favorite Halloween movies or childhood memories. Don’t be afraid to mix materials like rustic burlap with glittery ribbons, or combine natural elements with spooky artificial accents. Your wreath will become a cherished conversation piece that welcomes guests with your personal touch.
Frequently Asked Questions
How Long Does a Homemade Halloween Wreath Typically Last?
Your homemade Halloween wreath can last anywhere from 3-5 years when you store it properly! If you’ve used artificial materials like faux flowers, plastic decorations, or fabric elements, you’ll get the longest life from your creation. Just be sure to keep it in a cool, dry place during the off-season, and wrap it carefully in plastic to protect it from dust and moisture. With proper care, you’ll enjoy your spooky masterpiece for many Halloweens to come!
Can I Use Hot Glue if I Don’t Have a Glue Gun?
While it might seem like regular hot glue would work just fine, you’ll actually need a glue gun for the best results. The gun helps control temperature and flow, which is essential for your crafting success. Don’t worry though – you can find affordable glue guns at most craft stores or online for under $10! In the meantime, you can use strong craft adhesive or floral wire to hold your wreath materials together securely.
What’s the Average Cost to Make a Halloween Wreath From Scratch?
You’ll typically spend between $20-40 to create your own Halloween wreath, depending on where you shop and what materials you choose. Your basic supplies will include a wreath form ($5-8), decorative elements like artificial flowers or spooky ornaments ($10-15), and ribbons or mesh ($5-10). If you’re looking to save money, try checking dollar stores and craft shops’ clearance sections. You’ll often find great deals that’ll help you make something truly special!
Are Battery-Operated Lights Better Than Plug-In Ones for Halloween Wreaths?
Battery-operated lights are definitely your best choice for Halloween wreaths! You’ll love how they give you more freedom to hang your wreath anywhere, without worrying about finding an outlet. They’re safer too, since you won’t have cords dangling down your door. While plug-in lights might be brighter, today’s LED battery lights last surprisingly long and give off plenty of spooky glow. Plus, you can easily change the batteries whenever needed!
How Do I Prevent Birds From Nesting in My Outdoor Halloween Wreath?
Just like how you’d childproof your home, you’ll want to “bird-proof” your festive wreath! You can start by spraying your wreath with a pet-safe bird repellent, which works wonders. Try weaving some reflective ribbon or hanging small mirrors nearby – birds don’t like the flashing lights. You can also place fake predatory birds, like plastic owls, near your wreath. If you’re crafting the wreath, avoid using materials that birds love for nesting, like straw or soft fibers.