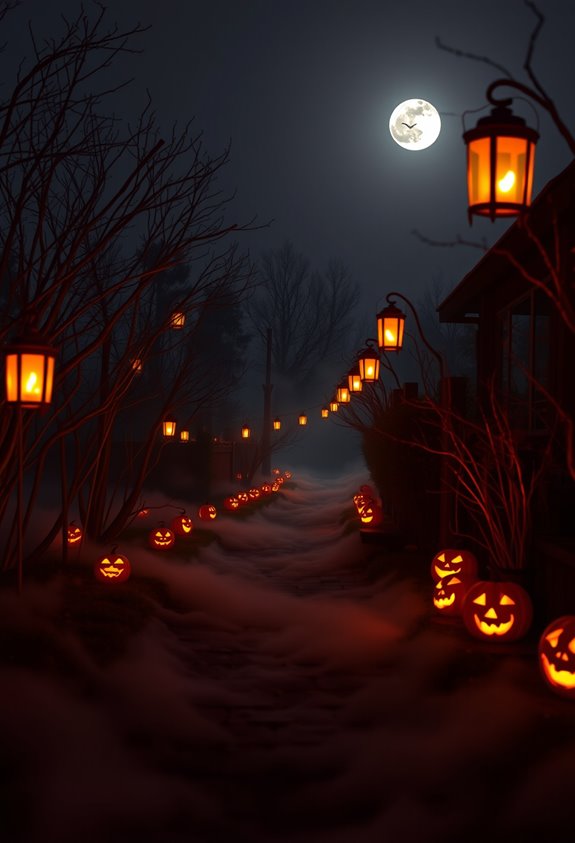
Your Halloween pathway isn’t just decoration — it’s crowd control with a costume. Line both sides with LED-lit jack-o’-lanterns, stagger heights, and anchor everything so nothing drifts into foot traffic. Skip open flames entirely; battery-powered flickering candles do the job without the liability. Map your route from sidewalk to door before placing a single prop. The strongest decor lands closest to the entrance. There’s a lot more to unpack here.
Design Highlights
- Map your route from sidewalk to front door first, then build outward with props grouped in threes at staggered heights.
- Line both pathway sides with mixed large and small jack-o’-lanterns lit by flickering LED candles for safe edge marking.
- Stack pumpkins on overturned buckets and stagger lanterns to create intentional height variation that draws eyes toward the entrance.
- Use battery-powered or solar-powered lights along walkway edges to maintain visibility without open flames or trip hazards.
- Anchor your strongest focal point at the porch, placing your most detailed carved pumpkins there to create a dramatic finale.
Halloween Pathway Lighting That Works Without Open Flames
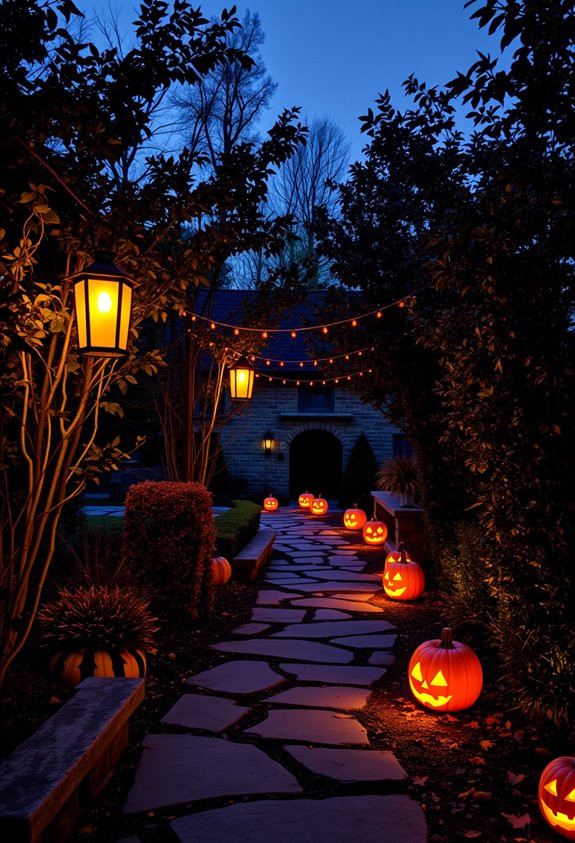
Open flames on a Halloween pathway sound festive until the wind picks up and your decorations catch fire. Not ideal. Luckily, you’ve got better options that keep the spooky vibe intact.
Open flames sound festive until your decorations catch fire. Better options exist that keep the spooky vibe intact.
LED rope lights define your walkway cleanly. No flame, no drama. They outline the path so guests actually know where to walk, which matters more than you’d think. Grab outdoor-rated ones since moisture happens.
Battery-powered candles pull serious weight here. Tuck them inside pumpkins, mason jars, or paper lanterns. They flicker. They glow. Nobody knows the difference. Wind picks up? Still glowing. That’s the point.
Jack-o’-lanterns lined along your path create that warm, layered look everyone loves. Vary the sizes. It looks more natural, less like a hardware store display. You’re building atmosphere, not just lighting a sidewalk. For a fully cordless setup, skull lanterns solar-powered along a stone pathway handle both decoration and functional lighting without a single wire to trip over.
Plan Your Halloween Walkway From the Entrance Out
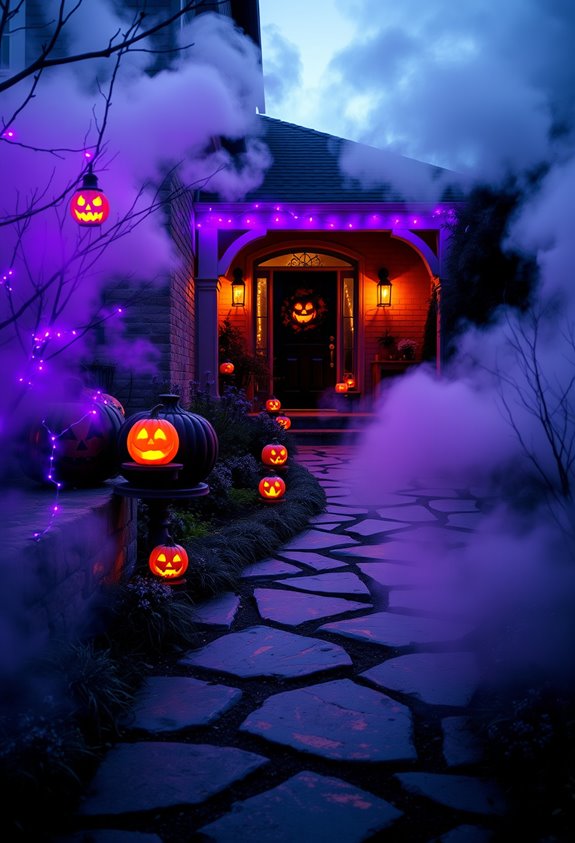
Good lighting gets guests to your walkway. Now you’ve got to make sure they actually want to walk it.
Start at the threshold — map everything from the sidewalk edge to your front door before you place a single prop. The strongest focal point belongs where the path meets the porch. That’s your money spot.
Build outward from the door after you’ve nailed the entrance zone. Don’t scatter stuff randomly and call it decorated. Group props in threes, stagger heights, and pull guests forward with intervals — tombstones, signs, stepping-stone accents.
Make the whole route feel like a story that builds.
Low impact near the sidewalk. Higher drama closer to the door. Simple progression. It works every time, and your neighbors will absolutely notice. Place your most detailed carved pumpkins right at the point where the walkway meets the porch to anchor that final dramatic beat.
Pumpkin Borders That Guide Guests to Your Front Door
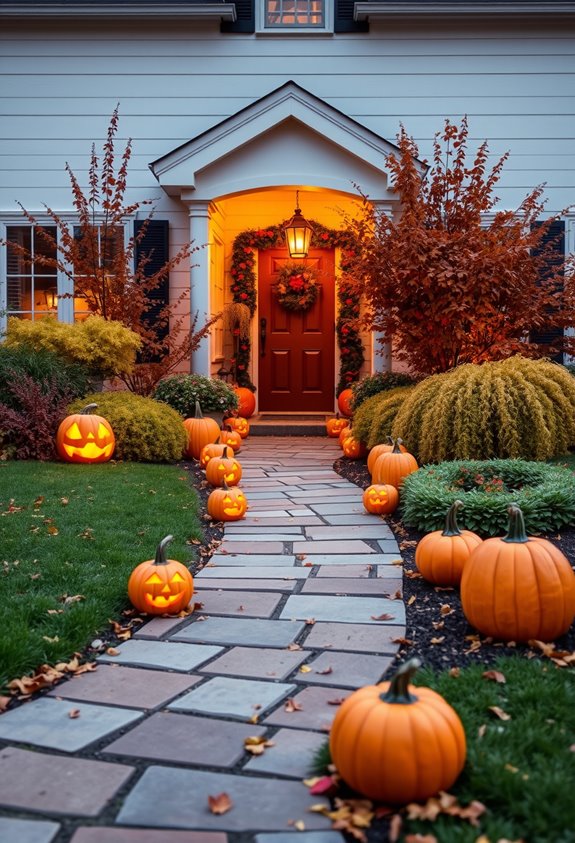
Pumpkins pull double duty when you line them up right. They’re decoration and direction, all in one. Line them along both sides of your driveway, and suddenly guests aren’t guessing where to walk. They just know.
Size matters here. Mix large and small pumpkins to add depth and keep the border looking intentional, not lazy. Even spacing is your friend. Random placement looks exactly like what it’s — an afterthought.
Once the sun drops, those carved jack-o’-lanterns with flickering LED candles earn their keep. They glow continuously, marking the path edge so nobody’s stumbling through your yard in the dark. Add hay bales underneath for a grounded, harvest-style look. Autumn leaves scattered around tie it all together. For an extra layer of menace, tuck faux skulls among the pumpkins to shift the vibe from harvest-friendly to something darker. It works. Simple as that.
Tombstones, Fog, and the Full Graveyard Path Effect
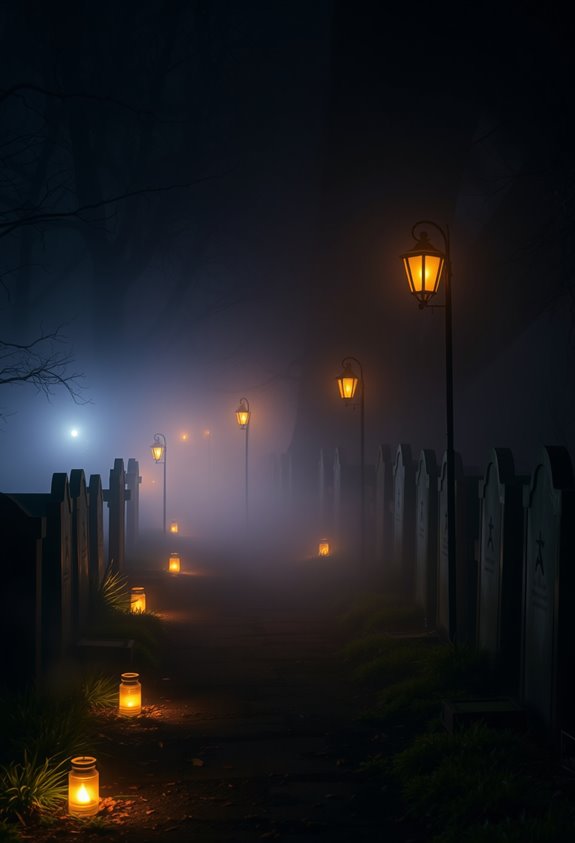
When you want guests genuinely unsettled before they reach your door, a full graveyard path setup is the move.
Mix tombstone heights, angles, and shapes — taller stones toward the back, smaller ones up front.
Tilt a few.
Half-bury some.
Uniform rows scream “party store.” Avoid that.
Anchor everything with stakes or coat hangers so wind doesn’t embarrass you.
Paint foam or cardboard gray, crack it up, add black lettering.
Done.
Fog machines belong near the tombstones, not floating randomly in the yard.
Use a fog chiller for that low-lying, ground-hugging mist.
Pair it with green or purple uplighting for long, dramatic shadows.
Then layer in skulls, bones, and cemetery audio.
That’s how the path feels lived-in — or rather, died-in. Add skeleton hands reaching from scattered leaves near the tombstone bases to sell the illusion that something is clawing its way out.
Spiderwebs, Skeletons, and Creepy Figures Along the Driveway
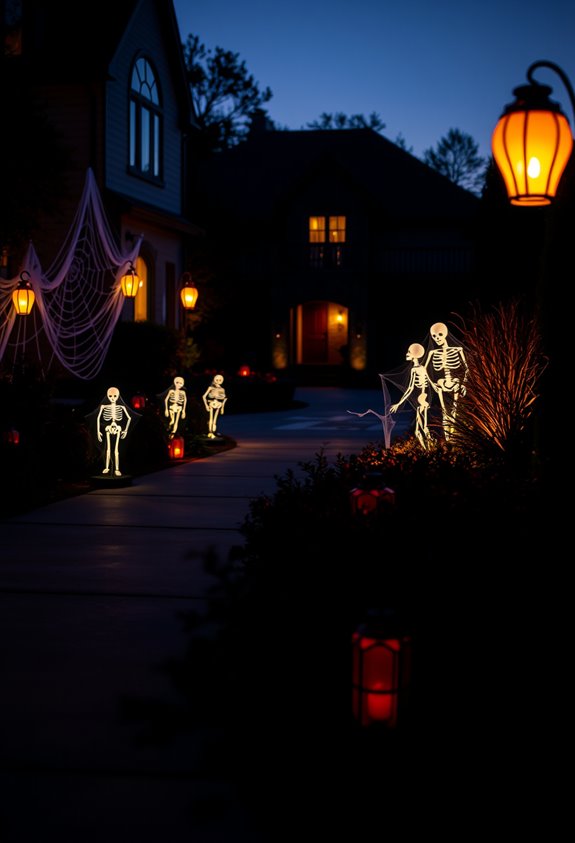
The driveway is your longest scare opportunity, and most people waste it. Don’t be that house. Stretch faux spiderwebs thin for realism, anchor them to bushes or stakes, and position dim garden lights behind them so shadows do the heavy lifting. Add a skeleton army along the edges holding lanterns, secured with rebar so they don’t tip over like amateurs. Purple and green spotlights make everything hit harder after dark.
Don’t waste your driveway. Thin webs, hidden lights, and a skeleton army make all the difference.
Three elements that actually work together:
- Giant spiders near webs for immediate street-level impact
- Skeleton guards with lanterns defining the nighttime route
- Gargoyle statues flanking the entrance for gothic authority
Establish your centerpiece first. Build outward. Slight asymmetry makes webs look real instead of staged.
Overhead Effects That Make Your Halloween Pathway Unforgettable
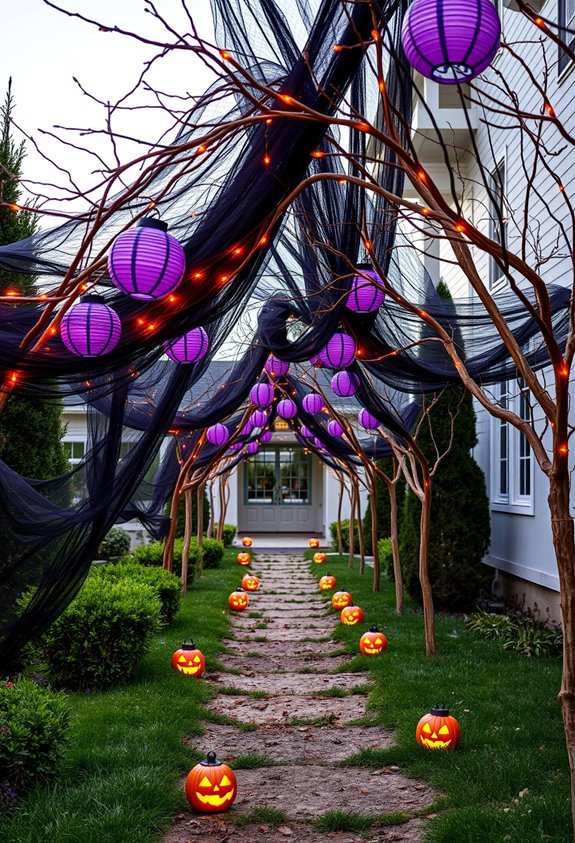
Most people stop decorating at eye level and call it done. Big mistake. Going overhead transforms an ordinary walkway into something your neighbors will actually talk about.
Hang lighted witch hats above the path. They cast shadows downward and stay visible from the street. Floating cheesecloth ghosts suspended on fishing line move with the breeze and add vertical drama without blocking foot traffic. Underlight them. The effect after dark is genuinely unsettling.
Stretch spiderweb string lights between trees or fence posts to create a canopy overhead. Pull the fibers apart first — solid sheets look cheap.
Projectors work too. Aim one from the house and cast bats or skulls across the entire approach. No bulky props. Maximum impact. For longevity and efficiency, LED lights last between 25,000 to 50,000 hours, making them the smartest choice for overhead installations you plan to reuse. You’re welcome.
Mix Carved and Faux Pumpkins for a Longer-Lasting Display
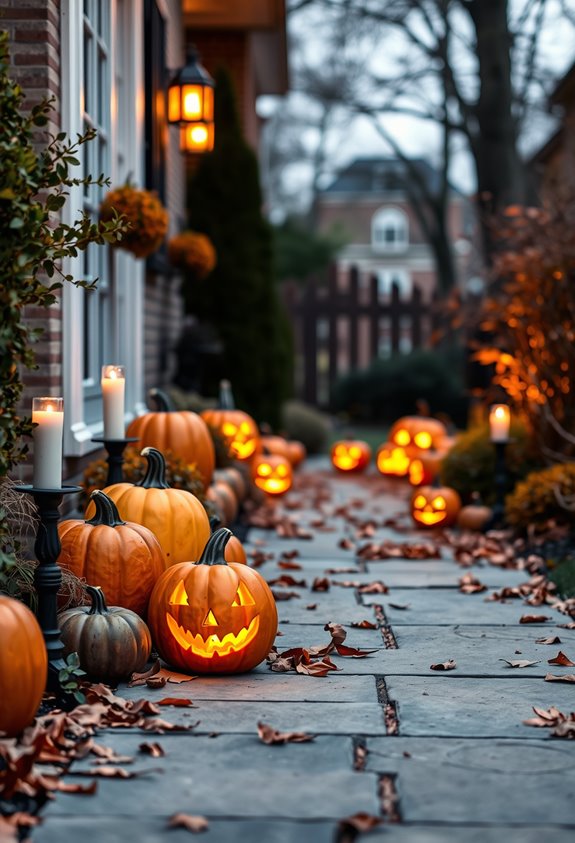
Carved pumpkins look incredible — for about a week. Then they slump. Mix them with faux pumpkins and your pathway stays sharp all season. It’s that simple.
Faux pumpkins hold their shape no matter what the weather throws at them. Real ones? They need monitoring. Use carved pumpkins where the glow matters most — faux ones anchor everything else.
Here’s what a mixed display actually does for you:
- Extends curb appeal even after real pumpkins start softening
- Reduces last-minute replacements when weather wrecks fresh pumpkins fast
- Saves money long-term since faux pumpkins store and reuse every Halloween
You’re not cutting corners. You’re being smart. The carved pumpkins still steal the show — they just don’t have to carry the whole display alone.
Low-Cost Halloween Pathway Decor That Still Looks Good
Spending a fortune on Halloween pathway decor is completely optional — and honestly, unnecessary. Dollar-store supplies stretch further than you’d think. Foam tombstones, plastic spiders, and string lights can fill an entire walkway for under $30. That’s it. No complicated budget math required.
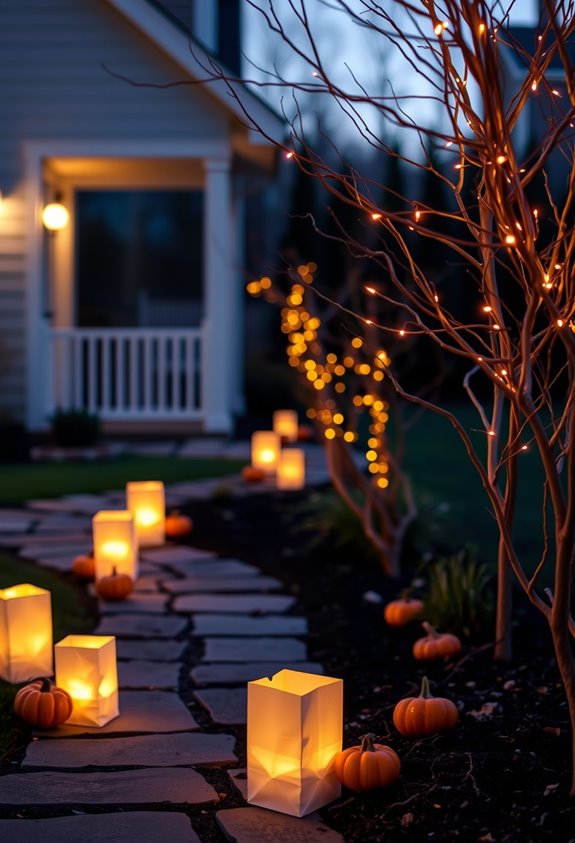
Battery-powered tea lights do the heavy lifting here. Tuck them inside mason jars, paper lunch bags weighted with sand, or cleaned-out milk jugs marked with spooky faces. You get that warm, eerie glow without the fire risk. Smart trade-off.
Height variation makes everything look more intentional. Stack pumpkins on overturned buckets. Stagger your lanterns. Stretch synthetic spiderwebs across nearby bushes. Suddenly your pathway looks curated rather than thrown together. Black cardstock bat cutouts add theme without adding cost. Simple works. Foam tombstones and pumpkins are especially practical choices since they store flat and stay lightweight between seasons.
Keep Your Halloween Walkway Safe Without Losing the Scare
Halloween safety isn’t glamorous, but a trip-and-fall lawsuit definitely kills the vibe faster than any haunted walkway. Your neighbors will remember the scare, not the ambulance. Luckily, safe and spooky aren’t mutually exclusive.
Here’s your non-negotiable checklist:
- Light the path properly — Solar-powered or LED lights along walkways and step edges keep visibility high without open flames killing your aesthetic.
- Kill the cord chaos — Wires crossing walkways are trip magnets. Use cable covers or tape them down. No exceptions.
- Anchor everything — Decorations that shift into walking areas become hazards fast. Secure them.
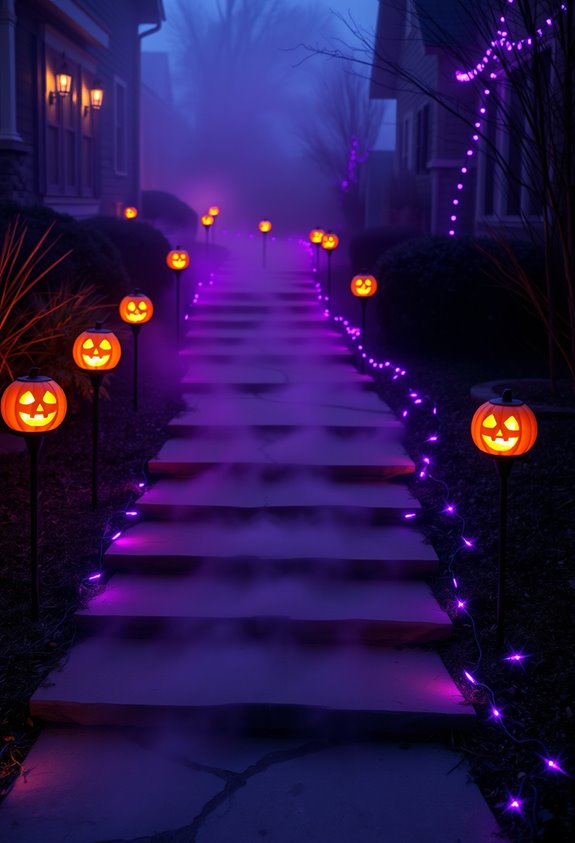
Do a walk-through after setup. In the dark. You’ll catch things daylight hides. Simple fixes now beat explaining yourself later. For path-lining decor that doubles as a guiding feature, consider two rows of jack-o-lanterns leading guests safely from the street to your front door.
Frequently Asked Questions
How Early Should I Start Setting up Halloween Pathway Decorations Outside?
You should start setting up your Halloween pathway decorations in early October! If you’d love a longer display season, late September’s a great option too, so you’ll enjoy every festive moment with your neighborhood community.
Can Halloween Pathway Decor Withstand Rain or Wet Weather Conditions Well?
Your Halloween pathway decor can absolutely handle rain when you choose plastic, metal, or resin materials. You’ll also want to elevate pieces off the ground, use weatherproof coatings, and anchor everything securely so your display stays impressive all season!
What Halloween Pathway Themes Work Best for Apartment Buildings or Condos?
You’ll love how a lantern-lit pumpkin path or moody haunted entryway thrives in apartment and condo spaces. Both use compact, contained props that fit shared walkways beautifully, helping your community feel festive without overcrowding anyone’s space.
Are There Halloween Pathway Decor Ideas That Work During Daytime Hours?
Yes, you’ll find plenty of daytime-friendly options! Use bold silhouettes, oversized skeletons, and grouped pumpkins to create a festive display your neighbors will love before the sun even sets.
How Do I Store Halloween Pathway Decorations Properly After the Season Ends?
Clean and dry everything before packing it away. You’ll want to wrap fragile pieces, coil lights on cardboard, and store it all in labeled, lidded plastic bins. Keep your bins on shelves in a dry, stable space.
Conclusion
Your walkway can be both terrifying and totally safe — that’s the whole point. Dark, eerie, fog-rolling paths don’t have to mean tripping hazards and fire risks. You’ve got nine solid ideas to work with now. Use one. Use all nine. Either way, your house stops being the one kids walk past and becomes the one they talk about at school Monday morning. That’s the goal. Go make it creepy.