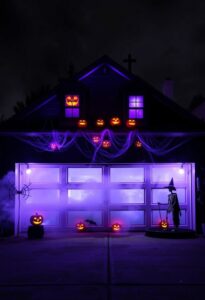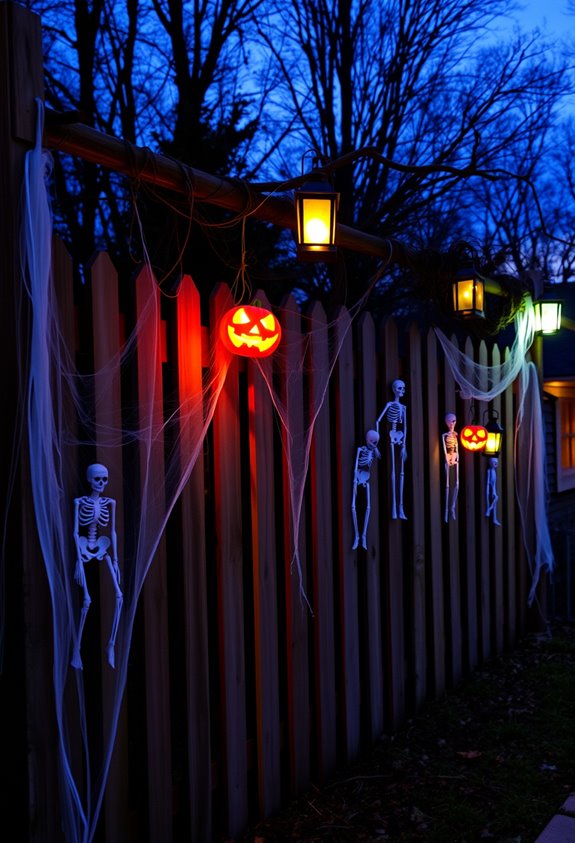
Your fence is 190 feet of untapped terror, and you’re wasting it. Start with a cemetery-style build using pallet wood, PVC framing, and rebar stakes so wind doesn’t flatten your hard work. Age everything with oil stain, whitewash, and fake rust. Layer orange and green string lights with spotlights and fog machines. Add lunging animatronics, caution tape, and clustered tombstones. Do it right, and the whole block stops dead in their tracks — keep going to find out exactly how.
Design Highlights
- Build weathered fence panels using pallet wood with jagged, pointed tips and uneven spacing to instantly create a haunted graveyard aesthetic.
- Layer orange, purple, and green string lights with spotlights and fog machines to create continuous, atmospheric lighting along the entire fence run.
- Distress fence surfaces with uneven stain, whitewash, rust tones, and fake insect damage to avoid a factory-made appearance.
- Add motion-sensor lights, lunging animatronics, and tucked hidden props near walkways to trigger genuine startled reactions from passersby.
- Dress the fence with webbing, “Keep Out” signs, flickering lights, and clustered tombstones to complete a fully immersive haunted scene.
Build a Halloween Cemetery Fence That Stops Traffic
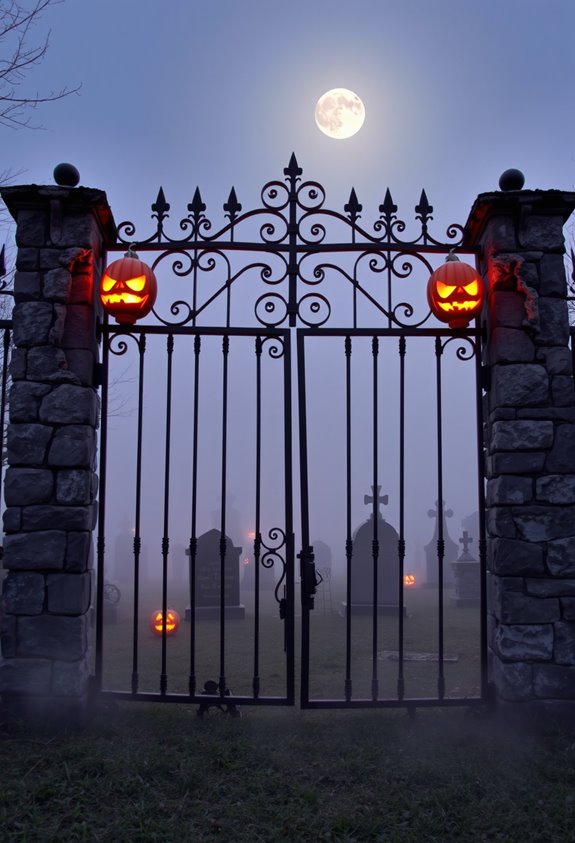
Before you cut a single piece of PVC, measure your full fence run. One builder covered 190 feet using twenty-three 8-foot panels plus a 6-foot gate panel. That’s real planning. Not guesswork.
Each panel combined three pieces of half-inch PVC with one piece of 2-inch PVC. Lightweight, rigid, and surprisingly sturdy. Use outdoor-safe glue *and* mechanical fasteners together. Glue alone won’t survive a windy October night.
Vary your picket heights. Tilt some slats. Make each panel look slightly different. Nobody’s impressed by a fence that looks factory-made.
Stake sections directly into the ground for easy removal after Halloween. Sharp edges face inward. Always.
The perimeter reads as one scene from the curb. That’s exactly what stops traffic.
Make Your Halloween Fence Look Aged and Rotted
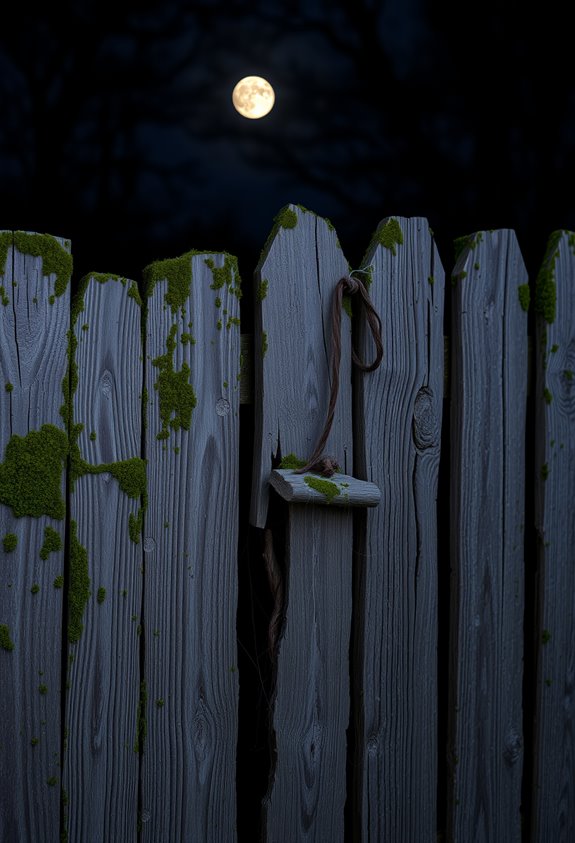
Once your fence panels are built, the real fun starts—making them look like they’ve been rotting in a graveyard for fifty years. Sand the fresh-cut edges down. Those clean lines scream “just built,” and that’s not the vibe. Leave some gouges and saw marks. Imperfection is the whole point.
For color, go uneven on purpose. Use oil-based stain, hit the joints and low spots darker, and layer in a watery whitewash over that. Multiple tones beat a flat single color every time. Reddish stain mimics rust and biological staining convincingly.
Want insect damage? Tiny clustered holes do the trick visually. Add dirt tones, cobwebs, and irregular finishing details. Collectively, these touches communicate decades of neglect. That’s exactly what your neighbors will believe.
For longevity through the elements, apply a clear outdoor sealant over your finished, aged-looking wood to protect all that careful distressing from rain and moisture.
Use Pallet Wood for a Decrepit Graveyard Look
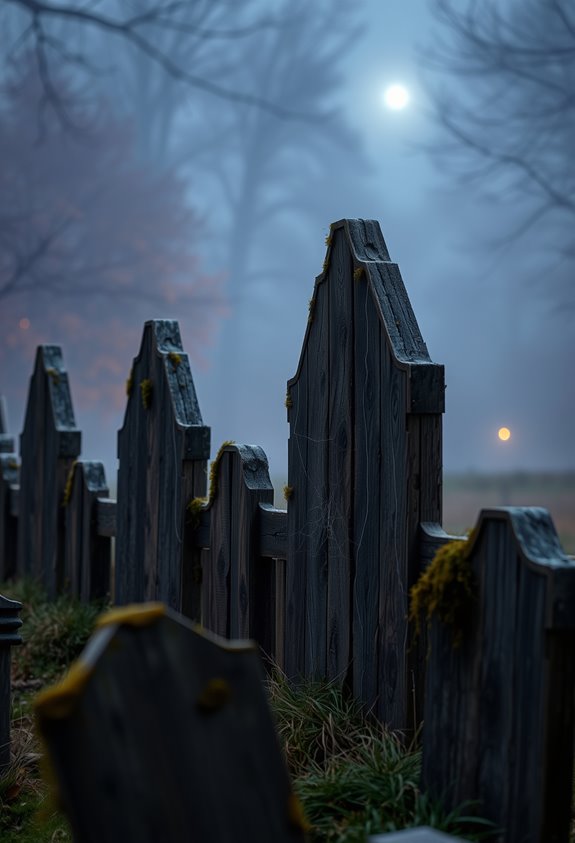
Pallet wood is basically pre-aged for you—rough, weathered, and already carrying that abandoned look you’re going for. Free pallets keep costs low, but clean and sanitize them first. Moisture, dirt, and bugs hitch rides on old pallet wood. Don’t skip that step.
Pallet wood comes pre-aged—rough, weathered, and ready. Just clean it first. Bugs don’t care about your aesthetic.
Once you’ve dismantled and sorted your boards, cut the tops into jagged, pointed tips. Mix lengths deliberately. Uneven slats read as weatherworn. Uniform spacing kills the vibe entirely.
Attach vertical slats to a backing board, then anchor sections using rebar stakes and PVC pipe so wind doesn’t flatten your whole cemetery. Nobody wants that on Halloween night.
Pile on moss, cobwebs, and skulls. Add tombstone props nearby. The rough wood already does the heavy lifting—you’re just finishing the scene. With the right setup, you can expect about 25 feet of fence coverage in roughly four hours of build time.
Light Your Halloween Fence for Maximum Nighttime Terror
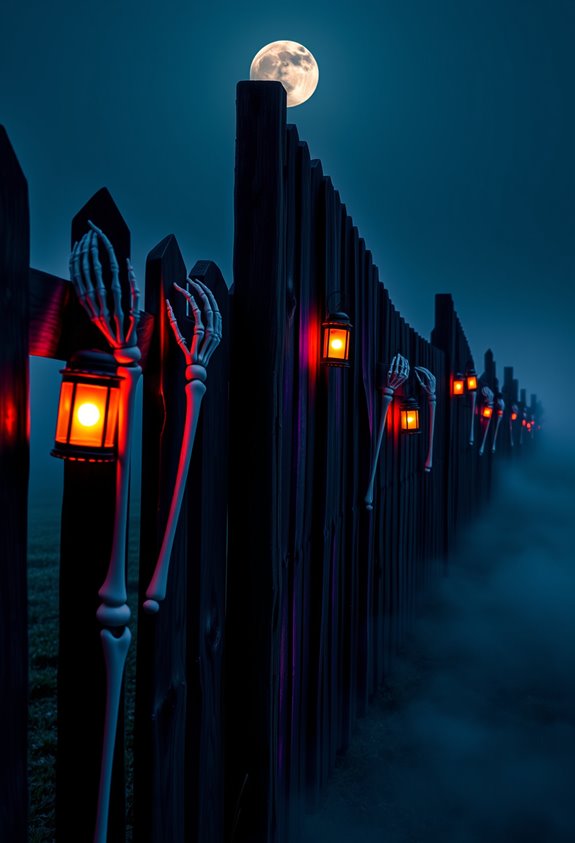
Lighting transforms a Halloween fence from “meh” to genuinely unsettling. Keep it continuous—gaps kill the effect.
Run orange, purple, or green string lights fence-length for that classic haunted palette everyone instantly recognizes. Want creepier? Blue and green uplighting are your eeriest options, full stop.
Color matters more than brightness. Don’t just crank up wattage and call it done. Layer string lights with spotlights, lanterns, and projectors for real depth.
Silhouettes hit harder than static bulbs. Backlight witch or bat cutouts and watch your fence become a shadow scene.
Add a fog machine and those shadows get thick, moody, and genuinely unsettling.
Motion-sensor lights near your gate seal the deal—nothing says “you’re not safe here” like lights that flash on as someone approaches. When it comes to longevity, LED lights last between 25,000 to 50,000 hours, making them the obvious choice for a setup you’ll want to reuse year after year.
Choose Props That Actually Scare People
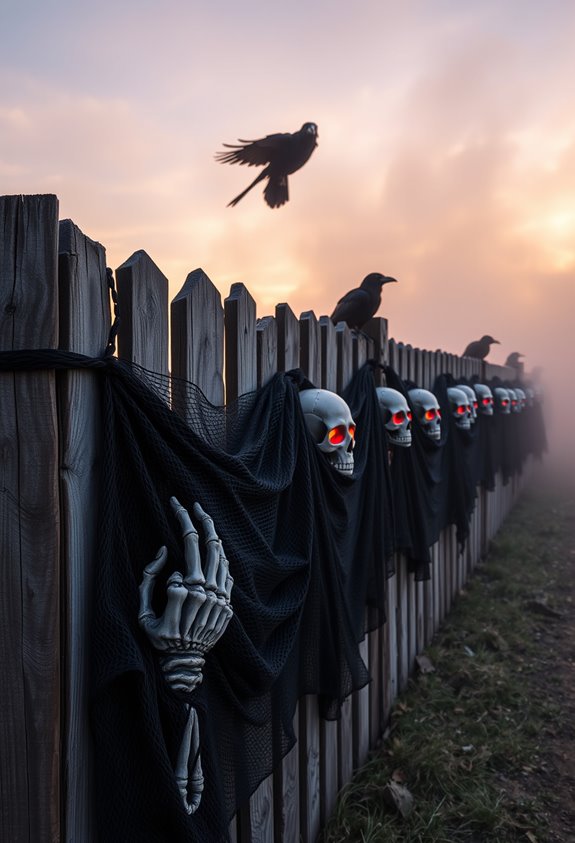
Forget size—movement is what actually scares people. That giant inflatable skeleton? Cute. Not scary. What actually works is a lunging animatronic positioned near a walkway corner, staying completely still until someone relaxes. Then it moves. That’s the formula.
Humanlike figures hit differently than monsters. A mannequin in real clothes, placed just right, makes people genuinely question what they’re seeing. Add eyes that follow movement and you’ve got something unsettling on a psychological level.
Don’t rely on one trick. Layer your setup. Put ambient sound behind a hidden prop, keep lighting low, and time the reveal to break a moment of false calm. Sound alone won’t cut it. Movement alone won’t either. Combined? That’s when your fence display stops being decoration and starts being genuinely frightening. Props tucked behind other decorations and triggered on a delay work especially well because people let their guard down the moment they think the scare has passed.
Add Webs, Caution Tape, and Graveyard Dressing
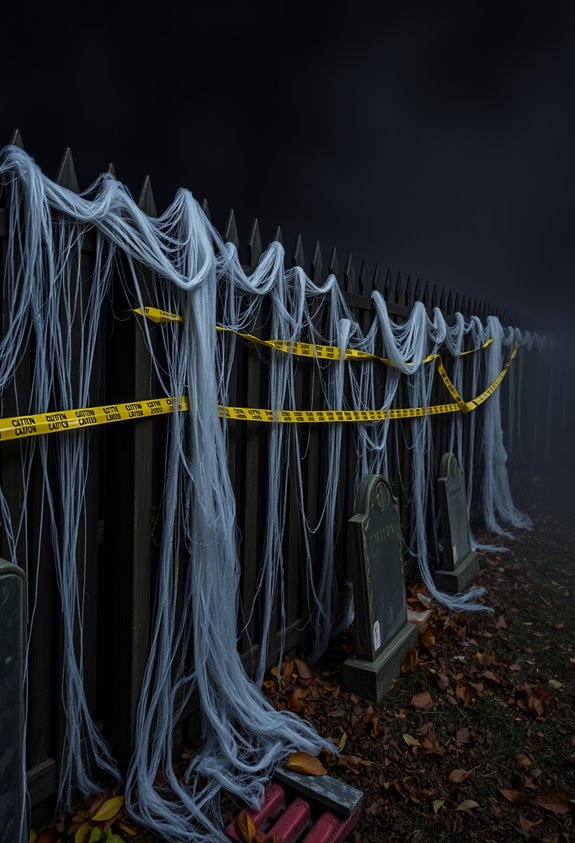
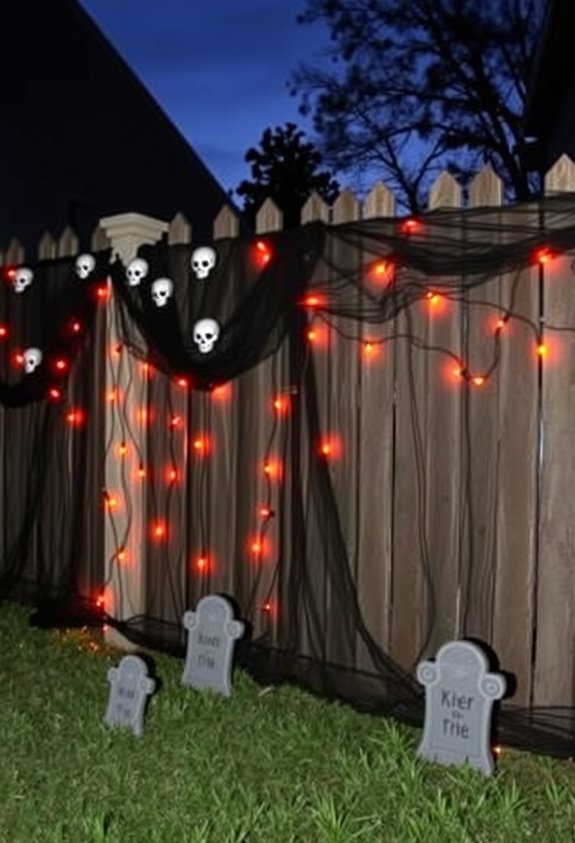
Once you’ve got your scare mechanics sorted, it’s time to dress the fence itself. Start with webbing. Stretch it between posts, drape it over sections, layer it. It’s cheap, it’s effective, and it immediately signals “something’s wrong here.” Pair it with lighting so the texture actually shows up after dark. Without light, webs disappear. Don’t waste the effort.
Caution tape is your next move. Wrap it around posts, add a “Keep Out” sign, and suddenly your fence reads like a crime scene. That contrast between official warning and haunted décor? It works every time.
Then plant a few tombstones along the fence line. Cluster them, don’t scatter them. Drape cobwebs over them. Add flickering blue or green light. You’ve just built a graveyard perimeter. People will notice. Tombstones can be made from plywood, Styrofoam, or cereal boxes for an easy and inexpensive DIY option that still delivers serious visual impact.
Finish Your Halloween Fence Display Without Overspending
Labor and creativity carry the visual load. Your neighbors don’t know what you spent. They just know it looks incredible. Repurposed cedar fence boards cut to different lengths can each become a distinct character — ghost, Frankenstein, or mummy — using only paint and basic craft supplies.
Frequently Asked Questions
How Early Should I Start Building My Halloween Fence Display?
Start building your Halloween fence display in early October! You’ll give yourself enough time to layer decor gradually, reduce stress, and enjoy the full effect all month long with your neighbors admiring every spooky detail.
Can Halloween Fence Decorations Withstand Rain or Strong Wind?
Your decorations can survive the elements — but only if you’re prepared. Use PVC, sealed wood, and galvanized hardware for rain. Anchor everything with stakes and tethers so your display stays standing with the neighborhood’s best.
Are There HOA Rules That Restrict Halloween Fence Decorating?
Yes, your HOA can restrict Halloween fence decor! They’ll often limit display windows, flag oversized or gory items, and require removal deadlines. Check your community’s bylaws first so you’re decorating confidently alongside your neighbors!
How Do I Safely Store Halloween Fence Materials After the Season?
Like a pro, you’ll want to clean, dry, and sort your decorations first. Pack fragile items in bubble wrap, use labeled bins, and store everything in a climate-controlled space to protect your collection for next season.
What Age Group Finds Halloween Fence Displays Most Frightening?
Your youngest trick-or-treaters, ages 3–4, find Halloween fence displays the most frightening! They can’t distinguish real from pretend, making your spooky decorations especially overwhelming for them. You’ll want to take into account their reactions when designing your display.
Conclusion
Your Halloween fence doesn’t have to be a ghost of its potential. Aged wood, creepy lighting, strategic props — it all adds up fast. You’re not just decorating a fence. You’re creating an experience that hits people before they even reach your door. Pick two or three ideas from this list and commit. The neighbors are watching. Make sure they’re also running.