You’ll discover that decorating Easter eggs becomes a delightful tradition when you choose between hard-boiled eggs for temporary fun or blown shells for lasting keepsakes. You can create stunning designs using natural dyes from kitchen ingredients, vibrant store-bought kits, or traditional wax-resist techniques like pysanky that reveal intricate patterns. Don’t worry if mistakes happen—you’ll transform cracked shells and uneven colors into creative opportunities using decoupage, ribbons, or glitter. Seal your finished eggs with clear acrylic spray and store them carefully in tissue-lined cartons, building a cherished collection that grows more meaningful each year as you explore even more techniques below.
Design Highlights
- Choose hard-boiled eggs for temporary decorating or blown shells for lasting keepsakes that can be displayed year after year.
- Use natural dyes from kitchen ingredients or store-bought kits, experimenting with layering and partial dips for custom colors.
- Apply wax-resist techniques like pysanky for intricate patterns, or try decoupage, marbling, and mixed media for unique effects.
- Transform mistakes into creative opportunities using decorative tape, glitter, or additional colors to cover flaws and enhance designs.
- Seal eggs with acrylic spray and store in tissue-lined cartons in cool, dry places to preserve colors and prevent damage.
Prepare Your Eggs: Hard-Boiled vs. Blown Shells
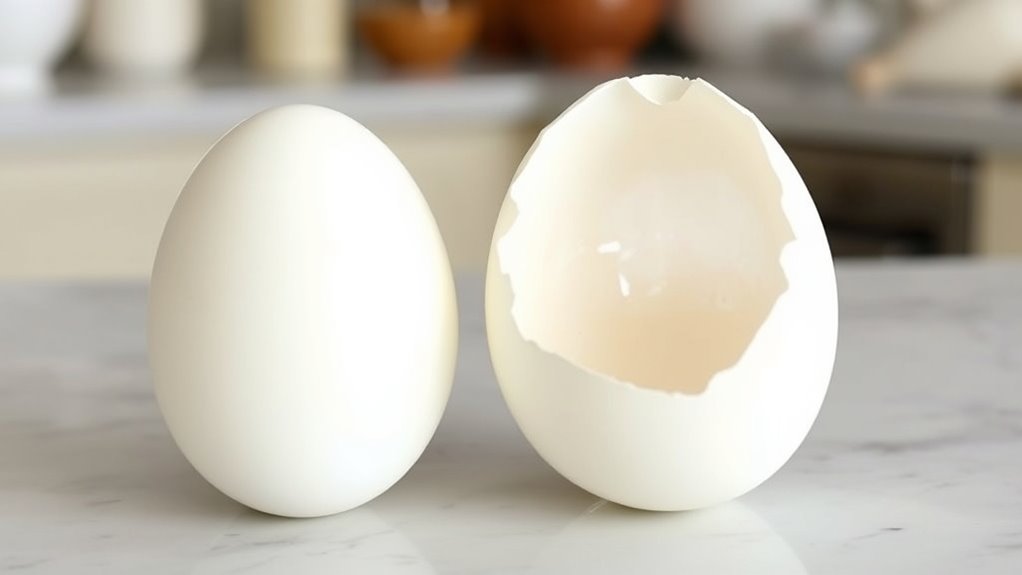
Before you can transform plain eggs into colorful masterpieces, you’ll need to decide between two popular preparation methods: hard-boiling or blowing out the shells.
Hard-boiled eggs are perfect if you’re looking for simplicity and want to enjoy your decorated eggs as treats afterward. You’ll boil them for about 10-12 minutes, let them cool completely, and they’re ready to decorate. They’re sturdy, easy to handle, and great for kids who are just starting out.
Blown eggs, on the other hand, give you freedom to keep your creations indefinitely. You’ll poke small holes at both ends, then gently blow out the raw contents into a bowl. Yes, it takes more effort and patience, but these hollow shells become lightweight keepsakes you can display year after year.
Choose based on your goals: temporary fun with hard-boiled, or lasting memories with blown shells. Either way, you’re making the right choice for your creative journey.
Dye Easter Eggs Using Natural and Store-Bought Colors
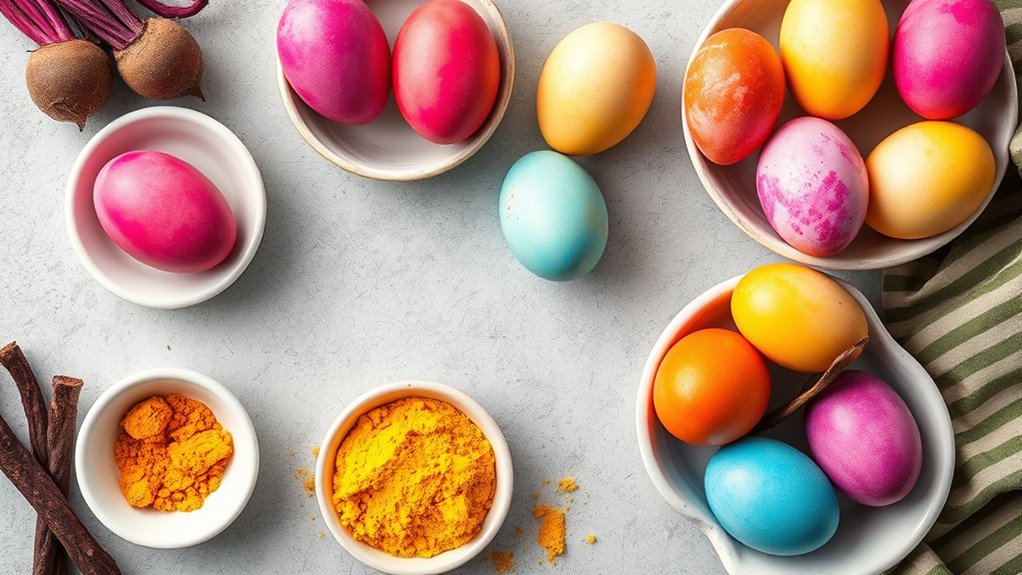
You’ve got two wonderful paths to choose from when it comes to dyeing your Easter eggs, and both create beautiful results you’ll be proud to display. Natural dyes come from everyday ingredients you might already have in your kitchen, like beets, turmeric, and red cabbage, and they produce soft, earthy tones that feel special and organic. Store-bought dye kits offer bright, vibrant colors that pop with intensity, and they’re incredibly easy to use, making them perfect if you’re decorating with kids or want quick, consistent results.
Natural Dye Ingredients Guide
When you choose natural dyes for your Easter eggs, you’ll discover that your kitchen likely holds a rainbow of coloring possibilities right now. Red cabbage creates stunning blue hues, while yellow onion skins produce rich golden tones. You can use turmeric for bright yellow, beets for pink or red, and coffee for warm brown shades. Blueberries give you soft purple, and spinach offers gentle green tones.
To make these dyes work their magic, you’ll simmer your chosen ingredient in water for about 30 minutes, strain the liquid, and add vinegar to help the color stick. The longer you soak your eggs, the deeper the colors become. This natural approach lets you create beautiful eggs without artificial chemicals, giving you complete control over what touches your food.
Store-Bought Dye Application
Store-bought dye kits make Easter egg decorating wonderfully simple, especially if you’re working with children or want quick, vibrant results. You’ll find everything you need in one convenient package, including tablets, color cups, and easy-to-follow instructions that take the guesswork out of the process.
Start by dissolving each dye tablet in the recommended amount of warm water and vinegar. The vinegar helps the color adhere beautifully to your eggs, creating those brilliant hues you’re after. Lower your hard-boiled eggs into the dye using a wire dipper or spoon, and watch the magic happen as they transform before your eyes.
For deeper colors, leave eggs submerged longer. You can also experiment by dipping eggs partially or layering multiple colors to create custom shades that express your unique creativity.
Create Wax-Resist Patterns: Pysanky and Pisanki Techniques
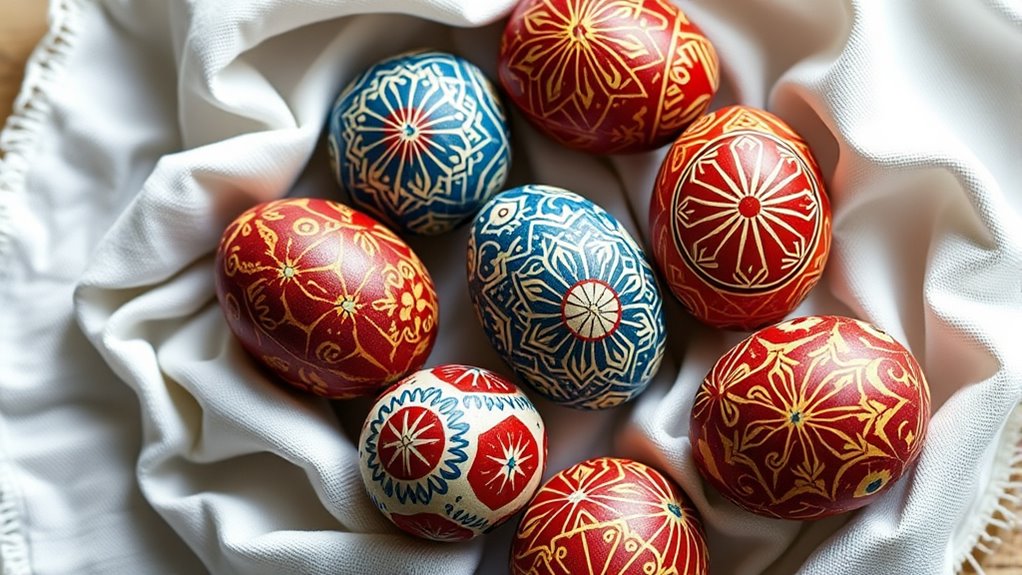
The ancient art of pysanky transforms simple eggs into breathtaking masterpieces through the magic of wax and dye. You’ll use a special tool called a kistka, which holds melted beeswax, to draw intricate designs directly onto your egg’s surface. The wax acts as a protective barrier, preserving the egg’s natural color or previously applied dye layers underneath.
Start with the lightest color you want in your design, applying wax to those areas first. Then dip your egg into progressively darker dye baths, adding more wax after each dye application. When you’re finished, gently melt away the wax to reveal your stunning multi-layered pattern.
Pisanki, the Polish cousin of Ukrainian pysanky, follows similar principles but often features different symbolic motifs. You don’t need to be an artist to try these techniques. Simple geometric shapes, dots, and lines create beautiful effects, letting you express your creativity while connecting with centuries-old traditions.
Try Decoupage, Marbling, and Mixed Media Designs
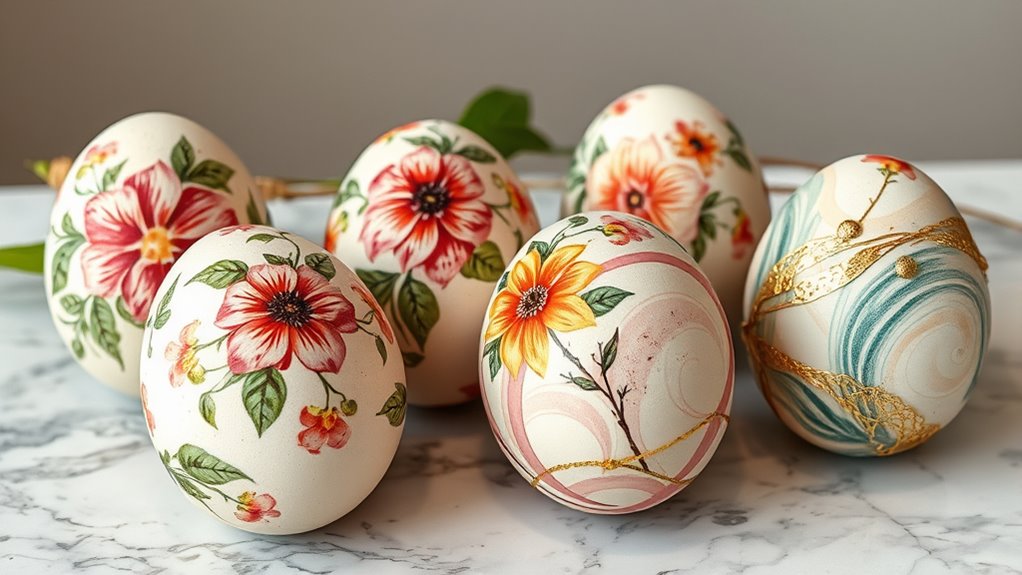
If you’re ready to explore beyond traditional dyeing methods, decoupage, marbling, and mixed media designs offer exciting ways to transform plain eggs into miniature works of art. These techniques let you layer colorful tissue paper, create mesmerizing swirled patterns, or combine different materials like paint, fabric, and embellishments for truly unique results. You’ll find that each method brings its own creative possibilities, and the best part is that you can adapt them to match your skill level and artistic vision.
Decoupage Tissue Paper Techniques
Delicate tissue paper transforms ordinary eggs into stunning works of art through the magical process of decoupage, where thin layers of colorful paper bond directly to the shell’s surface. You’ll love how simple this technique is—just tear tissue paper into small pieces, brush a thin layer of white glue mixed with water onto your egg, and gently press the paper down. The colors blend beautifully when pieces overlap, creating dreamy, watercolor-like effects that’ll make your heart sing. Work your way around the entire egg, smoothing out any wrinkles as you go. Once dry, seal everything with another coat of the glue mixture for a glossy, professional finish. This method gives you complete creative control, letting you design truly unique eggs.
Swirled Marbling Color Methods
While tissue paper creates soft, dreamy designs, marbling techniques bring bold, dramatic swirls that’ll make your eggs look like miniature works of modern art. You’ll love how easy this method is, and the results are absolutely stunning every time. Start by filling a shallow dish with water, then drop different colors of nail polish or acrylic paint onto the surface. Watch as the colors spread naturally, creating organic patterns. Gently swirl them with a toothpick to blend the hues together. Now comes the exciting part: carefully dip your egg through the floating paint, rotating it slowly to capture those gorgeous swirls. The colors wrap around the shell instantly, creating unique patterns you can’t replicate. Each egg becomes a one-of-a-kind treasure.
Layered Mixed Media Effects
Something magical happens when you combine multiple decorating techniques on a single egg, and that’s where mixed media truly shines. You’re free to break all the traditional rules here, layering decoupage cutouts over marbled backgrounds or adding painted details to fabric-wrapped surfaces. Start with one technique as your base, let it dry completely, then build upon it with complementary methods. Try adhering delicate tissue paper designs with mod podge, then accent the edges with metallic paint pens. You can combine wax-resist techniques with watercolors, add ribbon trim to dyed eggs, or glue sequins onto decoupaged surfaces. The beauty lies in experimenting without fear, creating dimensional artwork that tells your unique story. Each layer adds depth and personality that single techniques simply can’t achieve.
Fix Cracked Shells, Uneven Dye, and Other Mistakes
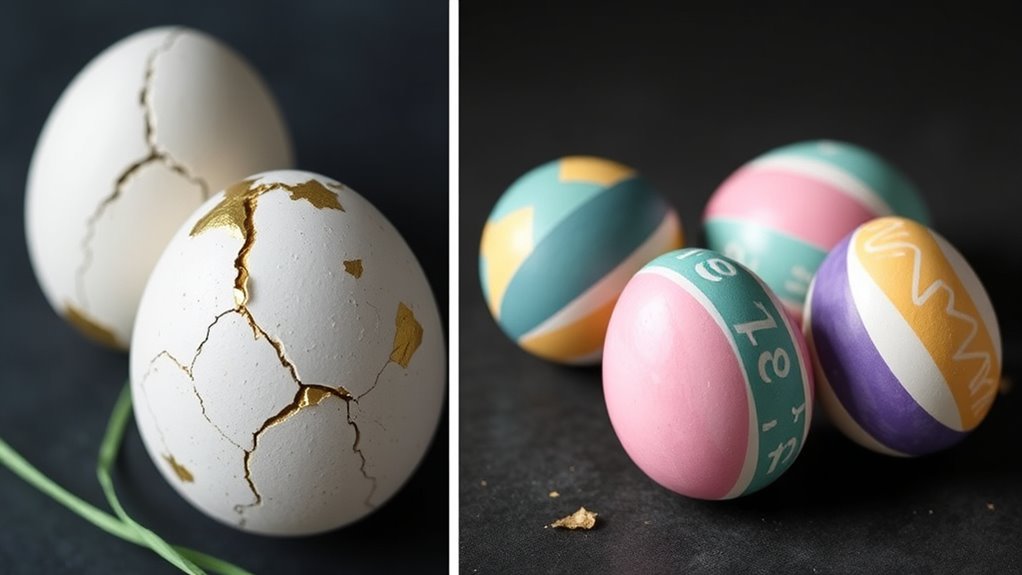
Even experienced egg decorators run into problems, and that’s completely normal when you’re working with something as delicate as eggshells. Don’t let mistakes discourage you from creating beautiful designs. You’ve got plenty of options to rescue your eggs and transform them into something wonderful.
Mistakes with delicate eggshells are normal—embrace imperfections and transform them into beautiful, creative designs instead of starting over.
For cracked shells, you can embrace the imperfection by applying metallic wax or gold leaf over the cracks, turning flaws into artistic features. Uneven dye becomes an opportunity for creative layering, so add patterns, wax resist designs, or additional color coats to blend those splotchy areas.
Here’s what you can do when things don’t go as planned:
- Cover problem spots with decorative tape, ribbon, or stickers
- Transform streaky dye into marbled effects by adding more colors
- Hide cracks completely with decoupage, glitter, or collage techniques
Seal and Store Your Finished Easter Eggs
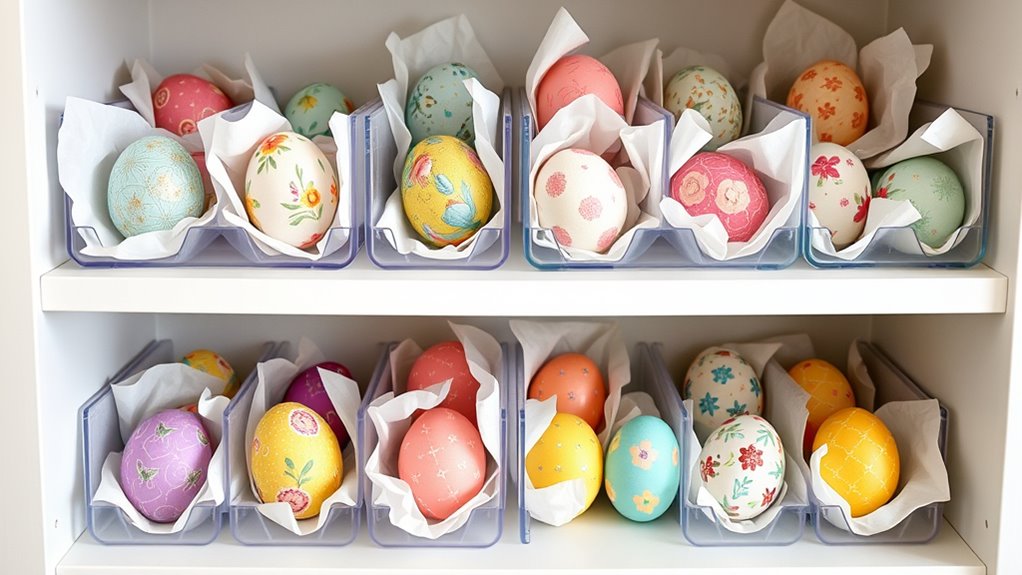
After you’ve put so much time and creativity into decorating your eggs, you’ll want to protect them so they last for years to come. Start by applying a clear acrylic sealer or spray varnish to hard-boiled eggs, which creates a protective barrier against moisture and fading. If you’re working with blown eggs, they’ll naturally last longer since there’s no perishable content inside. Once displayed, your finished eggs complement pastel Easter living room decor beautifully.
Store your finished eggs in egg cartons lined with tissue paper, keeping each one separated to prevent chipping and scratches. You can also wrap individual eggs in bubble wrap for extra protection. Find a cool, dry place away from direct sunlight, as heat and UV rays will damage the colors over time.
Label your storage boxes with the year you created them, and you’ll build a wonderful collection of memories. Your decorated eggs can become cherished keepsakes that you’ll enjoy displaying every Easter season, celebrating your artistic achievements year after year.
Frequently Asked Questions
What Age Is Appropriate for Children to Start Decorating Easter Eggs?
You can start your kids decorating Easter eggs around age 3-4 with supervision. They’ll love simple techniques like stickers and markers. Older children can handle dye and more complex designs, giving them creative freedom to express themselves.
How Long Do Decorated Easter Eggs Typically Last Before Spoiling?
You’ll keep hard-boiled decorated eggs refrigerated for about one week maximum. But here’s the deal: if you’re going totally off-grid with raw eggs that’ve been blown out, those decorated shells can last indefinitely when stored properly.
Can You Eat Eggs After They’ve Been Decorated With Dye?
Yes, you can eat dyed eggs if you’ve used food-safe dyes and kept them refrigerated under two hours total. Don’t eat eggs with cracks, room-temperature exposure over two hours, or non-edible decorations like glitter or stickers.
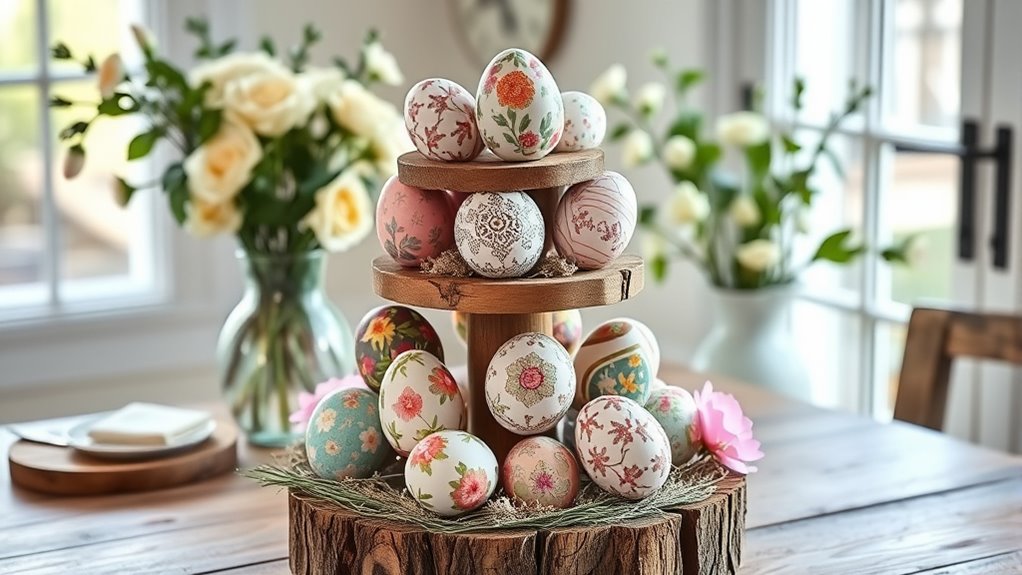
What’s the Best Way to Display Decorated Eggs in My Home?
You’ll want to hide your beautiful eggs—ironically, that’s what makes them shine! Display them proudly on tiered stands, in glass bowls, or hanging from branches. Mix heights and textures freely. Let your creativity run wild!
Are There Egg Decorating Traditions From Different Cultures to Explore?
You’ll discover Ukrainian pysanky with intricate wax-resist patterns, Polish pisanki featuring vibrant scratch designs, Greek red eggs symbolizing Christ’s blood, and Persian Nowruz eggs celebrating spring’s renewal. Each tradition offers unique artistic freedom.
Conclusion
You’ve now got all the tools you need to create stunning Easter eggs, whether you prefer ancient pysanky techniques or modern decoupage styles. Don’t worry if your first attempts aren’t Instagram-perfect—every decorator starts somewhere, and each egg you create builds your skills. Remember to seal your finished pieces properly so they’ll last for years. Most importantly, have fun experimenting with colors, patterns, and techniques. Your unique creations will bring joy to everyone who sees them!