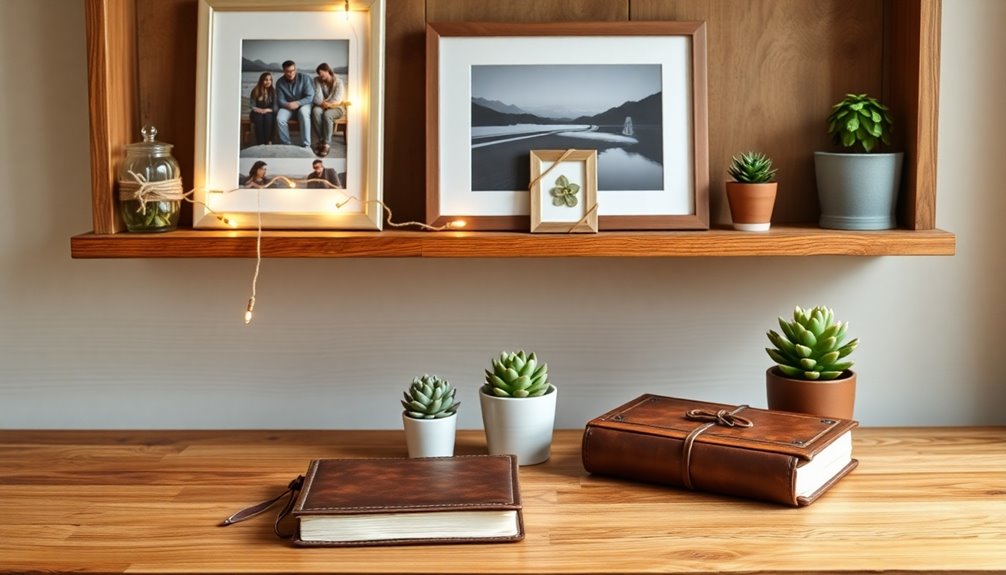
You don’t need a big budget or fancy skills to make Dad something he’ll actually keep. Clip prints to twine with mini clothespins, build a shadowbox with layered cutouts, or assemble a craft stick frame kids can paint themselves. Projects run anywhere from $0 to $40. Simple supplies — Mod Podge, Command Hooks, barnwood frames — do most of the heavy lifting. Stick around, because there’s a lot more where that came from.
Design Highlights
- Assemble craft sticks into two square frames, trim photos to fit, and personalize with stickers, buttons, or beads for a unique Father’s Day gift.
- Paint the craft stick frames in Dad’s favorite colors, allowing complete drying before adding personal touches like yarn loops for hanging.
- Suspend favorite family photos from twine using mini clothespins, creating an affordable, heartfelt memory showcase for around $0–$10.
- Use Command Picture Strips to mount displays without drilling, making installation simple and damage-free for renters or beginners.
- Preserve displayed photos by using acid-free mats, UV-protective acrylic, and displaying copies rather than irreplaceable originals.
Supplies Every DIY Photo Display Project Requires
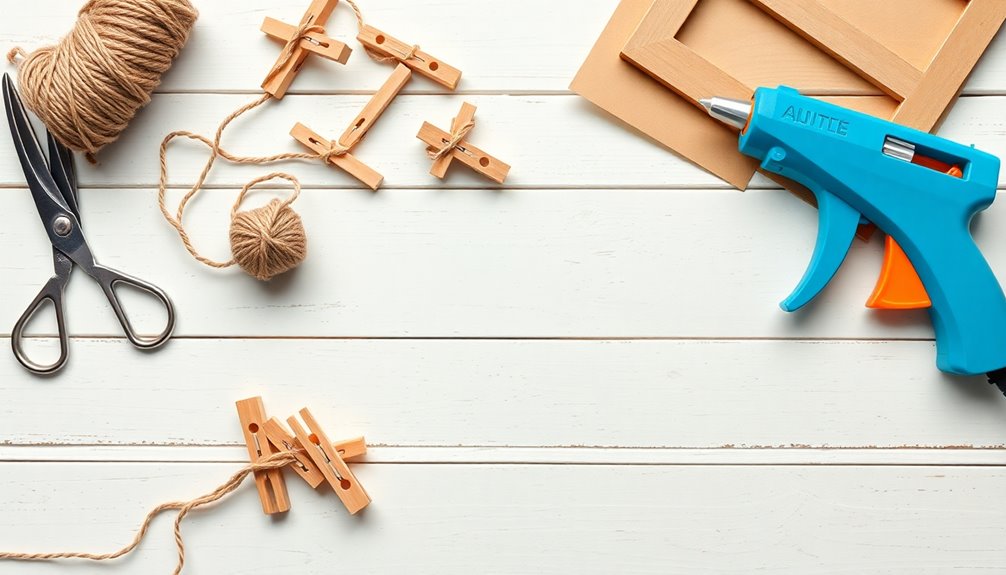
Before you plunge into any of these projects, you’ll need to stock up on a few key supplies. Trust us, winging it won’t work here.
Start with your base materials — rocks, canvas boards, barnwood frames, or oversized picture frames. Pick what fits your vibe.
Next, grab your adhesives: Mod Podge, super glue, hot glue, and Command Hooks. These aren’t optional. They’re the difference between a display that lasts and one that falls apart by Sunday dinner.
You’ll also need wire, twine, binder clips, and mini clothespins for actually holding photos.
Don’t skip the acrylic craft paint, brushes, and Sharpie markers either.
Finally, wire cutters, scissors, a ruler, and pliers round out your toolkit. For rock-based displays, cut 20-gauge wire to between 6 and 12 inches to wrap around painted rocks and create sturdy photo holders. Now you’re ready.
Which Style Fits Your Budget and Skill Level?
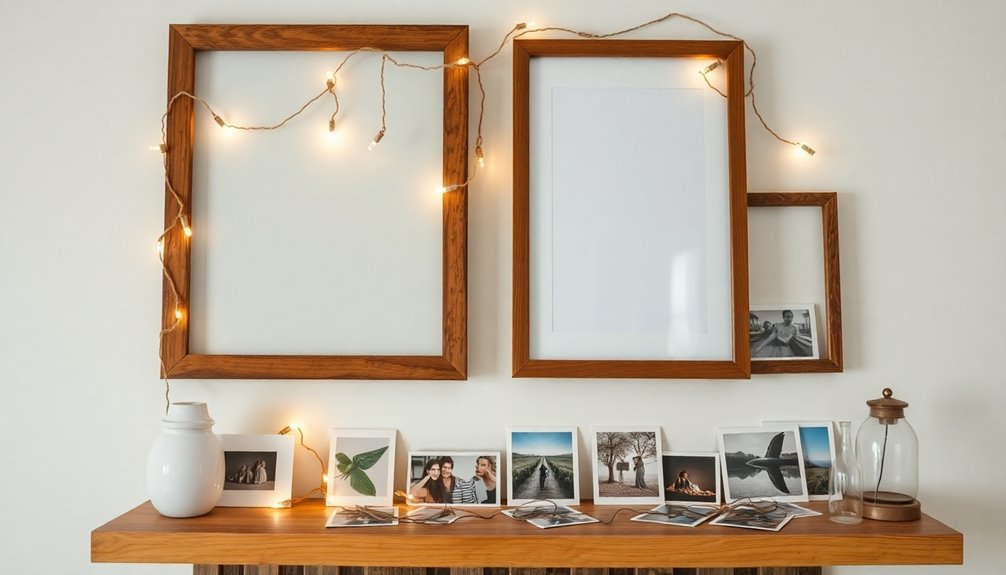
Now that you’ve got your supplies sorted, the next step is figuring out what you can actually pull off without blowing your budget or your confidence. Good news: there’s genuinely something here for everyone.
1. Beginner ($0–$10): Clip prints to pant hangers or suspend photos from twine in a frame using mini clothespins.
Zero crafting required. Seriously.
2. Intermediate ($10–$20): Install a wooden photo ledge, mix print sizes, or try a clipboard wall setup.
Looks intentional. Costs almost nothing.
3. Advanced ($20–$40): Pallet wood photo transfers or a brass-and-wood display box deliver serious impact for Dad.
Start where you’re comfortable. Scale up if you want.
The point isn’t perfection—it’s making something that actually means something. Command Mini Hooks and twine make the whole setup renter-friendly and easy to take down or rearrange whenever you want.
Build a Shadowbox Photo Display for Dad
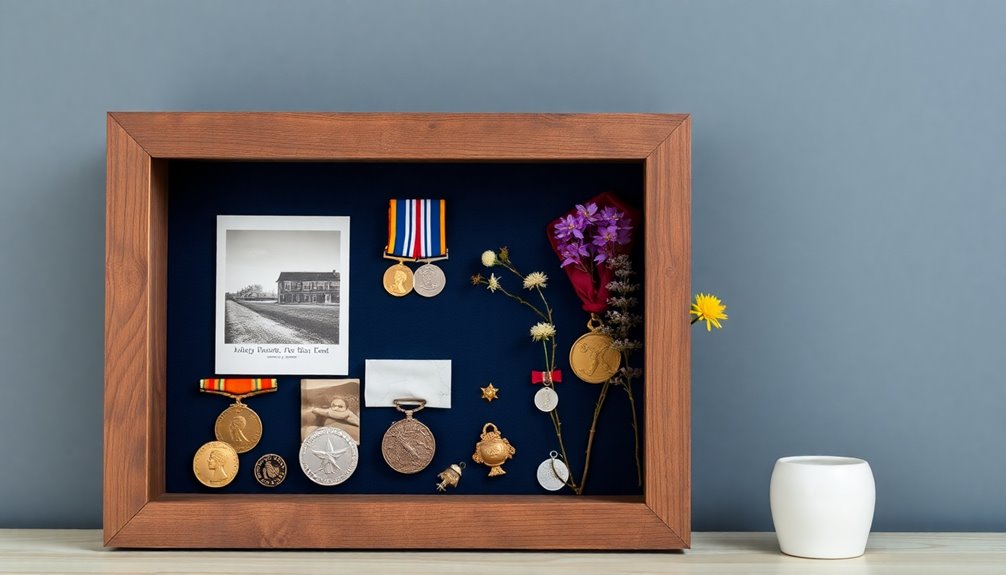
A shadowbox photo display isn’t just a frame—it’s a layered, dimensional piece that actually looks like you tried. And it’s not that hard.
A shadowbox isn’t just a frame. It’s proof you actually tried—and it shows.
You’ll need cardstock, a shadow box frame, foam dots, and plexiglass cut to fit. That’s basically it. Use Cricut Design Space to resize your SVG files to fit the interior—something like 10.95 inches works well. Cut your layers: clouds, sky, silhouettes, letters.
Stack them face down on the glass, adding foam tape strips between each layer for that satisfying depth effect.
Paint the back panel black. It matters more than you think. Insert the plexiglass into the front grooves, secure the back, and you’re done.
Dad gets something real. You made it yourself. That counts. For an extra touch, string fairy lights behind the cardstock layers to give the whole display a warm, glowing effect.
String a Clothespin Photo Line Across a Shadowbox
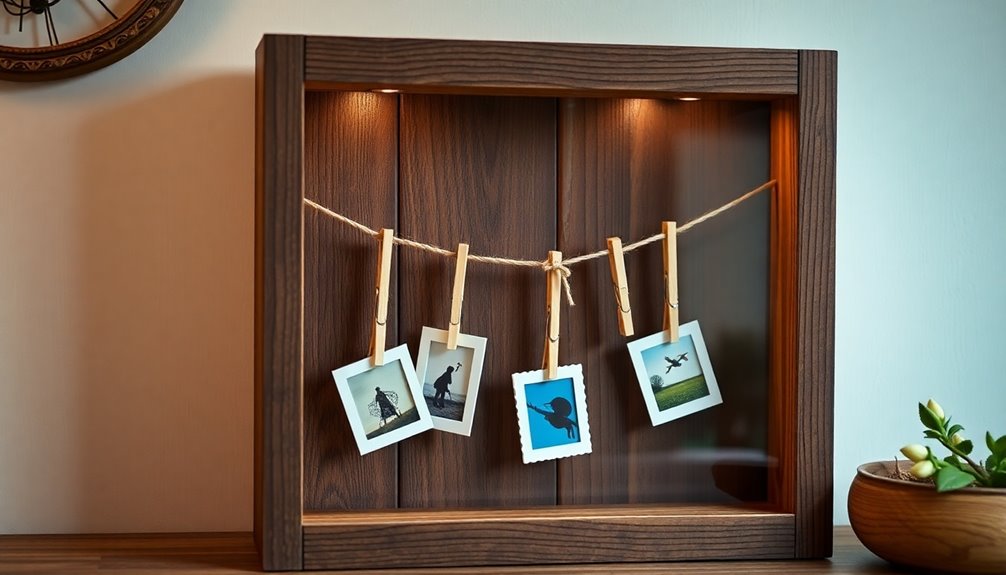
Five lines of twine, two wooden dowels, and a handful of mini clothespins—that’s genuinely all it takes to build this thing.
Two 26-inch square dowels form your frame. Drill five holes at 6-inch increments, thread yard-long twine pieces through, knot them tight. Done. Under 30 minutes, total.
Here’s what makes it work:
- Mark your dowels at 1 inch from the top, then every 6 inches after
- Thread five twine lengths through both dowels, knotting the outside ends for equal tension
- Clip your photos using mini clothespins—Polaroids and Instax formats fit perfectly
The whole display holds roughly 25 photos. That’s a lot of memories on something you basically built with string. Dad deserves that. For a cleaner, more polished finish, use Command Picture Strips to mount the dowels—two medium strips per dowel keeps everything flush against the wall without drilling a single hole.
Make a Craft Stick Photo Frame for Father’s Day
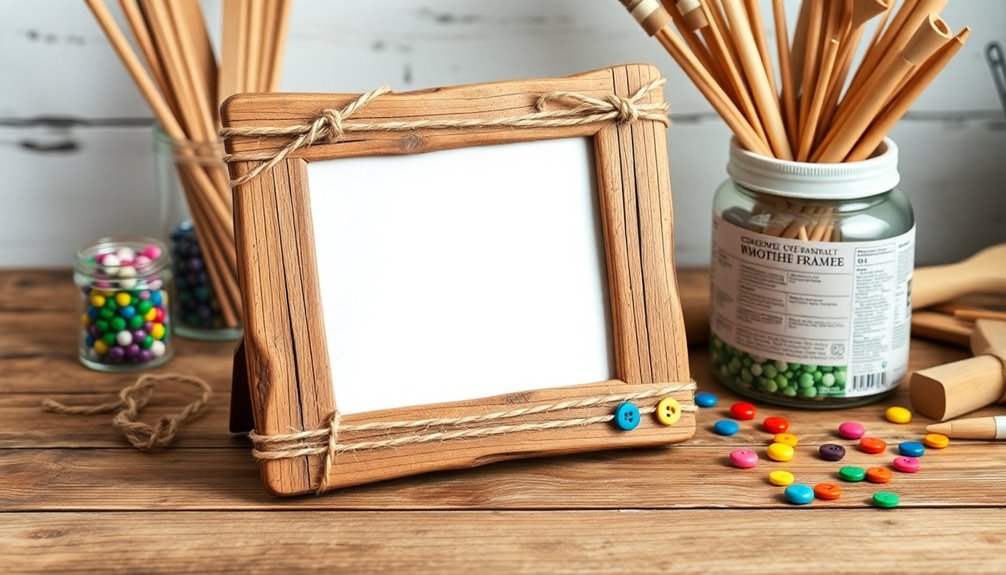
Craft sticks, a photo of your kid, and some paint—that’s your Father’s Day frame, and it costs almost nothing.
Glue four sticks into a square shape, then repeat for a second square. You’re building a front and a back. Trim your photo to fit using the stick outline as your guide, attach it to cardboard, and sandwich it between both squares. Simple.
Paint everything in his favorite colors—multiple coats—and let each layer dry completely. Don’t rush it.
Then go wild with stickers, buttons, or beads. Add something that screams *him*. Glue a yarn loop on the back for hanging, or just stand it upright. Your kid made this. That matters more than any store-bought frame ever could. This project works beautifully for kids of varying ages, so every child in the family can join in.
How Kids Can Paint and Letter Wooden Frames for Dad
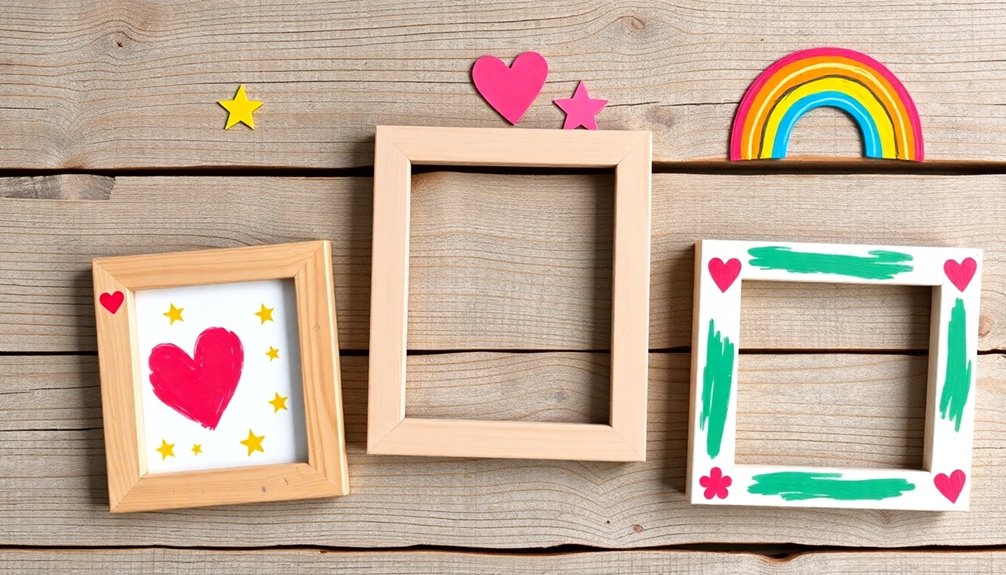
Three things are all you need to get started: a wooden birch frame, some acrylic paint, and a kid with zero inhibitions about making a mess. These 5½-by-7-inch birch frames become personal keepsakes fast.
Here’s what makes this work:
Layer colors freely, add pre-cut letters, and slide in the photo last — that’s all it takes.
- Layer colors freely — let kids mix, stamp sponges, and brush wildly until it turns muddy brown. That’s normal.
- Add pre-cut letters — use Cricut-cut “I Love You Daddy” in Pooh Font or grab foam stickers instead.
- Insert the photo last — after drying, slide in your favorite dad-and-kid shot.
Cover your table first. Seriously. A vinyl tablecloth saves your sanity. The entire project can be pulled off for just $1 wooden frame sourced from Michaels, keeping this craft as budget-friendly as it is meaningful.
Water guns outside finish the cleanup. Dad gets a frame he’ll actually keep.
Build a Multi-Photo Letter Collage for Dad
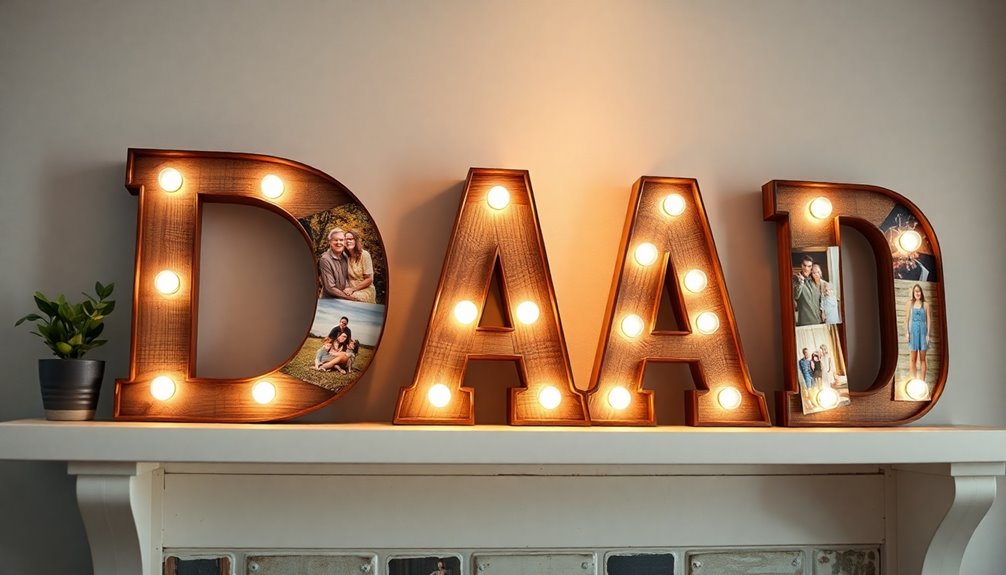
Four photos. That’s sometimes all it takes to cover one letter. Grab paper mache or wooden letters—12-inch sizes from JoAnn’s or Michaels work perfectly—and you’ve got the backbone of something Dad will actually want to keep.
Here’s the process: paint the sides and back with acrylic paint first. Then arrange your 4×6 photos across the letter surface. Snap a reference photo of your layout. Seriously, do it. You’ll thank yourself later.
Apply thin Mod Podge, press each photo down, and let it dry for an hour before trimming the edges with an X-Acto knife. Seal everything with a final Mod Podge layer. For a completely smooth finish, a light pass with fine grit sandpaper along the photo edges makes the whole thing look professionally done.
Total build time? Twenty to thirty minutes. Easy win for the whole family.
How to Print Photos That Look Great in Handmade Frames
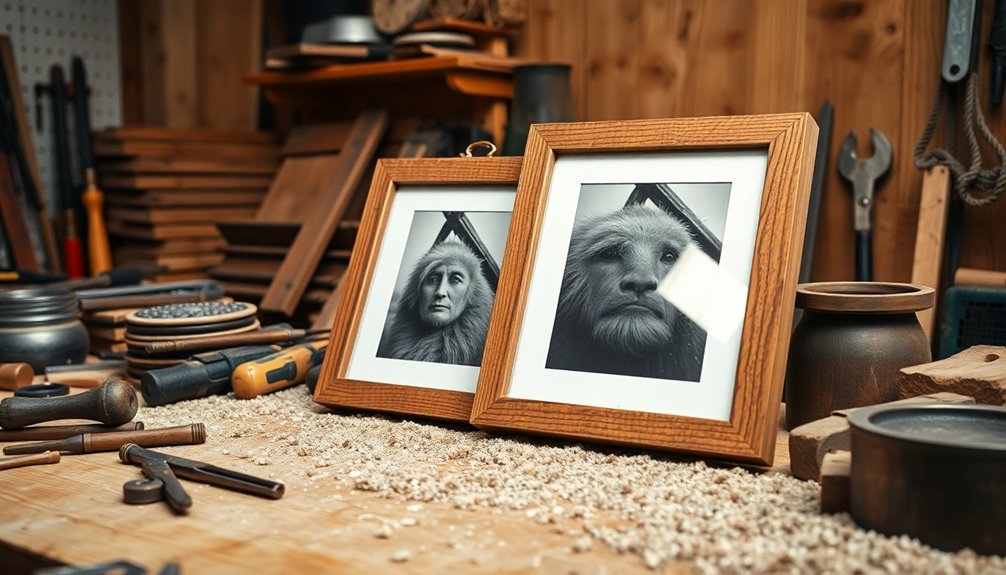
Once you’ve got a great handmade frame, a blurry or washed-out print will ruin the whole thing. Don’t let bad printing sabotage your effort. Here’s what actually matters:
A stunning handmade frame means nothing if your print looks blurry or washed out. Don’t let bad printing ruin it.
- Choose the right printer. Inkjet printers deliver sharp, vivid photo prints. Pair yours with a calibration tool like X-Rite ColorMunki Display so your screen colors match your prints.
- Pick your paper finish wisely. Luster gives you a pro-level sheen without ugly glare. Matte handles tricky lighting. Glossy pops with color. Your frame deserves the right match.
- Prepare your files correctly. Use TIFF for best quality. PNG and JPEG work too. Crop precisely and adjust in photo editing software first. For contact printing methods, glass thickness of 4-6 mm is recommended to prevent cracking and ensure even pressure across your print.
Nail these three things. Dad’s display will look genuinely impressive.
5 Ways to Make Dad’s Photo Display Last for Years
You put all that work into a handmade frame, and then you stick it next to a heating vent and act surprised when it warps. Classic.
Keep temperatures below 75°F and humidity between 15% and 65%. That’s it. That’s the rule.
Store displays away from bathrooms, windows, and sunlight. Position them in low-light spots instead. Use acid-free mats and UV-protective acrylic inside your frames. These aren’t fancy upgrades. They’re basics.
Write any notes on photo backs with pencil, never pen. Display copies, not originals. Keep the real ones in acid-free boxes in a cool, dry place.
Create digital backups across multiple devices and cloud storage. Redundancy matters. Scan your photos at 300 DPI minimum to ensure high-quality files worth backing up in the first place.
Dad’s memories deserve better than a damp basement and a magnetic sticky album. Protect them like they’re irreplaceable. Because they are.
Frequently Asked Questions
Can I Use Digital Photo Displays Instead of Printed Photos for Dad?
Yes, you absolutely can. Digital photo frames let you run motion-activated slideshows, so dad sees fresh memories without anyone touching a remote.
Swap SD cards to update photos effortlessly. They’re practical, dynamic, and honestly perfect for busy families.
But here’s the thing — prints still win for lasting legacy. So combine both. Use digital frames for everyday visibility, printed photos for the moments worth keeping forever.
What Are the Best Photo Display Ideas for Recently Divorced Dads?
clothespin-and-string displays or clipboard gallery walls keep things flexible and non-permanent.
Perfect for your evolving situation. Focus on *your* relationships and meaningful moments — not the full family history.
Separate display spaces let you honor different chapters without awkwardness. Skip the frames entirely.
Peel-and-stick arrangements swap out easily as life shifts. You don’t need a perfect family portrait. You just need *your* story.
How Do I Ship a Fragile Handmade Photo Display Safely to Dad?
Think of your package as a sandwich — layers matter.
First, wrap the display in acid-free paper, then bubble wrap. Tape foam corners on every edge.
Glass? Cover it with protection tape to contain any shards.
Build an “art sandwich” with two foam slices. Pack it in a box with 2″ of peanuts underneath.
Shake it. If it moves, add more.
Ship anything over $250 by air. Don’t skip steps.
Can These Photo Display Projects Be Adapted for Grandfathers or Stepdads?
Absolutely, yes. These projects adapt beautifully for grandfathers and stepdads.
Use burlap or cork shadowboxes with jute string and mini clothespins to span photos across generations. Cardstock-backed notes from grandkids hit different emotionally.
For stepdads, superhero frames with heroic family snapshots work perfectly. Craft stick collages, washi tape, layered photos — they’re all flexible.
You’re literally just swapping who’s celebrated. The display doesn’t care about biology. Your family does.
What Eco-Friendly or Recycled Materials Work Well for DIY Photo Displays?
Like MacGyver on a budget, you’ve got options. Cardboard works great — egg cartons become flowers, corrugated pieces become frames.
Bamboo’s fast-growing and reusable, perfect for sturdy display panels. Recycled PET fabric diverts plastic waste while creating killer backdrops.
Old gift bags, repurposed wood pallets, recycled aluminum frames — all solid choices. Even tin cans pull double duty as lanterns.
You’re not just displaying photos. You’re making a statement.
Conclusion
You’ve got everything you need to make Dad feel like a Roman emperor on Father’s Day — celebrated, honored, and surrounded by the people who matter most. Pick a project. Grab your supplies. Don’t overthink it. These displays aren’t just decoration; they’re a permanent record of what your family actually looks like. Dad doesn’t need another gift card. He needs proof you showed up. Make it count.