Transform your home into a springtime wonderland with five enchanting Easter egg arrangements. You’ll love creating natural nest centerpieces filled with twigs and painted eggs, charming vintage teacup displays adorned with pearls, whimsical window-hanging garlands, eye-catching tiered stand arrangements, and elegant glass cloche showcases. Each design combines traditional elements with modern flair, bringing fresh energy to your seasonal decor. Let’s explore these delightful options to make your Easter celebrations truly special.
Design Highlights
- Create natural nest centerpieces using twigs and moss, featuring painted eggs nestled among fresh spring flowers and delicate faux grass.
- Arrange decorated eggs in vintage teacups with pastel ribbons, silk flowers, and crystal beads for an elegant display.
- Design tiered stand arrangements by mixing decorated eggs with faux moss and spring flowers across multiple levels.
- Showcase Easter eggs under glass cloches with moss bedding and fairy lights for an enchanting illuminated display.
- Craft window-hanging egg garlands using painted eggs strung on fishing line, adorned with small ribbons between each piece.
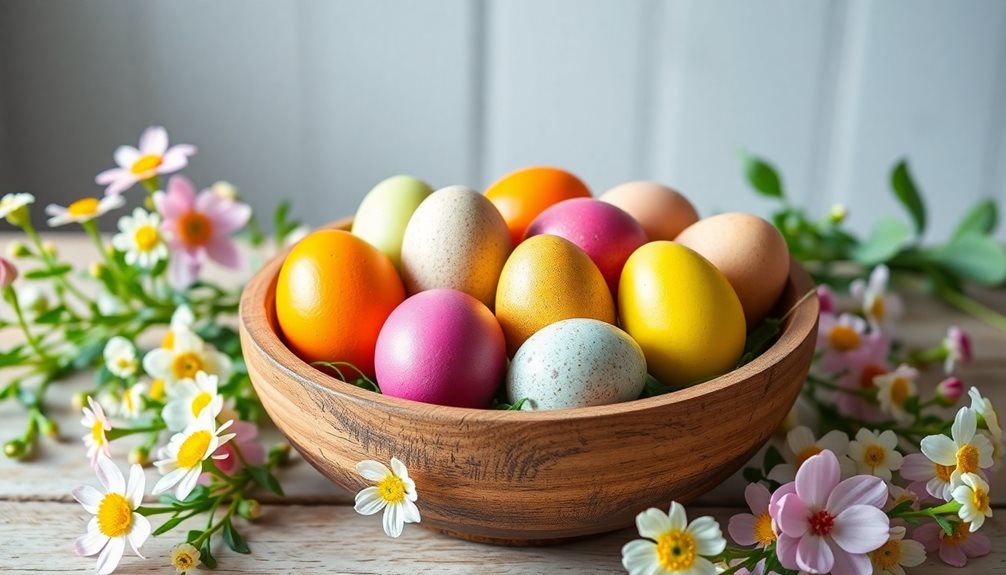
Natural Nest Centerpieces
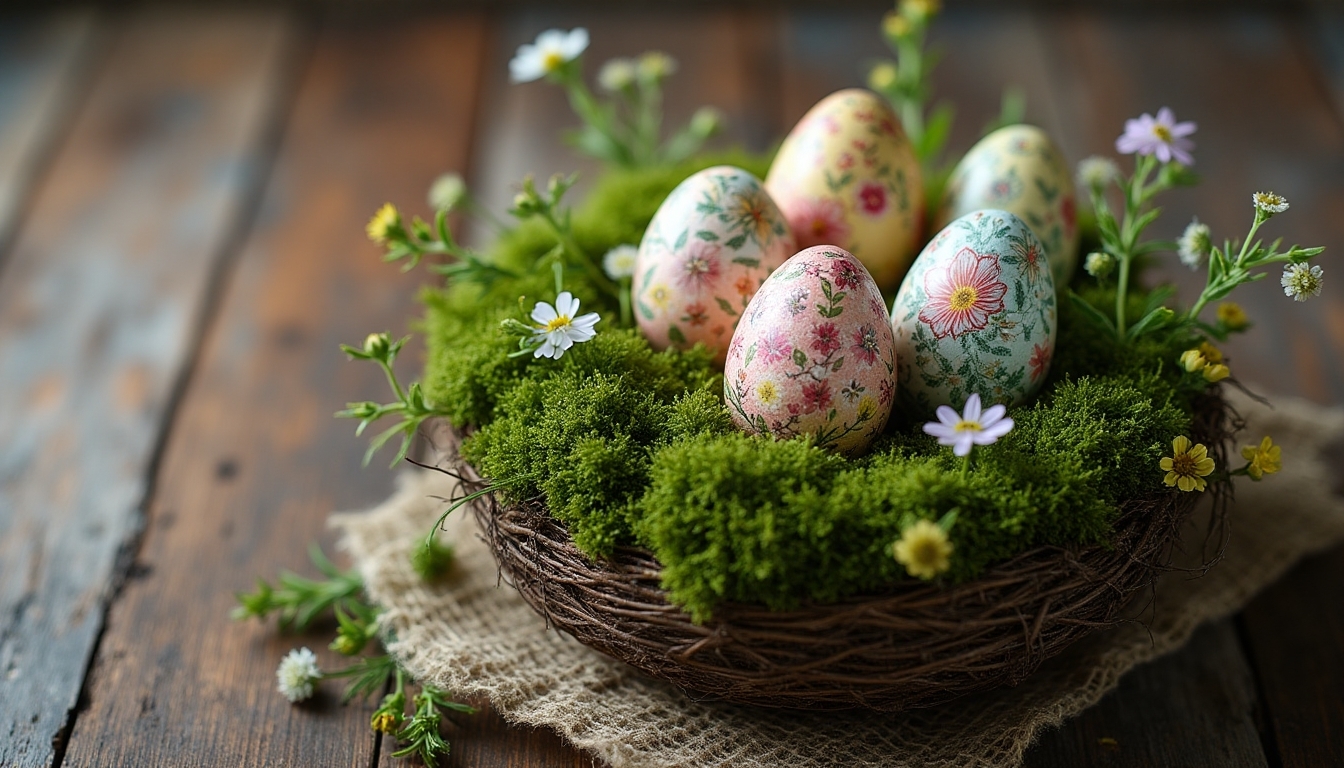
Natural nest centerpieces bring the beauty of springtime right to your table, creating a magical Easter display that’ll warm everyone’s heart. Start by gathering twigs, moss, and small branches from your backyard to craft an authentic nest base. You’ll feel connected to nature as you weave these materials together.
Place your handcrafted nest on a bed of fresh spring flowers, like daffodils or tulips. Add painted eggs, both large and small, nestling them among delicate faux grass. You can include speckled eggs for variety, making each arrangement unique and special. Charming Easter decor can enhance the overall festive atmosphere of your kitchen table. Your guests will gather around, admiring your thoughtful creation.
Vintage Teacup and Saucer Displays
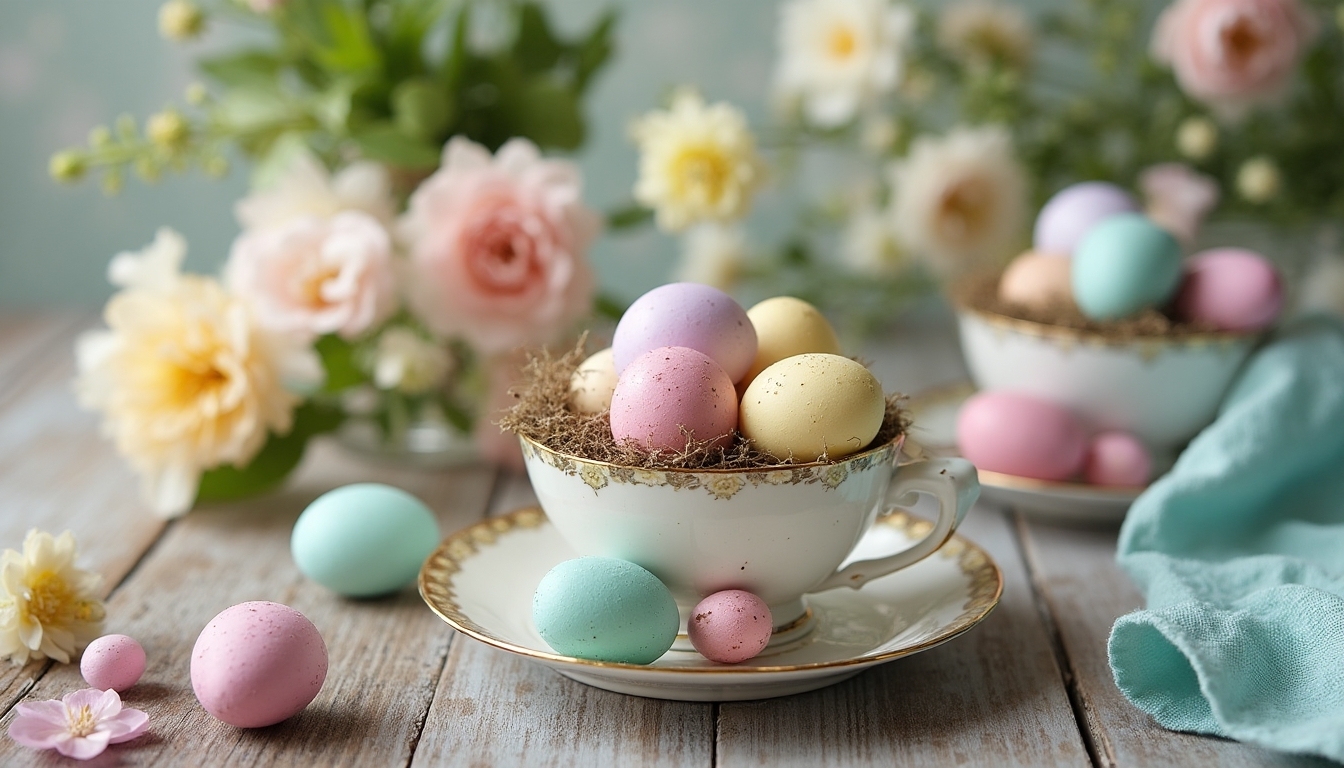
Charming vintage teacups and saucers offer a whimsical twist on traditional Easter egg displays. You’ll love how these delicate pieces bring nostalgic elegance to your spring decor, creating conversation-worthy arrangements that feel both sophisticated and sweet.
Create your own beautiful teacup displays with these lovely additions:
- Hand-painted eggs nestled in vintage teacups with soft pastel ribbons
- Delicate faux moss or paper grass filling the cup’s base
- Small silk flowers tucked between decorated eggs
- Pearls or crystal beads scattered around the saucer’s edge
- Tiny paper butterfly accents perched on the cup’s rim
Mix and match different teacup patterns for an enchanting collection that’s uniquely yours. Additionally, consider using weather-resistant materials to ensure your decor remains vibrant throughout the spring season.
Window-Hanging Easter Egg Garlands
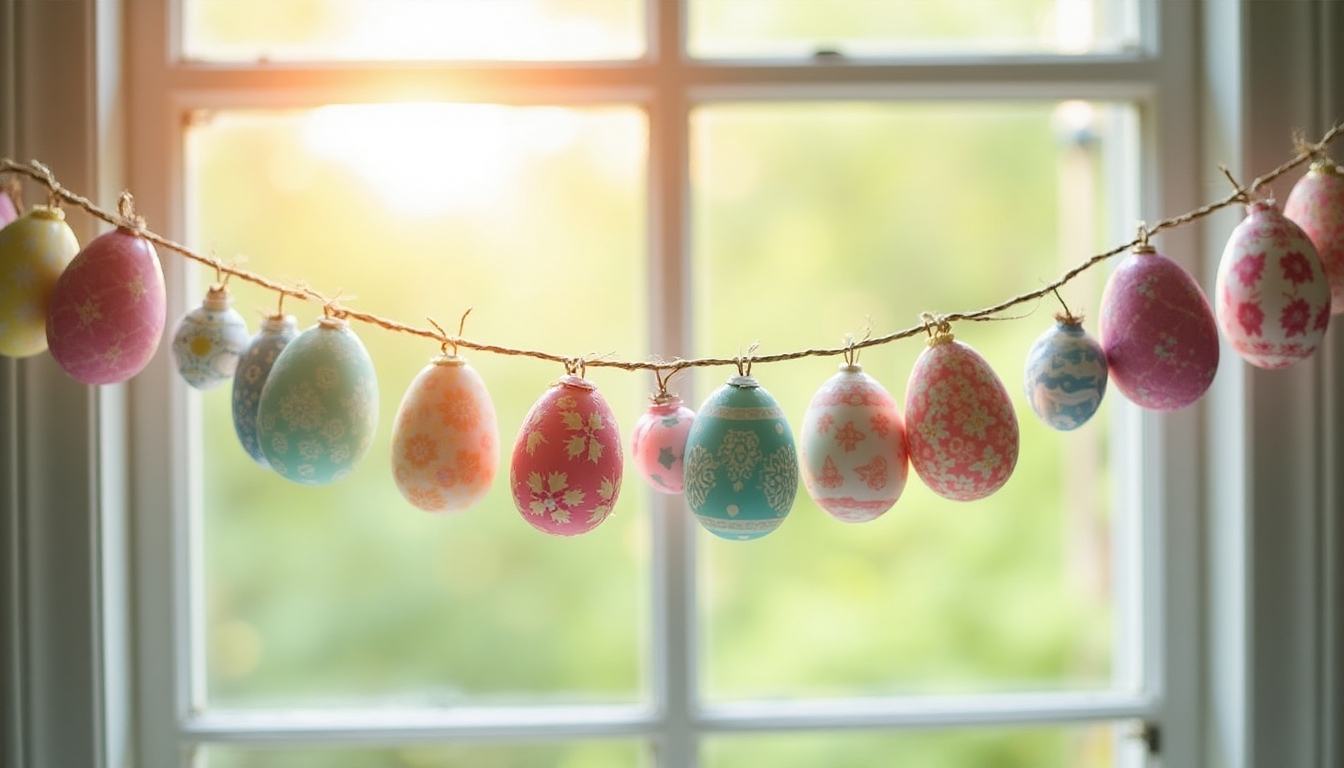
Three delightful rows of colorful Easter eggs, dancing in the spring breeze, will transform your windows into a magical display that catches everyone’s eye. You’ll love how these cheerful garlands create a welcoming atmosphere in your home while sharing the joy of the season with neighbors and passersby.
To create your window garland, simply string plastic or wooden eggs onto clear fishing line, spacing them evenly. You can paint the eggs in pastels, metallics, or traditional spring colors that match your home’s decor. Add small ribbons between each egg for extra charm, and secure the garlands with removable window hooks that won’t damage your frames. Additionally, consider incorporating elements from Easter sidewalk decor to enhance your outdoor space for a cohesive festive look.
Tiered Stand Arrangements
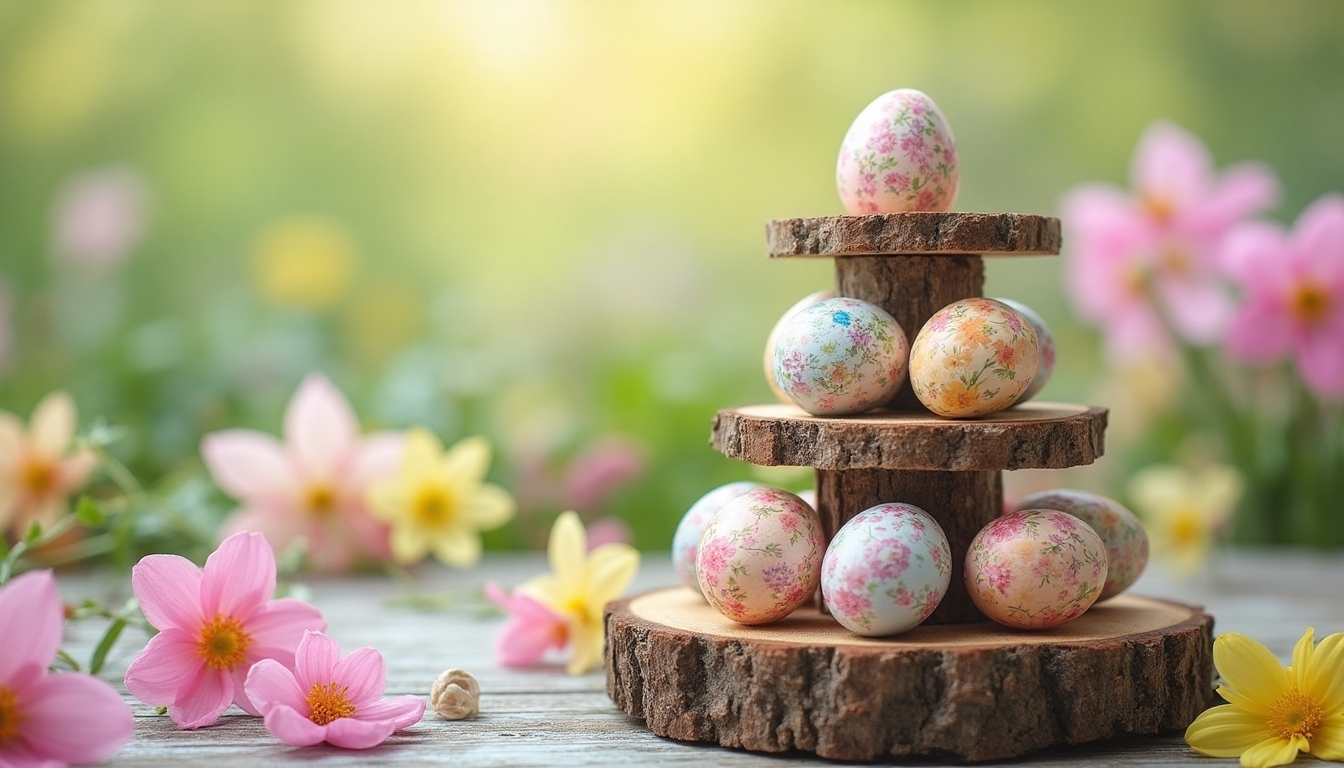
Elegant tiered stands transform your Easter egg displays into stunning centerpieces that’ll make everyone stop and admire. You’ll create layers of springtime magic that bring your holiday decorations to new heights, making your space feel wonderfully festive. To create your perfect tiered arrangement, consider these charming elements:
- Mix decorated eggs with faux moss and spring flowers
- Alternate pastel and bright-colored eggs for visual interest
- Include small Easter figurines between the layers
- Add delicate ribbon or twine wrapped around each tier
- Place tiny nest arrangements on different levels
Your tiered display will become a treasured focal point that brings family and friends together. Additionally, incorporating bright colors into your arrangement can evoke the holiday spirit and enhance your outdoor space’s appeal.
Glass Cloche and Bell Jar Showcases
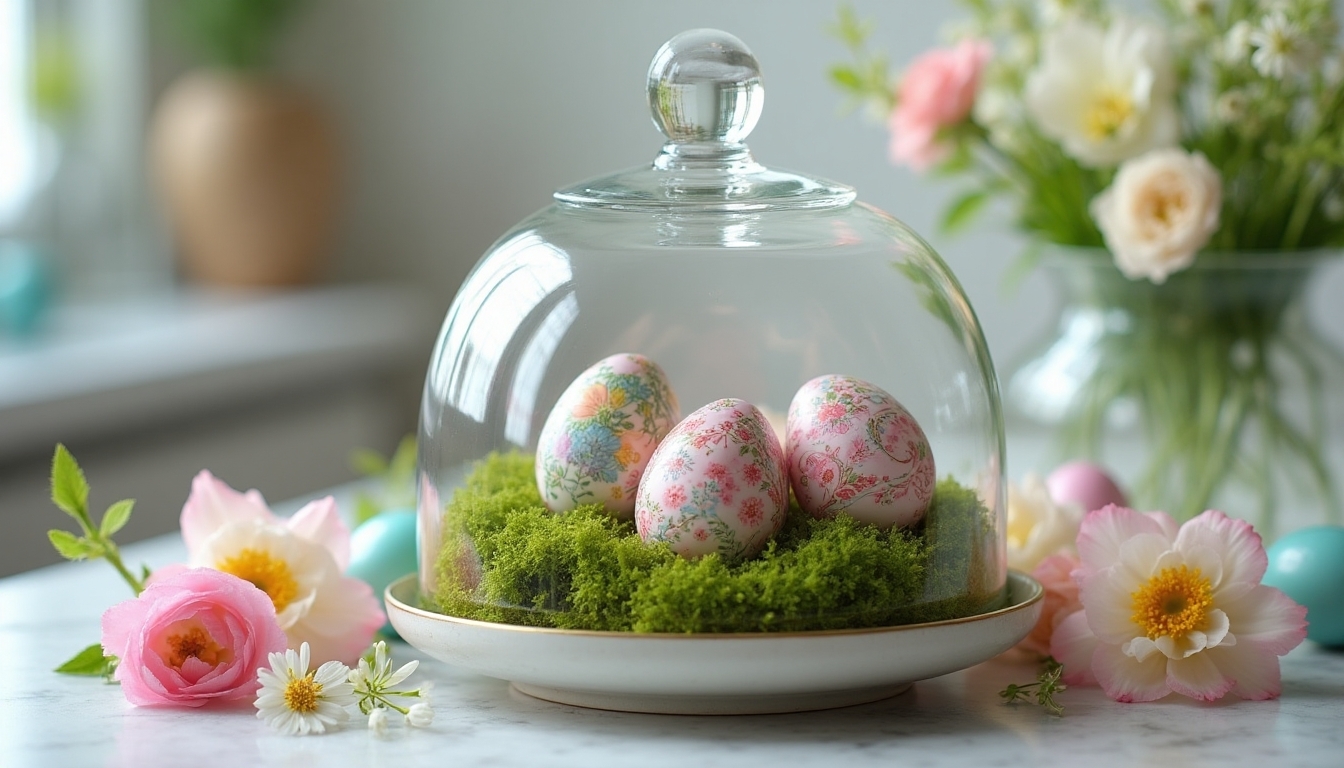
Glass cloches and bell jars transform your Easter eggs into magical miniature displays that capture springtime’s enchantment. You’ll love how these elegant glass covers create stunning focal points while protecting your precious decorations from dust and curious hands.
Place your favorite decorated eggs on a bed of moss, artificial grass, or soft pastel fabric inside the dome. Add tiny spring flowers, delicate butterfly ornaments, or miniature garden accessories to create a charming scene. You can even include battery-operated fairy lights to make your display glow softly in the evening.
For extra charm, tie a pretty ribbon around the base of your cloche, matching your Easter color scheme. You can find delightful Easter entryway decor ideas that incorporate similar glass showcases to inspire your creativity.
Frequently Asked Questions
How Long Can Decorated Easter Eggs Safely Stay Out at Room Temperature?
You’ll want to be extra careful with decorated eggs to keep your family safe! If you’ve hard-boiled and dyed eggs, don’t leave them at room temperature for more than 2 hours. Put them in the refrigerator right after decorating, where they’ll stay fresh for up to a week. If you’re displaying eggs for longer periods, consider using plastic eggs or eggs that have been hollowed out instead of real ones.
What Type of Adhesive Works Best for Permanently Attaching Decorations to Eggs?
You’ll love how well hot glue works for attaching most decorations to eggs – it’s quick, strong, and perfect for ribbons, sequins, and small ornaments. For delicate items, craft glue or tacky glue are your gentle friends that won’t damage fragile pieces. If you’re working with plastic eggs, E6000 adhesive creates an incredibly durable bond that’ll last for years. Remember to work in a well-ventilated area when using any strong adhesives.
Can Plastic Easter Eggs Be Painted With Regular Acrylic Craft Paint?
Yes, you’ll love how well acrylic craft paint works on plastic Easter eggs! First, give your eggs a gentle wash with soap and water, then let them dry completely. You’ll get the best results by applying 2-3 thin coats, letting each layer dry between applications. If you want your design to last longer, seal it with a clear acrylic spray. The paint will stick beautifully, and you’ll create wonderful keepsake decorations for your spring celebrations!
How Do You Prevent Dyed Easter Eggs From Fading in Sunlight?
To keep your beautifully dyed Easter eggs looking vibrant, you’ll want to store them away from direct sunlight. The best way to protect your eggs is to display them in a covered basket or container, and keep them in a cool, shaded spot in your home. If you’re planning to show them off, try placing them in darker corners or under soft lighting – this way, you’ll preserve those gorgeous colors you worked so hard to create!
What’s the Best Way to Repair Cracked Decorated Eggs Without Ruining Designs?
Don’t panic if your precious Easter egg masterpiece gets a crack – there’s still hope to save your million-dollar creation! You’ll want to gently clean the cracked area with a damp cloth, then apply a thin layer of clear nail polish or craft glue around the crack. For added strength, you can carefully place small strips of tissue paper over the sealed area, letting each layer dry completely. The repair will blend right in with your design.